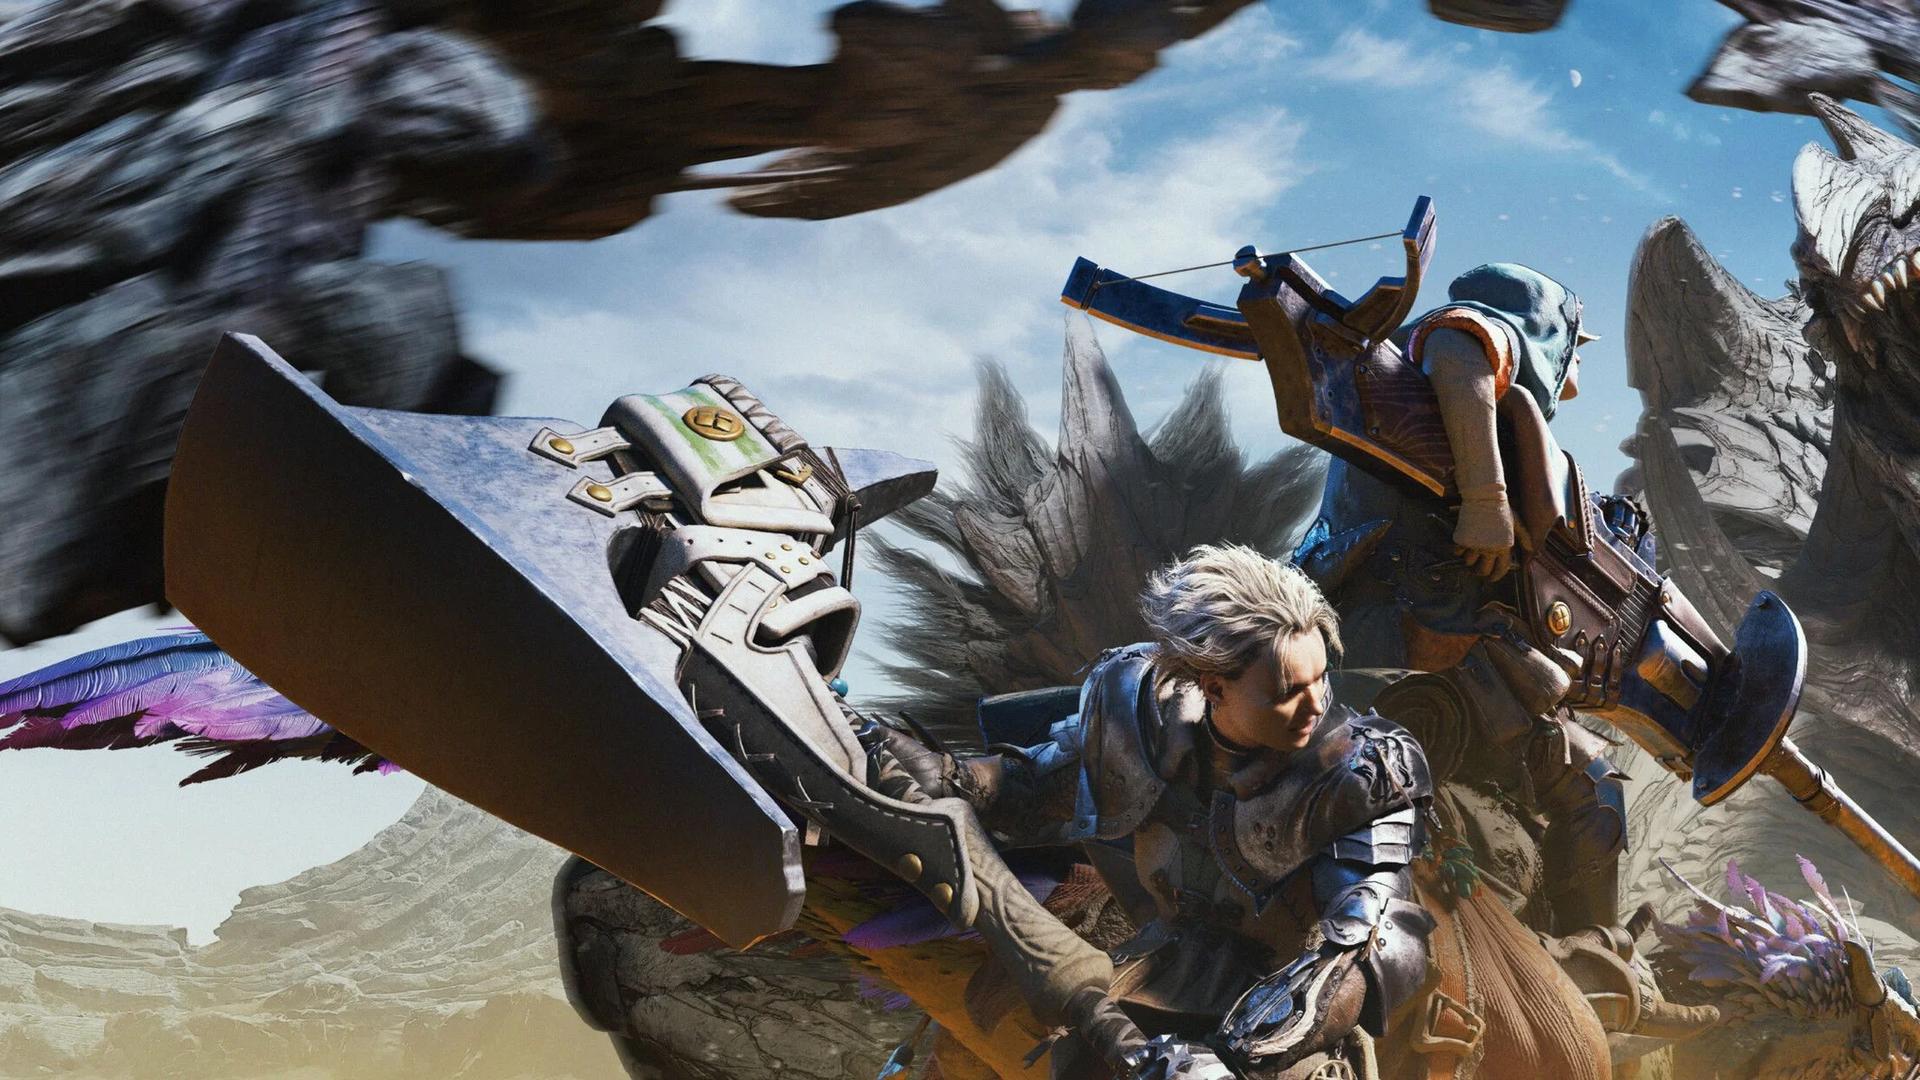

The Monster Hunter Wilds weapon tier list identifies Light Bowgun, Dual Blades, Bow, Long Sword, and Great Sword as S-tier choices due to their exceptional damage and uptime. These top picks excel at balancing defensive maneuvers with continuous offense in Title Update 4.
This weapon tier list covers Title Update 4 and High Rank endgame. All 14 weapon types are ranked below, followed by practical comparisons to help you choose between ranged pressure, counters, guarding, technical combos, and team support.
Weapon ranking criteria
These rankings prioritize damage you can maintain during a hunt. A powerful combo earns less credit if its setup, positioning, or resource demands repeatedly stop you from landing it.
The main criteria are:
- Damage and uptime: Sustained attacks, burst damage, elemental potential, and access to weak points.
- Defensive options: Guards, counters, weapon-specific dodges, and offset attacks that help you keep attacking safely.
- Learning demands: How quickly you can learn the basic loop, plus the execution needed to master it.
- Equipment and balance changes: Title Update 4 adjustments and the builds that support each weapon.
The Gogma Artian upgrades covered in the Monster Hunter Wilds Update 4 guide can give a weapon one set bonus and one group skill, expanding the combinations available for these endgame rankings.

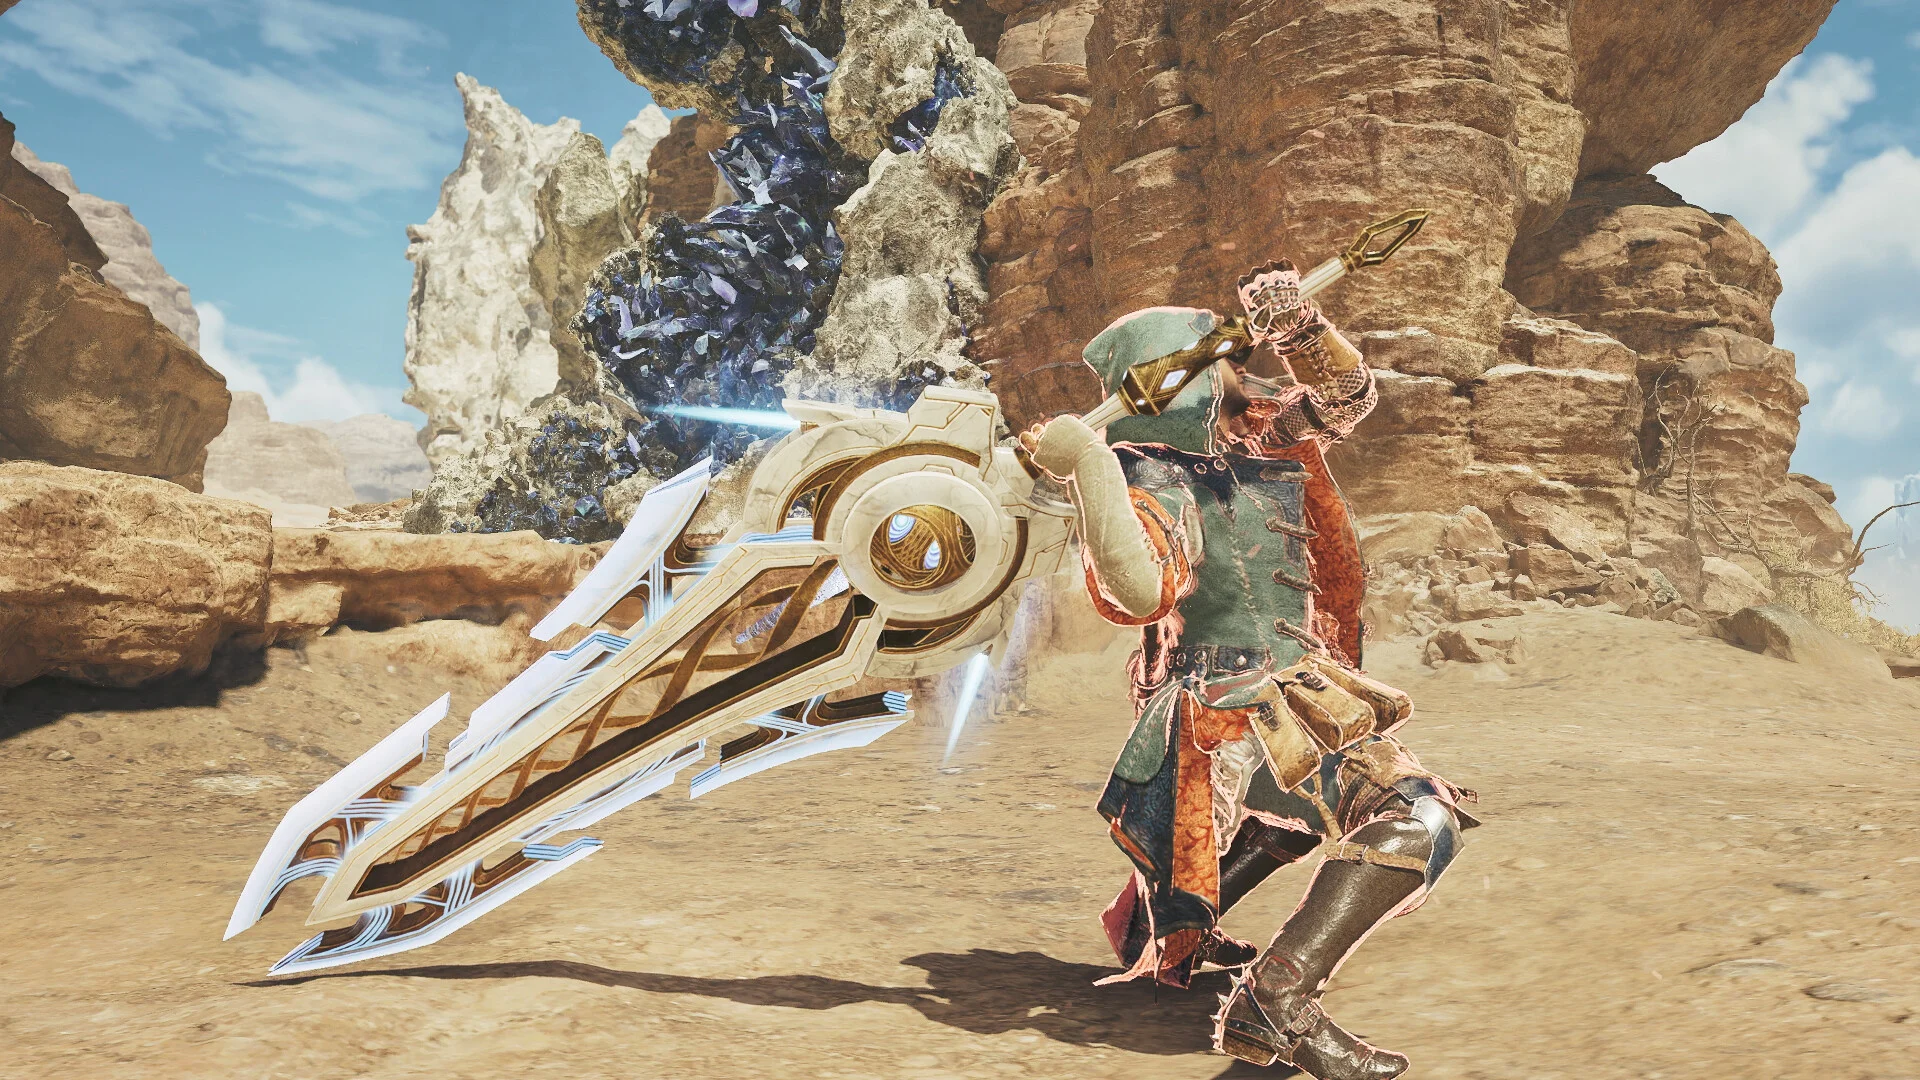
What each tier means
S-tier weapons offer the strongest combination of damage and practical effectiveness. A-tier picks remain strong but introduce more setup, execution, or positioning trade-offs. B-tier weapons reward a particular specialty or need more work to match the leading options. C-tier places damage efficiency behind other strengths.
Entries within a tier are not a strict first-to-last ranking. Every weapon remains viable, and a familiar lower-tier weapon can outperform an unfamiliar S-tier pick.
Monster Hunter Wilds weapon tier list
| Tier | Weapon | Reason |
|---|---|---|
| S | Light Bowgun | Strong sustained damage and mobility, with extensive improvements to rapid-fire attacks. |
| S | Dual Blades | Excellent elemental pressure with evasive movement and flexible attack commitments. |
| S | Bow | High damage uptime when you manage its resources and time its defensive dodge. |
| S | Long Sword | Powerful counters and long reach support aggressive, continuous offense. |
| S | Great Sword | Huge charged hits, adjustable aim, and opening-creating defensive moves. |
| A | Heavy Bowgun | Strong elemental firepower and defense, balanced by slow movement and spacing demands. |
| A | Gunlance | Explosive offense and reliable guarding compensate for limited mobility. |
| A | Sword and Shield | Flexible offense, defense, and item access make it a forgiving melee choice. |
| A | Insect Glaive | Aerial access and strong attacks reward learning its controls and extract cycle. |
| A | Charge Blade | High phial and axe damage sits behind a demanding charging and defensive cycle. |
| B | Hunting Horn | Valuable team buffs come with a complex route to optimal personal damage. |
| B | Hammer | Strong knockout potential requires close positioning and careful charge management. |
| B | Switch Axe | Long-reaching attacks reward managing multiple gauges and choosing safe commitments. |
| C | Lance | Excellent defensive consistency, but its damage trails the leading options. |
Best weapons for ranged pressure and fast melee
Light Bowgun vs. Bow vs. Heavy Bowgun
Choose Light Bowgun first if aiming and repositioning feel more natural than melee counters. Rapid Fire Mode lets you concentrate shots on weak points while using small dashes to adjust your angle. Title Update 4 reduces Rapid Fire Gauge consumption and makes Chaser Shot follow-ups easier to connect with evades or further shots.
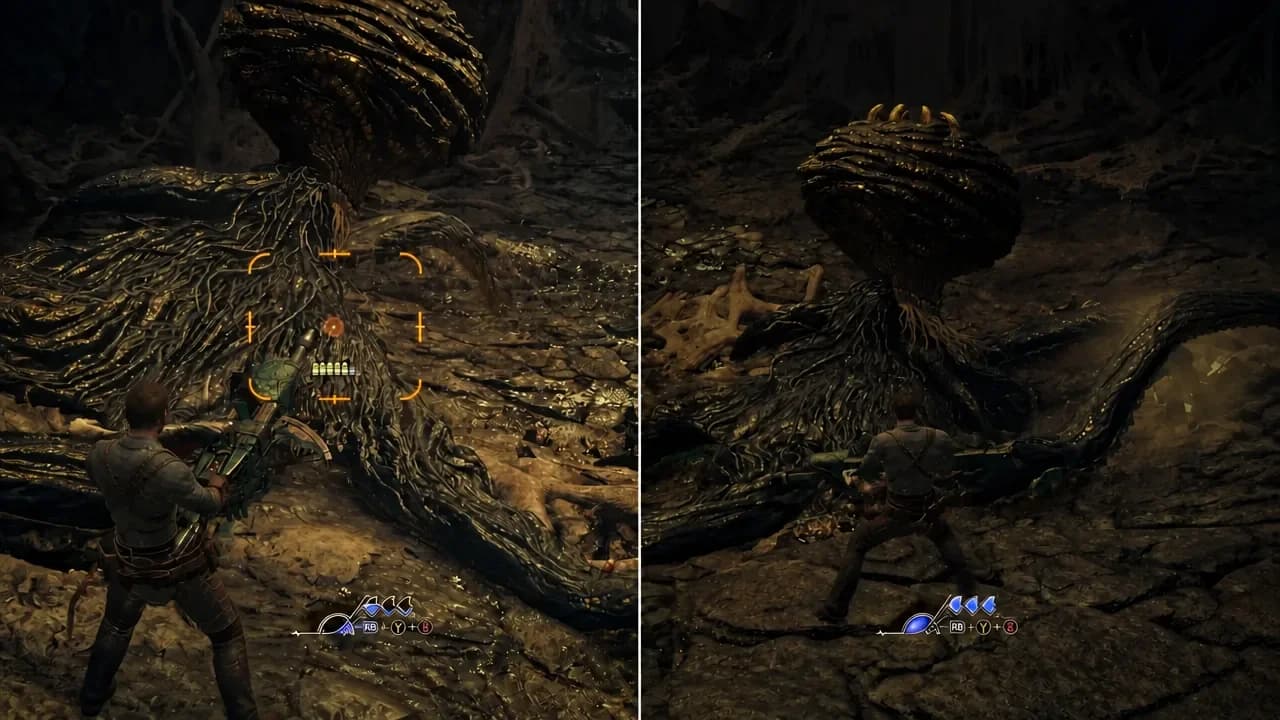
Sustain pressure with Rapid Fire
Bow asks you to manage both stamina and the Trick Arrow Gauge. Coatings and Tracer Arrows spend the latter, while Tracer Arrows guide subsequent shots toward the marked location. A well-timed Discerning Dodge restores stamina, so learning that response is central to maintaining your attack rhythm.
Heavy Bowgun suits a more deliberate approach. Its Ignition attacks and shielding support a firing position you can defend, but its slow movement makes advance positioning important. Title Update 4 also lets successful Wyverncounter Ignition offsets restore the Ignition Gauge. Pick it when you want ranged firepower with guarding and are comfortable planning your spacing.
Dual Blades for staying close
Dual Blades is the strongest recommendation for fast, evasive melee. Its Blade Dance sequence is divided into three moves, with Demon Flurry attacks available between them. You can make shorter commitments instead of treating every opening as permission to finish a long sequence.
Demon Boost Mode replaces the dodge roll with a spinning attack that can chain into another spin. Title Update 4 keeps that mode active after sheathing and reduces sharpness consumption on its Focus Strike attacks.
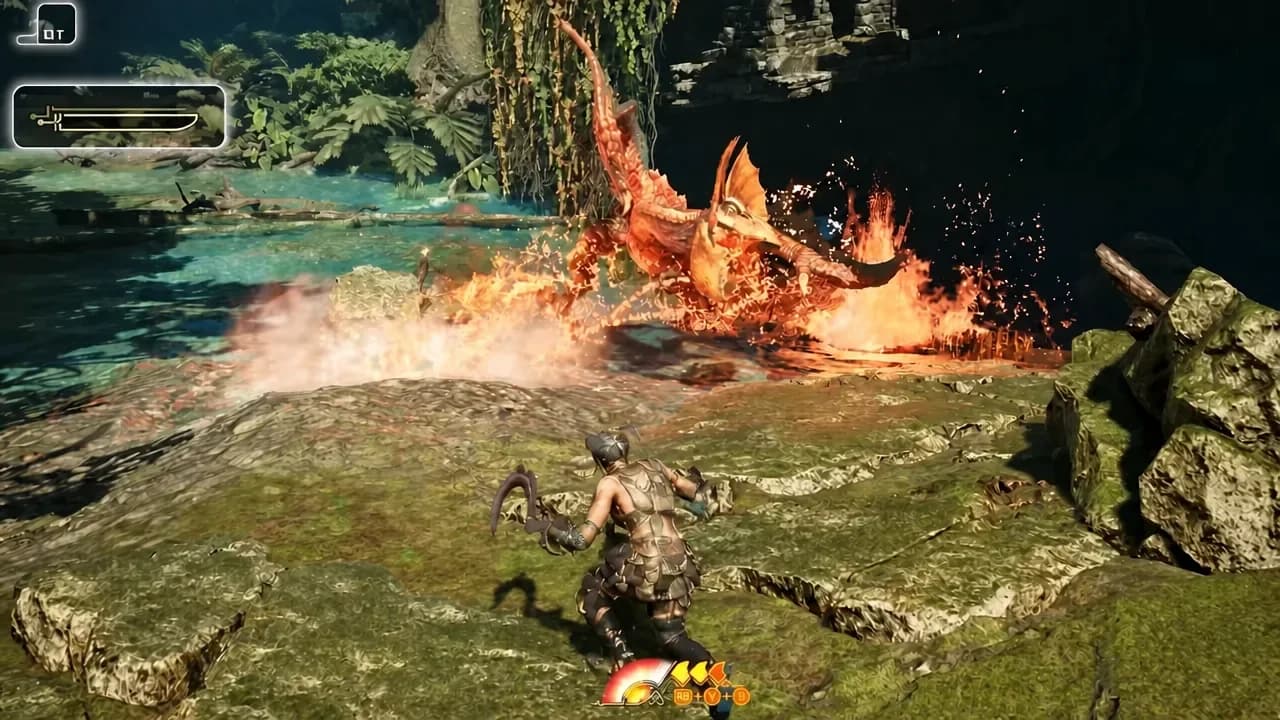
Stay mobile in Demon Boost Mode
The equipment commitment is elemental damage and stamina support. Match your element to the target, and judge the weapon by whether you can remain close without exhausting your defensive resources.
Best weapons for counters, guarding, and heavy hits
Long Sword vs. Great Sword
Long Sword rewards reading an incoming attack and answering it without surrendering pressure. Foresight Slash is an important counter to learn, while Spirit Charge helps raise the Spirit Gauge level. Reaching the maximum level unlocks Crimson Slash, so gauge maintenance belongs alongside counter timing in your practice.
Great Sword rewards a different decision: identifying an opening large enough for a charged hit. Focus Mode lets you redirect True Charged Slash, and destroying wounds with Focus Slash: Perforate creates routes into further charged attacks. Offset Rising Slash and Power Clashes can also create opportunities.
Choose Long Sword if you want to react through a flowing attack sequence. Choose Great Sword if you prefer fewer, heavier commitments. Adjustable aim helps Great Sword land, but it does not remove the need to recognize a safe opening.
Gunlance, Sword and Shield, or Lance?
Gunlance is the pick for guarding with an explosive payoff. Its shells ignore monster hitzone values, scale with Attack, and cannot critically hit. You still need to account for the weapon's limited mobility, but shelling gives you an offensive option that is less dependent on striking a favorable hitzone.
Sword and Shield offers more freedom to change your response. Backstep and Perfect Guard provide defensive tools, while Charged Chop and Perfect Rush give you attacks for openings of different lengths. You can also use items without sheathing, cut tails, and stun monsters. Choose it if you want room to adapt during a hunt.
Lance is the defensive specialist. Its guard and counter options fit into its thrusting sequences, letting you react while remaining near a weak point. Its C-tier placement reflects damage efficiency, not a lack of safety. If you're struggling with evasive weapons, a dependable guard-based loop can be a better learning route.
Best weapons for technical combos and co-op
Charge Blade, Insect Glaive, and Switch Axe
These weapons make the most sense when their defining mechanic is something you actively want to learn:
- Charge Blade: Learn phial charging and guard points before chasing its largest damage sequences. Perfect Guards, mounts, and Focus Strikes provide access to Savage Axe, making defense and setup part of its offense.
- Insect Glaive: Balance Kinsect extract collection with aerial chains and charged attacks. Its aerial movement helps reach awkward monster parts, but managing its controls and buffs raises the entry barrier.
- Switch Axe: Move between Axe mode's mobility and reach and Sword mode's burst attacks. Title Update 4 allows evading while charging Unbridled Slash and Full Release Slash, giving you more ways to abandon an unsafe commitment.
Pick the mechanic you enjoy managing. Choosing Charge Blade solely for its damage potential is a poor bargain if maintaining its charge cycle feels like homework.
Hunting Horn vs. Hammer
Hunting Horn is the clearest recommendation for team buffs. Depending on the horn, its melodies can provide Attack Up, Earplugs, or Stamina Use Reduction. Gogma Artian song options also improve sharpness and defensive support. Its B-tier placement does not fully represent the benefit those effects can provide across a hunting party.

Pick melodies for your hunting team
Hammer focuses more directly on creating knockouts through blunt attacks. Offset options include Upswing, Charged Upswing, and Mighty Charge Upswing, but its short reach makes positioning demanding. Choose Hammer for charge timing and knockouts; choose Hunting Horn if maintaining melodies is part of how you want to contribute.
How to choose and build your main
Compare a complete combat loop
Use a repeatable process before spending heavily on endgame equipment:
- Pick one candidate with the defensive response you prefer: dodging, countering, or guarding.
- Practice its basic attack sequence and that defensive response in the Training Area.
- Take it against a familiar monster. Notice missed attacks, interrupted setups, and resources that repeatedly run empty.
- Address the specific problem with practice or support skills before changing weapons.
Use the Monster Hunter Wilds armor and skills build guide to fit the weapon's supporting skills before filling remaining space with damage bonuses.
| Weapon | Skills to consider first | Purpose |
|---|---|---|
| Great Sword | Focus | Shortens charge times. |
| Long Sword | Quick Sheathe | Speeds up Special Sheathe transitions. |
| Dual Blades | Element Attack, Stamina Surge, Constitution | Supports elemental offense and stamina management. |
| Bow | Element Attack, Constitution, Stamina Surge | Supports coatings-based offense and stamina use. |
| Gunlance | Artillery, Load Shells | Supports shelling performance. |
| Lance | Guard, Offensive Guard | Supports a guard-based attacking loop. |
| Hunting Horn | Horn Maestro | Extends melody buff duration. |
Commit resources after choosing the weapon
Mixed armor lets you combine useful skills without committing to every piece from one monster. Check decoration slots and the requirements of set bonuses, too. Gore Magala's Black Eclipse, for example, is commonly paired with Antivirus to make use of its affinity benefits.
Gogma Artian weapons offer three level 3 decoration slots alongside their customizable stats. Check the complete skill layout before treating a weapon upgrade as a finished build.
Changing weapon types can also change which armor pieces you need. Use Monster Hunter Wilds Armor Sphere farming methods to supply upgrades for the mixed set you plan to keep, rather than spreading those materials across every trial set.