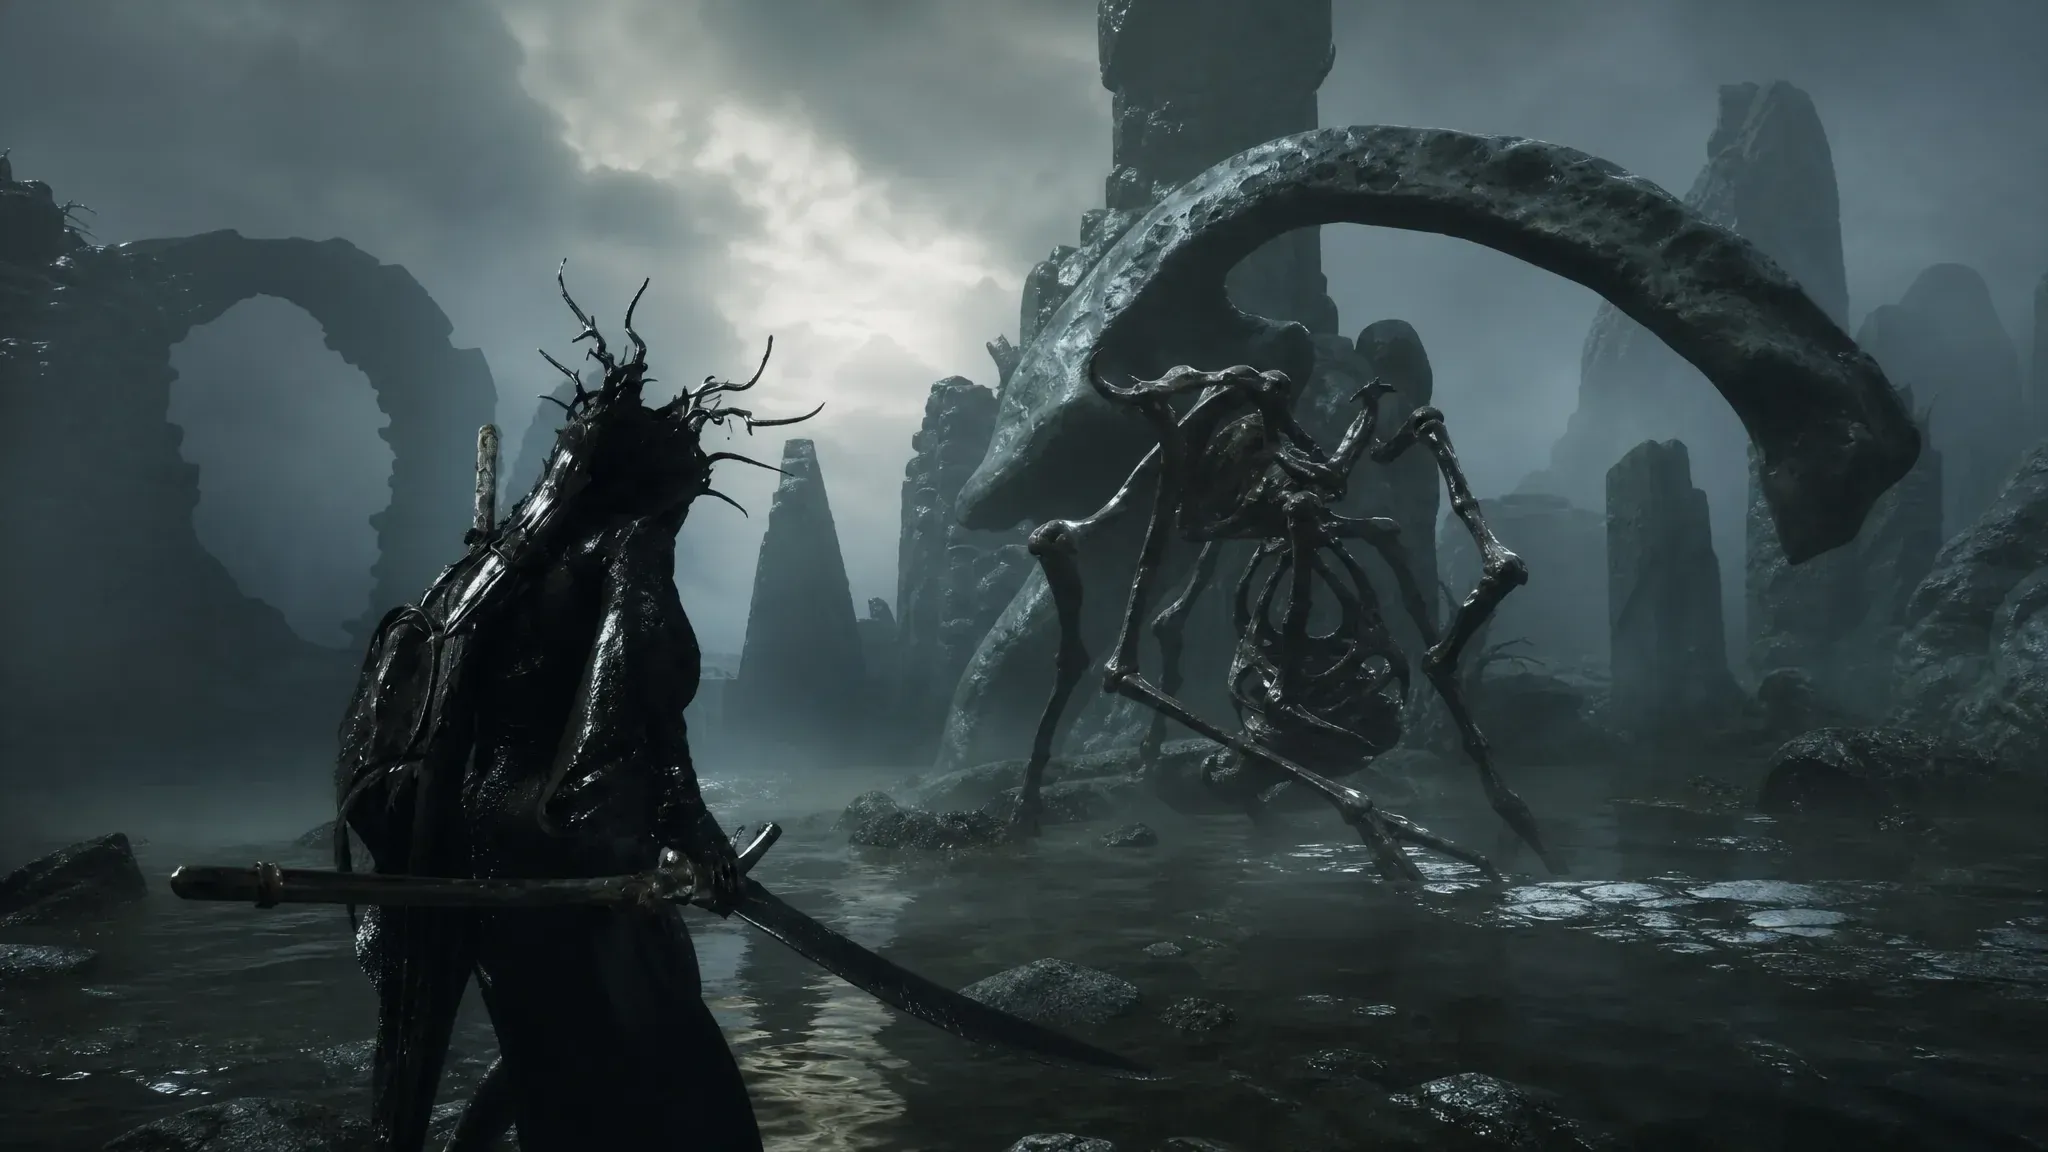


The Grisha Remnant is one of the more rewarding items to collect in Mortal Shell II, and not just because each one represents a tough fight. Collect enough of them and your Harbinger gains access to a scaling summon that grows more dangerous the more Remnants you've actually found. This guide covers every location where a Grisha Remnant drops, what each tier of the item actually does, and how to get the most out of it in combat.
What does the Grisha Remnant do?
The Grisha Remnant can be equipped as either an active or passive item on your Harbinger, and the two modes play very differently.
As an active item, it lets you directly summon a Grisha to fight alongside you. As a passive, your melee hits have a 2% chance to trigger an automatic summon. Neither option is flashy on paper, but the Tier III scaling mechanic is what makes hunting all eight sources worthwhile.
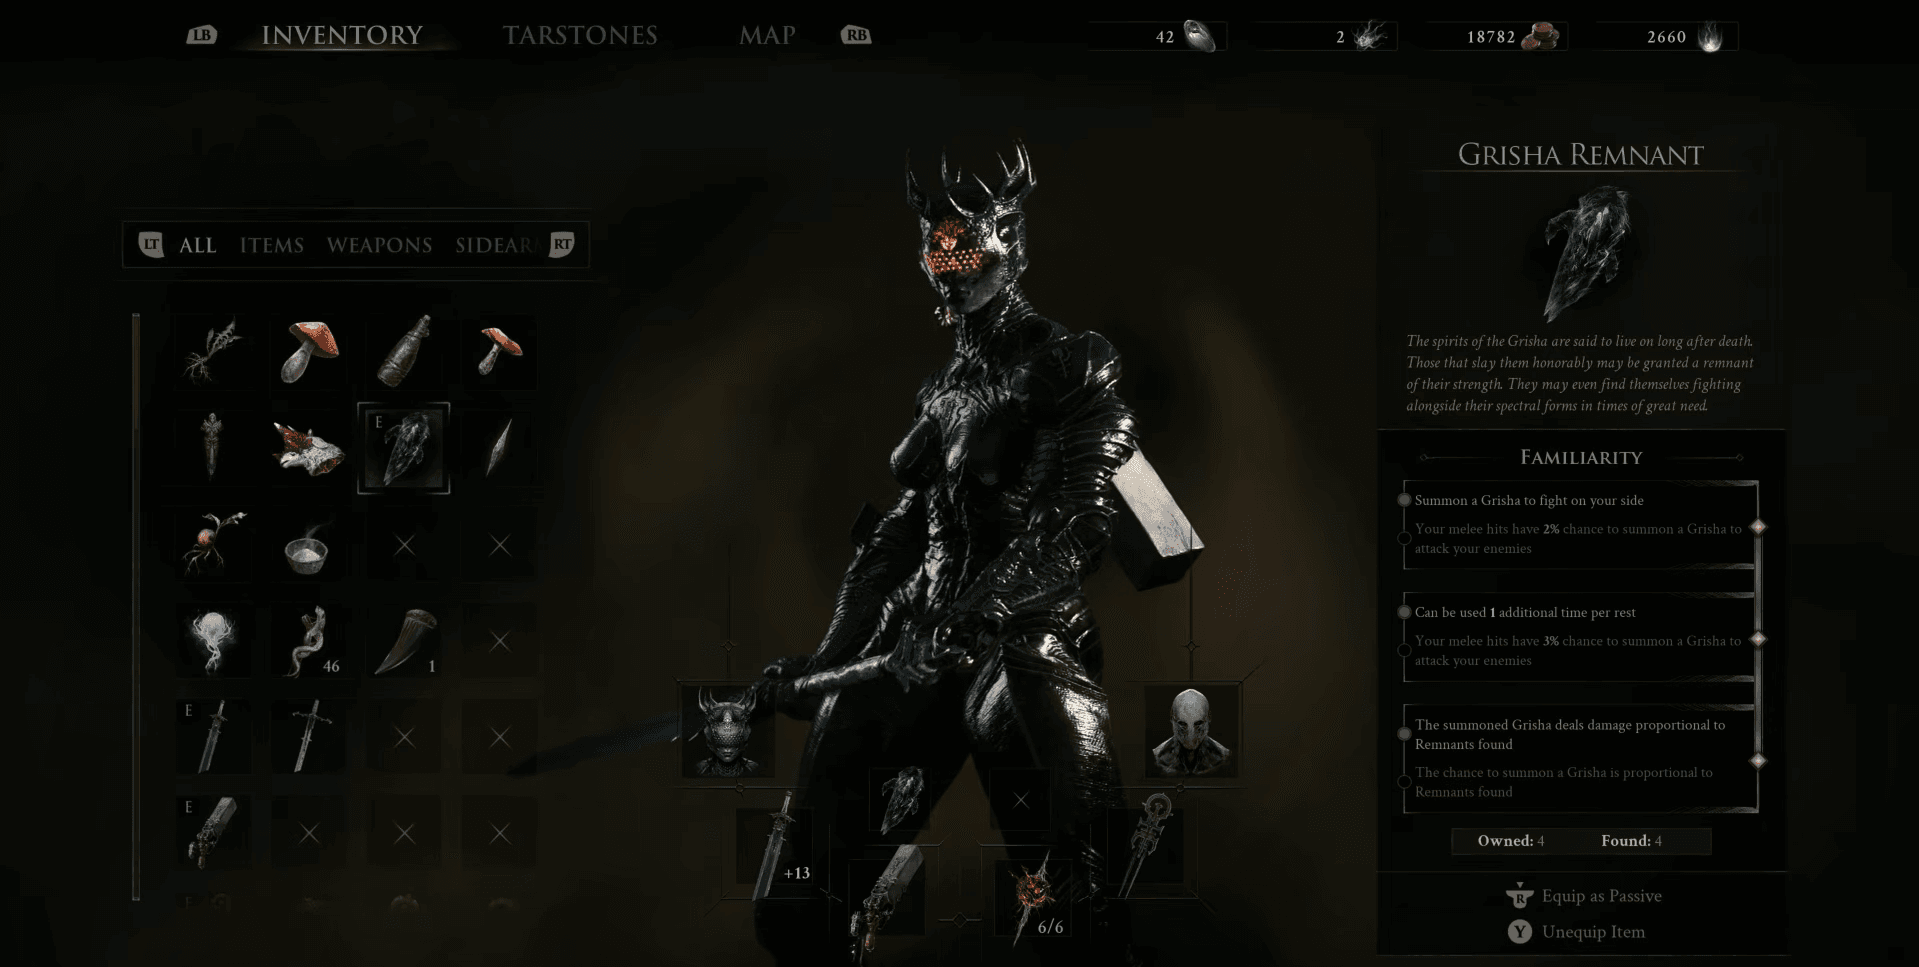
Grisha Remnant tier breakdown
For players building around summon synergies, pairing this with the right Tarstones makes a real difference. Check out the guide to the best Tarstones to get early for options that complement an ally-focused playstyle.
Where to find all Grisha Remnants
There are eight sources in total. One can be purchased outright; the rest require defeating specific Grisha enemies across different areas.
Grisha Hunter (purchase)
The fastest Remnant to grab. Head to the Mushroom Village Beacon and find the Hunter NPC nearby. He sells one Grisha Remnant for 2000 Coins. This is the only Remnant that doesn't require a fight, so pick it up whenever you have the coin to spare.
Grisha Matron (NPC choice)
This one is tied to the Grisha Pup questline. If you choose to free the Grisha Pup, a Grisha Matron will later appear at the Hunters' camp and attack you. Defeat her to collect the Remnant. The choice to free the Pup locks you into this encounter, so keep that in mind if you're planning around it.
Pale Grisha (Grisha Hunting Grounds)
Head to the Grisha Hunting Grounds and defeat the Pale Grisha found there. Straightforward fight with no prerequisite conditions.
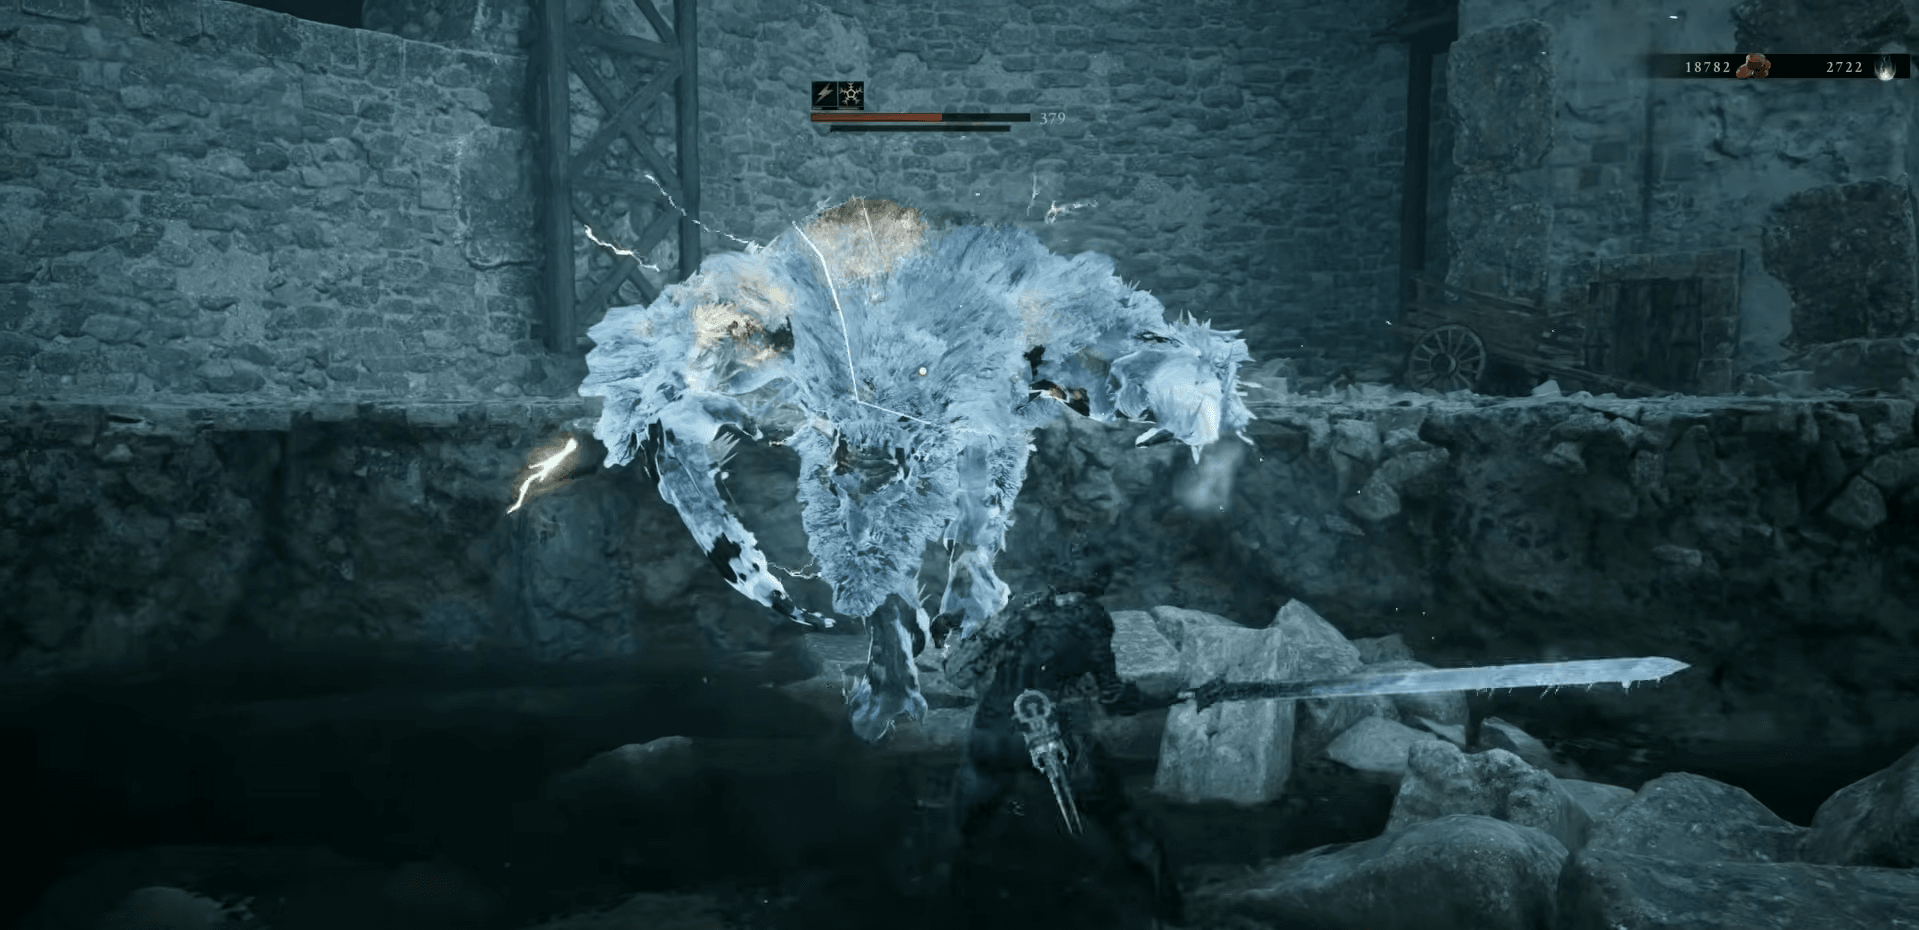
Mortal Shell 2 Grisha Remnant: All Locations & Effects [Guide]
Flooded Village Grisha (optional boss)
The Flooded Village dungeon contains an optional Grisha boss. This one is easy to skip if you're rushing through the dungeon, so make a point of tracking it down before you leave.
Rabid Grisha Pack (Holding Cells Dungeon)
This source gives you two Grisha Remnants at once, plus the Inflamed Clawstone. The Holding Cells Dungeon contains two Grishas that must be defeated together. It's the most efficient single stop for Remnant farming since you get a pair from one run.
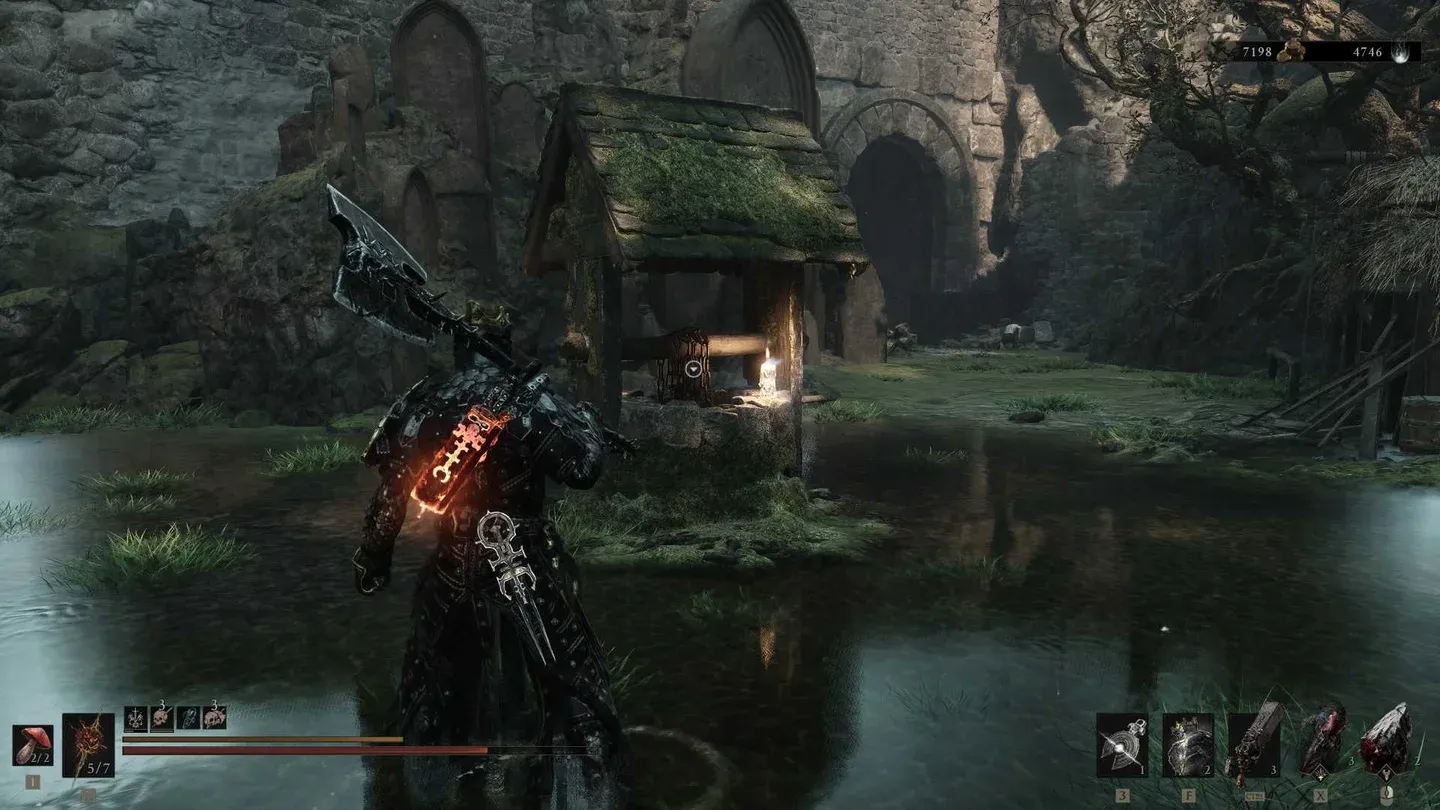
Two Grisha, two Remnants
Gloomshade Grove Grisha
In Gloomshade Groves, you'll find a Grisha that is already under attack by Hunters when you arrive. Defeat it to claim the Remnant. The Hunters make the fight easier, but don't count on them finishing the job.
Strange Grisha (Withered Shoals Gate)
Find the Strange Grisha near Ossinite Falls in the Withered Shoals Gate area. This one is slightly off the beaten path, so check around the falls rather than following the main route through the gate.
Caged Grisha (Winterglass Lake Beacon)
Inside the Winterglass Lake Beacon, a Caged Grisha is waiting. Defeating it rewards both a Grisha Remnant and the Fusillade Stone, making this one of the better fights for double rewards.
How to use the Grisha Remnant effectively
Equip the Remnant in your active slot when you want reliable on-demand summons during tough fights or boss encounters. The passive slot works better for aggressive melee builds where you're landing hits constantly, letting the proc chance fire organically without burning a dedicated active slot.
The Tier III damage scaling is the real reason to collect every source. A summoned Grisha with maximum Remnants behind it hits noticeably harder than the base version, and the passive proc rate becomes meaningful rather than negligible. Treat the full collection as a long-term build investment rather than a mid-game power spike.
If you're still deciding which Shell to run alongside a summon build, the best Shells to unlock early guide covers which warriors complement an ally-dependent playstyle from the start.
For everything else the game has to offer, the full Mortal Shell II guide collection has you covered on weapons, upgrades, and progression.