Search games, articles, guides...CtrlK
Sign InGet Started
Rank every Seal in Mortal Shell 2, from the S-tier Untarnished Seal to Vatra's Seal, with parry tips and build pairings.

Written by Larc
Content Writer
See more GAMES.GG guides on Google
Add us as a preferred source and our guides show up first in your results.
Mortal Shell 2 Best Shells Tier List: All Shells Ranked
Every Shell in Mortal Shell 2 ranked by damage, survivability, and ease of use, with locations and key abilities explained.
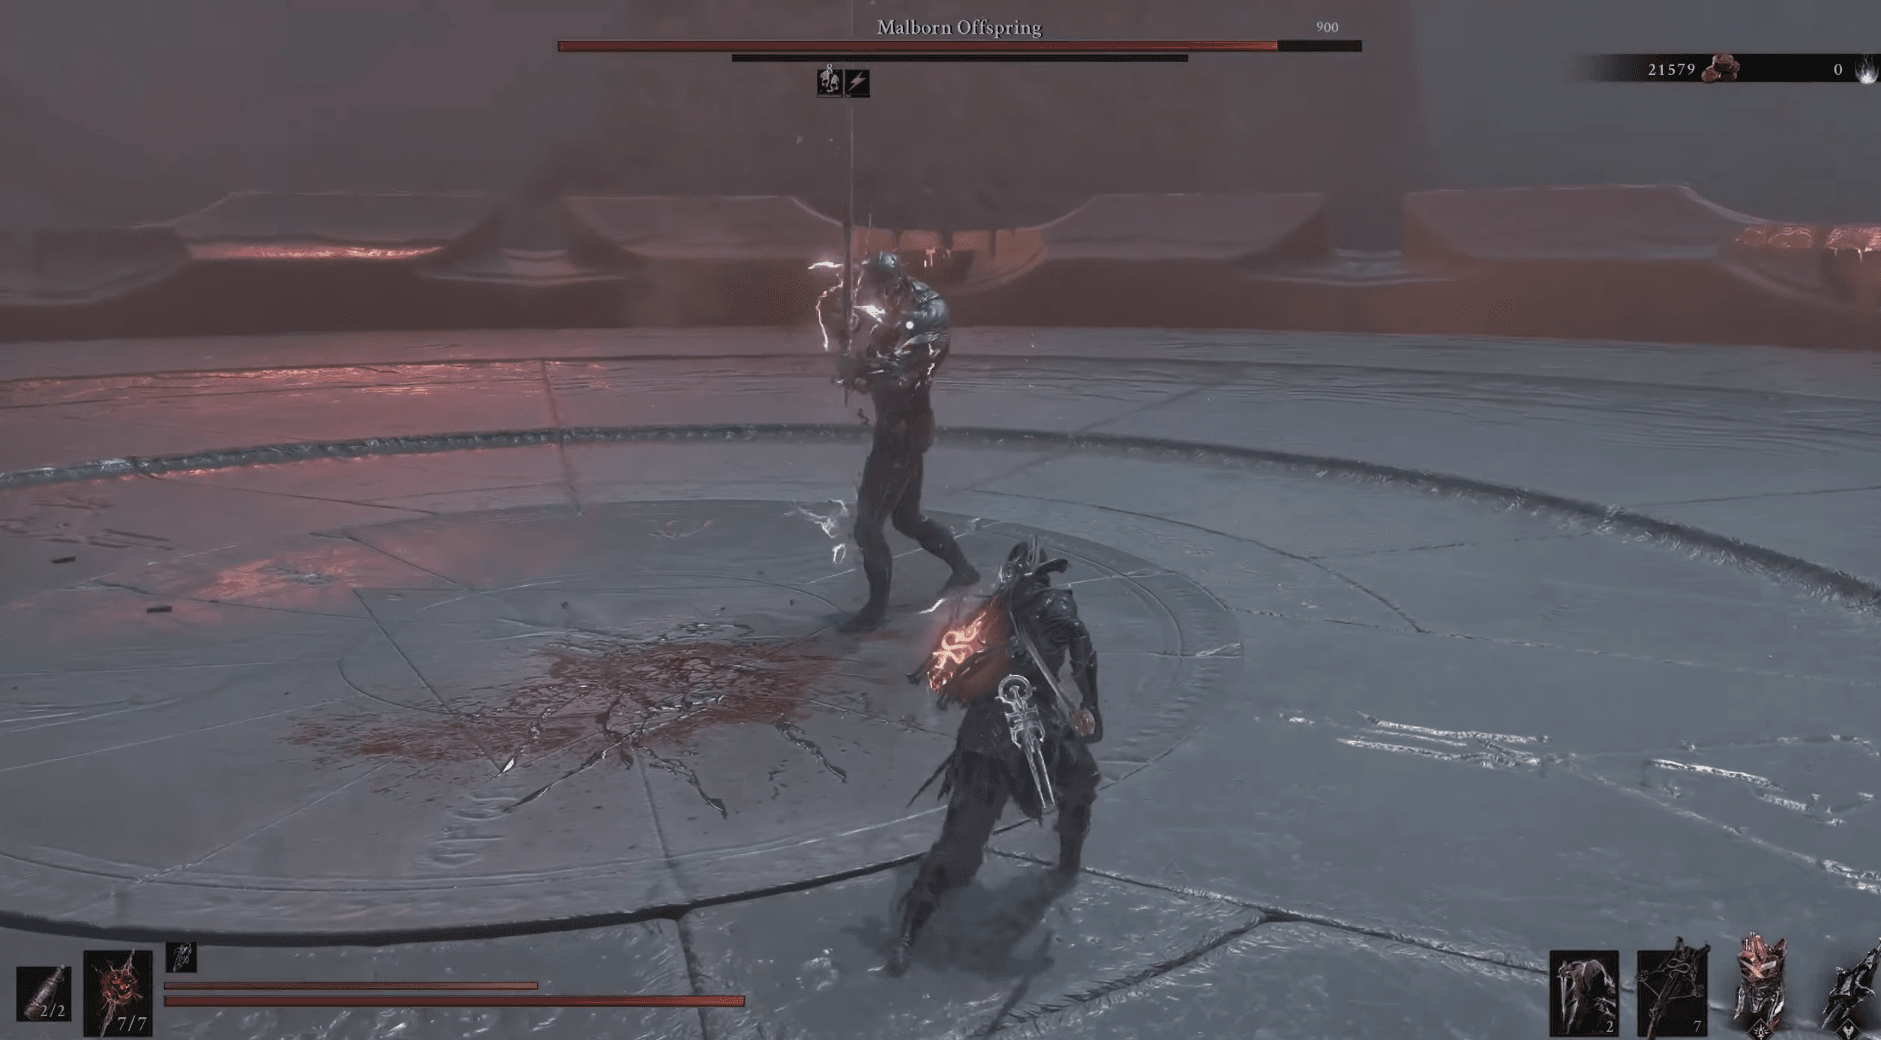
Mortal Shell 2 Boss Guide: How to Beat Malborn Offspring
Conquer Malborn Offspring's two-phase fight in Mortal Shell 2 with the right gear, dodge directions, and Break damage strategy.

Mortal Shell 2 Guide: How to Find Grimorium Obscurum in Forbidden Archives
Find the Grimorium Obscurum, survive the Gloombound Wraith, and clear the Forbidden Archives dungeon in Mortal Shell 2.
Seals are the backbone of combat in Mortal Shell II. Every successful parry runs through whichever Seal you have equipped, and picking the wrong one early can make an already punishing game feel borderline unfair. The good news: there are only 4 Seals in the game, which makes the decision manageable. The bad news: two of them are significantly better than the other two, and one has a hidden catch that could block you from certain achievements.
Seals are equippable parry tools that define how your defensive actions work in combat. Your base tool, the Tarnished Seal, functions as a standard parry mechanism that requires precise timing rather than holding a button for passive damage reduction. Each of the four Seals you find throughout the game slots into this system and modifies what happens when you land a successful parry, specifically how much Break Damage you apply to enemies and how forgiving the parry window is.
The parry system revolves around building and spending a Resolve meter. Landing attacks fills Resolve, and a successful parry with sufficient Resolve triggers your Seal's effect, which can range from applying heavy Break Damage to outright staggering nearby enemies. Different Shell archetypes build Resolve at different rates: agile Shells fill the meter quickly through rapid light attacks, while heavier Shells require slower, deliberate strikes to reach the same threshold.
Here is every Seal ranked from best to worst, based on combat effectiveness and ease of use.
| Seal | Tier | Parry Window | Key Trait |
|---|---|---|---|
| Untarnished Seal | S | Standard | Perfect Guard, consistent Break Damage |
| Slayer Seal | A | Standard | Strongest raw effect, blocks achievements |
| Infinite Seal | A | Smaller | Higher Break Damage, requires veteran timing |
| Vatra's Seal | B | Standard | Only blocks 1 hit, has cooldown |
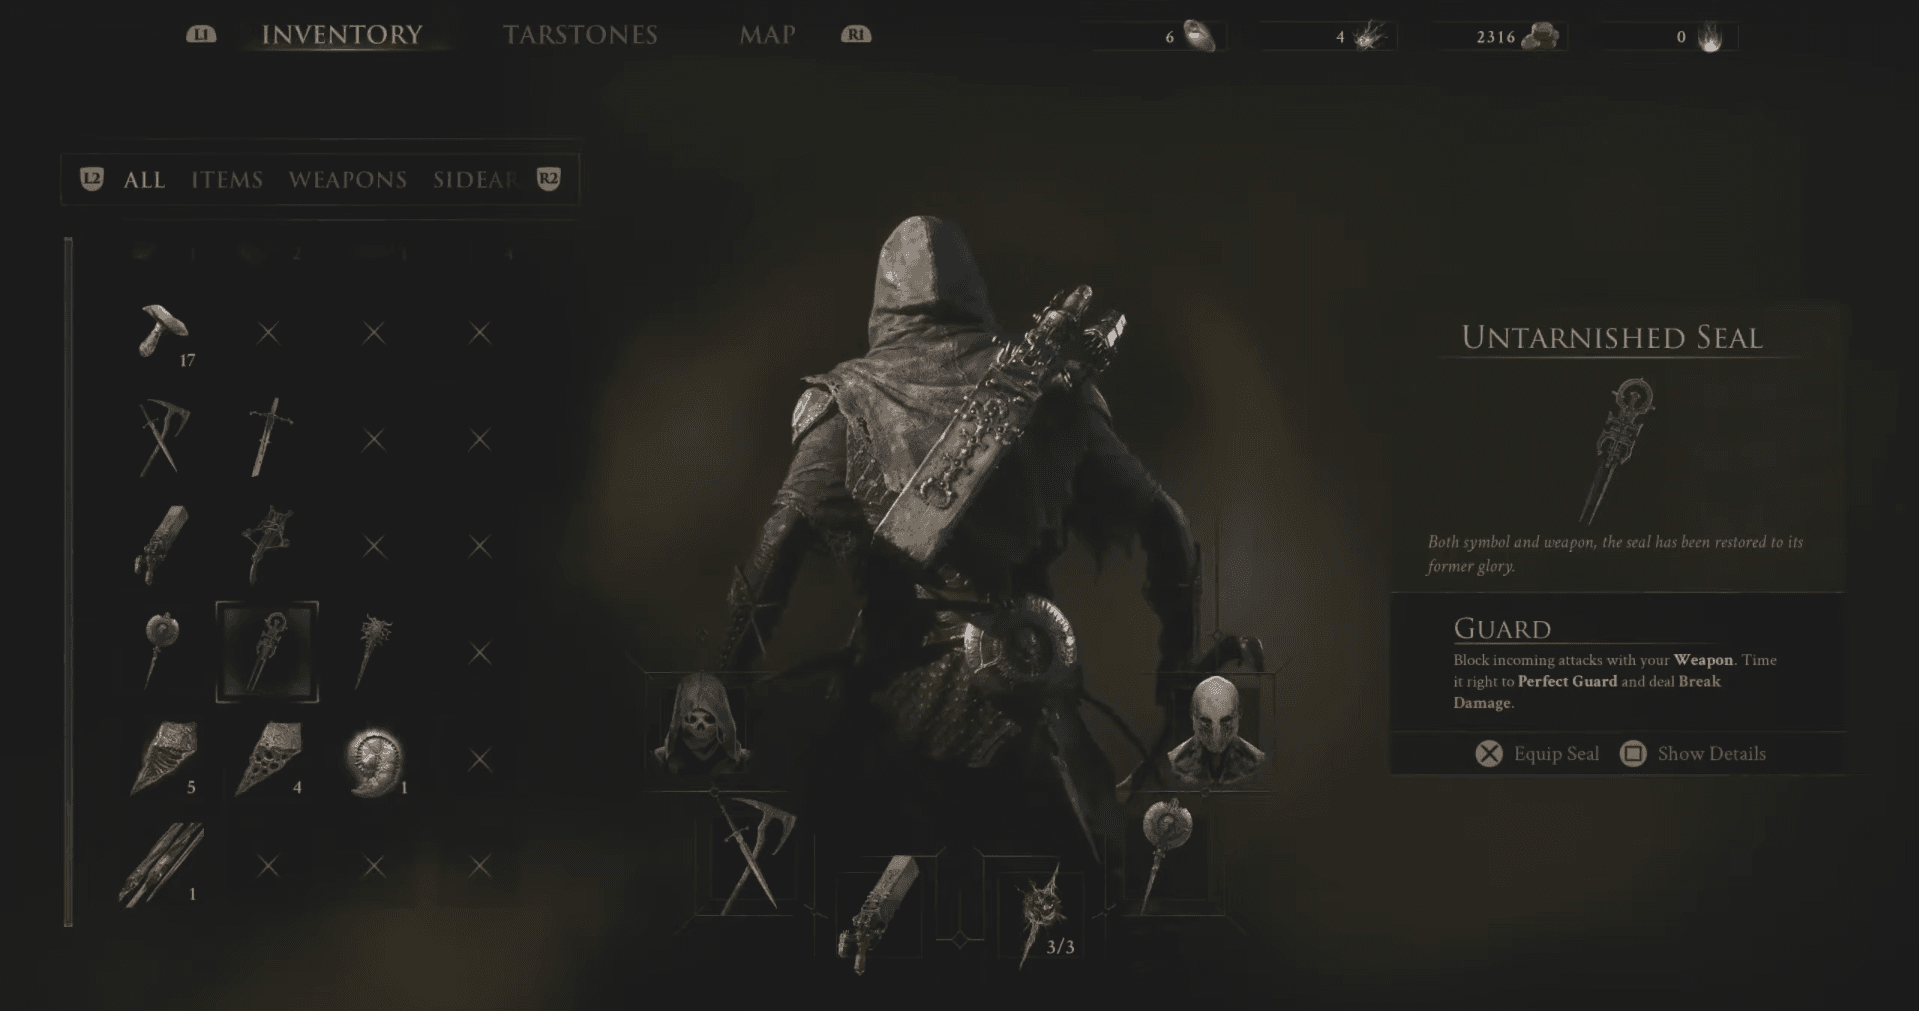
The Untarnished Seal is the first Seal you receive in the game, and it remains the best option to run through to the endgame. Its Perfect Guard mechanic lets you effectively apply Break Damage and nullify an incoming attack simultaneously. Holding the Guard button also blocks incoming hits for as long as your stun bar remains empty, which gives you a safety net that the other Seals simply do not provide.
The combination of a standard parry window, consistent Break Damage output, and the sustained blocking option makes this Seal the most reliable choice across all Shell archetypes and difficulty levels. There is no achievement penalty for using it, no timing tax, and no situational asterisk. It just works.
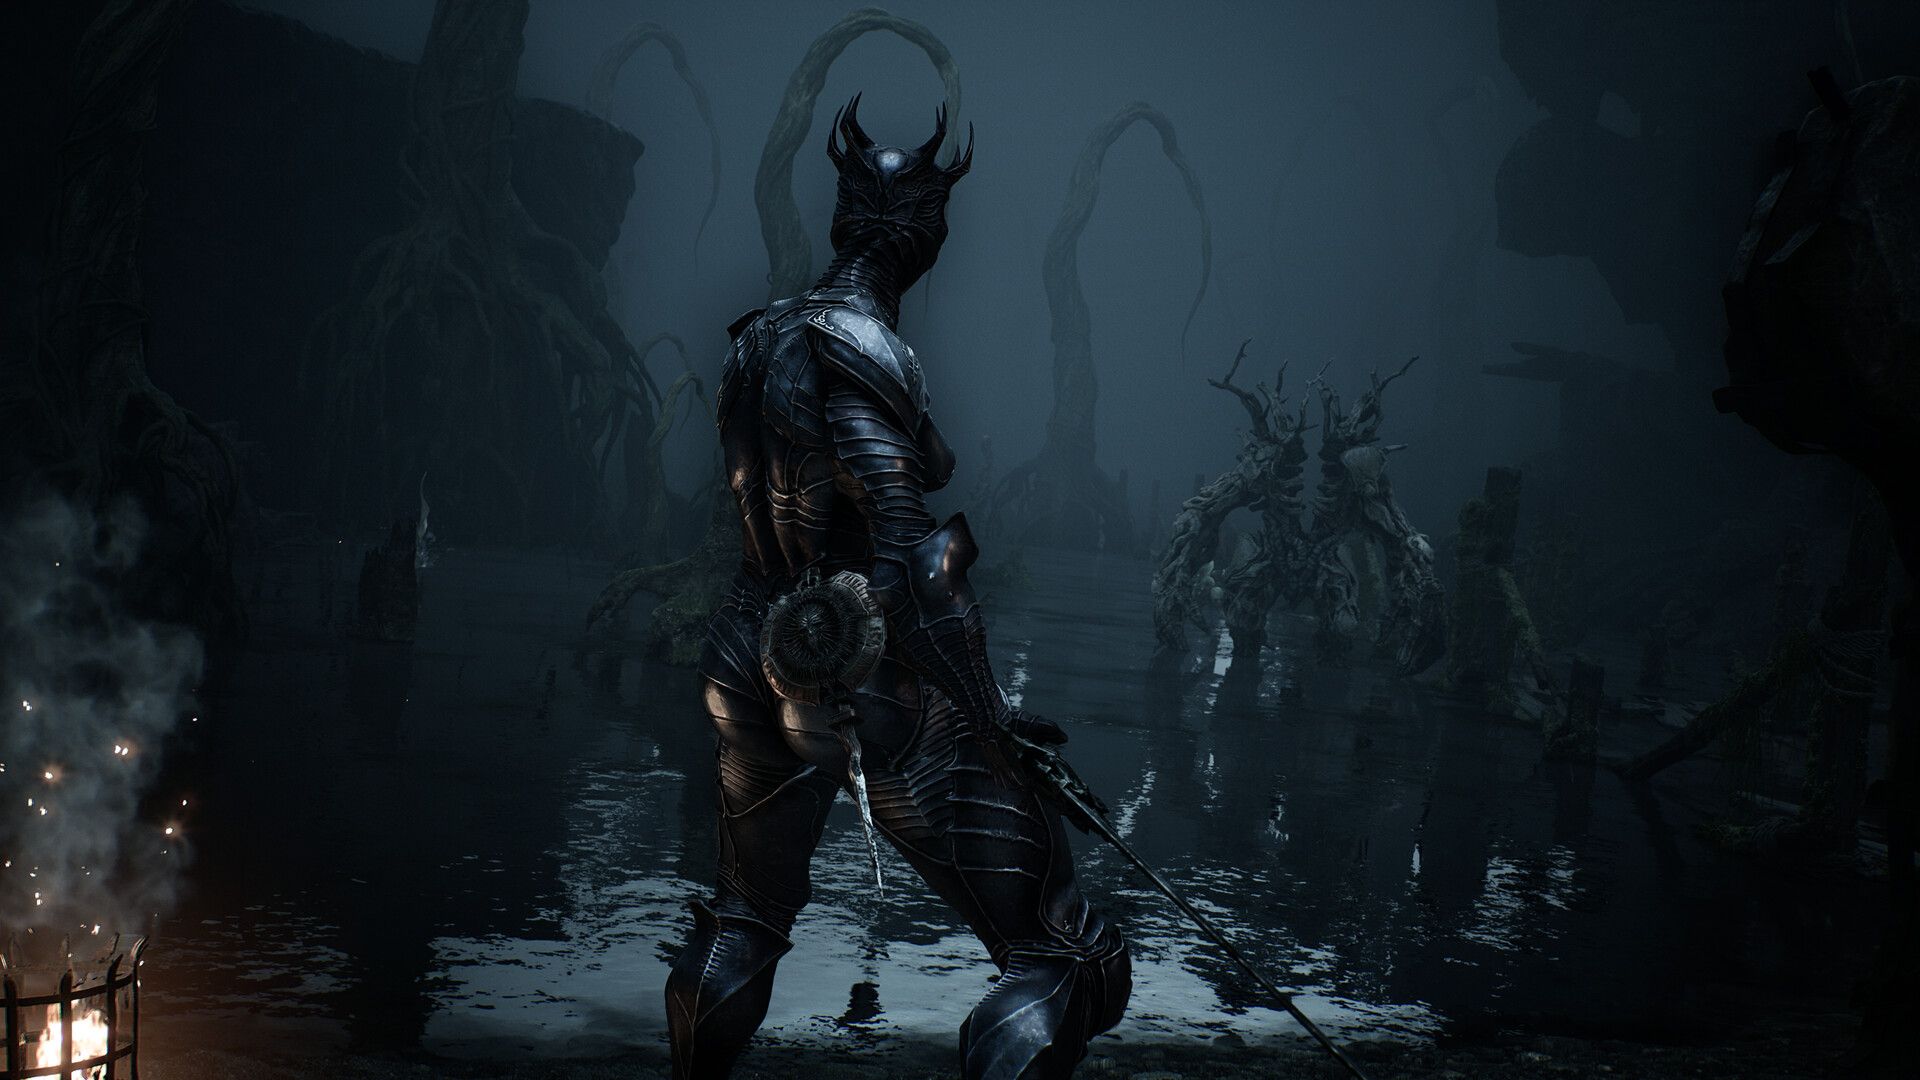
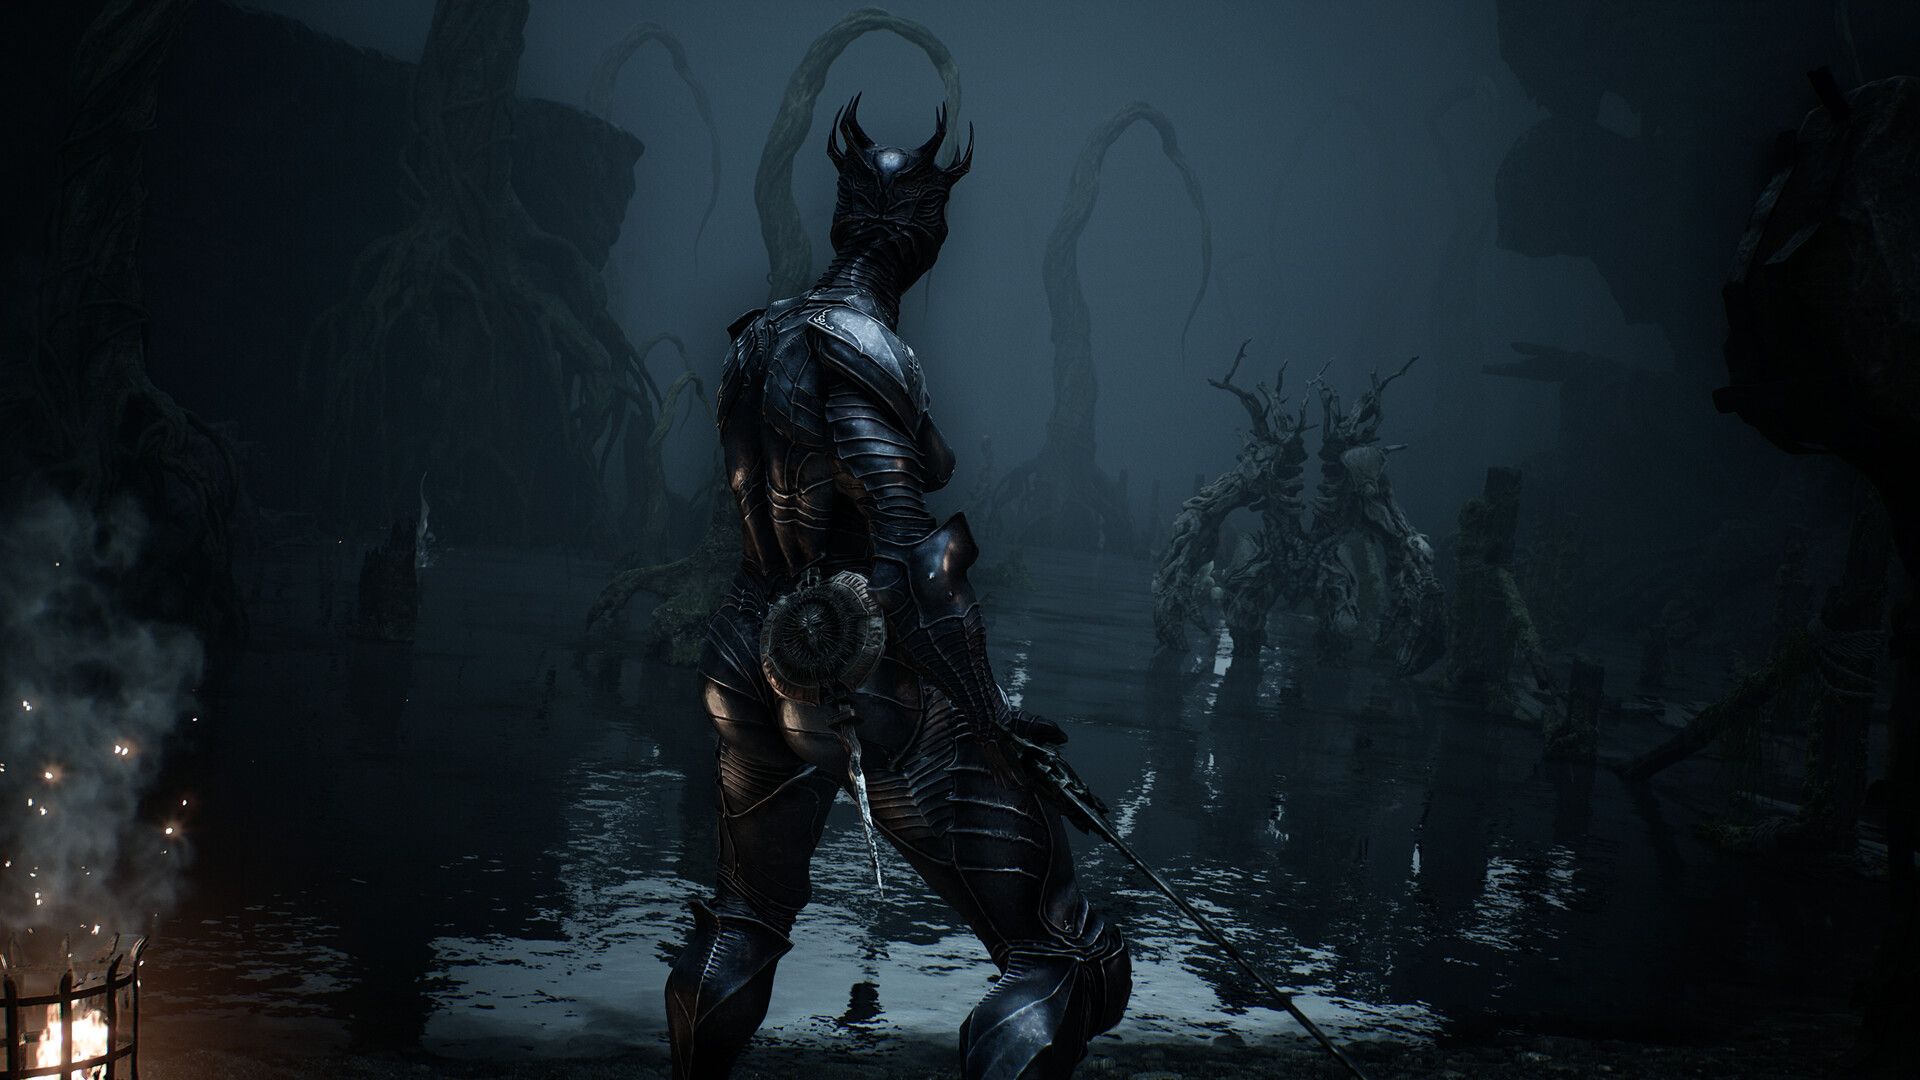
Mortal Shell 2 Best Seals Tier List: All Seals Ranked
The Slayer Seal technically has the strongest effect in the entire game. If raw power is your only consideration and you have no interest in achievements, this is the better pick over the Untarnished Seal. The catch is significant: equipping and using the Slayer Seal will block you from obtaining certain achievements. That caveat alone drops it out of S tier for most players, but if you are on a pure power run with no trophy ambitions, it earns its A ranking.
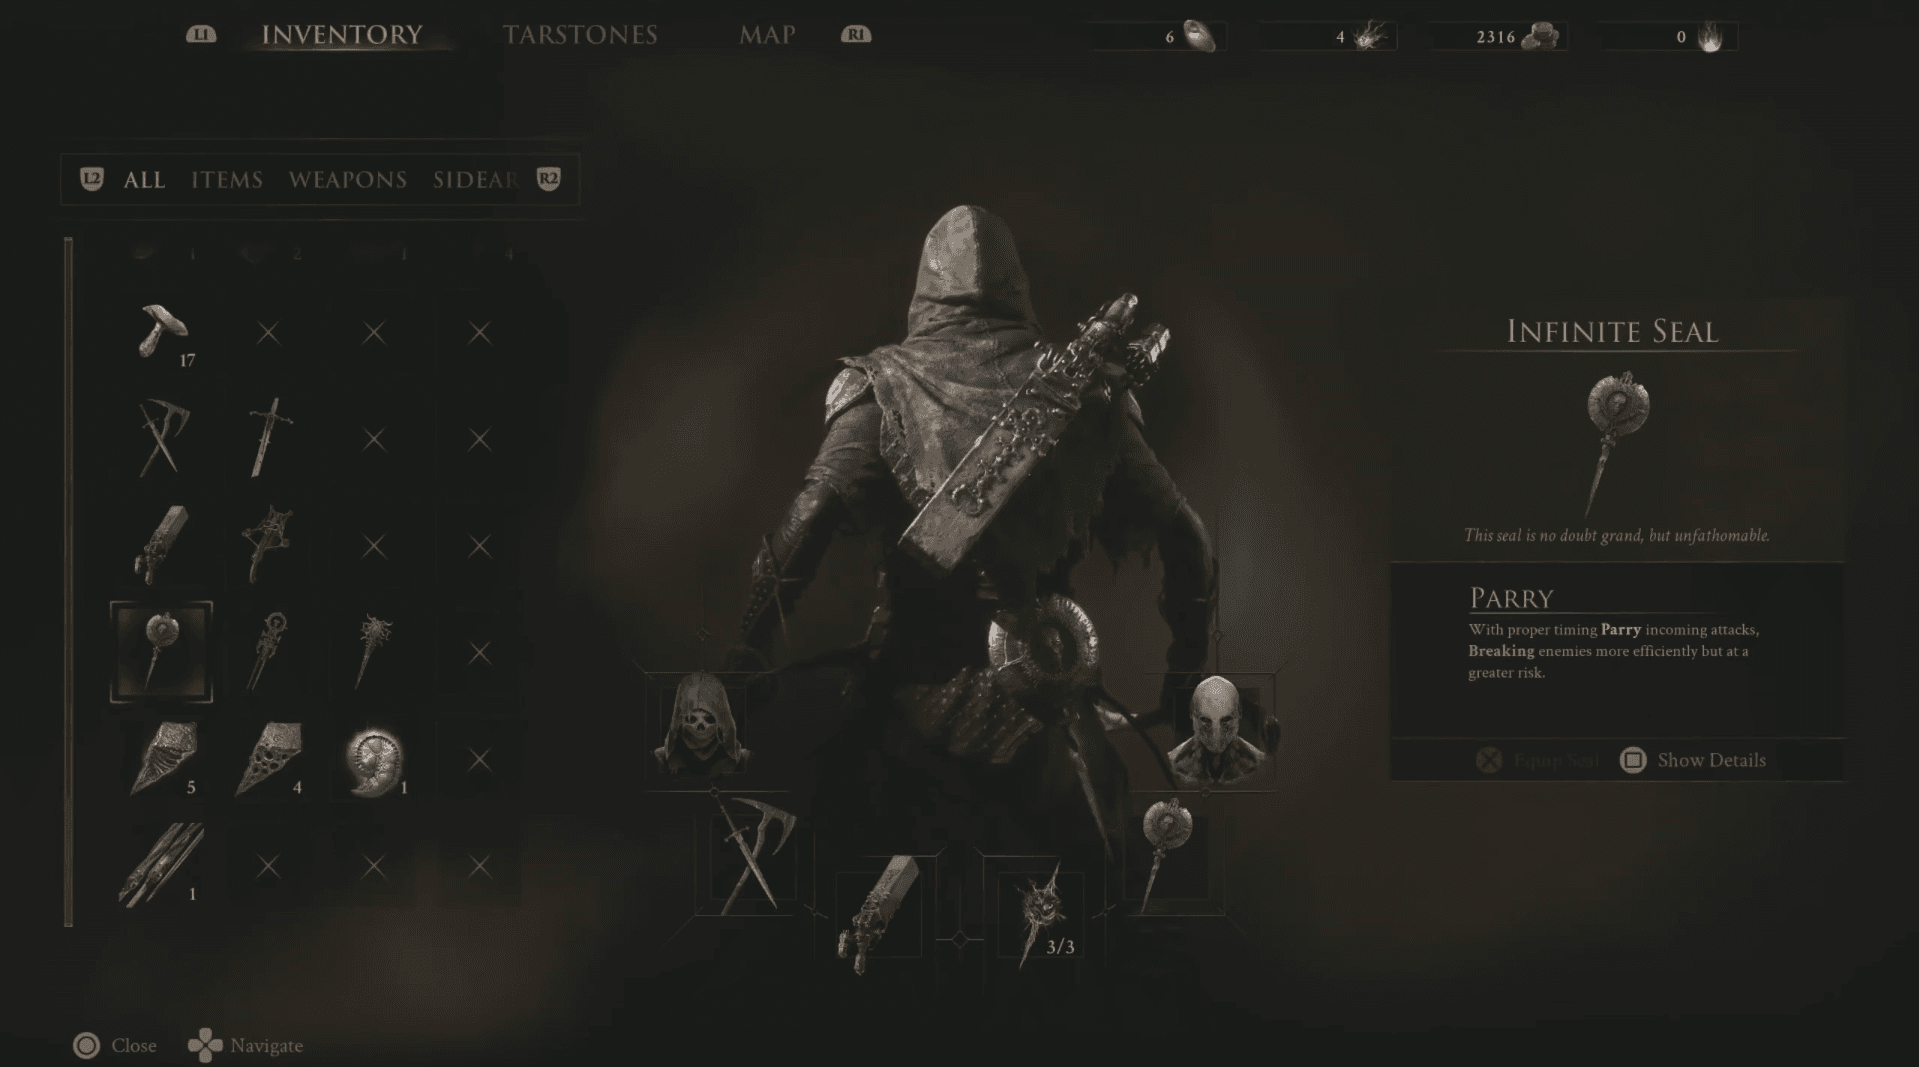
The Infinite Seal operates similarly to the Untarnished Seal but trades parry window size for higher Break Damage output. That sounds appealing on paper, and for experienced players who can consistently land parries, it genuinely is. The smaller timing window is the problem. If your parry consistency is not already high, the stronger Break Damage reward does not compensate for the increased miss rate.
This is a Seal for players who have already internalized enemy attack patterns and want to squeeze more damage out of their ripostes. Beginners and intermediate players will find the Untarnished Seal more forgiving and ultimately more effective in practice. For a deeper look at how the Infinite Seal's parry mechanics work in detail, the Mortal Shell 2 parry guide covering the Infinite Seal breaks down break meter building and riposte timing.
Mortal Shell 2 Best Seals Tier List: All Seals Ranked
Vatra's Seal is functionally similar to the Untarnished Seal, which sounds reasonable until you look at the limitations. It can only mitigate 1 attack when held, and a cooldown period follows each use. Against enemies that chain multi-hit combos, which is most of the mid and late game, that cooldown will leave you exposed at the worst possible moment. The Untarnished Seal does everything Vatra's Seal does, without the restrictions.
All four Seals are found through exploration and progression rather than purchases or crafting. The Untarnished Seal is given to you early in the game as part of normal story progression, so you will have it before any meaningful combat challenge. The remaining three Seals, including the Slayer Seal, Infinite Seal, and Vatra's Seal, are scattered across the world and require thorough zone exploration to locate.
Several Seals can be missed permanently. Extracting a boss gland triggers a world state change that locks off portions of certain areas, including chests and items left behind. Always clear a zone completely before triggering any major boss conclusion. For a full breakdown of every Shell's location and unlock method, the guide on how to unlock all Shells in Mortal Shell 2 covers zone-by-zone progression in detail.
For the vast majority of players, the answer is the Untarnished Seal from start to finish. It is the most accessible, the most consistent, and the only one with no meaningful downside. The Infinite Seal is worth switching to once you are confident in your parry timing and want to push Break Damage output further. The Slayer Seal is a legitimate option if achievements are not on your agenda.
Vatra's Seal does not have a strong use case. Its restrictions make it worse than the Untarnished Seal in almost every situation, and there is no scenario where its unique properties outweigh the cooldown penalty in actual combat.
Your Shell choice affects how quickly you build Resolve between parries, which in turn affects how often you can trigger Seal effects. Shells with rapid attack speeds generate Resolve faster and benefit more from high-cost Seal activations. If you are still deciding which Shell to run, the Mortal Shell 2 Shells tier list ranks all available options by damage output, survivability, and ease of use.
For more strategies, builds, and location guides across the full game, the complete Mortal Shell II guide collection has everything you need to push through the hardest encounters.