


Mortal Shell II puts you in the skin of fallen warriors, and finding every Shell is the single biggest thing you can do to open up your build options. There are 9 Shells total, but one (Harros) is exclusive to the prologue and permanently lost after it ends. That leaves 8 you can actually collect across the regions of Fainweald and Mammon. This guide covers every location, unlock condition, and the key abilities each Shell brings to the table.
What are Shells and why do they matter?
Shells are the bodies of fallen warriors scattered across the world. Your base form has almost no combat capability on its own, so possessing a Shell is what gives you meaningful stats and abilities. Each one plays differently, and you can swap between any you've collected at the crypts in Marrow's Keep. The variety is the point: some Shells are built for aggression, others for survivability, and a few have mechanics that completely change how you approach fights.
Because the world is open-ended, you don't have to collect Shells in any fixed order. Prioritizing exploration over fighting enemies you can't handle yet is a legitimate strategy, especially for the Shells that only require you to reach a location rather than defeat a boss.
For a sense of how much time collecting everything will take, check out how long Mortal Shell 2 takes to beat.
All Shell locations in Fainweald
Mortal Shell 2 Guide: How to Unlock All Shells
How to unlock Tiel
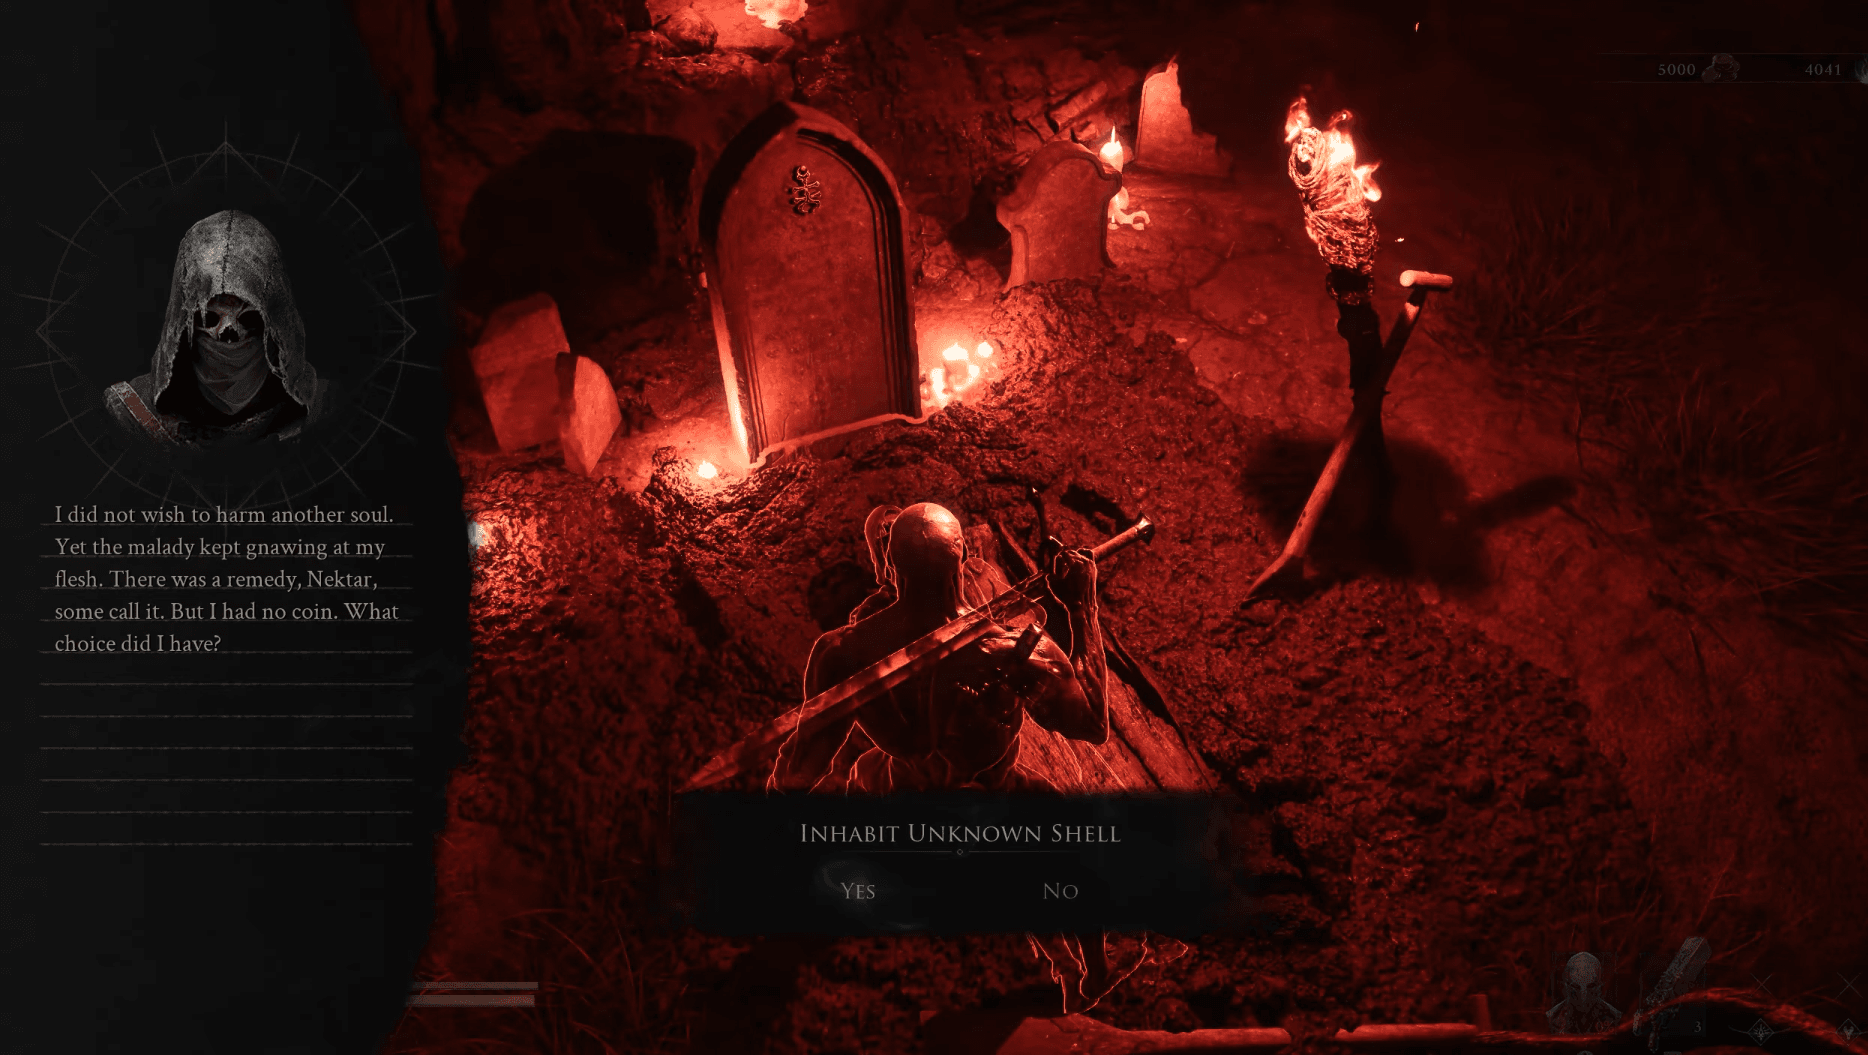
Tiel is the easiest Shell in the game to collect. Head to the Mushroom Village in Fainweald and look for a shallow grave in the yard. His body is buried there. Just interact with the corpse and he's yours.
Zhirelle at Marrow's Keep marks Tiel's location on your map when you first speak to her, so finding him is straightforward even without a guide.
Tiel's abilities:
- Lingering Shadow: Tiel gains Shadow and prepares a Shadow Strike with his dagger.
- Shadow Dash: Dashing just before taking a hit grants Shadow and inflicts Stagger Damage on the attacker.
How to unlock Proxima
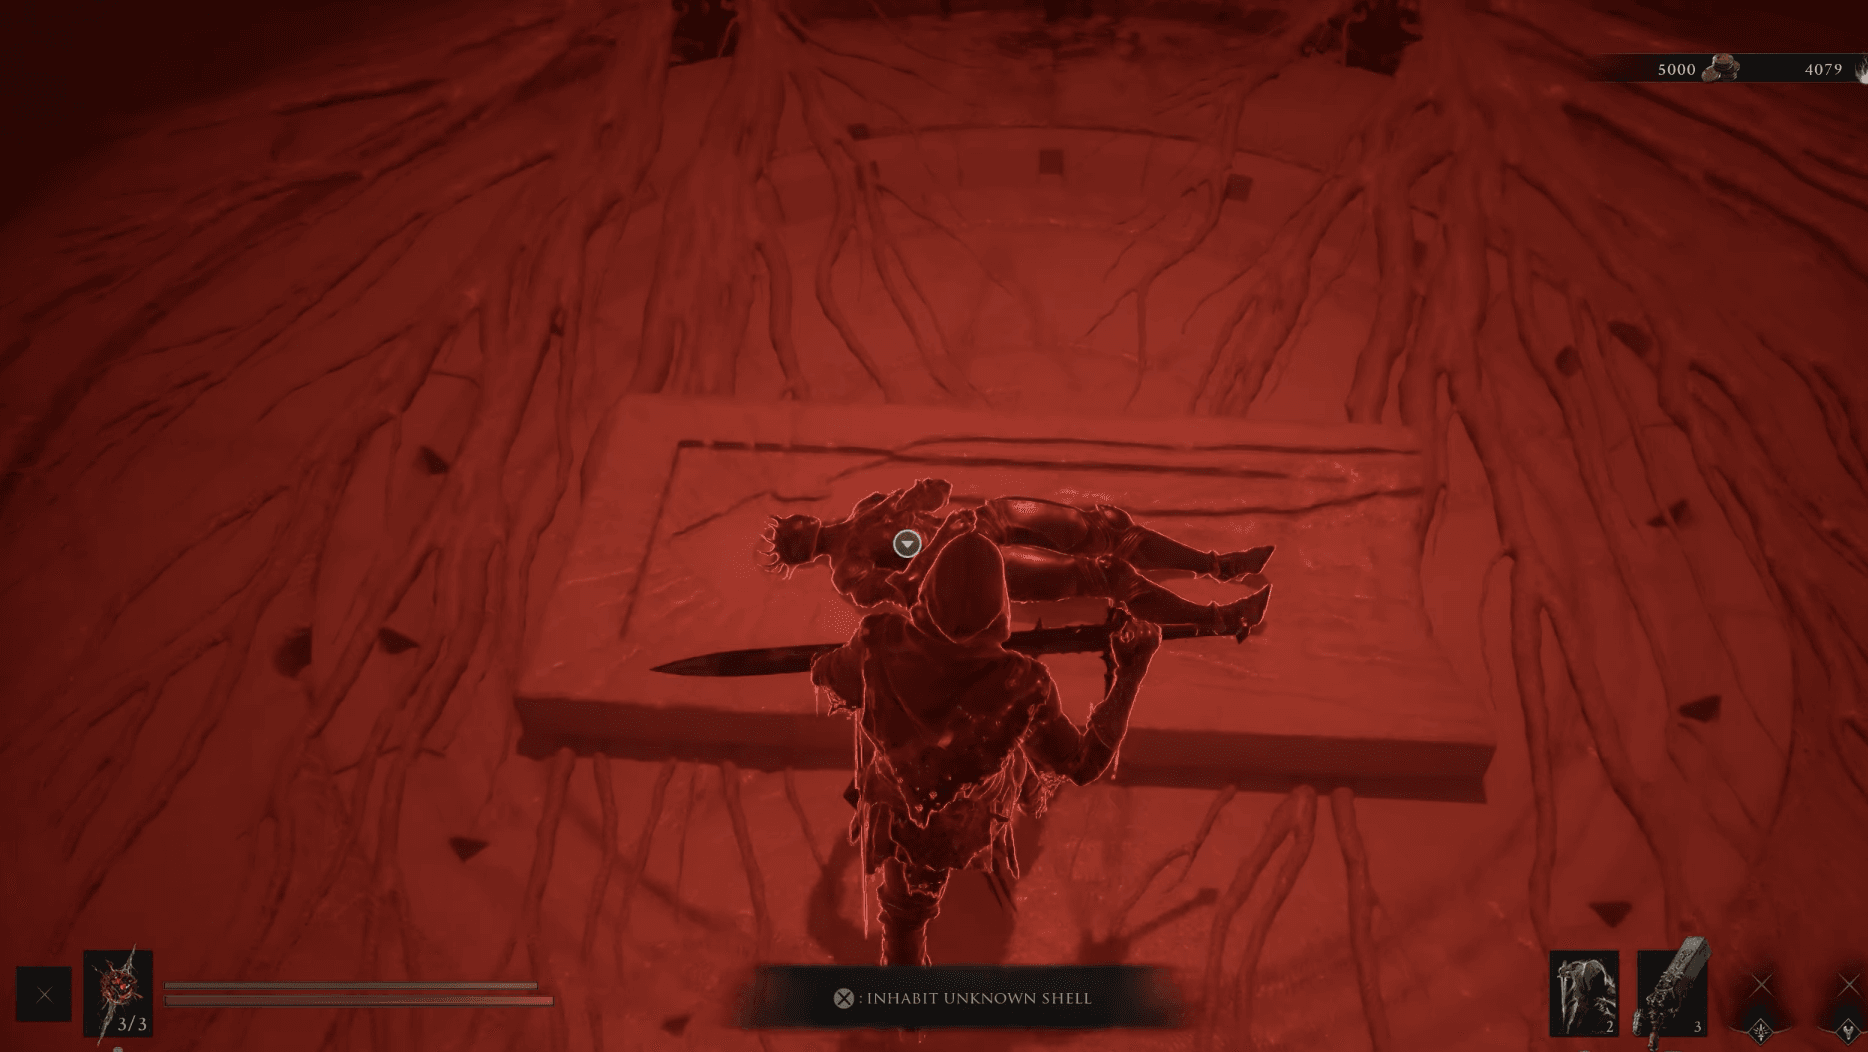
Proxima is also marked on your map by Zhirelle during your first visit to Marrow's Keep. Make your way to the Shattered Beacon in the area she highlights. Enter the Beacon and cleanse it to reveal Proxima's Shell and claim it.
The general area is marked, but the exact Beacon entrance can be tricky to spot, so explore the marked zone carefully.
Mortal Shell 2 Guide: How to Unlock All Shells
Proxima's abilities:
- Biosampler: Fires a hook from her left arm to pull enemies or herself into range, followed by a strike that inflicts Lightning.
- Grafted Armor: Grants a base 15% chance to mitigate melee or ranged damage. Mitigated hits are reduced by 50% and cannot cause stagger.
How to unlock Gragu
Gragu requires a short quest. First, reach the One-Legged Wolf Tavern on the eastern side of Fainweald. Note that this area stays locked until you've collected roughly five Ova and received the Mether's Breath power from Marrow's Keep, which lets you clear corrupted growths blocking the path.
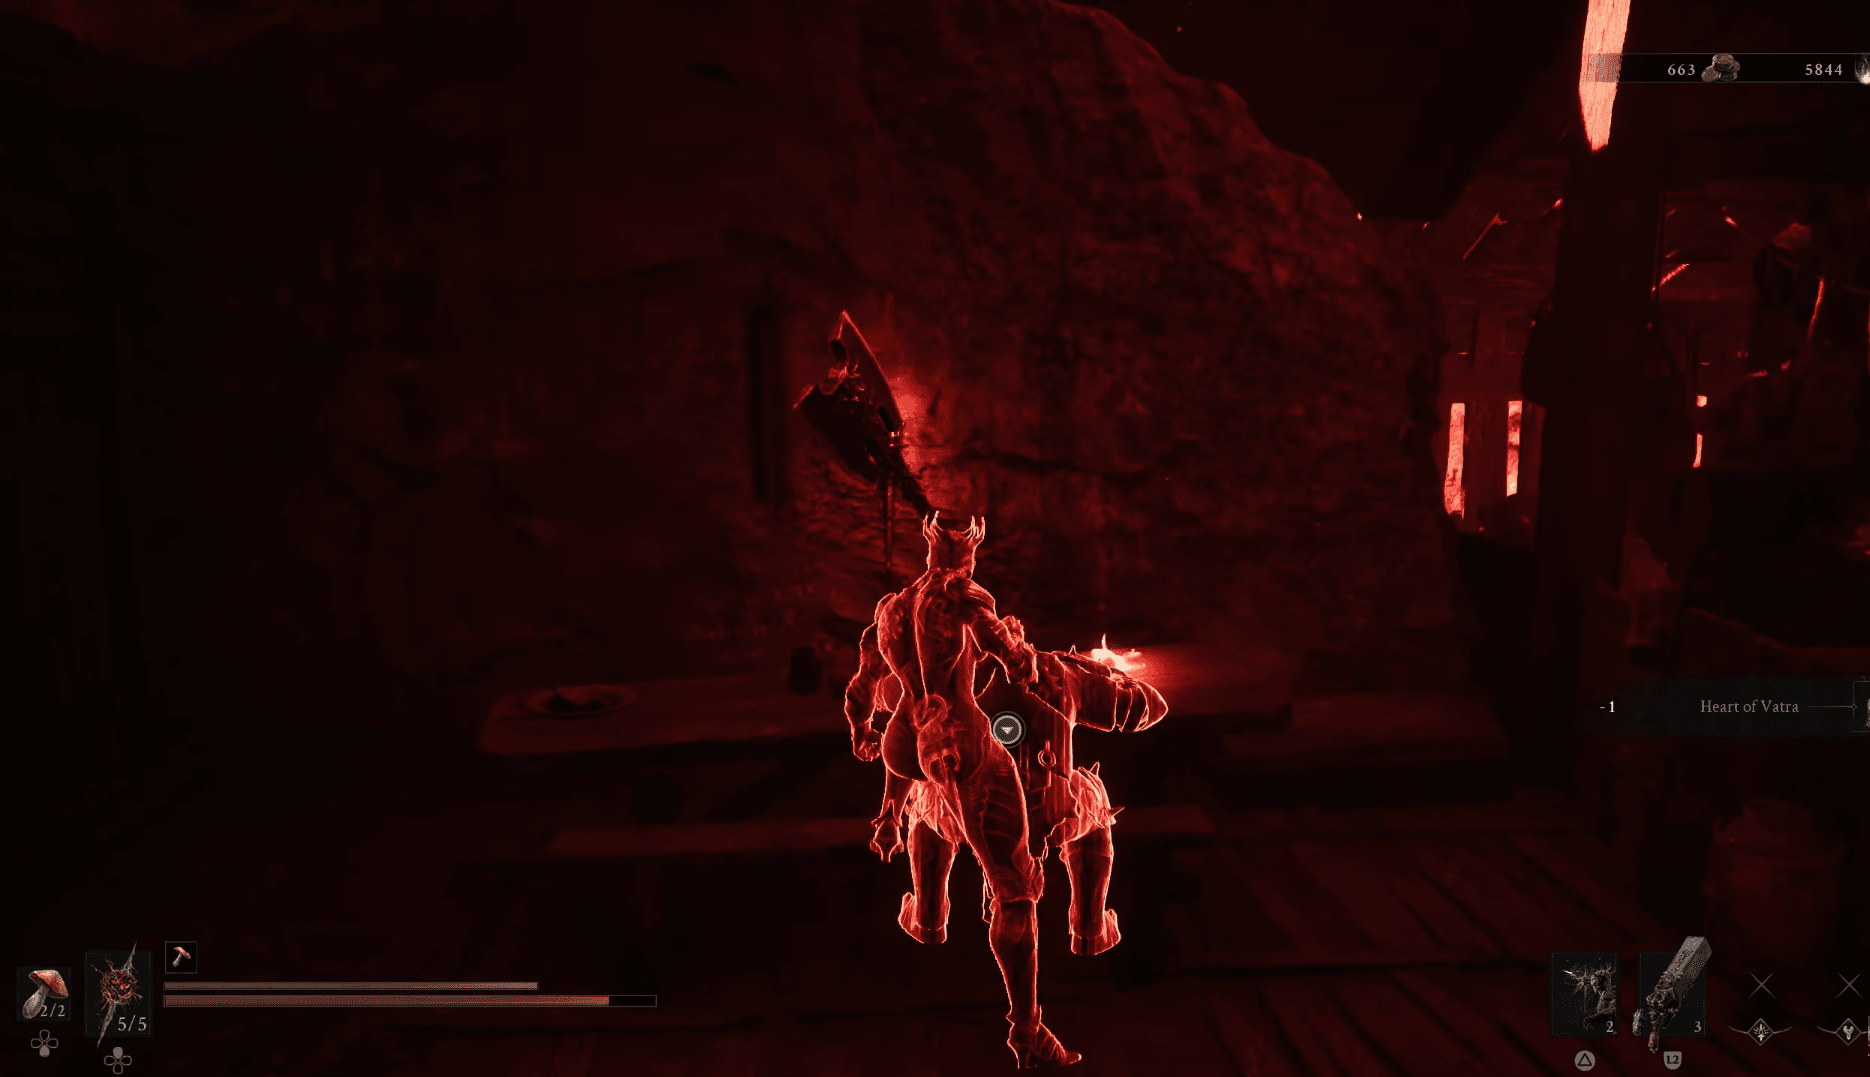
Once inside the tavern, speak to Gragu at the table near the bartender. He'll ask you to bring him the Heart of Vatra, without telling you where it is.
Head east from the tavern along the cliffside path, cross the chasm via the gateway, and push through the temple grounds to the end of the path. The Heart of Vatra sits in the hands of a statue at the top. Grabbing it releases all the petrified enemies in the area. You don't need to fight them: run back to the tavern.
Return the Heart of Vatra to Gragu. He dies immediately, and you can claim his Shell.
Mortal Shell 2 Guide: How to Unlock All Shells
Gragu's abilities:
- Staggering Blow: A charged punch that applies heavy stagger. Longer charge times deal more damage.
- Revered Heart: Restores a portion of health. Replenishes by killing enemies.
How to unlock Smert
Smert is found in the western parts of Fainweald, specifically in the Outskirts of Nochte swamplands. Once you reach his location, you'll find his body surrounded by cultists and three large circles on the ground.
Interact with each circle to make a Blood Offering, filling it with blood. After all three circles are filled, Smert's body glows and becomes claimable. The catch: each offering knocks you out of your Shell, so you must re-enter it before making the next offering.
Mortal Shell 2 Guide: How to Unlock All Shells
Smert's abilities:
- Miracle: Halts time and enters Fight Stance. Unarmed attacks during this state apply Chaos stacks that detonate for damage when time resumes. Can be pushed into Overtime at the cost of Health.
- Deadly Revelation: At 10% health or below, Smert gains Faith.
How to unlock Eredrim
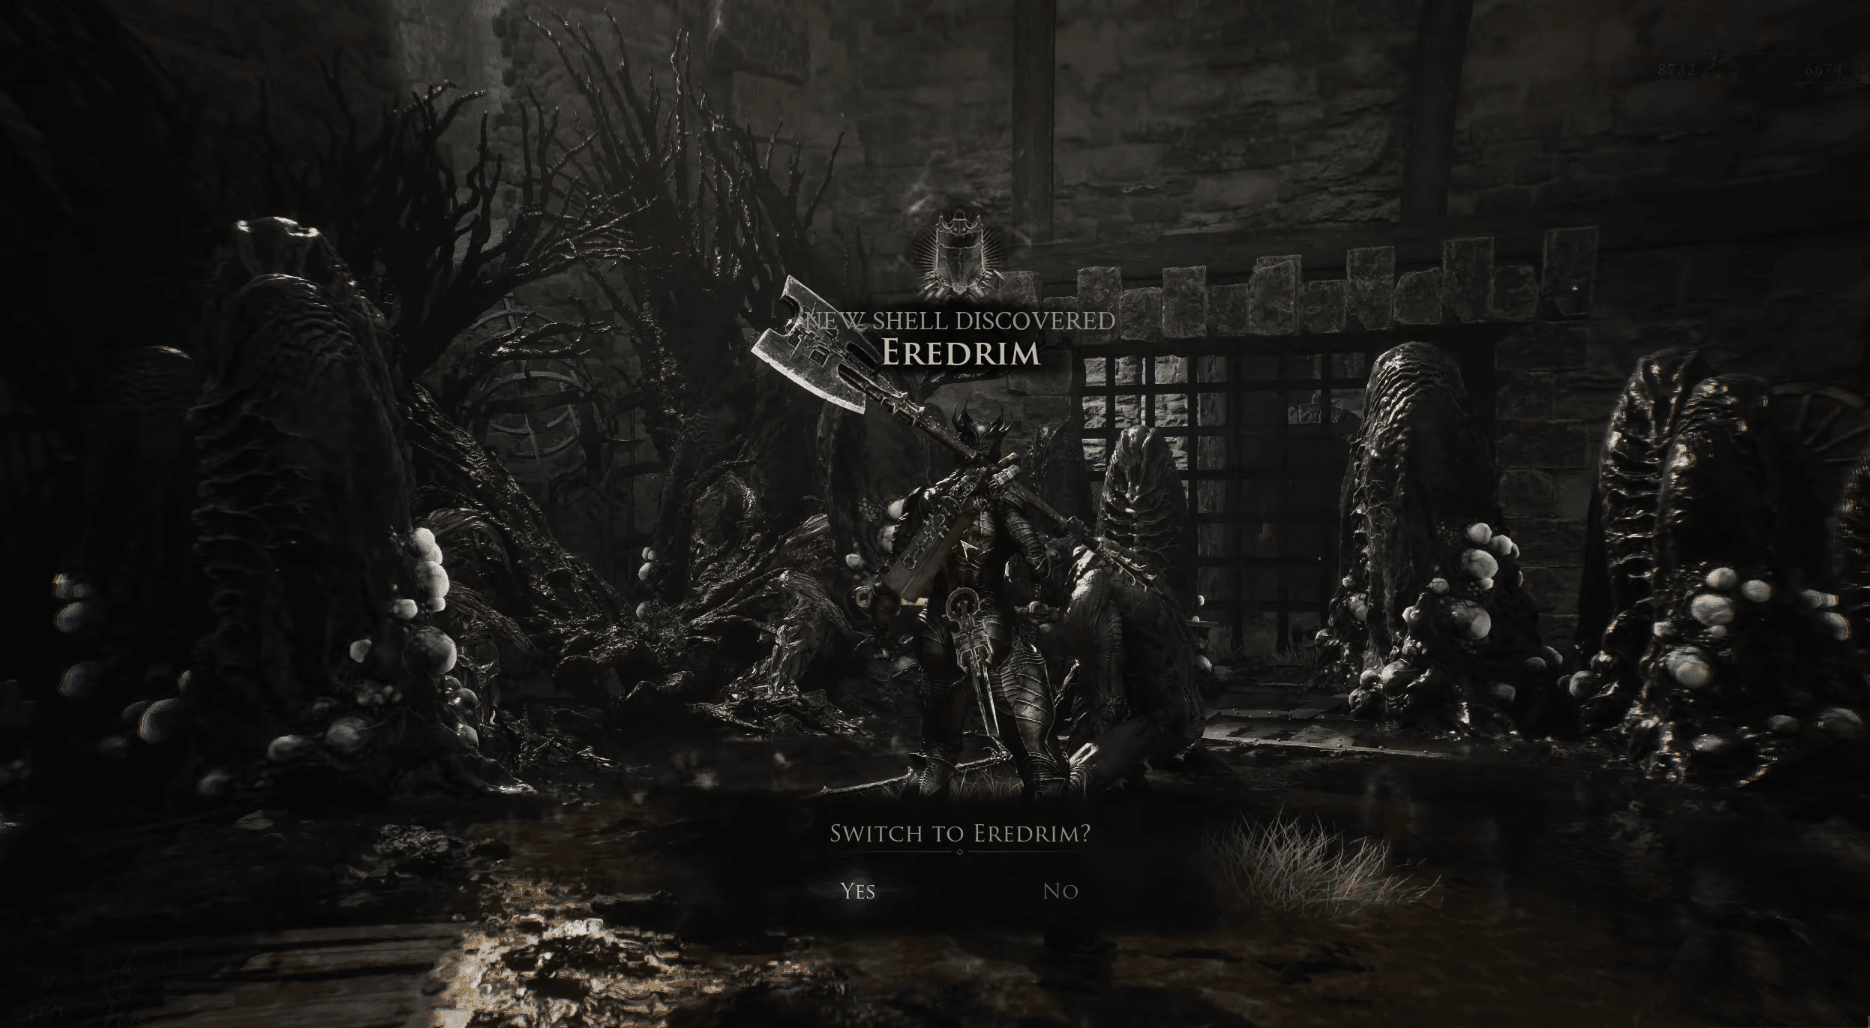
Eredrim is locked behind the Citadel of Penance, a fortress on the far west side of Fainweald. One reliable way to reach it is by interacting with a mysterious bag on the eastern side of Fainweald near the Overrun Quarry dungeon. Touching the bag teleports you directly to the Citadel.
Mortal Shell 2 Guide: How to Unlock All Shells
Once inside, work toward the center of the fortress and ride the elevator in the middle section. The floor collapses, dropping you into a fighting pit. A large enemy falls from the sky and triggers a boss fight. Defeat it and Eredrim's body appears in the arena for you to claim.
Eredrim's abilities: The source material confirms his location and unlock method but does not list specific named abilities for Eredrim beyond the boss encounter.
All Shell locations in Mammon
Mortal Shell 2 Guide: How to Unlock All Shells
How to unlock Lazlo
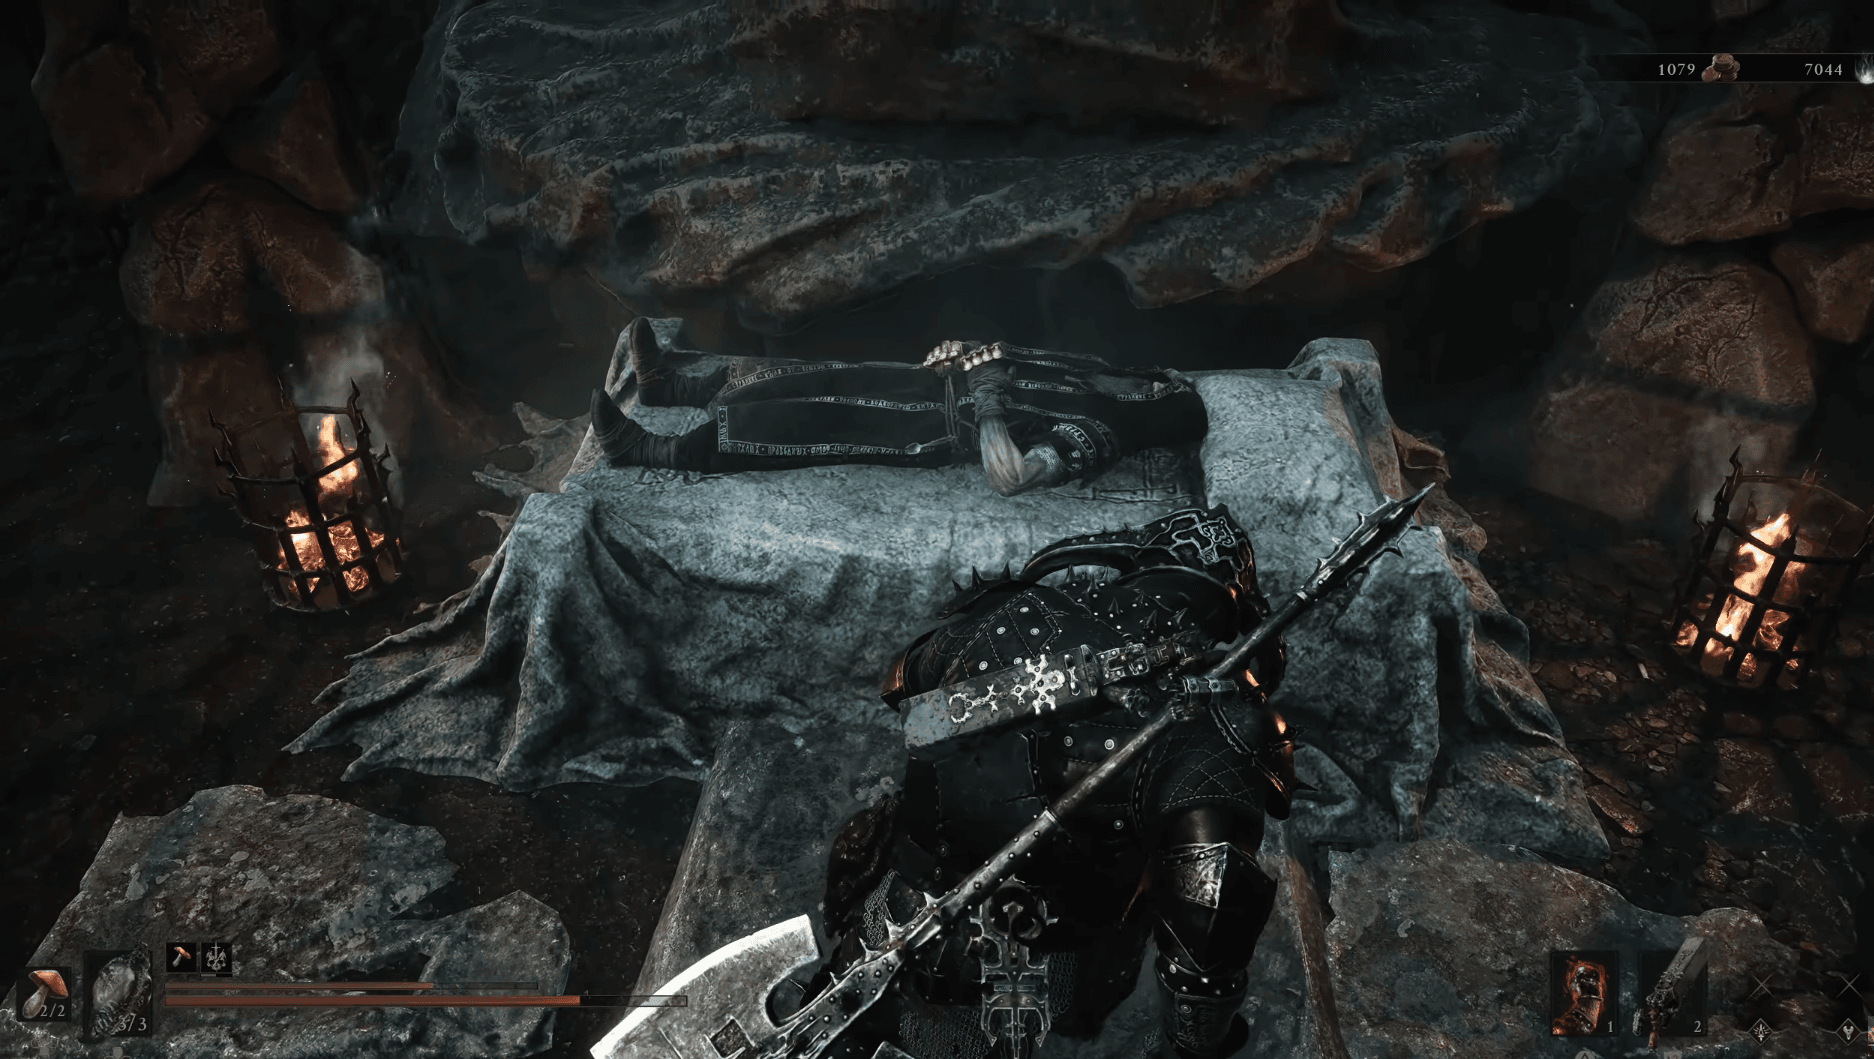
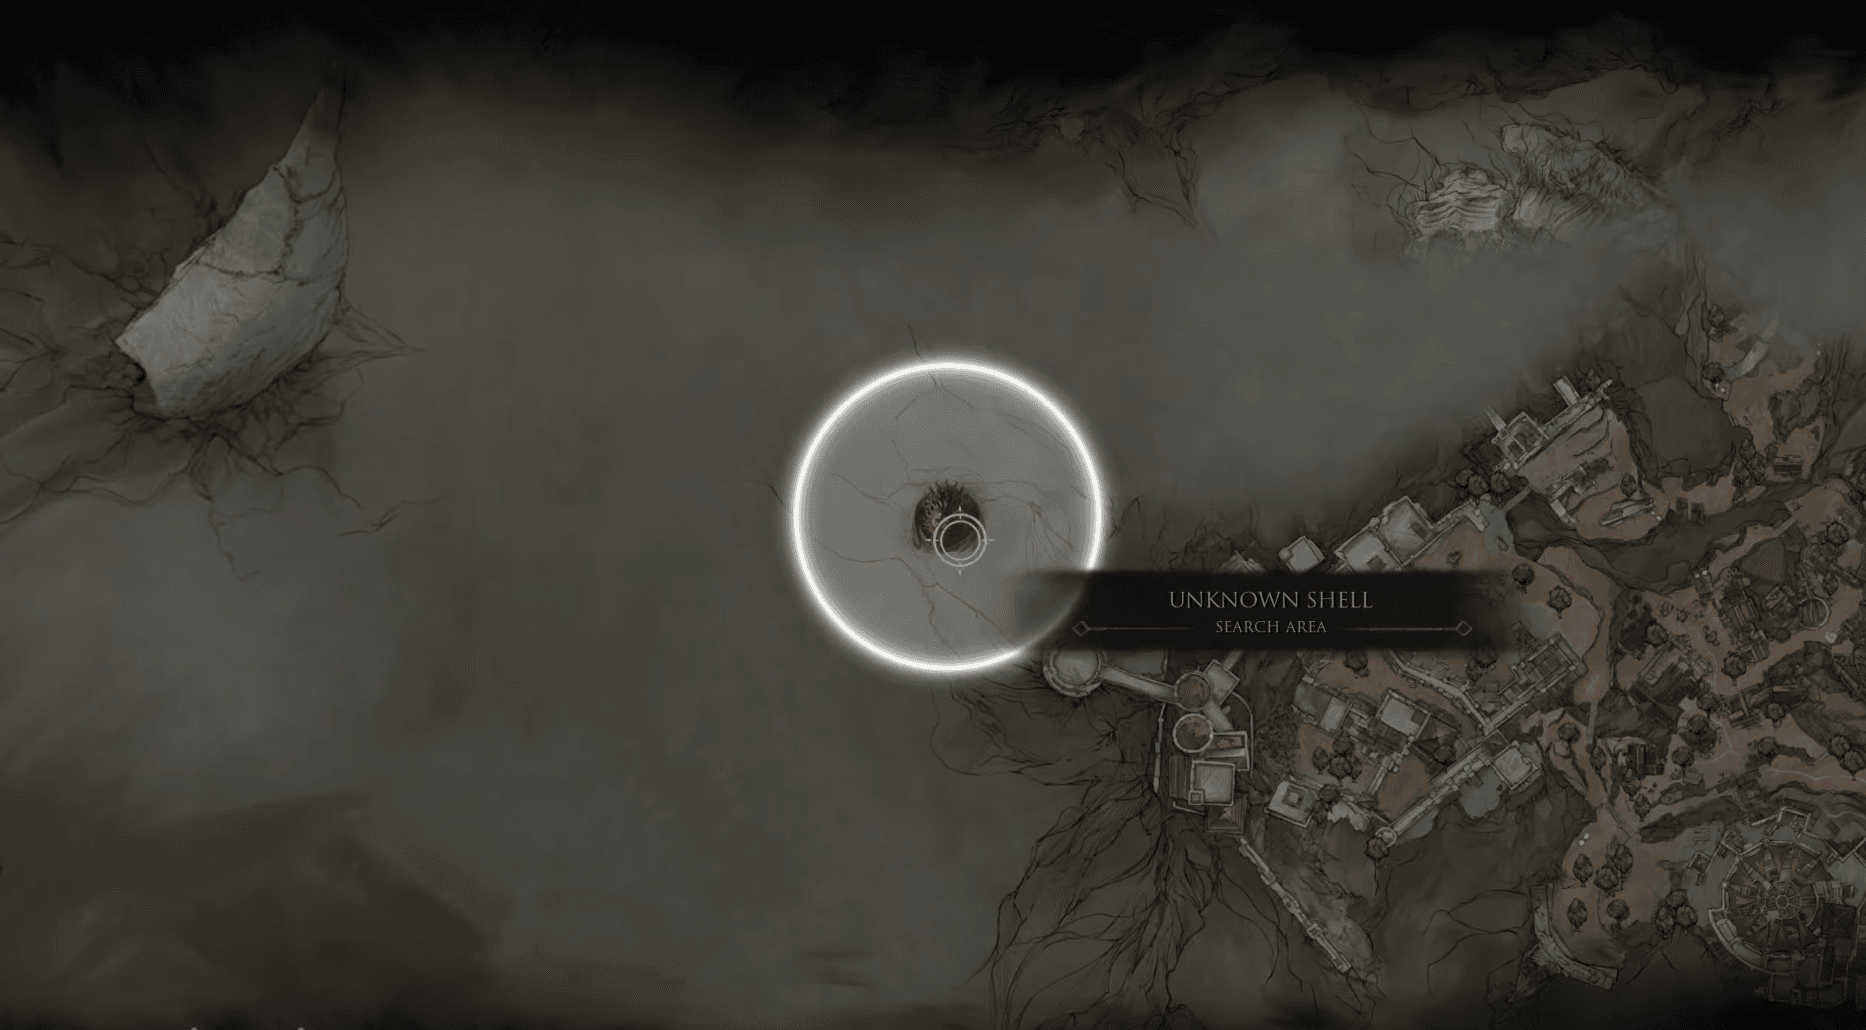
Lazlo is found on the western side of the Ruins of Mammon region, deep inside a fortress. Push through the High Lord's Courtyard, fighting or avoiding the Armored Knights and Coffin Eye Beholders along the way, and locate the entrance to the keep.
At the end of the keep, you'll face Vellen, High Lord of Mammon in an underground cathedral. Defeat him and continue forward to find Lazlo's body in the last chamber.
Lazlo's abilities:
- Retribution: Heats his armor to release a shockwave. Repeated use causes Overheat, triggering a stronger shockwave that inflicts Burn stacks but temporarily disables the armor.
- Fortified Plate: Provides a base 10% damage reduction as long as his armor is active.
How to unlock Sariel
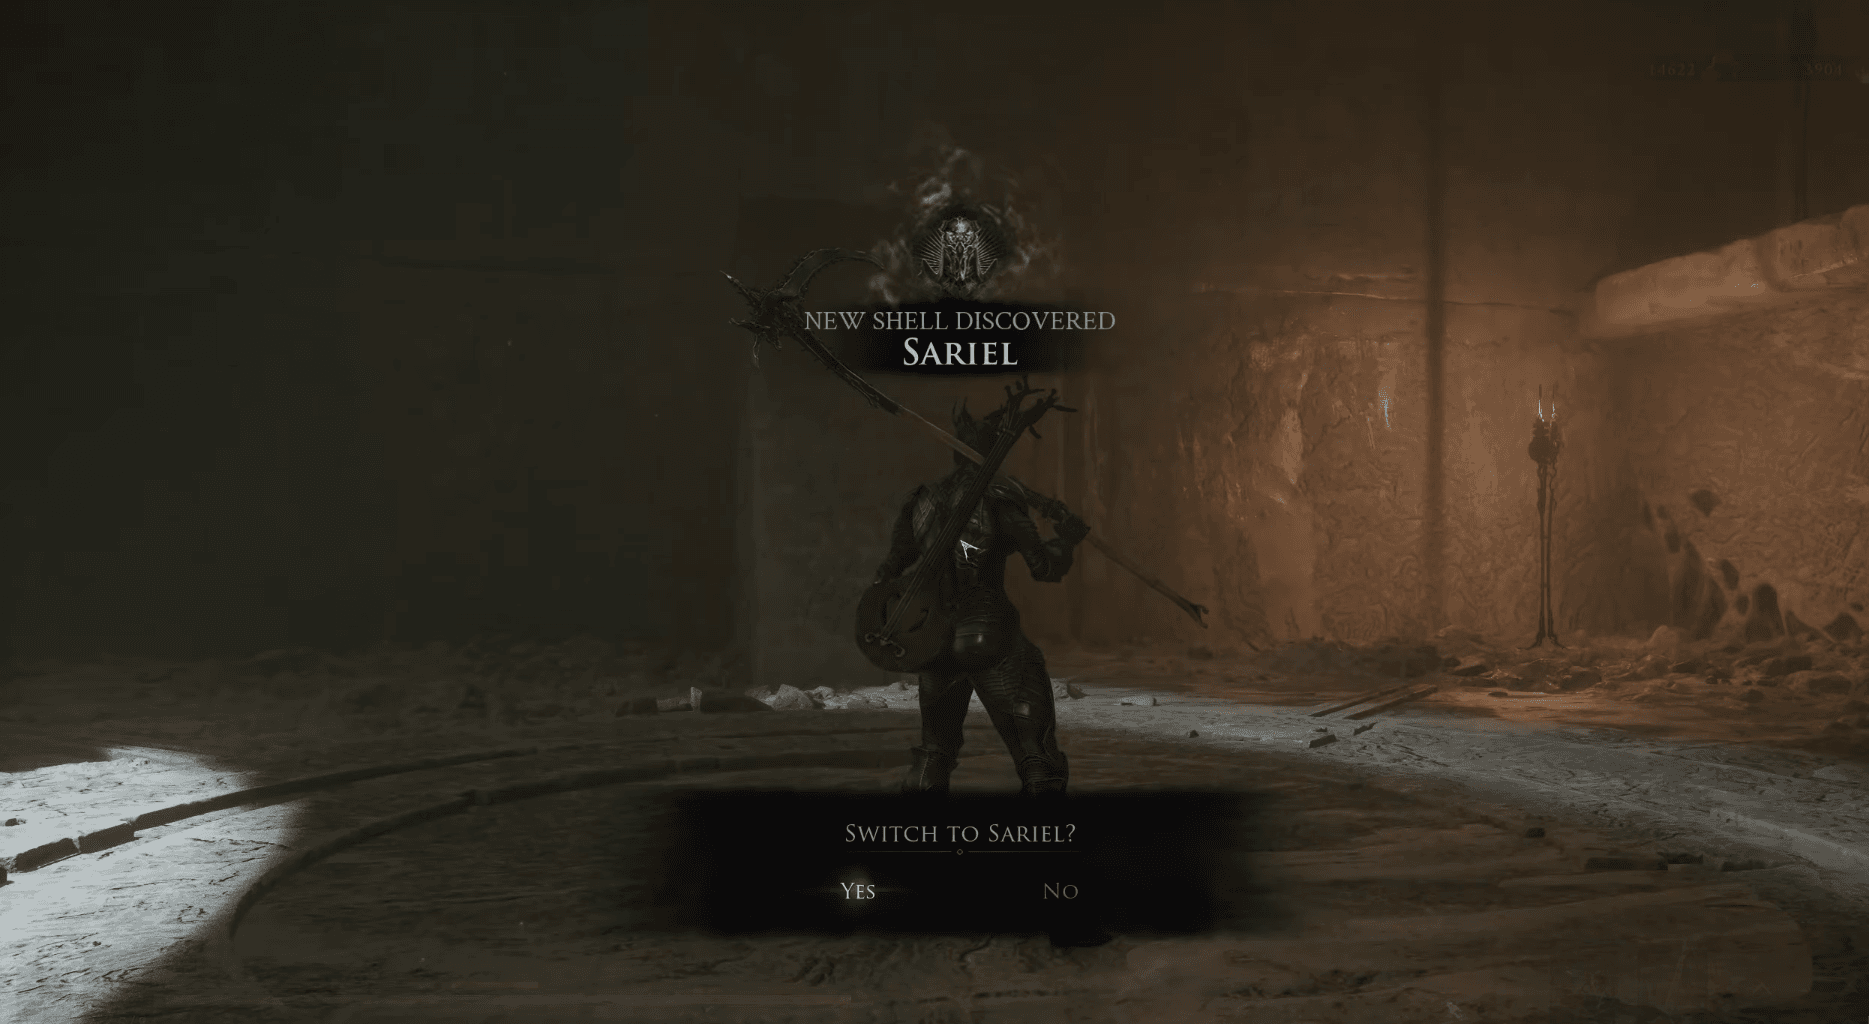
Sariel is the most involved Shell to collect. He's found in the southeastern part of the Ruins of Mammon, but the encounter happens in two stages.
First, locate Sariel at an outdoor location near the Chamber of Becoming dungeon. Engage him here and deal enough damage to force him to retreat. He teleports into the Chamber of Becoming, which opens the dungeon entrance for you.
Enter the Chamber of Becoming and fight Sariel, the Endless in the inner chamber. Destroy the lightning rods during the fight to stop him from resurrecting. Once he's dead, you can claim the Sariel Shell.
Mortal Shell 2 Guide: How to Unlock All Shells
Sariel's abilities:
- Exodus of Thorns: Expels parasitic thorns that hunt nearby enemies and inflict Curse stacks. Each use also inflicts Pain on Sariel.
- Purge: When Sariel has no Pain, 50% of incoming damage converts to Pain instead. At maximum Pain, Sariel dodges faster.
How to unlock Genessa
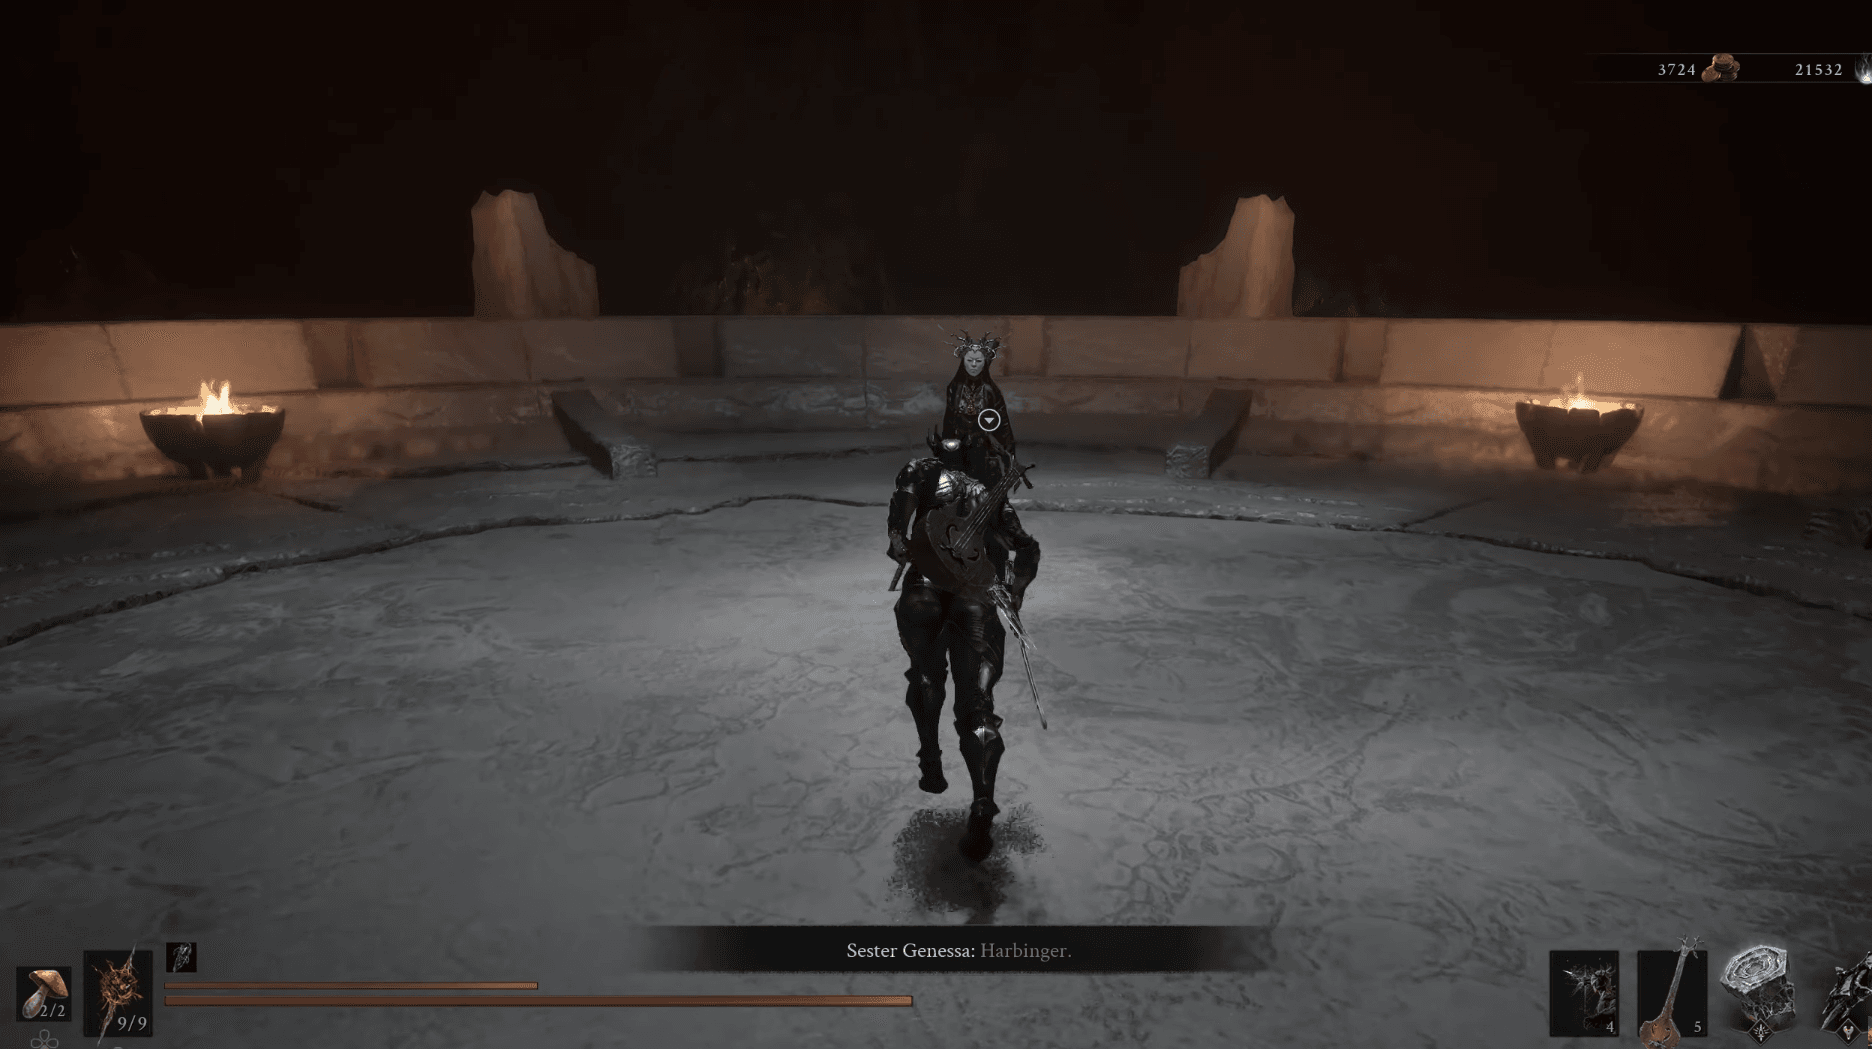
Genessa is the game's secret Shell and the most involved unlock in the entire roster. The process starts at Marrow's Keep:
- Exhaust all dialogue with Sester Genessa in the training grounds.
- Check the walls past the sarcophagi for a white glyph. Strike it to reveal a hidden chamber containing a chalice.
- Have the Slayer Seal in your inventory without equipping it. This lets you enter the Desolate Keep.
- Complete the Desolate Keep and collect the Blackmarrow Key. Speak to Genessa again upon exiting.
- Travel to the eastern part of the Mammon region and tag the Abbey Entrance beacon. Nearby, a field of red flickering specters marks an interactable object.
- Interact with it to enter a separate arena and fight the Sester Secundus boss.
- Defeating Sester Secundus gives you the Sester's Chalice. Bring it back to Genessa in Marrow's Keep.
- Reliving her memory completes the unlock. You can then switch to Genessa by speaking to her directly, not through the Shellkeeper NPC.
Mortal Shell 2 Guide: How to Unlock All Shells
For everything else you need to navigate the world, the full Mortal Shell II strategy guides collection covers weapons, maps, and more. If you're still working on clearing the fog and finding your bearings, the Mortal Shell 2 map guide is a good companion to this one.