Search games, articles, guides...CtrlK
Sign InGet Started
Every Shell in Mortal Shell 2 ranked by damage, survivability, and ease of use, with locations and key abilities explained.

Written by Larc
Content Writer
See more GAMES.GG guides on Google
Add us as a preferred source and our guides show up first in your results.
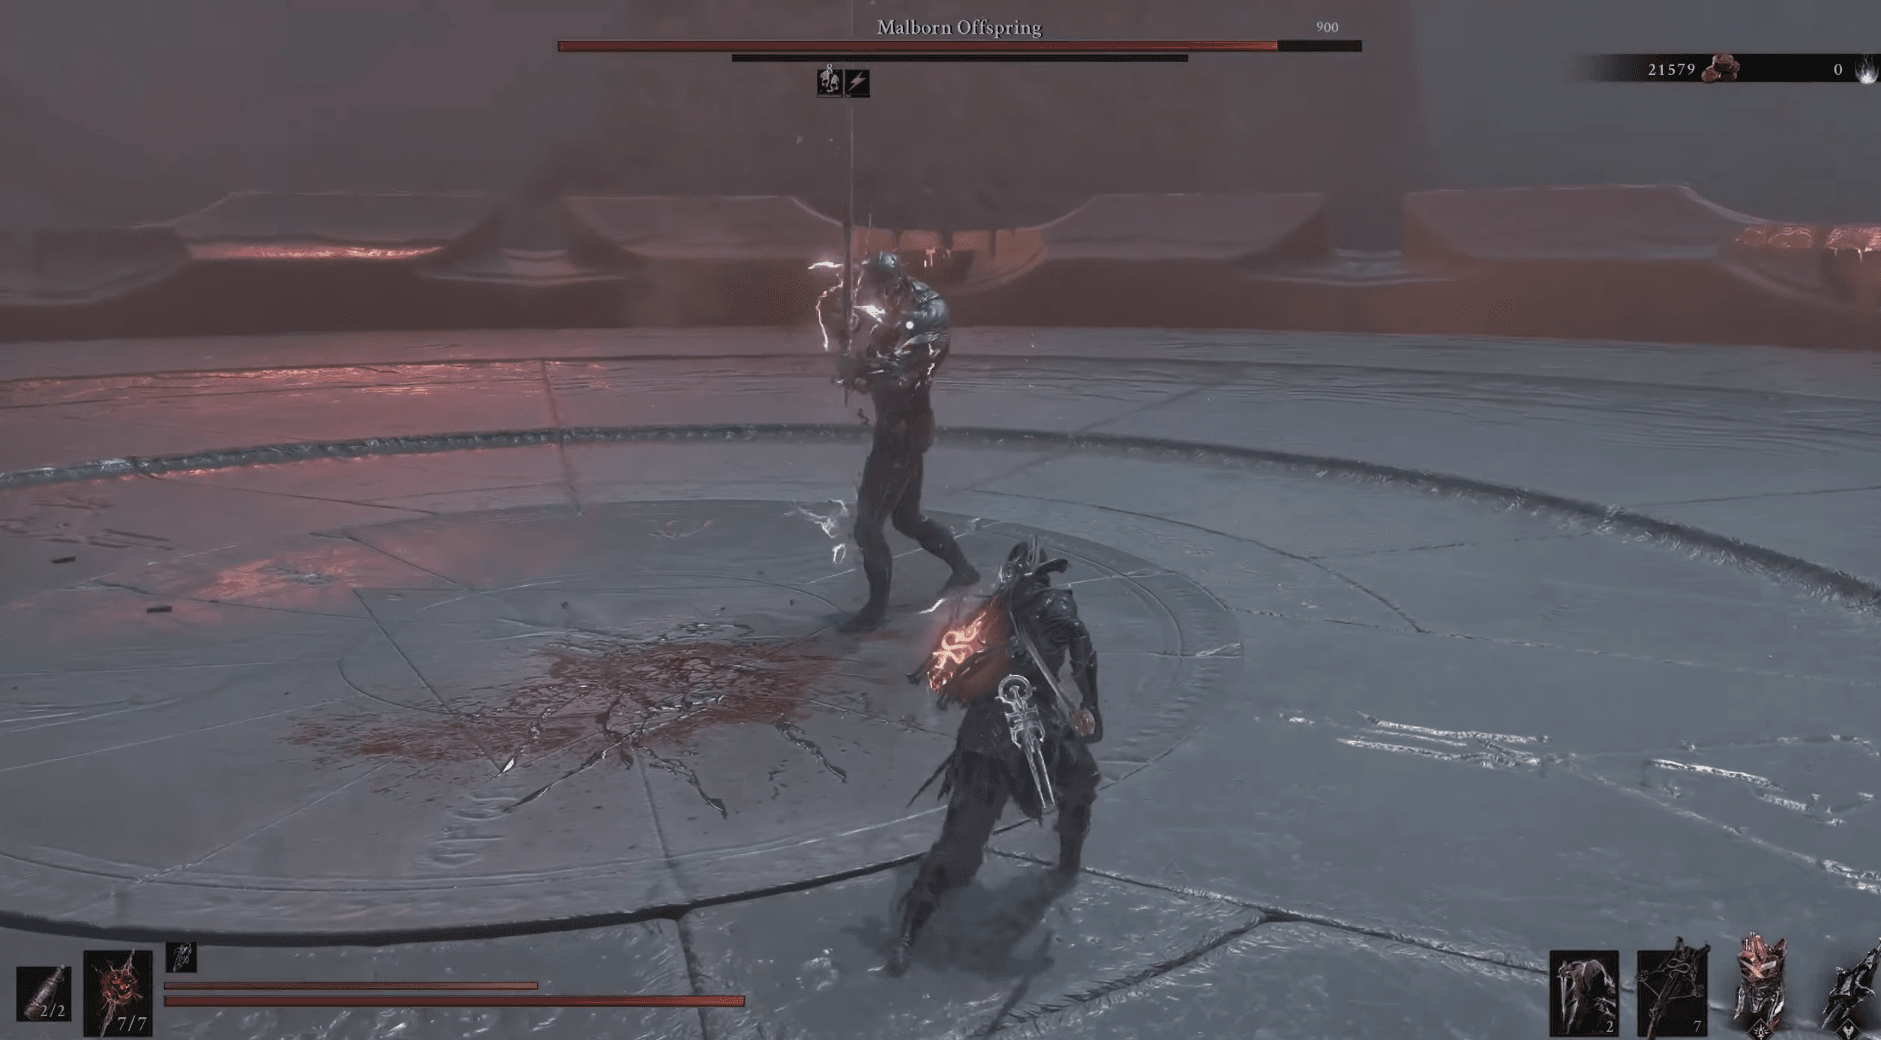
Mortal Shell 2 Boss Guide: How to Beat Malborn Offspring
Conquer Malborn Offspring's two-phase fight in Mortal Shell 2 with the right gear, dodge directions, and Break damage strategy.
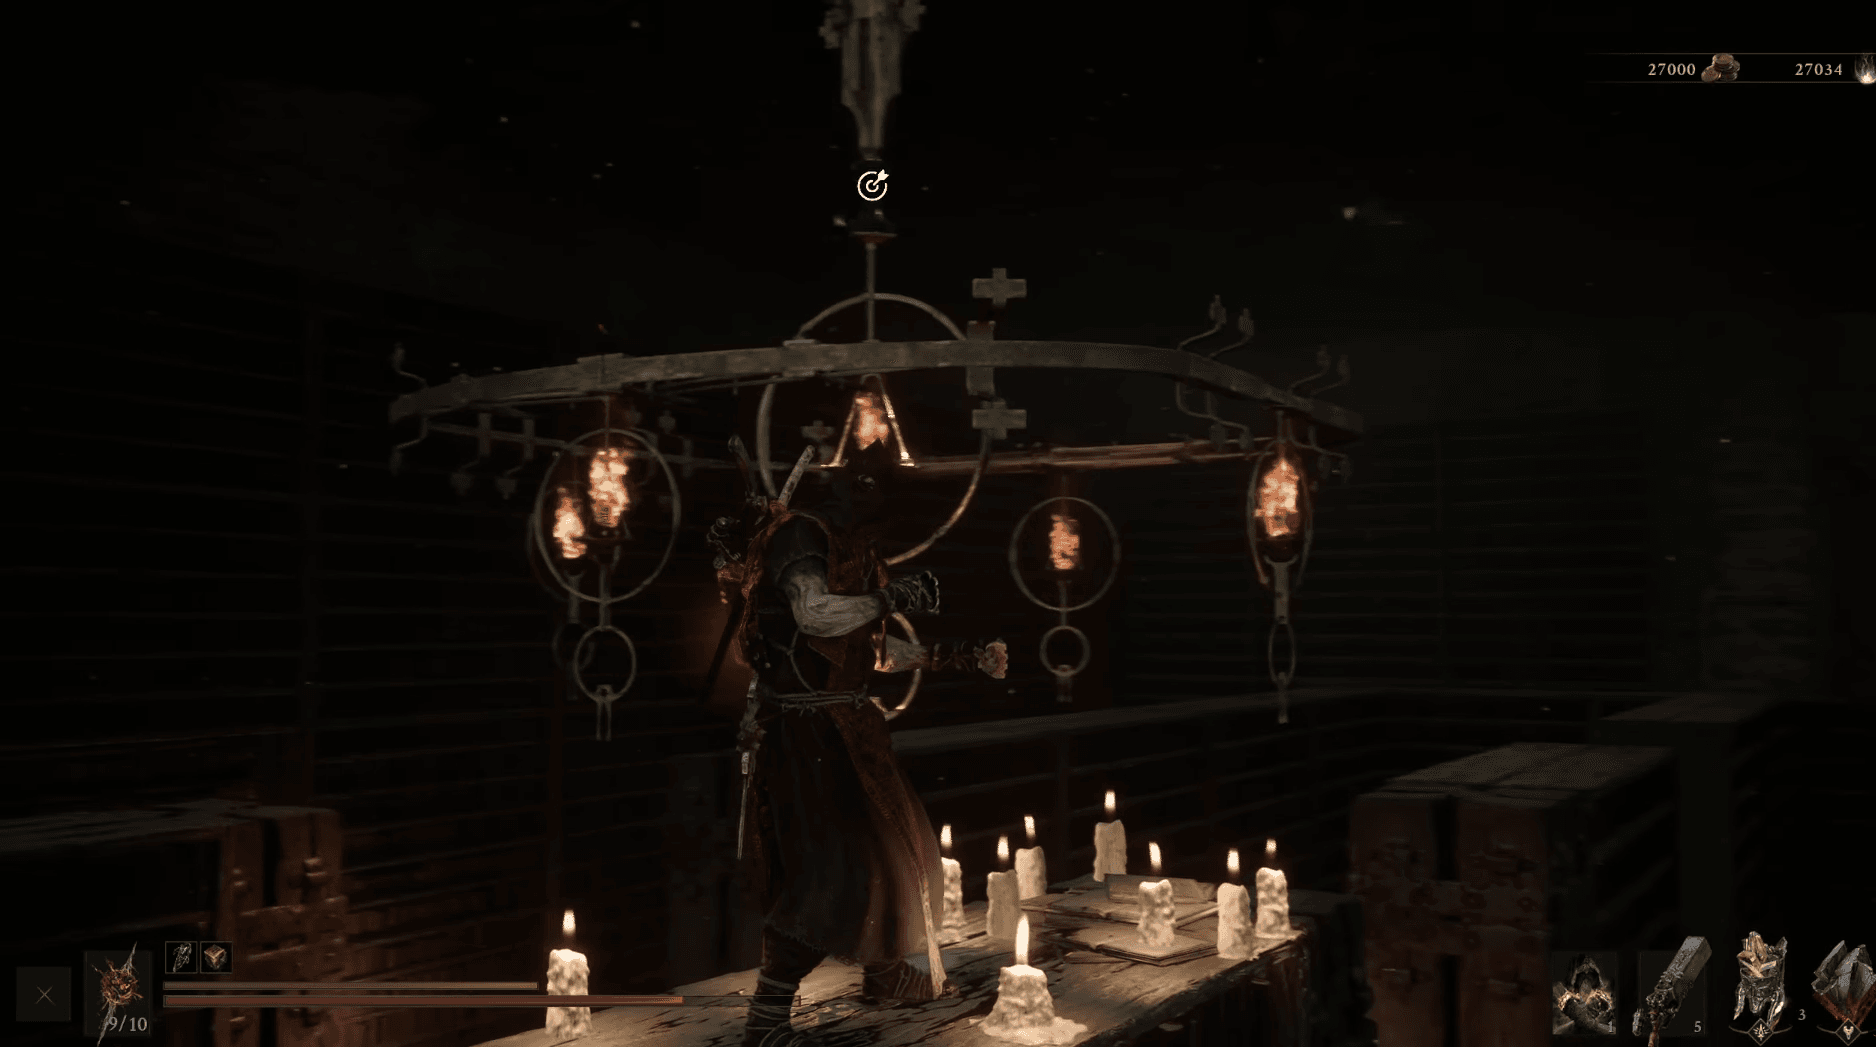
Mortal Shell 2 Guide: How to Find Grimorium Obscurum in Forbidden Archives
Find the Grimorium Obscurum, survive the Gloombound Wraith, and clear the Forbidden Archives dungeon in Mortal Shell 2.
Mortal Shell 2: How to Open the Three Flames Door Under Marrow Keep
Find all three flames hidden in The Unfound Path and unlock the secret door beneath Marrow Keep for Ossinite and Paradoxical Scripture.
Mortal Shell II gives you 8 permanent Shells to inhabit, each with a completely different playstyle, unique mechanics, and a distinct damage ceiling. Picking the wrong one early can make an already demanding action game feel punishing. The right one can make even the nastiest bosses feel manageable. This tier list ranks every Shell by how much damage they deal, how forgiving they are to play, and how much investment they need to hit their potential.
Mortal Shell 2 Best Shells Tier List: All Shells Ranked
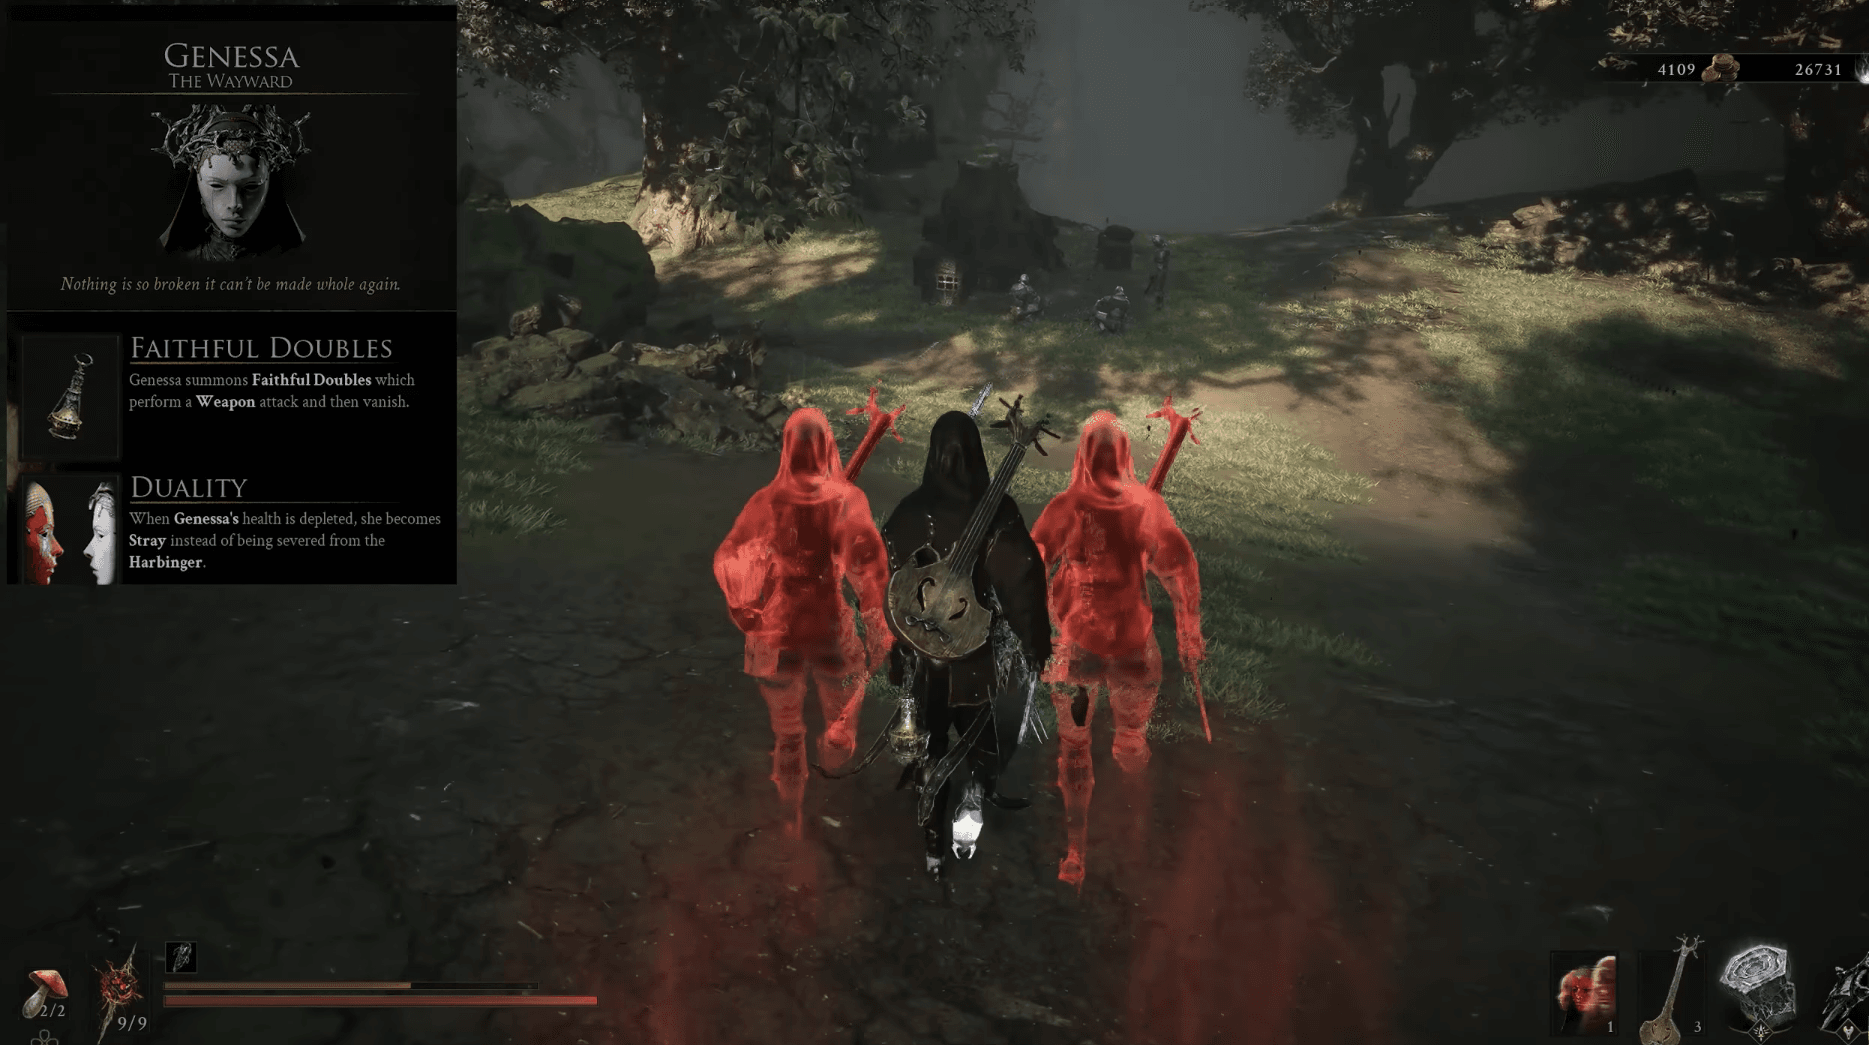
Genessa is the most flexible S tier pick. Her Faithful Doubles attack enemies independently, which means you can deal damage without putting yourself directly in harm's way. Stack enough Resolve and her Affinity and Impetus Shell Abilities hit hard. The safer route focuses on boosting the Doubles themselves, keeping you at a distance while they do the work.
For players who want higher output, the aggressive path leans on Stray Doubles, which add to your own damage total. Abilities like Instigation, Communion, and Causality push this clone's damage further, though you trade survivability for it. The safety valve here is Mirage, which lets Stray Doubles absorb a fatal hit on your behalf.
To unlock Genessa, exhaust her dialogue in Marrow Keep first. Then head to eastern Mammon near the Abbey Entrance, find the field of red specters, enter the arena, and defeat Sester Secundus to claim the Sester's Censer. Return it to Genessa in Marrow Keep and her Shell becomes available.
Smert's defining mechanic is Miracle, which stops time and lets you build Chaos Stacks that detonate when time resumes. The Striker Shell Ability maximizes stack generation during Miracle, while Fervor and Devotion reduce cooldowns to keep Miracle available more often. The damage windows this creates are genuinely unfair in the best way.
The cost is real: Miracle consumes 50% of your current HP each use. That is not a bug, it is a design choice that pushes Smert toward the Faith threshold, which is a damage-boosting mechanic tied to low health. Mether's Pulse can bring you back from the edge when things get too close.
Find Smert near the Outskirts of Nochte Beacon, west of the Fainweald swamps. Head up the slope into Prophet's Rest, kill the cultist groups around the blood ritual pools, and interact with Smert's body on the stone slab.
Gragu is the single-target burst king. His kit stacks Melee damage and Critical damage multipliers together, and his Hunger ability pushes his Critical Hit Chance to 78% for melee and 75% for ranged. With that kind of crit rate, dedicated critical-hit setups become extremely reliable rather than a gamble.
Staggering Blow is the other reason Gragu sits in S tier. It knocks enemies down, breaks posture, and applies Weakened and Fragile debuffs simultaneously, which is some of the best crowd control available in the game. His Revered Heart mechanic provides healing on kills, making open-world exploration almost frictionless since you recover from damage just by playing aggressively.
Gragu is found east of Fainweald at the One-Legged Wolf Tavern, but you need some Ova progress before the area opens. Talk to him there, then retrieve the Heart of Vatra from the Temple of Vatra to the east through the mountain paths. Return it to him, and once he dies, his Shell is yours.
Mortal Shell 2 Best Shells Tier List: All Shells Ranked
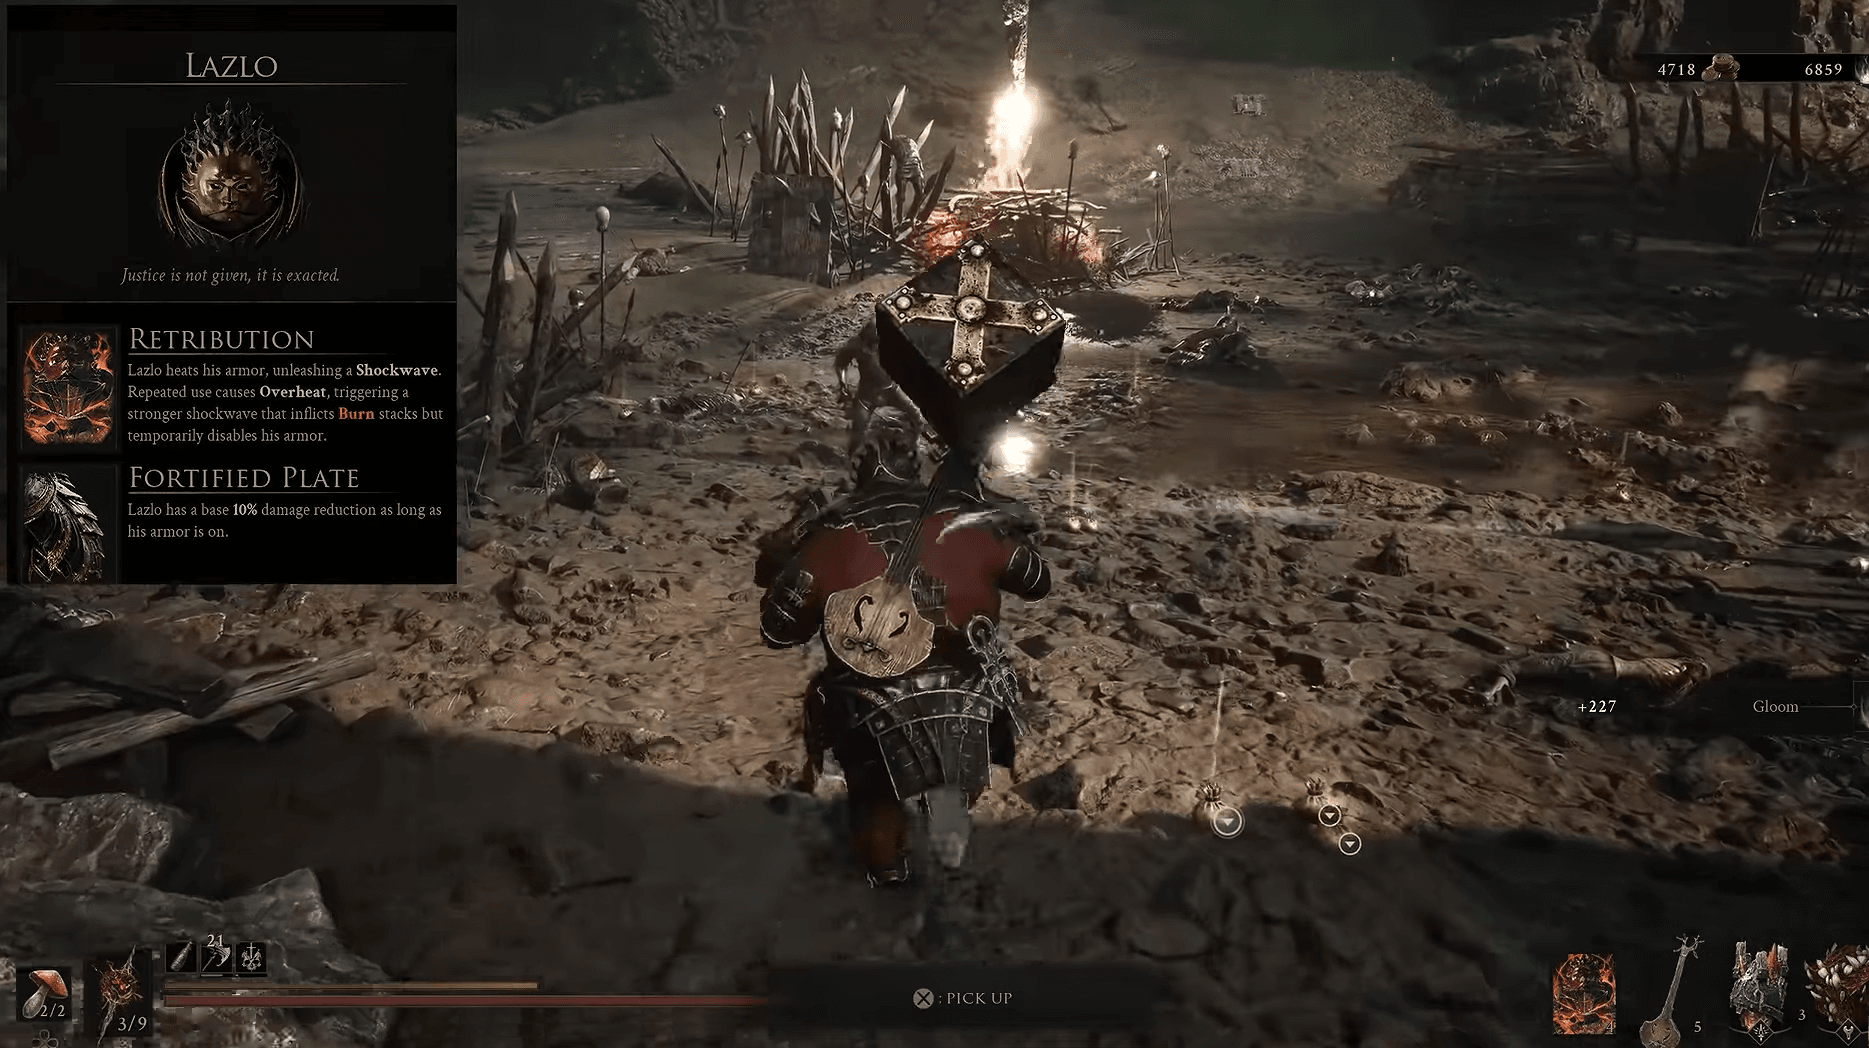
Lazlo is the tankiest Shell in the game. His Warmed Up and Furnace abilities stack up to 30% Damage Reduction, and his Resolve generation is efficient enough to keep Skills, Infusions, and Tarstone Abilities flowing without constant resource management. When his armor is on cooldown, Rush procs critical hits reliably to keep damage output from falling off completely.
His AoE toolkit is also worth noting. Worthy Armor, Temperament, Breaker, and Inflamed combine to produce shockwaves and apply Burn to nearby enemies, which makes him excellent for clearing groups during exploration. He falls short of S tier mainly because his boss damage ceiling requires more investment than Gragu or Smert to reach.
Lazlo is in the Mammon region. Reach the High Lord's Courtyard Beacon, enter the Royal Crypt, defeat Lord Vellen, and find Lazlo's body in the chamber beyond.
Eredrim specializes in Break Damage and Riposte through Shoulder Bash, which is a reliable way to control fights against single targets. His Oppression and Radiance abilities boost Break Damage further, while Alacrity and Consecration keep skill uptime consistent. The Slaughterer ability adds an execute mechanic for finishing off weakened enemies during exploration.
The main limitation is that his kit shines brightest in 1-on-1 situations, which makes him excellent for bosses but less dominant in chaotic multi-enemy encounters. One thing to keep in mind: his stacks reset when you rest or get severed, so managing that rhythm is part of playing him well.
Eredrim is at the Citadel of Penance, northwest of Fainweald. Drop to the lower levels, activate the lift, ride up, defeat the Warden boss in the central arena, and interact with Eredrim's corpse.
Sariel has the highest survivability ceiling in the entire roster. His Pain mechanic converts incoming damage into recoverable grey health, and Frailty, Reaper, and Restoration abilities allow him to heal back essentially any damage dealt to him. With good play, he can feel unkillable.
The catch is that maintaining Pain requires you to not take too many hits in sequence, because losing built-up Pain removes your healing source. His damage output is also noticeably lower than the Shells above him, which means boss fights drag on longer. He rewards patient, defensive players who can manage the Pain mechanic consistently.
To find Sariel, travel to southeastern Mammon near the Silent Steps Beacon. Fight him above ground first. When he flees, enter the Chamber of Becoming dungeon, destroy the lightning rods to prevent his resurrection, and defeat him fully to claim his Shell.
Mortal Shell 2 Best Shells Tier List: All Shells Ranked
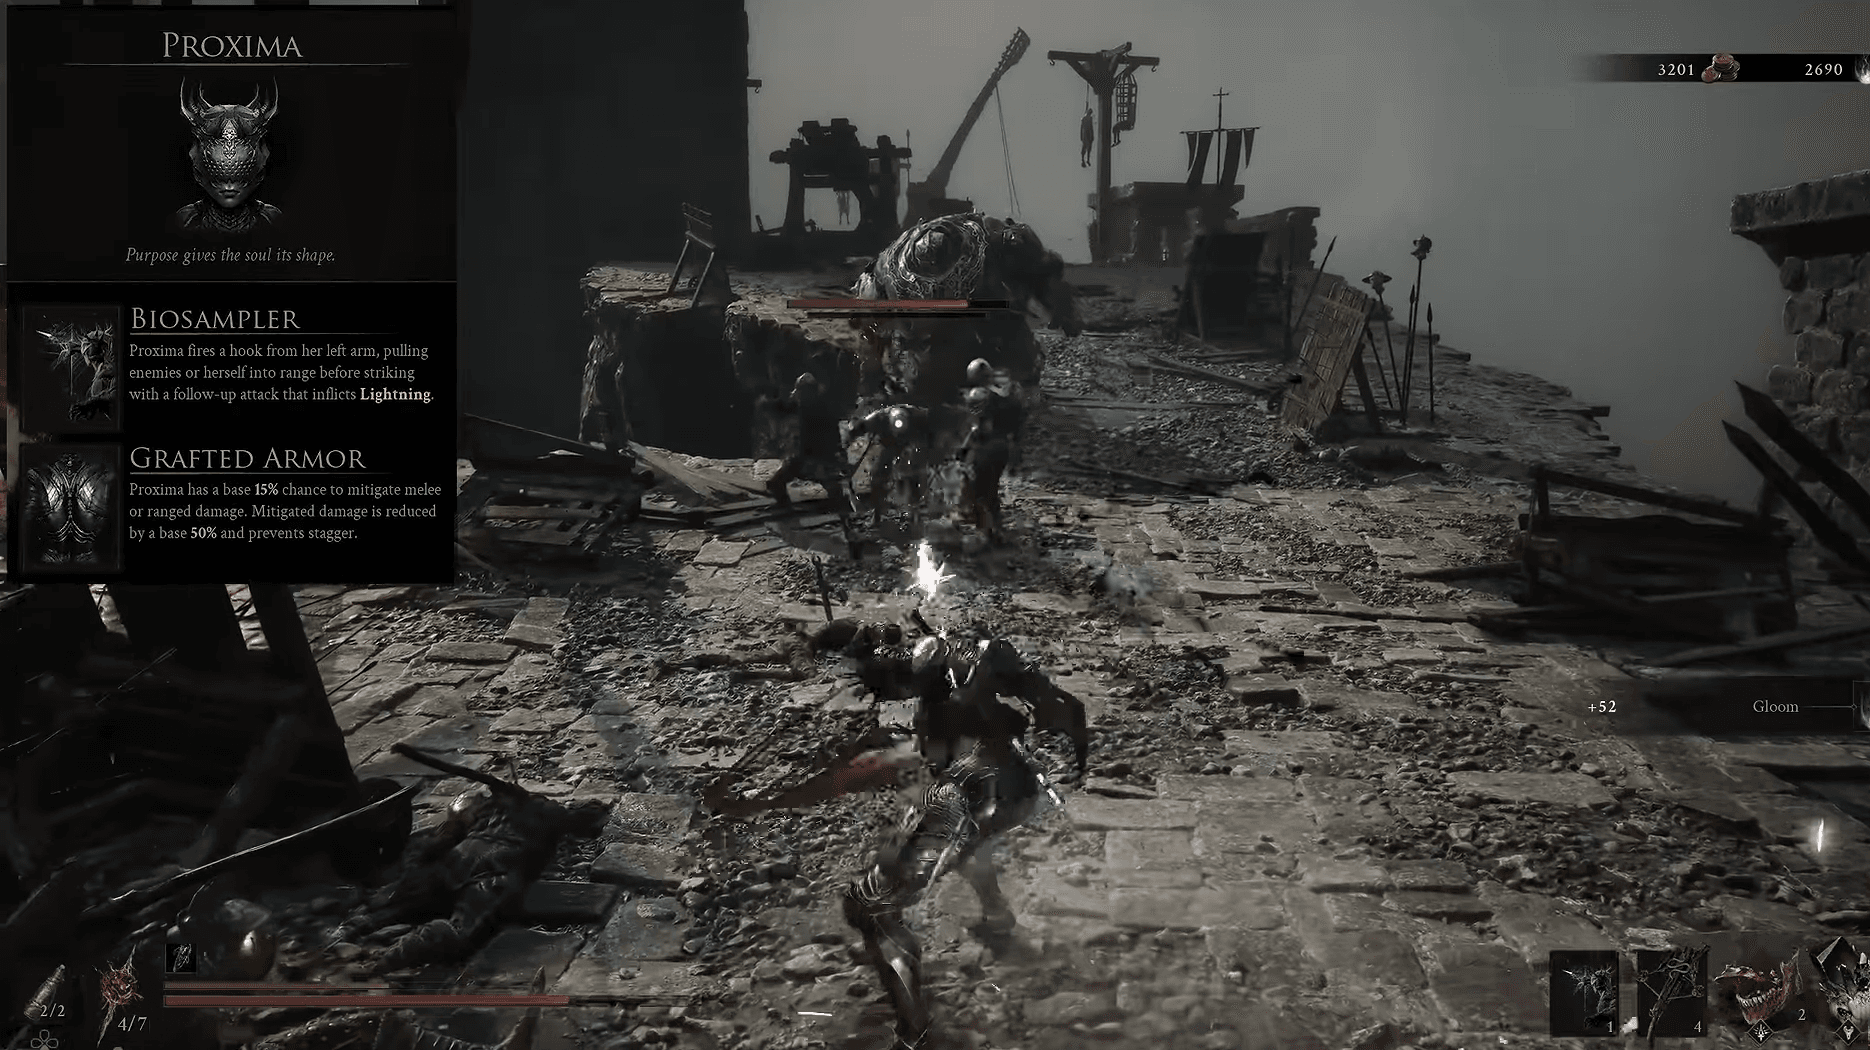
Proxima is a hybrid Shell with a wide toolkit. Her Biosampler combined with Biohazard and Seizure abilities provides crowd control options, and Discharge deals Lightning AoE damage in a pinch. Survivability comes from Grafted Armor, Exoshell, Reflection, and Fortress, which give her solid passive mitigation.
The problem is that she gets outclassed in both damage and survivability by Shells one tier up once the game opens up. Her most practical niche is gold farming through Samples, but you can always swap to her specifically for that purpose without committing to her as your main Shell.
Proxima is found at the Blackridge Cliffs north of Widow's Overlook Beacon. Pass the fighting cultists, enter the Shattered Beacon area, and interact with her body on the table.
Tiel is a reasonable starting point. Shadow Dash and Shadow Strike grant invisibility, which gives newer players a safety net to reposition and attack without full commitment. Deathmark, Critical Role, and Ambush abilities build toward high critical hit chance and Poison stacks.
The endgame is where Tiel struggles. Generating enough Resolve to use Shadow Strike consistently is harder than it looks, and while the crit and Poison setup works, it does not match what Gragu achieves with less friction. He is a fine Shell to learn the game with, but most players will eventually want to move on.
Tiel's body is in a fenced enclosure with torches east of Mushroom Village, starting from Widow's Overlook Beacon. Interact with the shallow grave inside to summon him.
For a detailed breakdown of how to get the most out of Tiel's Critical Strike setup, the best build for Tiel covers weapons, Tarstones, and combat rotation in full.
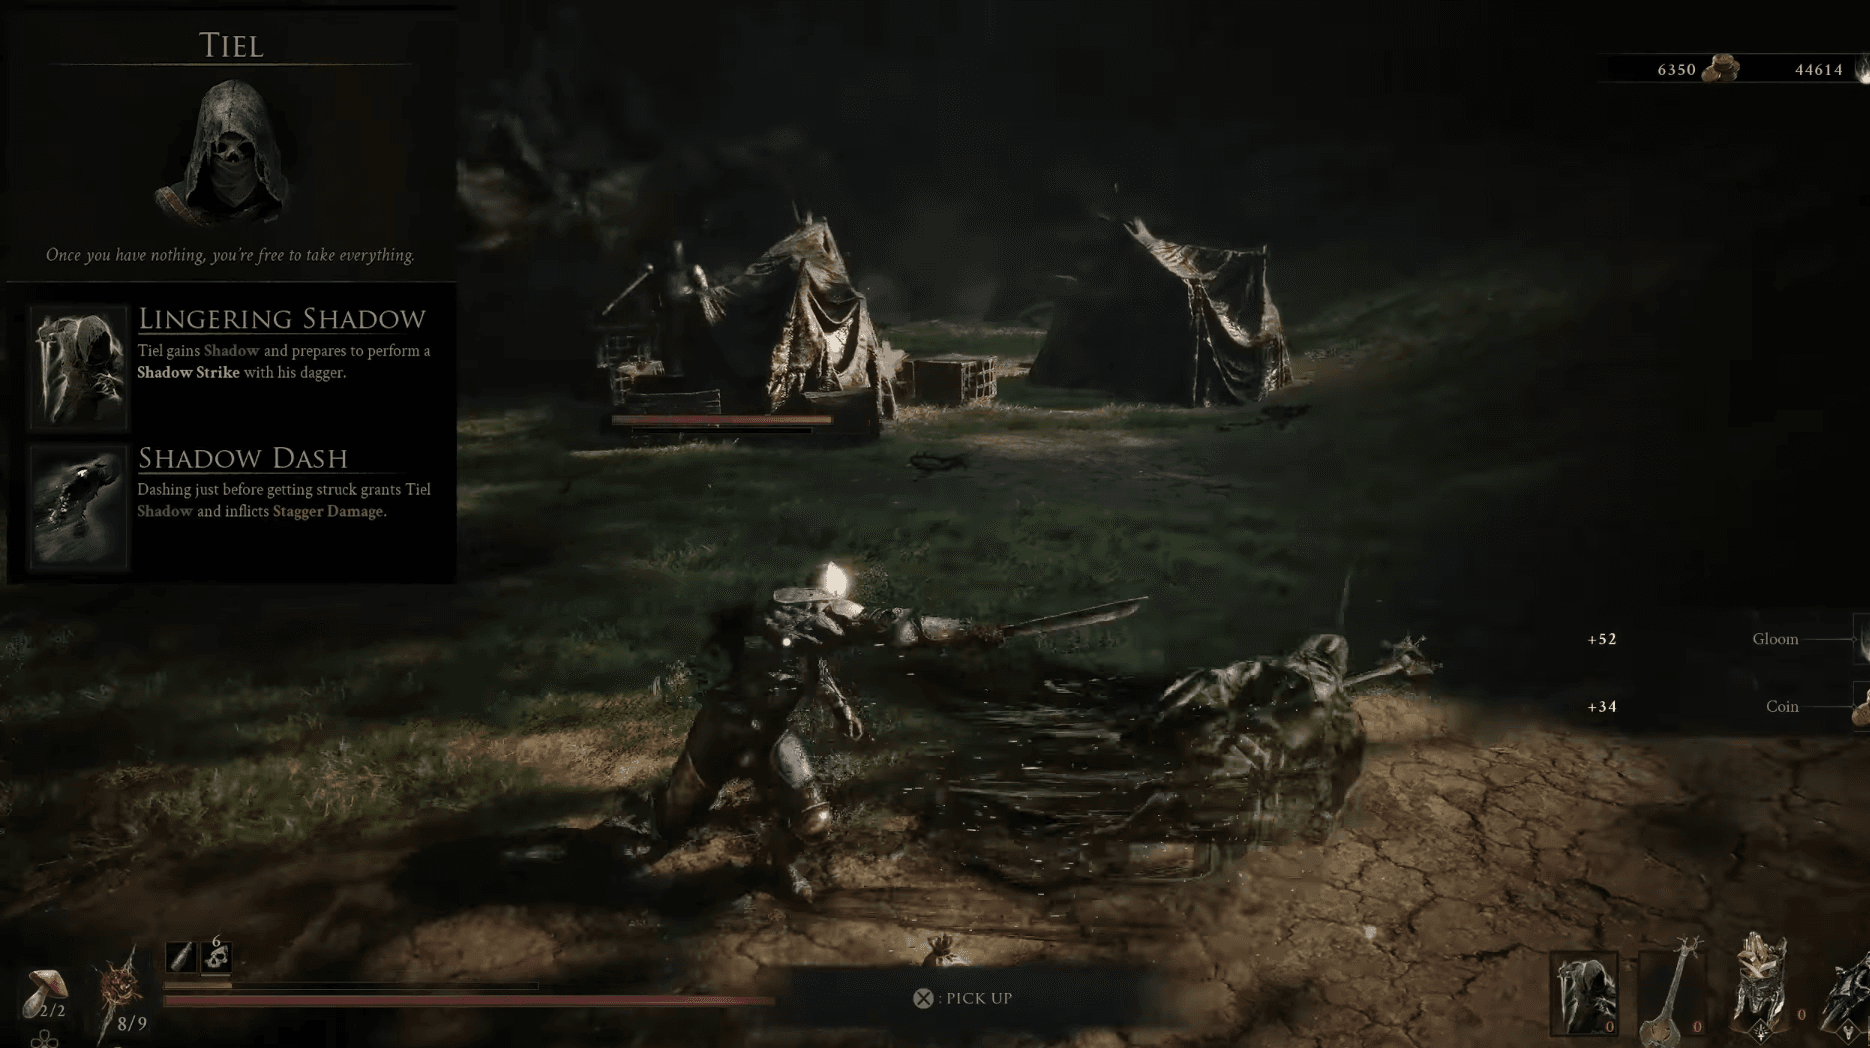
For players still learning the game's systems, Tiel's invisibility gives you room to make mistakes. Eredrim is a strong alternative if you prefer a more direct fighting style with clear riposte windows. Once you have the fundamentals down, Gragu and Smert reward aggressive play with the best damage output in the game. If you are comparing Shells on PC, the free GAMES.GG desktop app lets you browse our guides from your desktop as you plan your build.
If you want to know where to find each Shell before committing to a route, the guide on how to unlock all Shells has exact locations and unlock methods for every one of the 8 obtainable warriors.
Honestly, less than you might think. The tier list reflects optimized endgame performance, not how enjoyable each Shell is to play. Sariel's near-unkillable survivability loop is satisfying in a way that pure damage numbers do not capture. Lazlo's AoE shockwaves feel great in dense enemy areas. Every Shell has a moment where it clicks.
That said, if you are hitting a wall and want to know which Shell will make the next boss more manageable with less grinding, Gragu and Smert are the honest answers. For everything else, including how to survive the opening hours before you find your preferred Shell, the Mortal Shell 2 beginner's guide covers hardening, Gloom management, and Beacons in detail.
For more tips, builds, and walkthroughs covering every part of the game, the full Mortal Shell II guide collection has everything you need to plan your run from start to finish.