

Mortal Shell II throws you into one of the most demanding action games of 2026 with very little hand-holding. The Shell system, Resolve mechanics, Gloom economy, and open-world structure all demand your attention simultaneously. Most new players die not because the combat is unfair, but because they misunderstand two or three core systems in the first hour. This guide covers exactly what to fix.
What should you do first in Mortal Shell 2?
Before anything else, go into your settings and switch the camera from Immersive to Action mode. Immersive uses an over-the-shoulder perspective similar to the original game, which works fine in tight corridors but becomes a liability when enemies surround you in open areas. Action mode pulls the camera back and gives you the wider field of view that most Souls-like games use by default. You can toggle between them freely, but Action mode wins for both combat and exploration.
While you are in settings, bump up your UI Scale as well. The default size can make health bars and resource indicators harder to read during fast fights.
How does the HUD work?
The HUD tracks several resources at once, and knowing what each one does prevents a lot of early confusion.
The most important thing to understand here is that Resolve replaces stamina entirely. Dodging and sprinting cost nothing. Resolve is reserved for your offensive and utility tools: your Shell ability, Sidearm, and equipped Tarstones. Keep swinging in melee to keep it full.
How does hardening actually work?
Hardening is not a panic button. The correct use is to start an attack, harden through the enemy's counter, absorb the hit, then finish your action once the damage is blocked. Players who treat it as a last-resort shield miss the timing window and take full damage anyway.
Practice the sequence on a basic enemy you can repeat easily. Once the rhythm clicks, you can layer in Perfect Guard and Seal combos without losing the thread. Do not try to learn hardening timing during a boss attempt.
Mortal Shell 2 Ultimate Beginner's Guide
Why should you cleanse every Beacon?
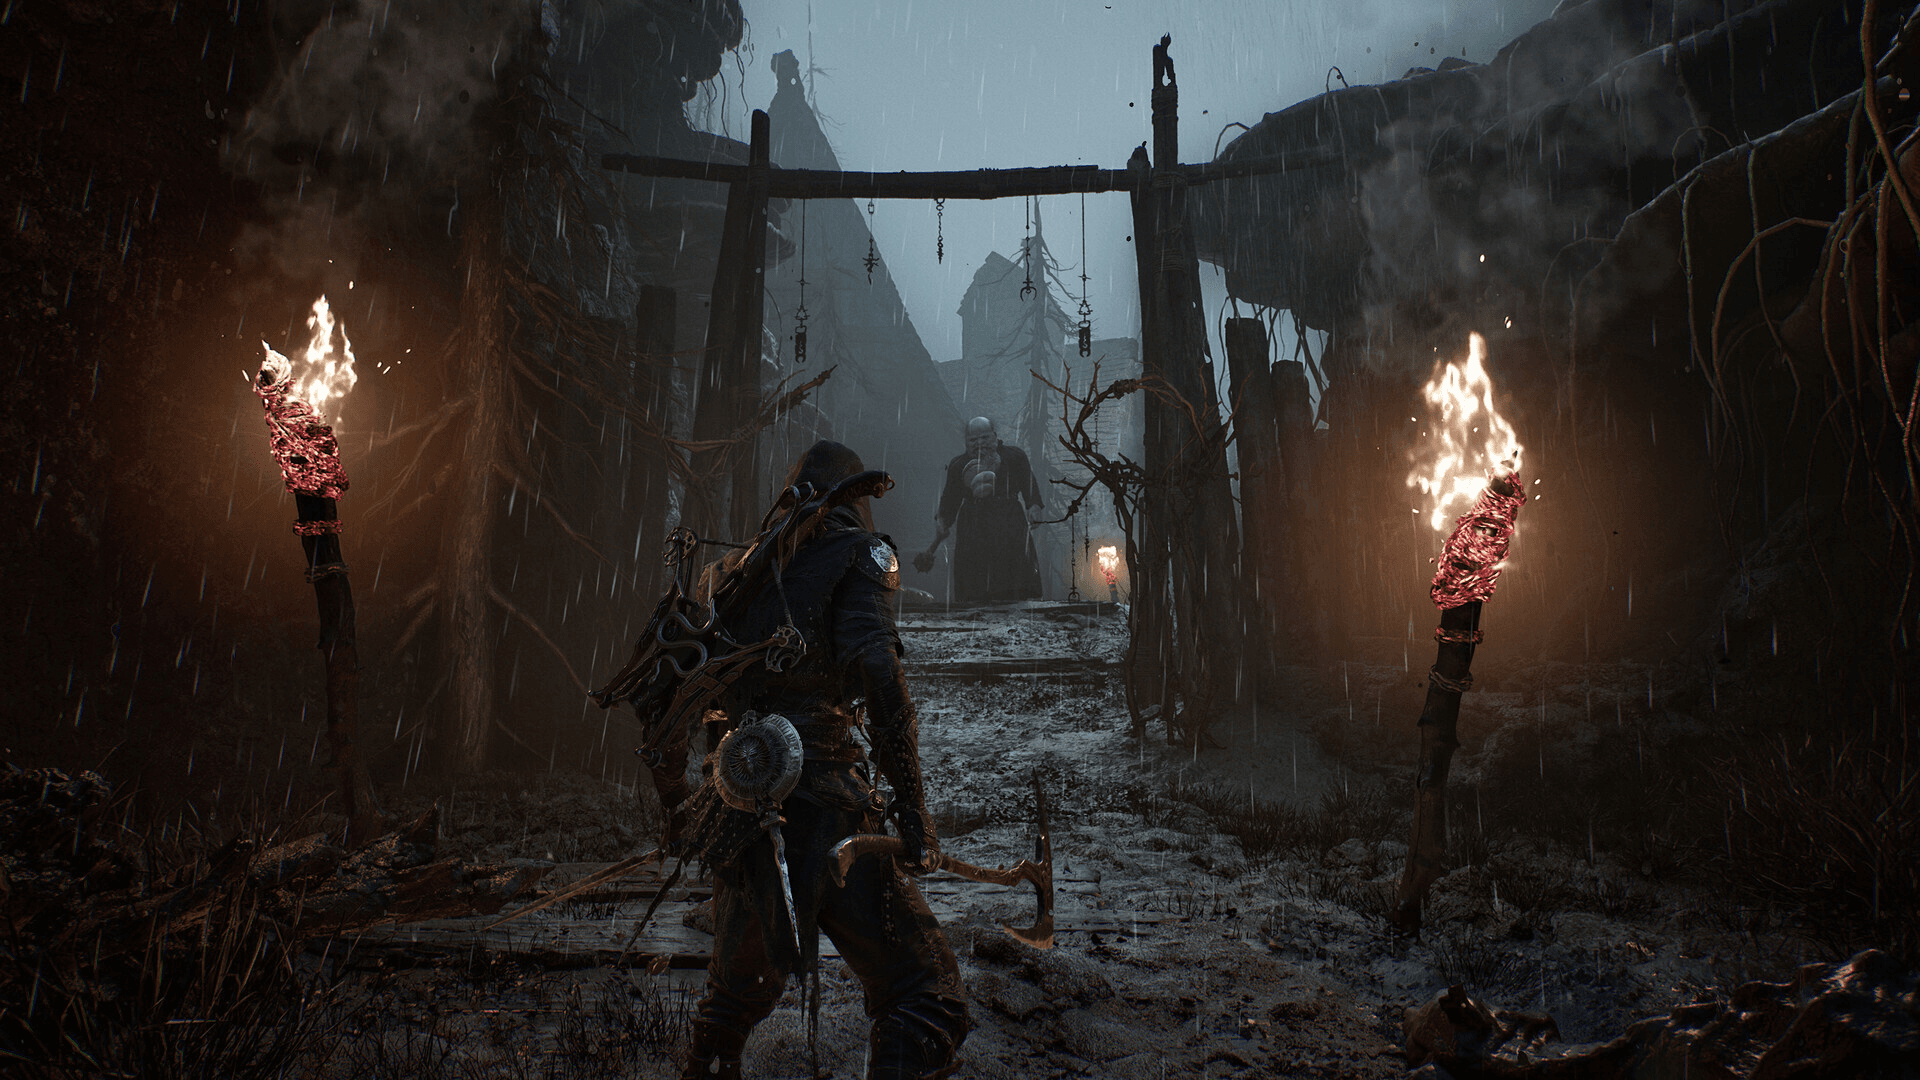
Beacons do two jobs. First, they act as checkpoints and fast travel nodes. Second, some have dungeons beneath them that can be cleansed for rewards. Cleansing a Beacon gives you Ova, which is your primary objective currency in the game, plus additional resources and Glimpse.
Not every Beacon has a dungeon attached. Some serve only as rest and travel points. For the ones that do have dungeons, cleansing is worth prioritizing over almost anything else.
Fast travel itself unlocks after you siphon 6 Ova back at The Marrow Keep. Until then, your Beacon network is your route map, so activate every one you find.
Mortal Shell 2 Ultimate Beginner's Guide
How do you manage Gloom without losing it?
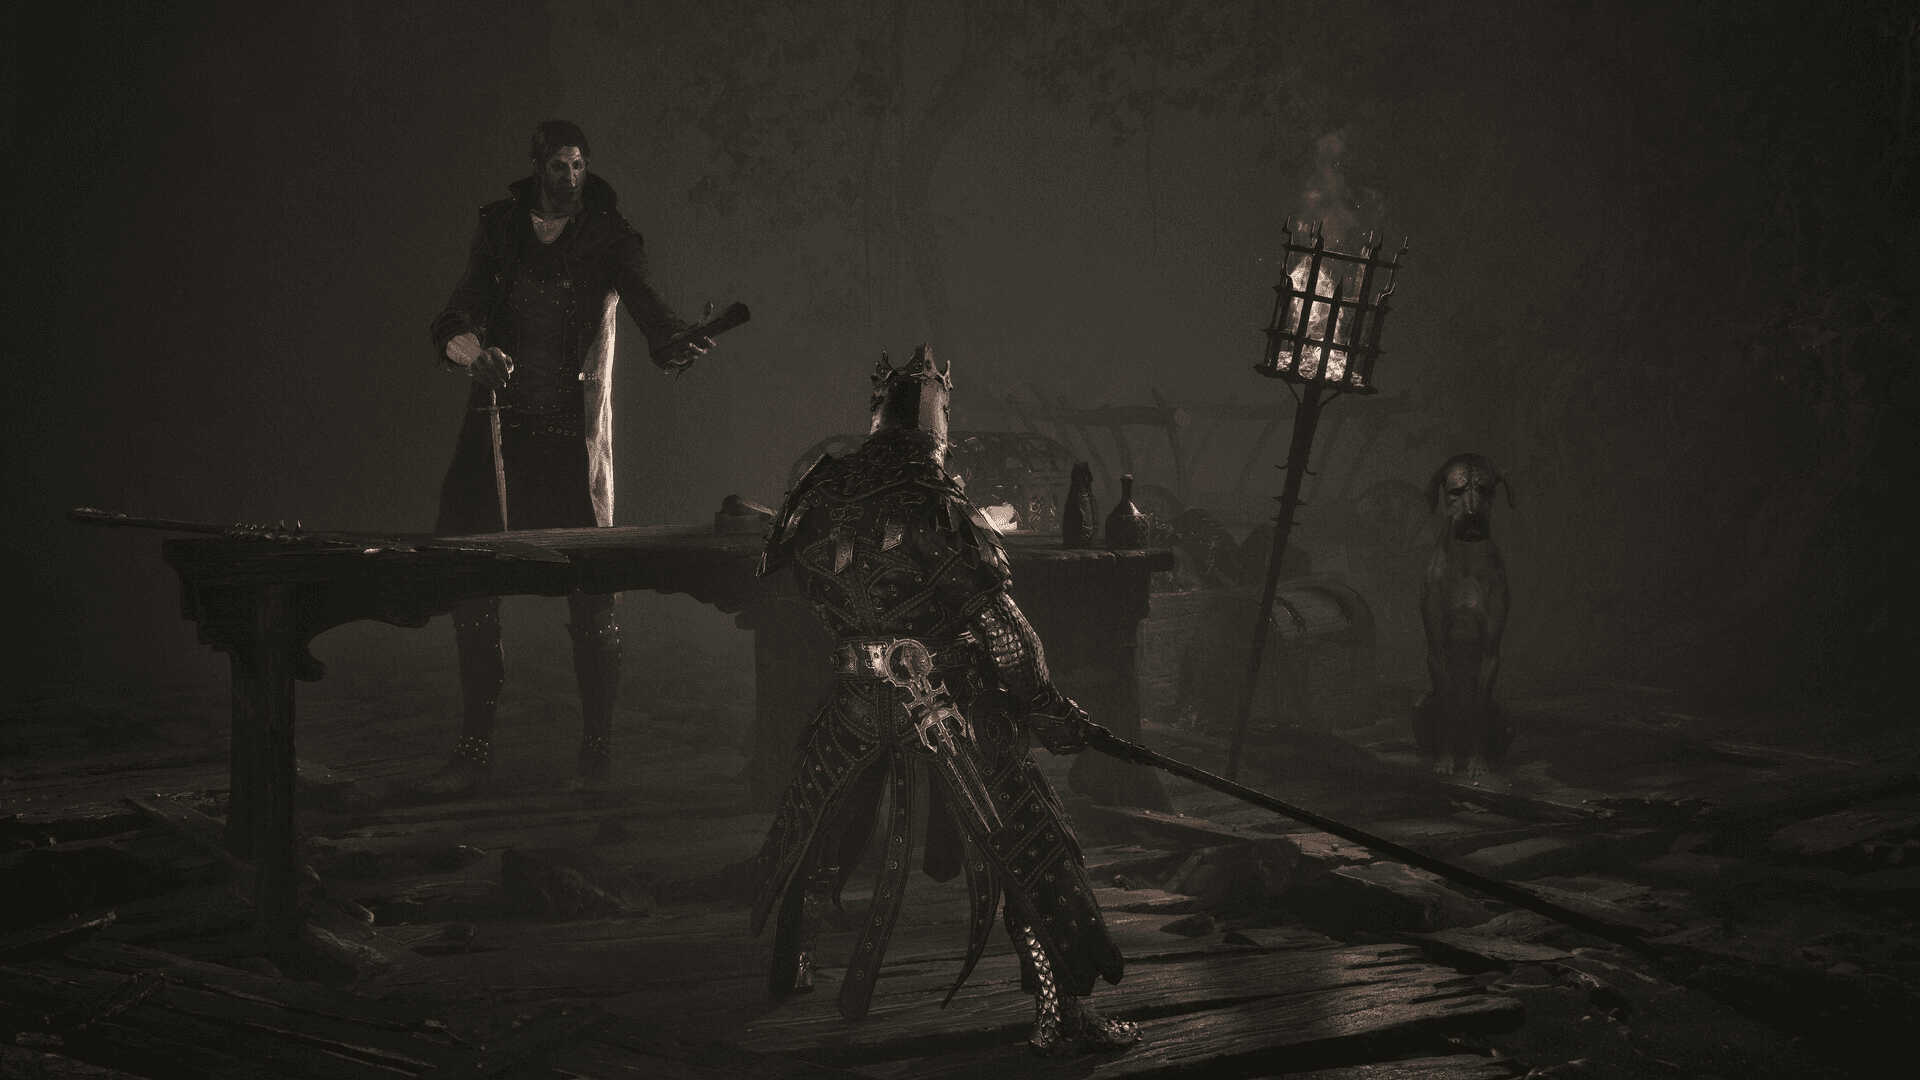
Gloom is your leveling currency, and it stays on your corpse when you die. Carry enough for an upgrade? Spend it at a Beacon before testing an unfamiliar boss or dangerous route. The recovery run back to your death location is a second risk on top of the first one.
The only other use for Gloom is respeccing your Weapons and Sidearm, so there is rarely a good reason to sit on a large amount. Spend it consistently and level up your character through Franz at The Marrow Keep for weapon and gear upgrades.
Gold is separate from Gloom and flows more freely as you clear areas. Merrick, the merchant at The Marrow Keep, sells upgrade materials, but most of what he stocks can be found in the overworld for free. Hold off on spending Coin there until you know exactly what you need.
Mortal Shell 2 Ultimate Beginner's Guide
How do you unlock the map and navigate efficiently?
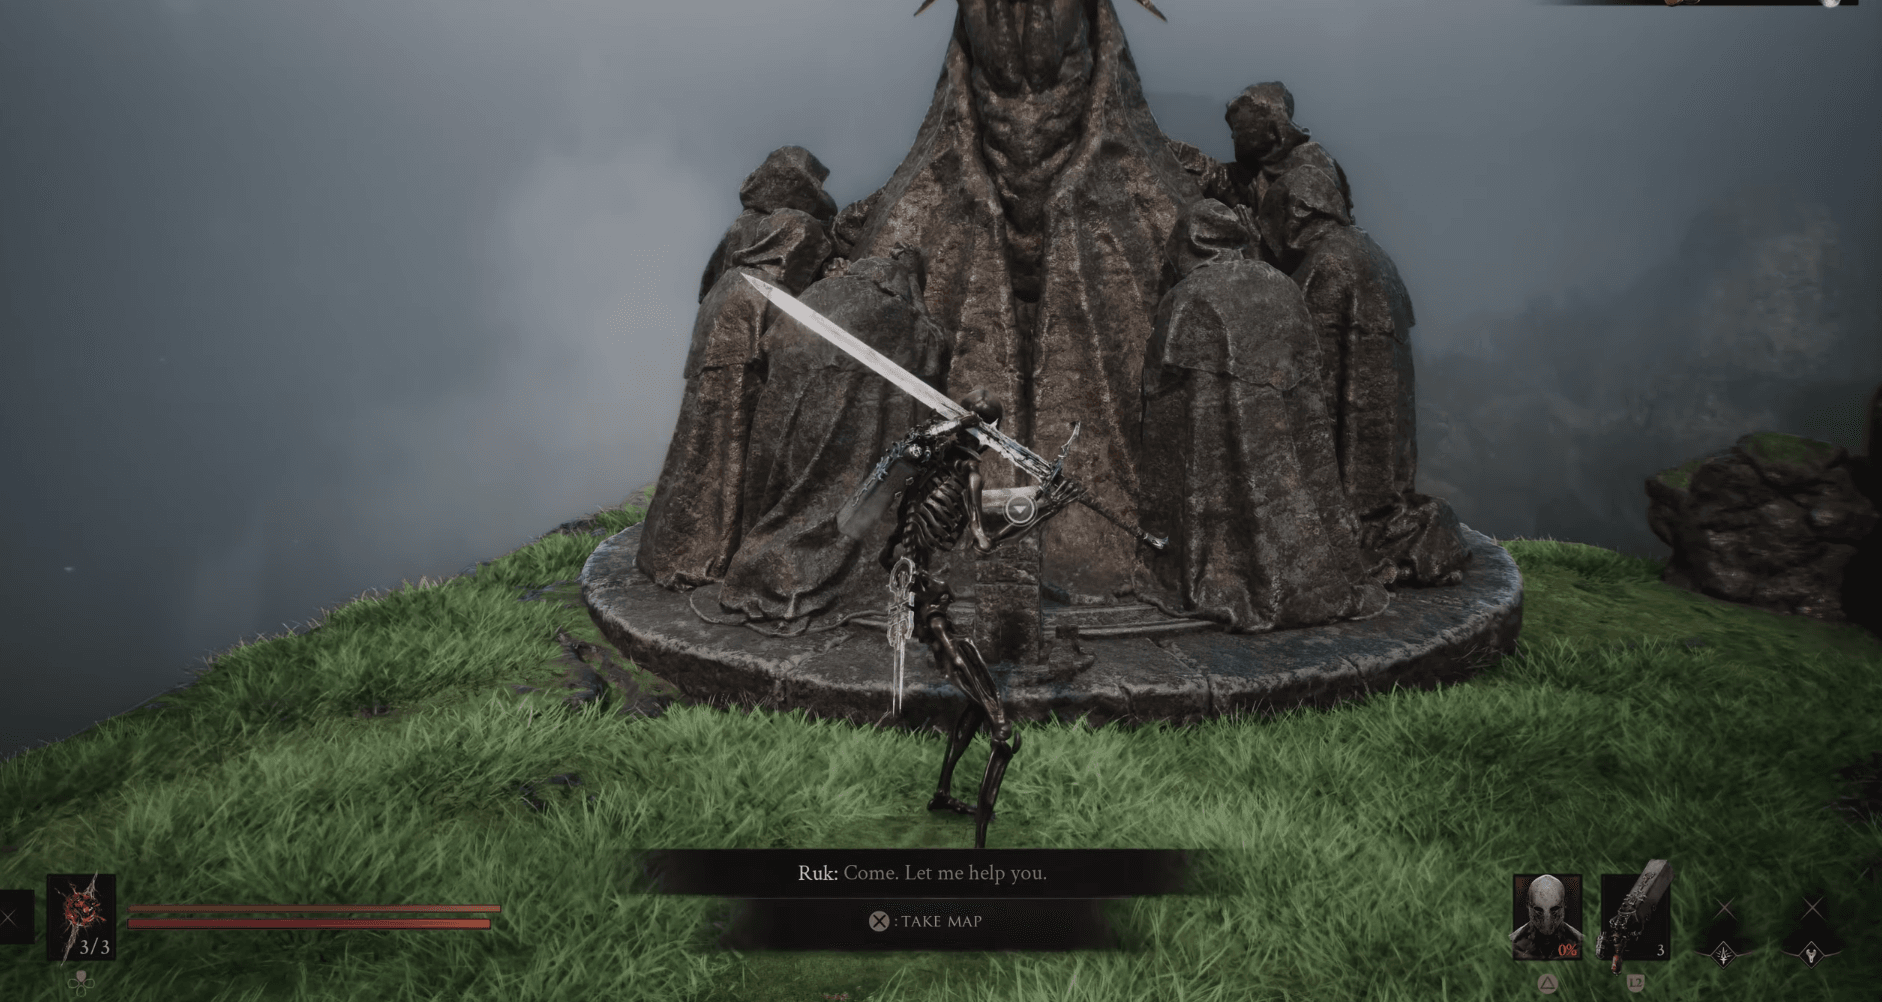
Most of the map starts greyed out. To clear the fog, find Raven icons in the unexplored sections of your map and track down the map fragments associated with them. Getting a clear map for an area transforms navigation from guesswork into a planned route.
Once you have a map, use manual markers to flag locations you want to revisit. Dungeons, chests, and Shell locations are worth tagging. For a full breakdown of every map fragment location, the Mortal Shell 2 map guide covers each one step by step.
Mortal Shell 2 Ultimate Beginner's Guide
What gear should you prioritize early?
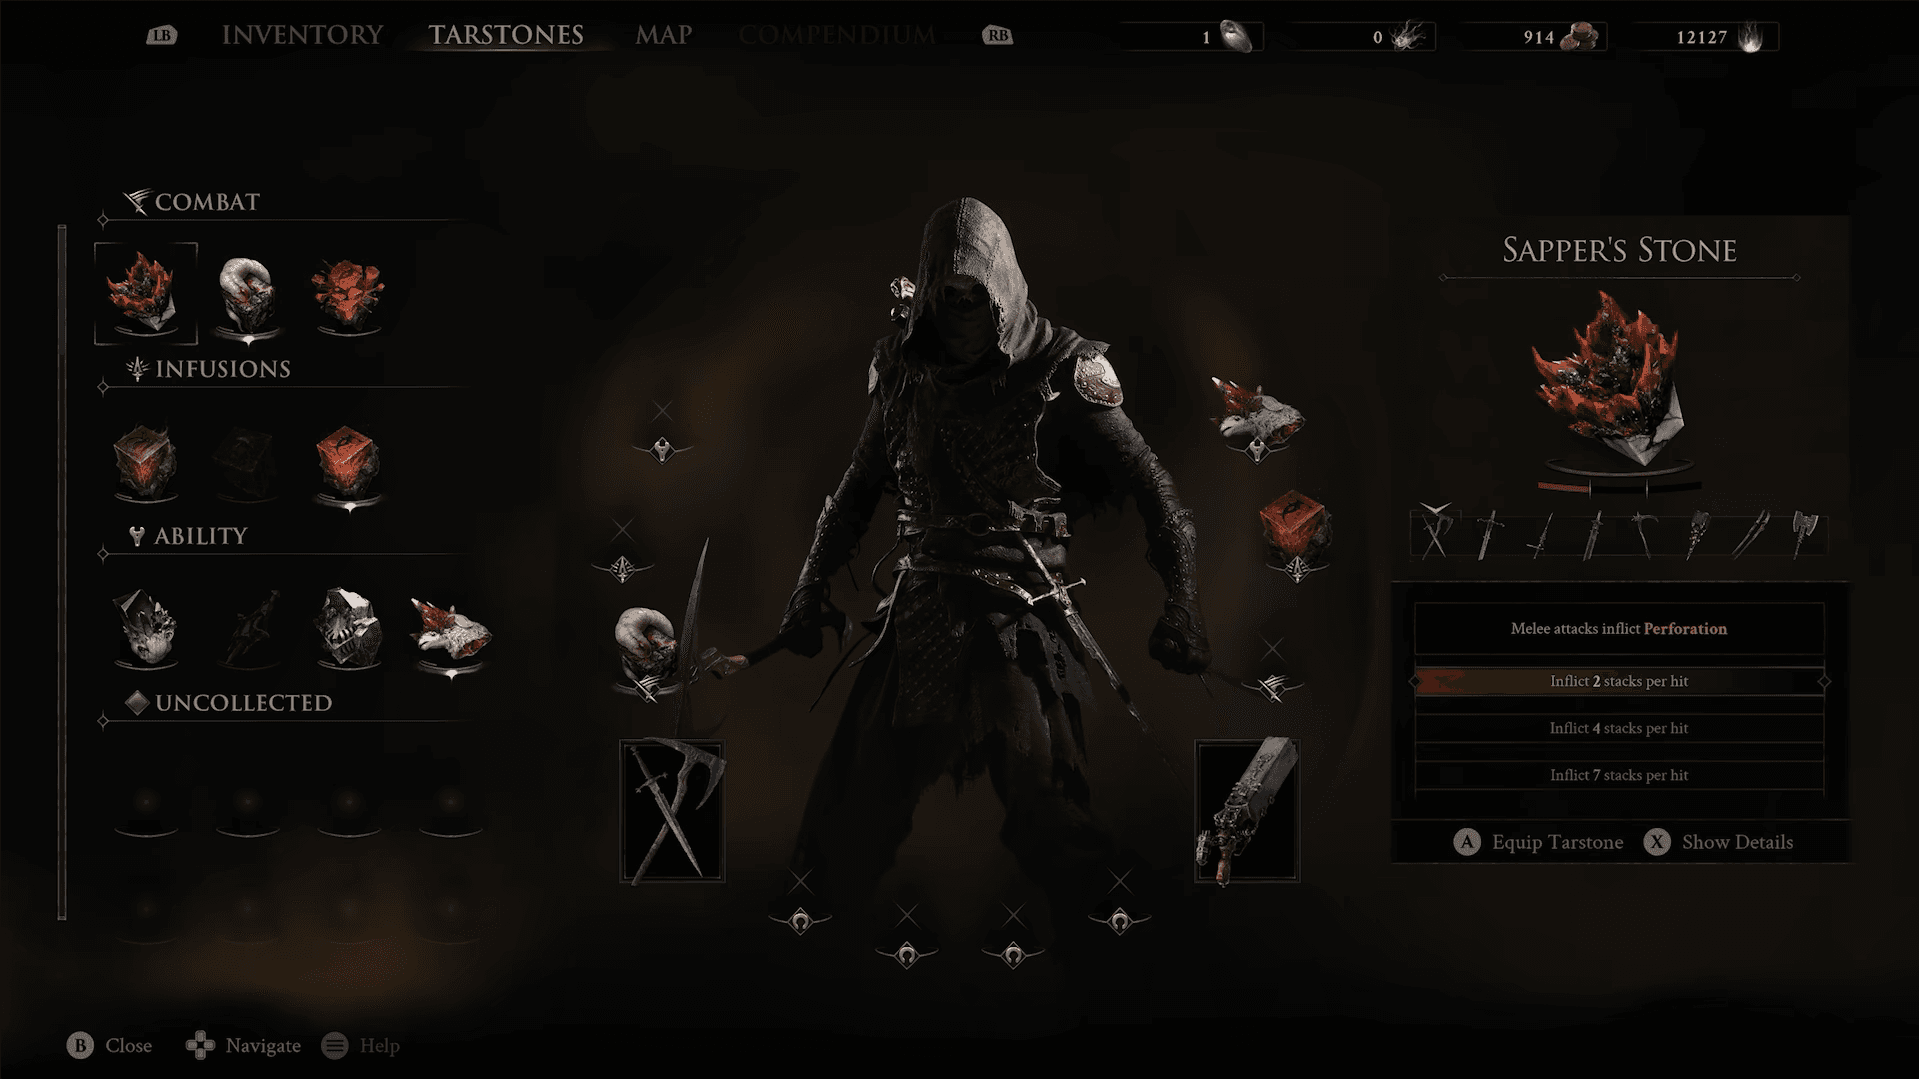
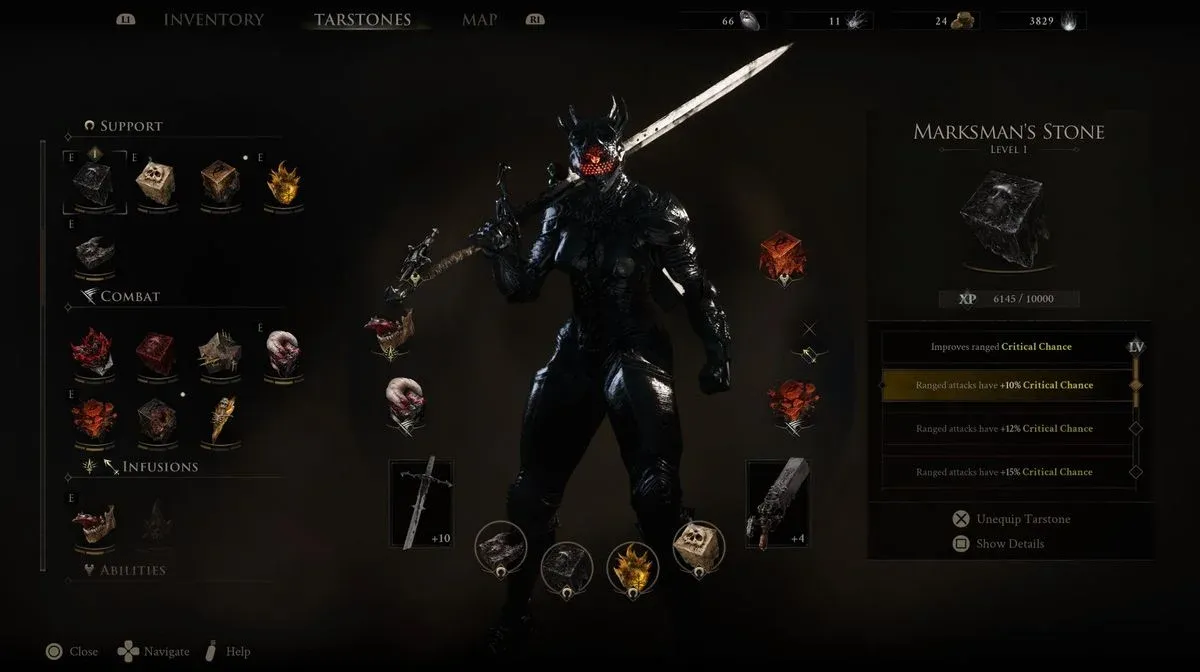
Your build in Mortal Shell 2 comes from five equippable components: Shell, Weapon, Sidearm, Seal, and Tarstones. All of them are scattered across the open world and must be found before they can be used.
- Shell: Defines your class and acts as your armor. Invest Glimpse here to deepen your bond and unlock Shell abilities.
- Weapon: Your primary melee tool. Test its reach and recovery before spending scarce upgrade materials on it.
- Sidearm: Ranged damage that costs Resolve. Useful for recovering dropped Gloom at range.
- Seal: Adds a combat mechanic. The Slayer Seal makes the game easier but locks some achievements. The Vatra Seal counters damage-over-time effects like Poison.
- Tarstones: Four types (Support, Combat, Infusion, Ability) and multiple slots. Upgrade them through Franz.
To upgrade Mether's Pulse charges and efficiency, look for Revered Glands or Synaptic Vessels in the world and consume them at Beacons.
Mortal Shell 2 Ultimate Beginner's Guide
Hidden mechanics worth knowing early
A few things the game does not explain clearly:
- Pressing attack mid-air performs a plunging attack that cancels fall damage and deals AoE on landing.
- Walls with markings in dungeons and near Beacons can be hit to reveal hidden paths and extra resources.
- Talking to every NPC and exhausting all dialogue options unlocks side quests with upgrade material and Shell rewards.
- Enemies can damage each other. Pulling groups into tight spaces or near environmental hazards like beehives turns enemy aggression into your advantage.
How long does Mortal Shell 2 take to beat?
The answer depends heavily on how much you explore and whether you chase completionist goals. For a full breakdown of playtime across a focused run, completionist route, and New Game+, check out the Mortal Shell 2 completion time guide.
For everything else, from boss strategies to Shell tier lists to trophy hunting, the full Mortal Shell II strategy guide collection has you covered.