Search games, articles, guides...CtrlK
Sign InGet Started
Learn how to unlock and use the Infinite Seal to parry in Mortal Shell 2, build break meters, and land devastating ripostes.

Written by Larc
Content Writer
See more GAMES.GG guides on Google
Add us as a preferred source and our guides show up first in your results.

Mortal Shell 2 Guide: How to Find Ruk Raven & Get Map of Fainweald
Ruk sits on The Hag's Path, not inside Prophet's Rest. Here's the exact route to grab Map of Fainweald [1] fast.
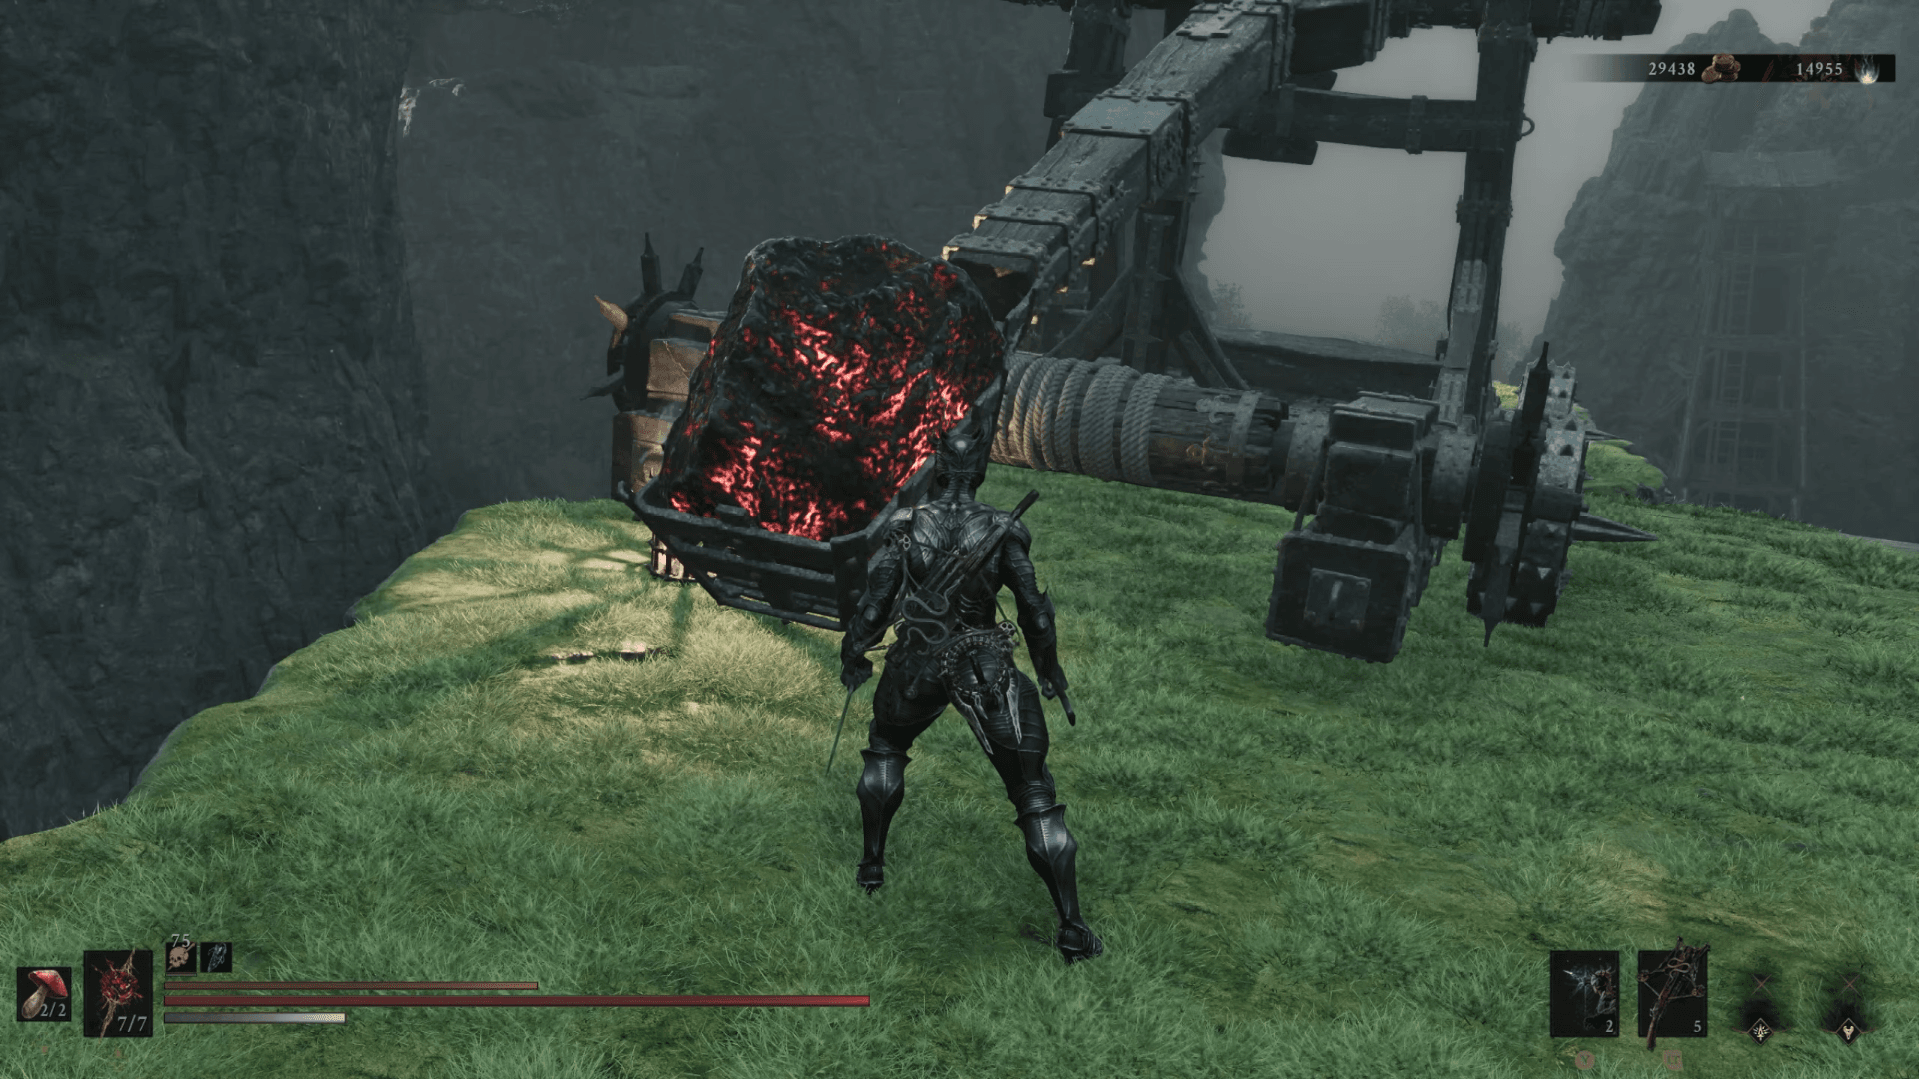
Mortal Shell 2 Guide: How to Get & Use Makeshift Projectile
Find the Makeshift Projectile, fire it from the Mammon catapult, and unlock the hidden Alchemist's Workshop dungeon entrance.
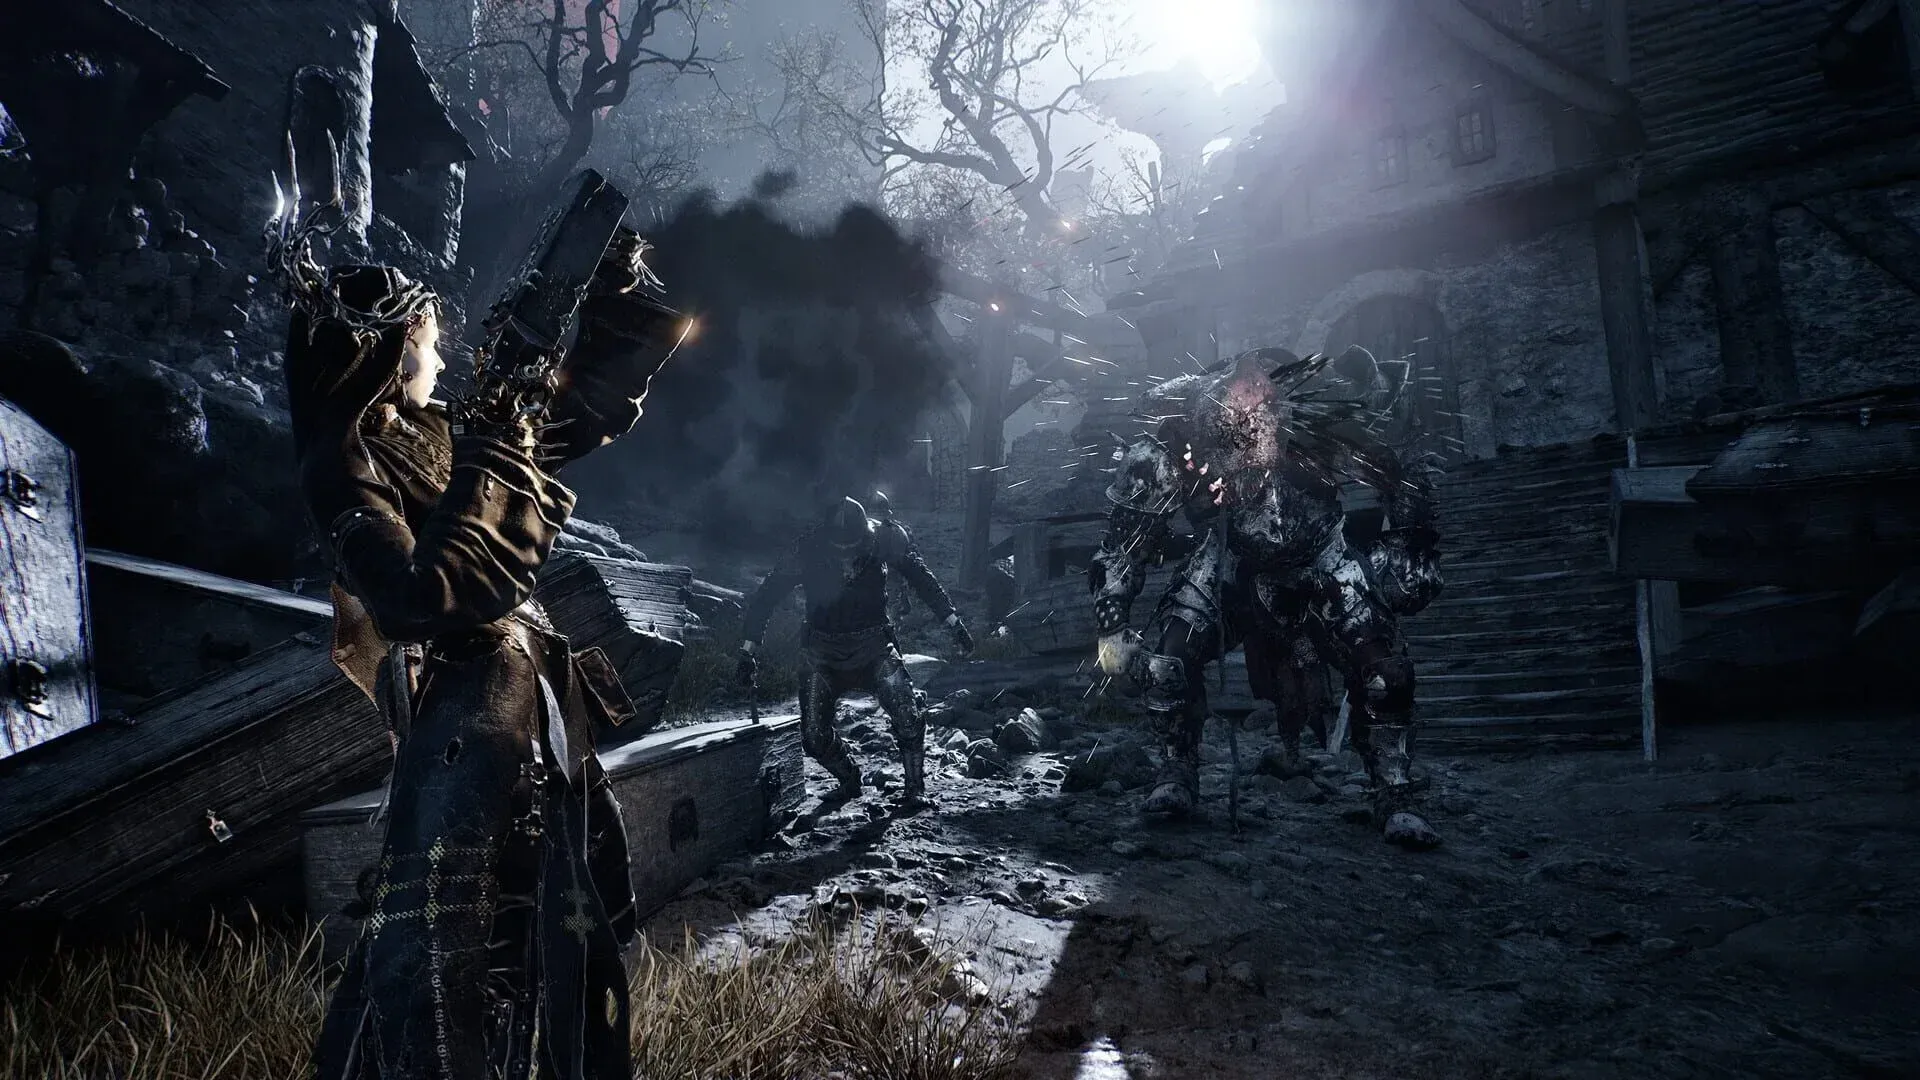
Mortal Shell 2 Guide: All Revered Gland Locations
Find both early Revered Glands in Mortal Shell 2 to push Mether's Pulse from 3 to 5 charges before your first major boss.
Parrying in Mortal Shell II is not handed to you at the start. The mechanic sits behind a specific item called the Infinite Seal, and until you earn it, you are working with blocking and hardening instead. Once you have it equipped, the entire rhythm of combat shifts toward something faster and more punishing in both directions. Get it right and enemies stagger open for massive damage. Miss the window and you eat a full hit with no protection whatsoever.
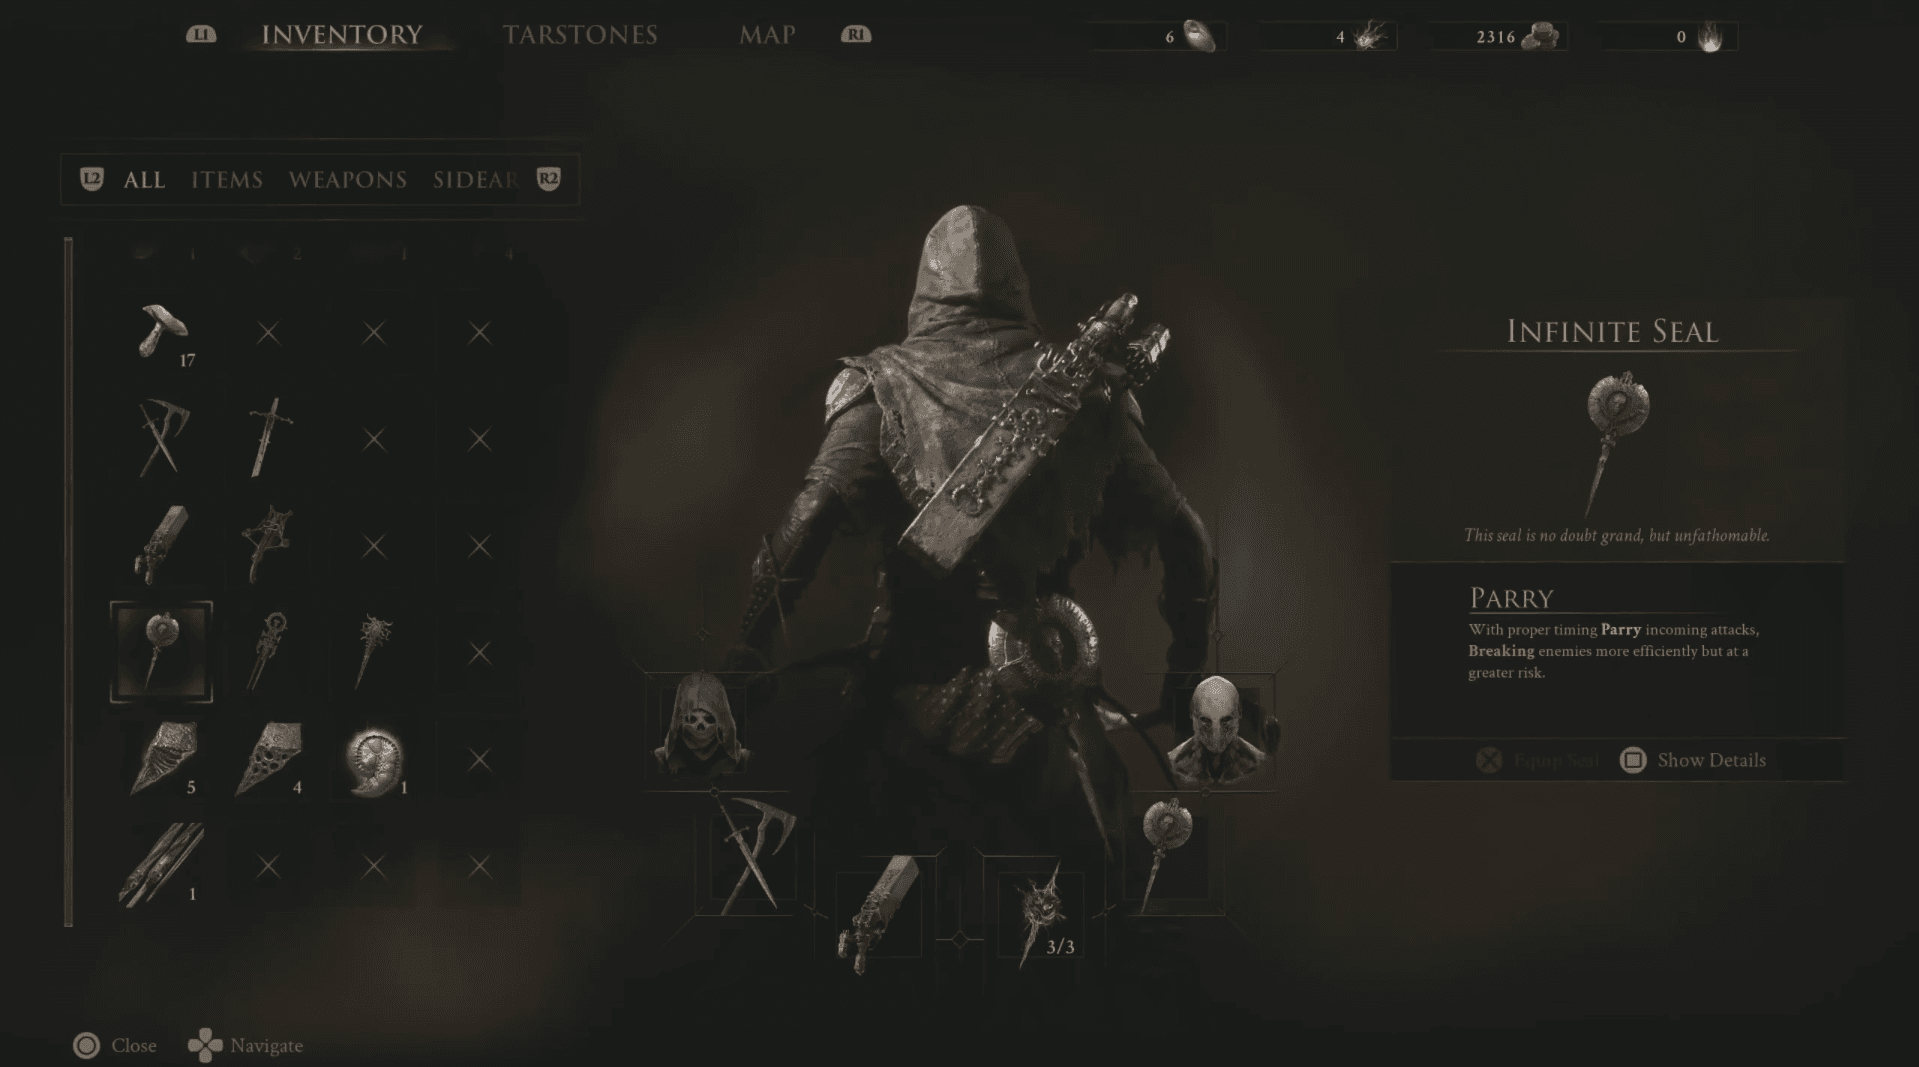
The Infinite Seal is the only item in Mortal Shell 2 that grants the parry ability. You cannot parry without it equipped, so getting it early should be a priority.
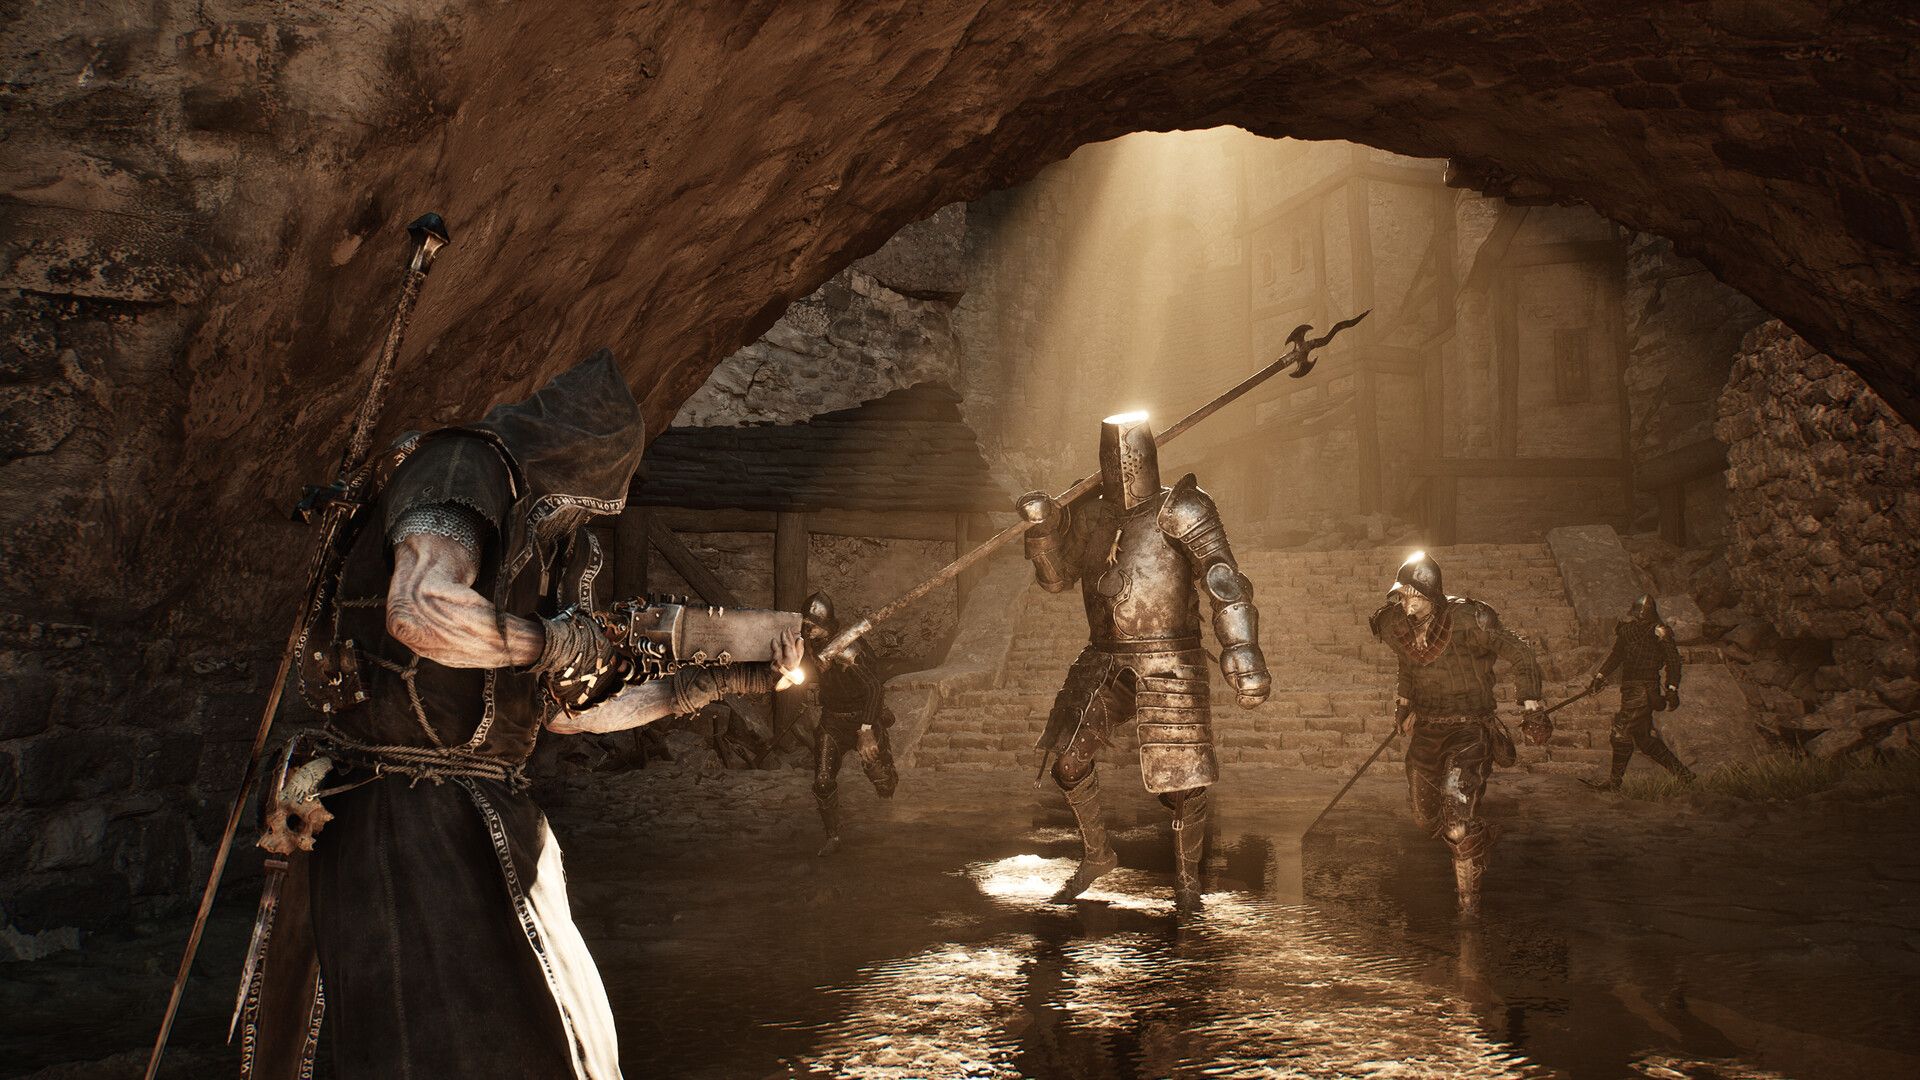
Progress through the prologue until you reach Marrow Keep, the game's central hub. From the Marrow Keep Beacon, head through the exit that leads into a cavern. Inside you will find an arena surrounded by white stone coffins lit by candles, and a lone masked woman standing at the ready. That is Sester Genessa.
Mortal Shell 2 Parry Guide: How to Use the Infinite Seal
Speak with her to trigger a tutorial on guarding and Perfect Guards. She attacks you in a controlled sequence, flashing yellow when the correct guard timing arrives. Press LB on Xbox, L1 on PlayStation, or Q on PC to guard. Successfully guard three of her attacks and she rewards you with the Infinite Seal.
Once you have it, equip the Infinite Seal through your inventory. You can immediately practice against Sester Genessa again by selecting the option from her menu before heading back out into the world.
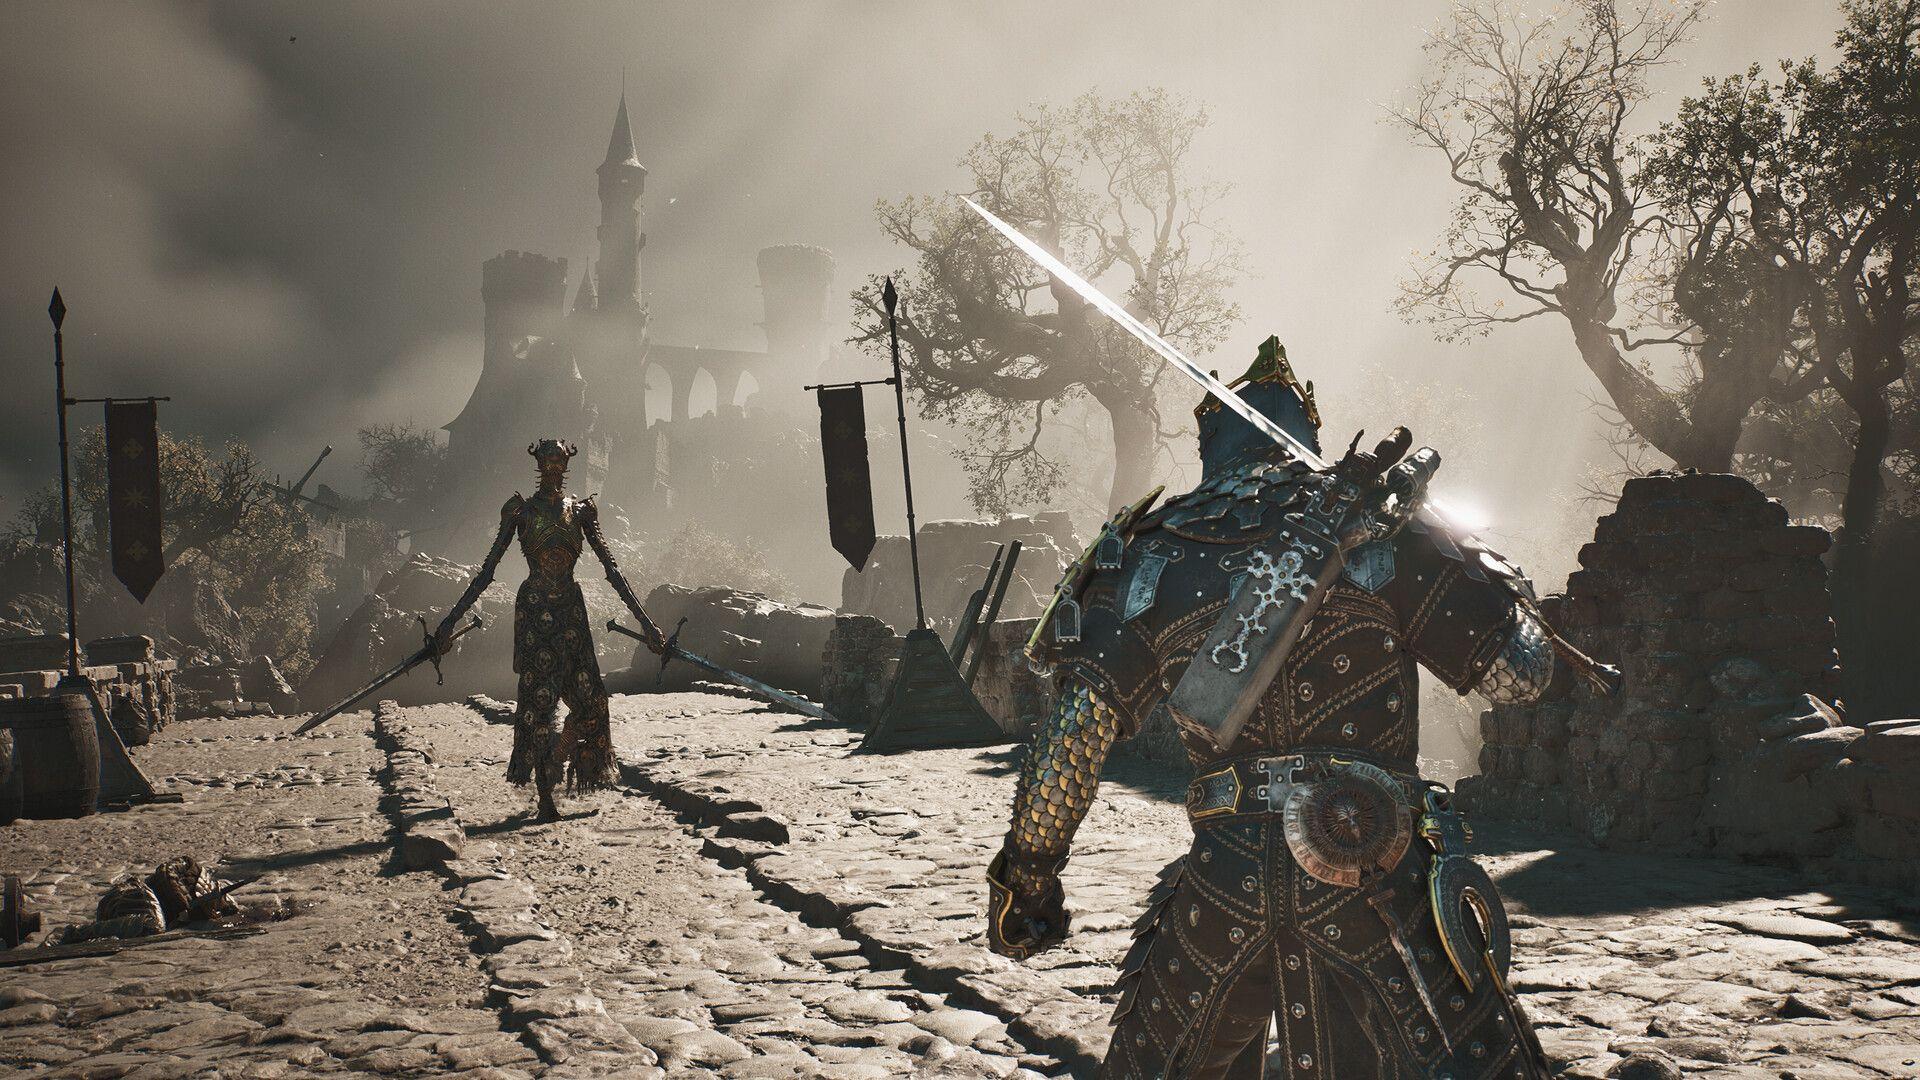
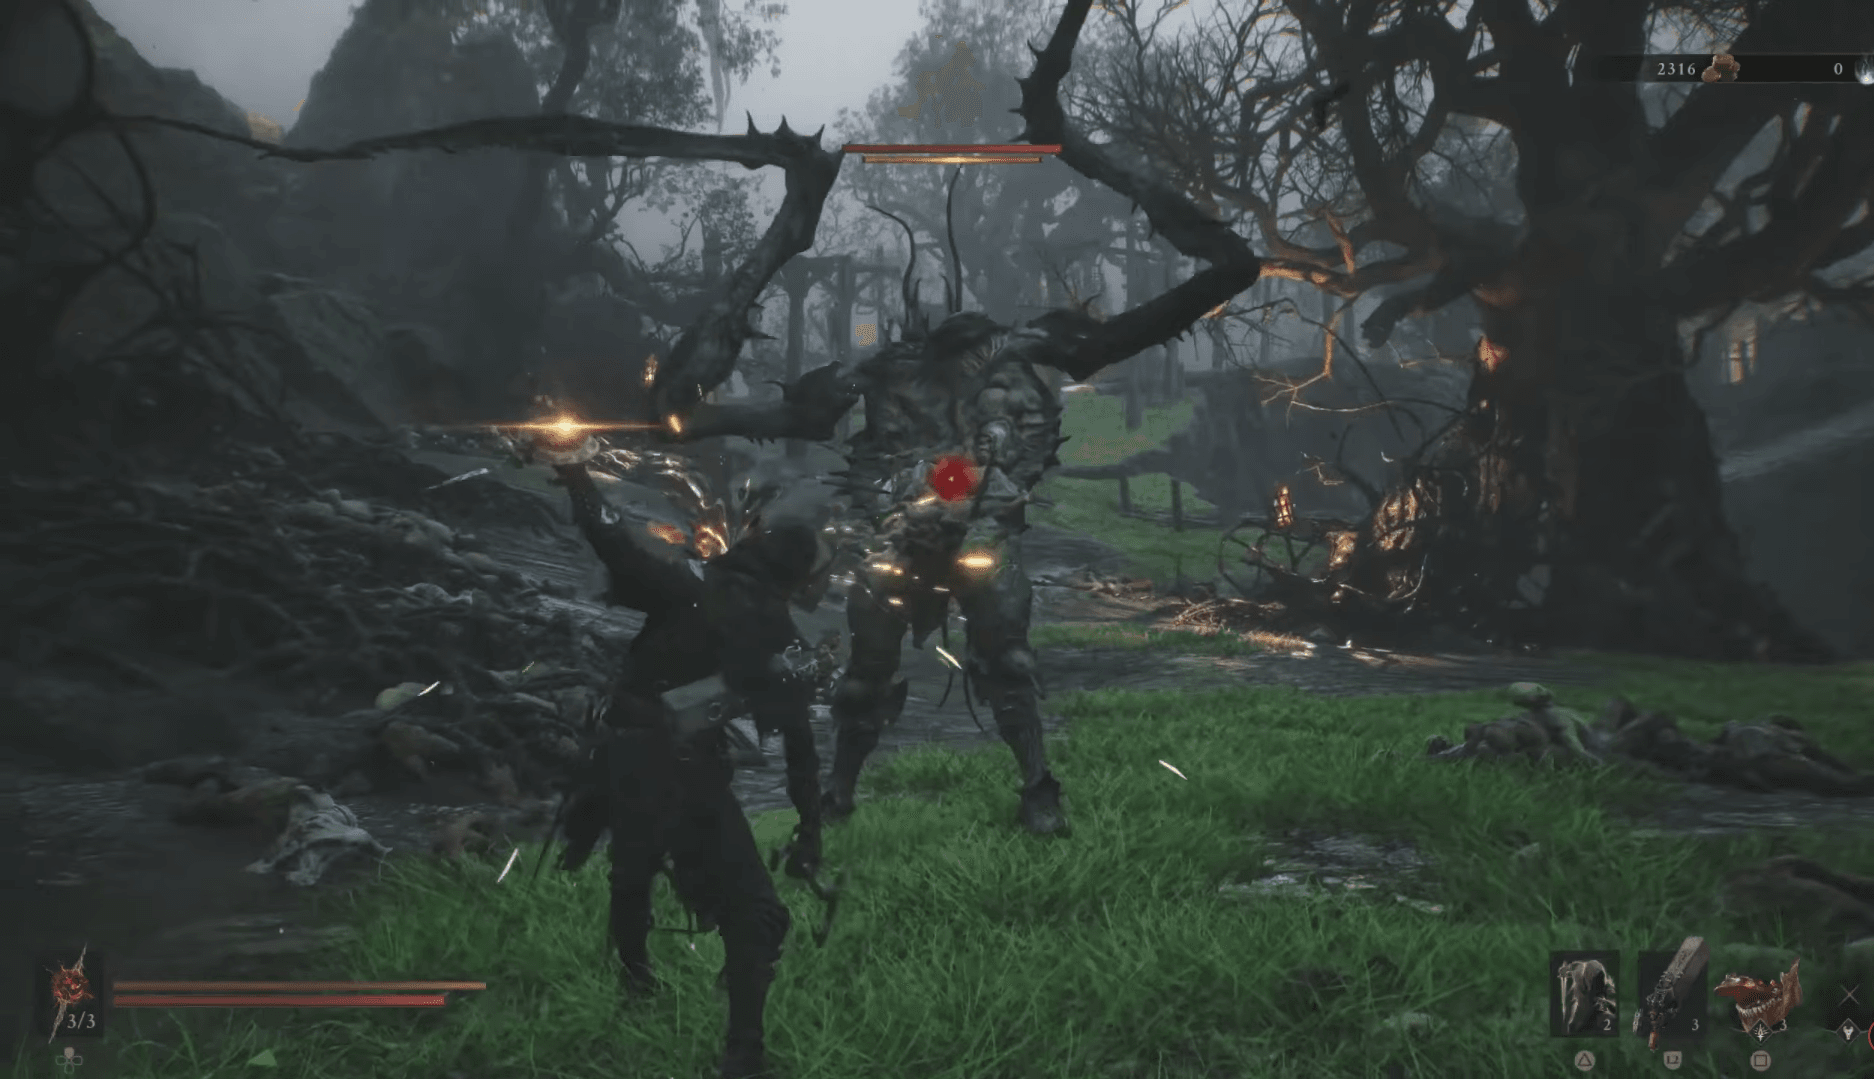
With the Infinite Seal equipped, press LB / L1 / Q to initiate a parry. Your character performs a sweeping arm motion in front of their body. The parry succeeds when that arm motion catches the incoming attack mid-swing, not when the enemy begins moving and not after the strike has already landed.
The key mental shift is this: you are not reacting to the attack, you are anticipating it. Watch the enemy's wind-up and start your parry so the animation meets the strike halfway. The Infinite Seal's wind-up takes a moment to complete, which means panic-pressing the button the instant an enemy moves will almost always result in a miss.
Mortal Shell 2 Parry Guide: How to Use the Infinite Seal
A successful parry nullifies all incoming damage and deals a large amount of Break damage to the enemy. Break damage fills the yellow bar visible beneath an enemy's health meter, which represents their poise. A single successful parry deals roughly the equivalent Break damage of three Perfect Guards or three Perfect Hardens, making it by far the most efficient way to drain that meter.
When the Break meter fills, a red dot appears on the enemy's body. At that point, landing a light attack triggers a Riposte, a special follow-up move that deals significantly more damage than a standard strike.
Mortal Shell 2 gives you three different defensive Seals, and each one changes how you interact with incoming attacks. Critically, you can only have one Seal equipped at a time, so choosing between them is a genuine build decision.
| Seal | Mechanic | Break Damage Output | Risk Level |
|---|---|---|---|
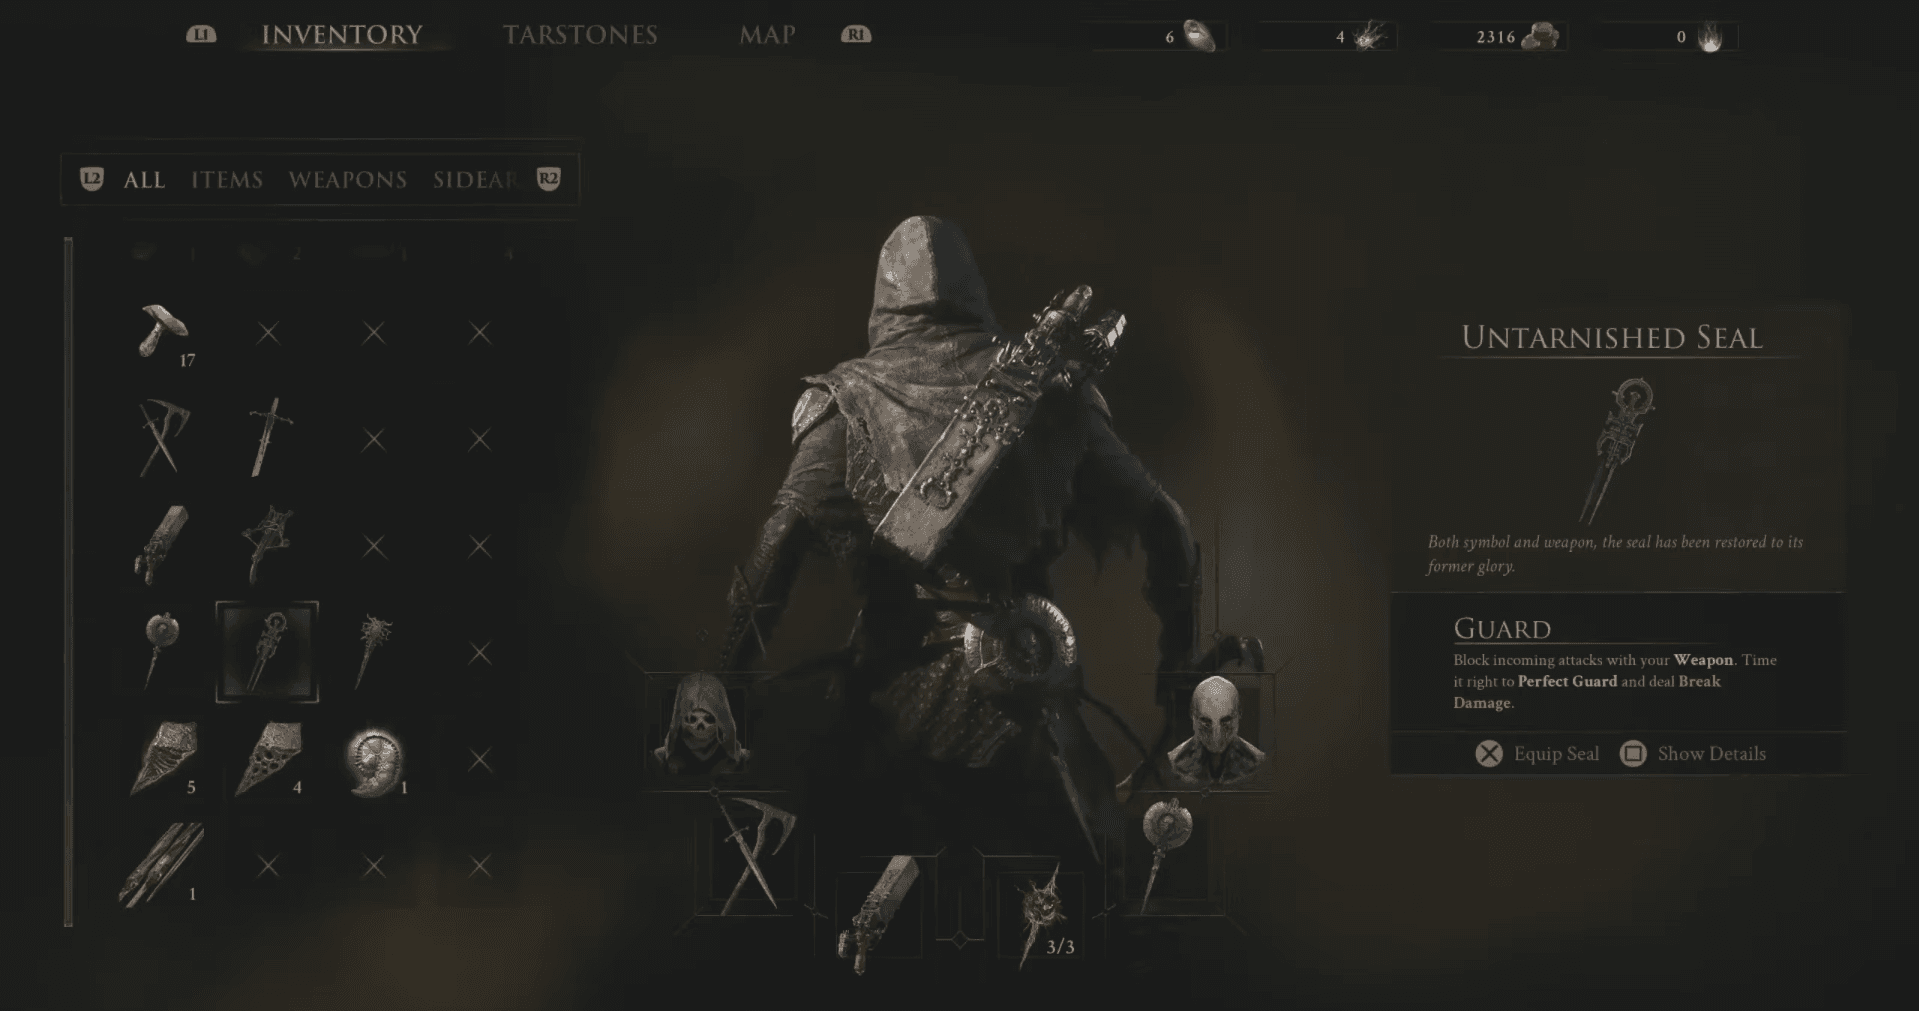
| Untarnished Seal | Guard / Perfect Guard | Low (Perfect Guard only) | Low |
| Vatra's Seal | Harden / Perfect Harden | Low (Perfect Harden only) | Medium |
| Infinite Seal | Parry | High (every successful parry) | High |
The Untarnished Seal is the default option. A standard Guard blocks all damage but deals no Break damage and can be broken if you absorb too many hits. A timed Perfect Guard deals a small amount of Break damage. It is the safest of the three options.
Mortal Shell 2 Parry Guide: How to Use the Infinite Seal
Vatra's Seal converts your defensive action into a stone-hardening effect that absorbs one hit. A Perfect Harden deals a small amount of Break damage, and landing consecutive Perfect Hardens is possible since the cooldown bar refills instantly on a successful timing. Miss once, though, and the cooldown resets normally.
The Infinite Seal is the outlier. Equipping it means you lose access to both guarding and hardening entirely. Every parry attempt is binary: you either nullify the hit and deal heavy Break damage, or you take the full attack with no mitigation. The payoff is that the Break meter fills dramatically faster, meaning Ripostes come much sooner in a fight.
Not every enemy attack is parriable. Attacks that display a red glowing circle are unblockable and cannot be parried or guarded. These appear on both standard enemies and bosses, and attempting to parry them leaves you fully exposed.
When you see the red circle indicator, the correct response is to dodge out of the way rather than attempt a parry. This is especially relevant in boss fights, where unblockable attacks are often the hardest-hitting moves in an enemy's kit.
The single biggest mistake new players make with the Infinite Seal is parrying the moment an enemy moves. Most enemies have a distinct animation before their attack actually travels toward you. Observe that full wind-up a few times before attempting a parry. Once you know the rhythm, the parry timing becomes much more predictable.
Sester Genessa's training arena is available throughout the game, and returning to it after reaching a new area is a legitimate strategy. Outside of that, standard enemies in the early zones are far more forgiving practice targets than bosses. Use them to build muscle memory with the Infinite Seal's specific wind-up before taking that confidence into major encounters.
The Untarnished Seal is genuinely the safer option for most players and most situations. The Infinite Seal rewards you with faster Ripostes, but the Untarnished Seal lets you build Break damage through Perfect Guards without the same level of risk. If you find yourself dying repeatedly to a specific enemy, switching back to the Untarnished Seal is not giving up, it is playing smart.
Parrying is the fastest route to a Riposte, but it is not the only one. Certain Tarstones, specifically the Stillblade's Stone and Hand of Rock, grant the ability to deal Break damage directly through attacks. The Shell Eredrim has two abilities that both deal direct Break damage, making it possible to trigger Ripostes without ever using a parry.
The Slayer Seal also has overpowered abilities that deal massive Break damage, though equipping it disables all achievements for that playthrough.
The honest answer depends on your background with Soulslikes. Players who have spent time with parry-heavy games will likely click with the Infinite Seal within an hour or two of focused practice. If you are newer to the genre, expect to spend more time on regular enemies before the timing feels natural. The how long it takes to beat Mortal Shell 2 guide gives a sense of the full time investment, which helps you plan how much of that you want to dedicate to mastering the parry system.
For players who want to explore the world while getting comfortable with combat, having a full map is equally useful. The Mortal Shell 2 map guide covers how to clear the fog and find every map fragment, so you are never wandering blind while you are still learning the parry rhythm.