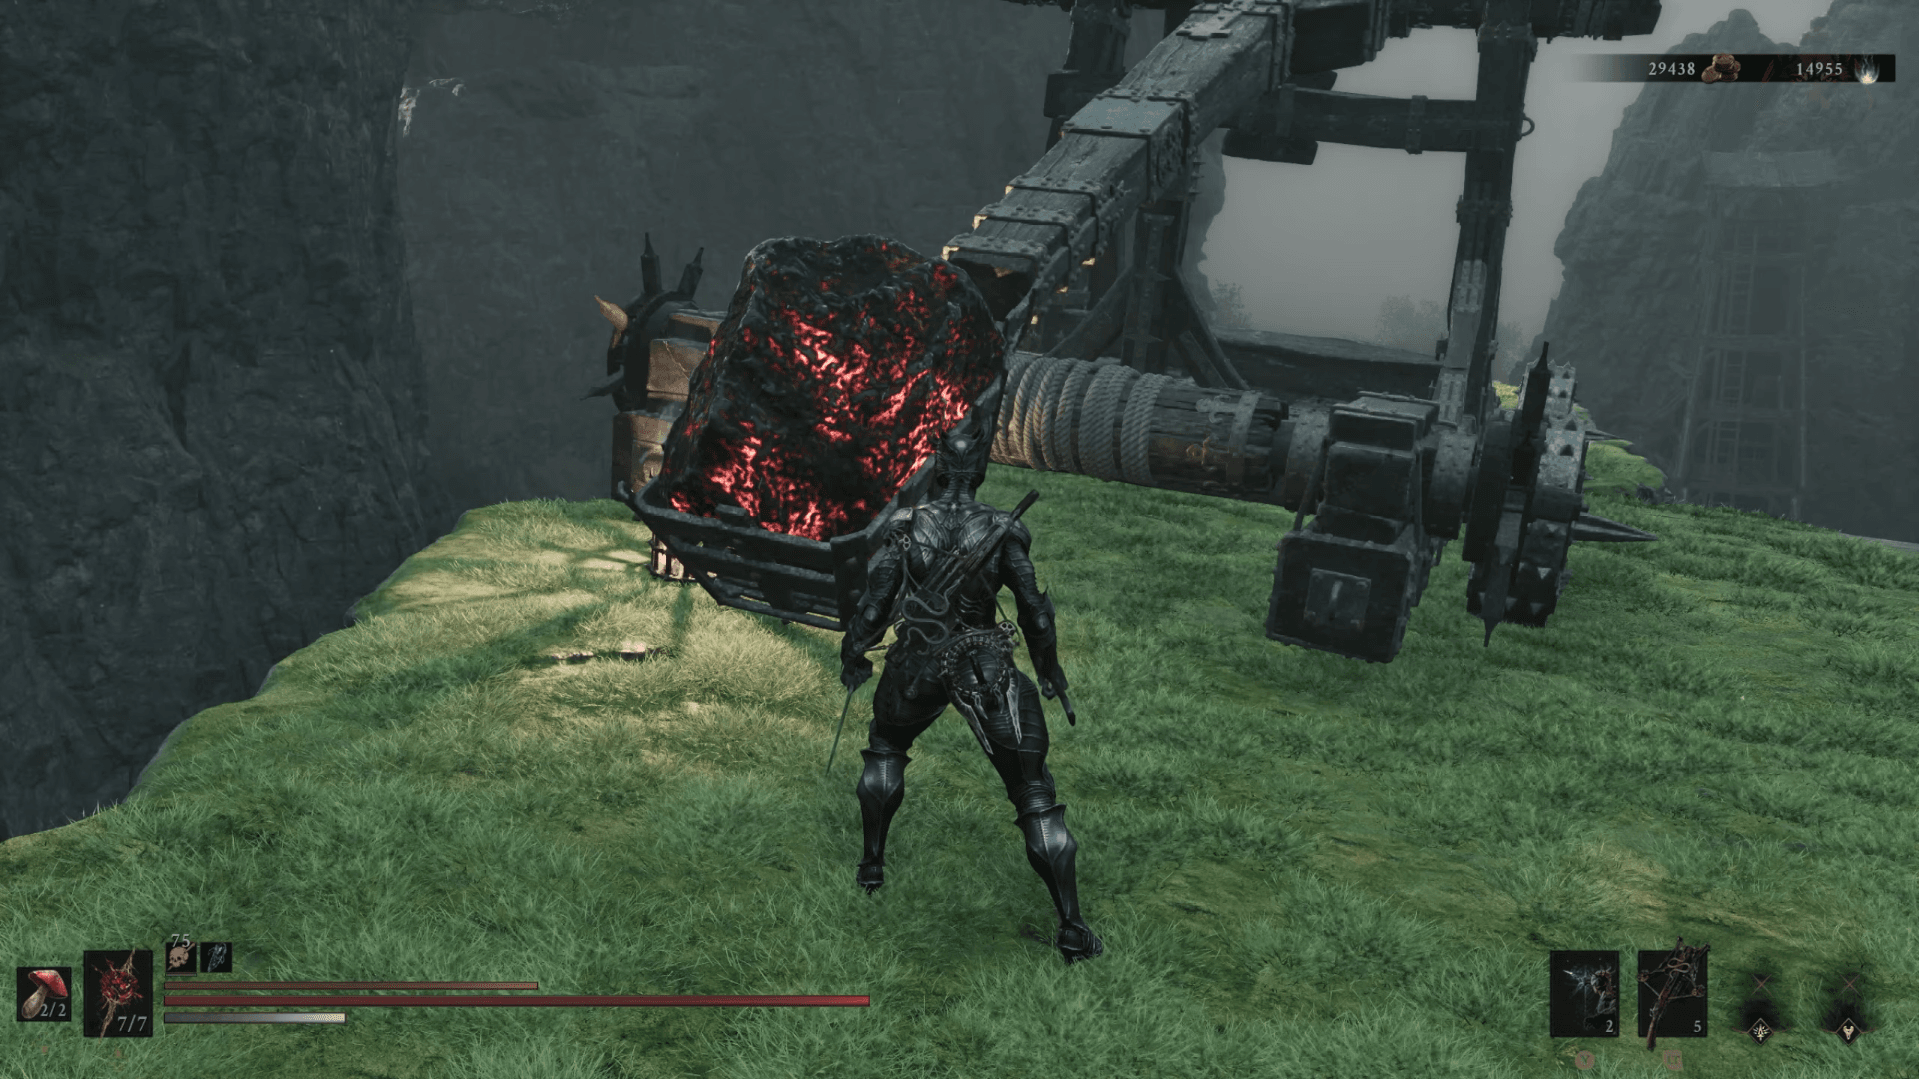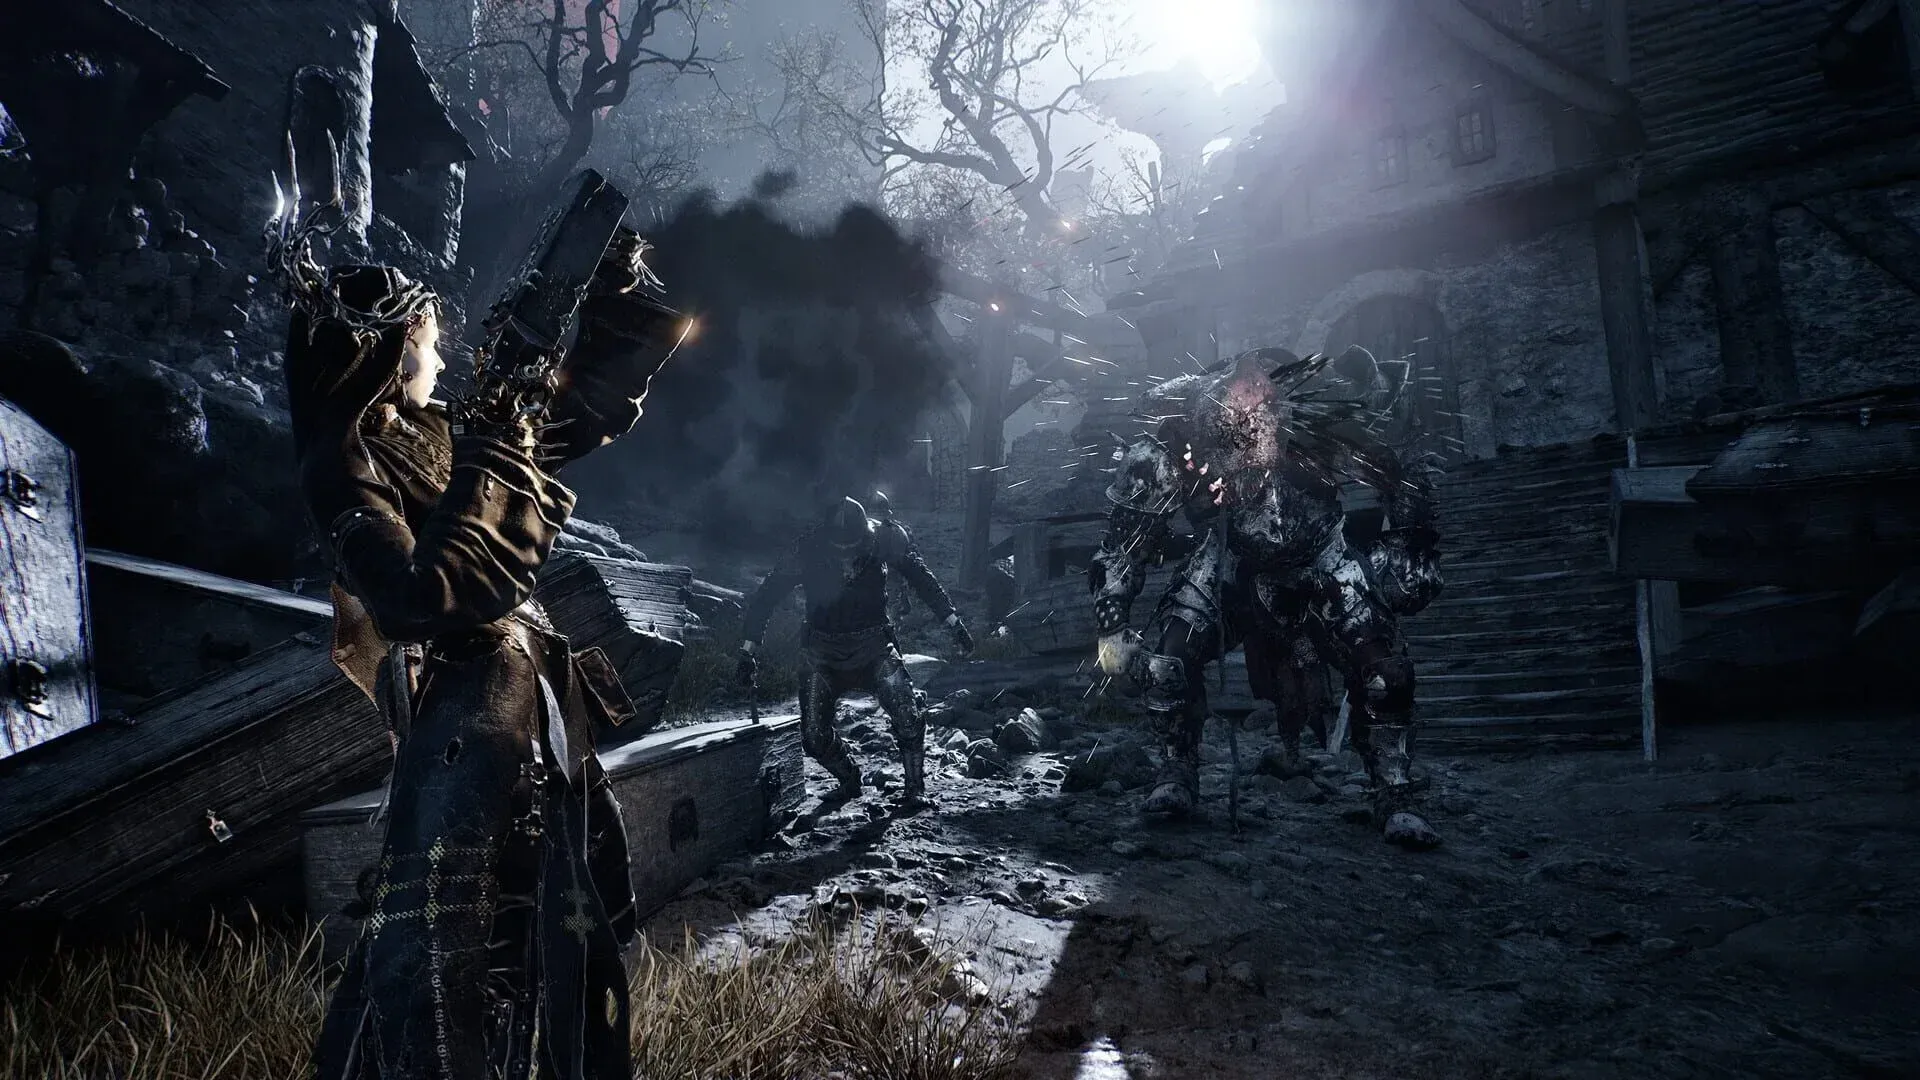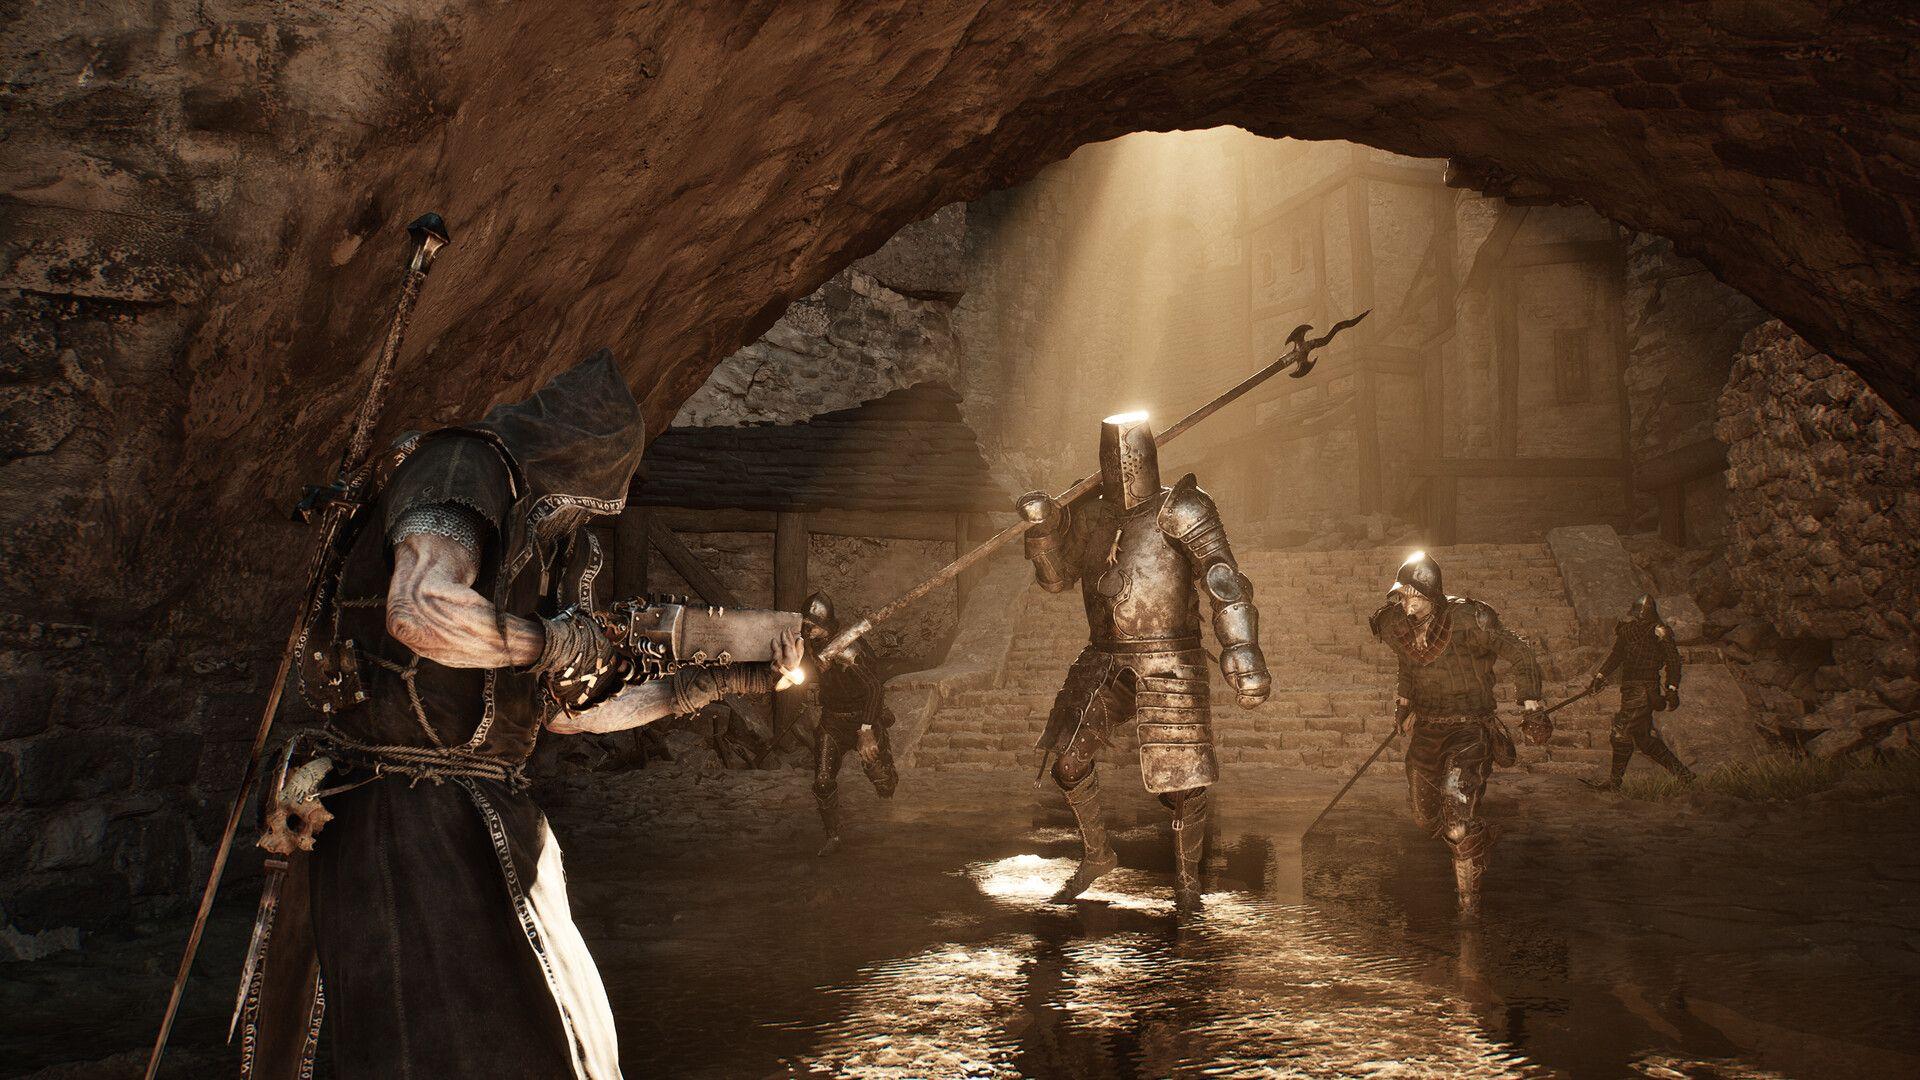

Mortal Shell II runs on Gloom. Every level-up for your Harbinger costs it, the amounts keep climbing, and dying means dropping everything you have collected since your last rest. Getting efficient at farming it early is the difference between keeping pace with the game and grinding the same boss for an hour wondering why nothing dies.
What is Gloom and why does it matter?
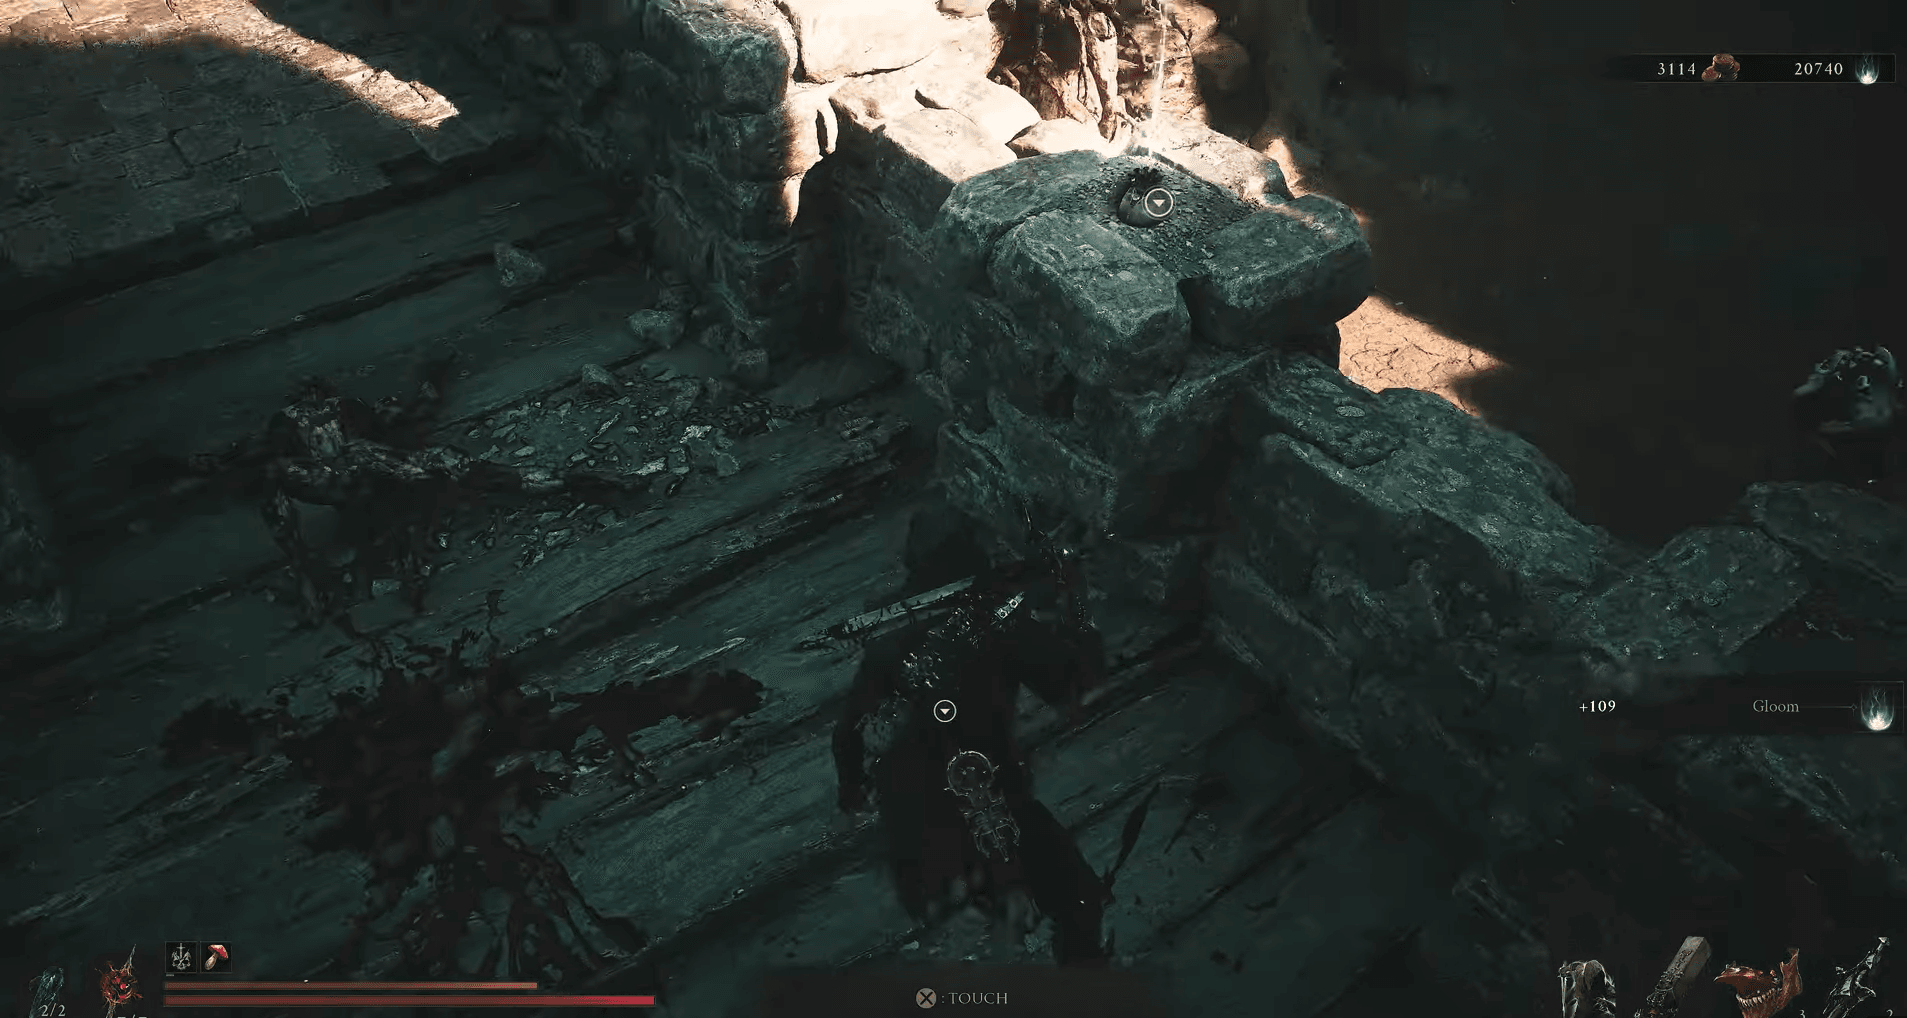
Gloom is a glowing white currency you pick up from slain enemies throughout the world. It functions like souls in other action games: spend it to level up, lose it when you die, and get one chance to recover it from your death location before it disappears forever. If you die again before reaching your dropped Gloom, that pool is gone permanently.
You level up your Harbinger at any Beacon, and the cost scales upward with each upgrade. The stat improvements you receive are shown before you confirm the spend, so you can plan ahead. Gloom cannot be used to upgrade your Shells directly, those have their own separate currencies, but your Harbinger's raw stats affect everything, so keeping pace with the upgrade curve matters.

Mortal Shell 2 Gloom Farming Guide: How to Level Up Fast


How to farm Gloom fast
There are three methods worth knowing, and the best results come from combining all of them.
Clear enemies in loops using Beacon respawns
Every time you rest at a Beacon, enemies in the surrounding area respawn. That makes any dense enemy zone near a Beacon a repeatable farm. Clear the area, walk back to the Beacon, rest, and repeat. Harder enemies drop significantly more Gloom than weaker ones, so prioritize areas where the enemy difficulty justifies the loop time.
The key variable is proximity. A Beacon sitting 10 seconds from a cluster of enemies is worth far more than a denser area that takes two minutes to reach from the nearest rest point. Route efficiency matters as much as raw enemy count.
Mortal Shell 2 Gloom Farming Guide: How to Level Up Fast
Strike glowing orb trees for a one-time boost
Scattered across the world are vine-like tree growths with bluish white glowing orbs. Hitting these nets a decent chunk of Gloom on the spot. The catch: they do not replenish. Each tree is a one-time resource, so treat them as a top-up rather than a farm route. They are worth striking whenever you pass one, especially early when every bit of Gloom accelerates your first few upgrades.
Equip the Gloombound Stone Tarstone
Tarstones are equippable items that modify your weapon and sidearm behavior. The Gloombound Stone is a Support-type Tarstone that increases the amount of Gloom dropped by slain enemies. Its effect scales with upgrade level:
| Gloombound Stone Level | Gloom Bonus |
|---|---|
| Lv. 1 | Slain foes drop more Gloom (base increase) |
| Lv. 2 | +2% Gloom from slain foes |
| Lv. 3 | +4% Gloom from slain foes |
| Lv. 4 | +6% Gloom from slain foes |
Equipping this stone before any farming session multiplies every kill's payout. Upgrading it further compounds the benefit over a long loop session. If you plan to spend time farming, slot the Gloombound Stone before you start.
What is the best early area to farm Gloom?
The sheep pen near the Sunken Village Beacon is the standout early-game option. After defeating the optional boss The Wandering Shepherd, you gain access to a pen containing nine sheep just across the bridge from the Beacon. Each full clear of the pen yields up to 900 Gloom, and the Beacon is close enough that the loop takes very little time.
The combination of a nearby Beacon, a predictable enemy group, and a solid payout makes this one of the most time-efficient early spots available. It is not the flashiest farm, but clearing a sheep pen nine times is faster than hunting scattered enemies across a larger zone.
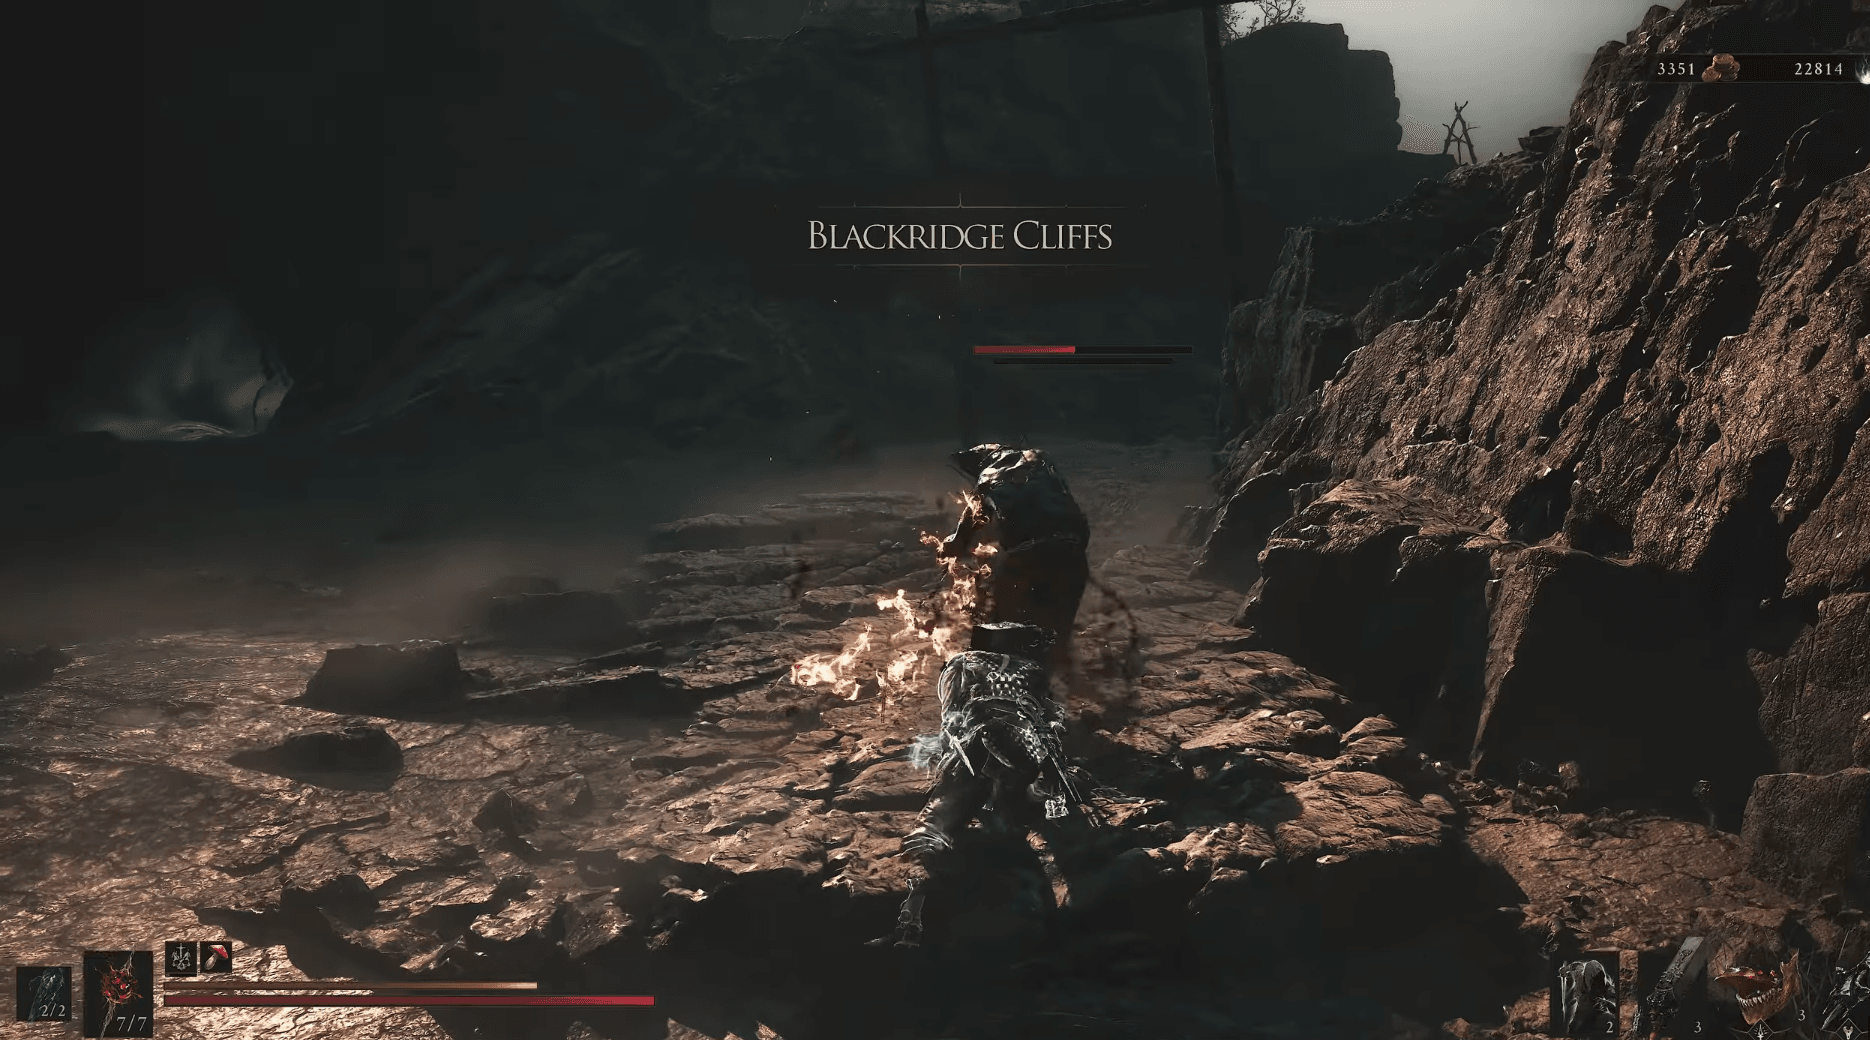
Mortal Shell 2 Gloom Farming Guide: How to Level Up Fast
Putting it all together
The most efficient Gloom farming setup combines all three methods: equip the Gloombound Stone before starting, collect every glowing orb tree on your first pass through an area, then settle into a Beacon loop at a high-density zone like the Sunken Village sheep pen. Each element on its own is fine; running all three simultaneously turns routine clearing into a fast progression engine.
Spend your Gloom at Beacons regularly rather than sitting on a large pool. The risk of losing it to a bad death outweighs the marginal benefit of banking it for a bigger level-up later. Consistent small investments in your Harbinger keep your stats climbing steadily through the game's tougher sections.
Curious how much time the full game demands? The how long to beat Mortal Shell 2 guide breaks down the main playthrough and completionist estimates. If you are still clearing fog from your map, the Mortal Shell 2 map guide covers every fragment location. For everything else, the full Mortal Shell II strategy guides collection has you covered.