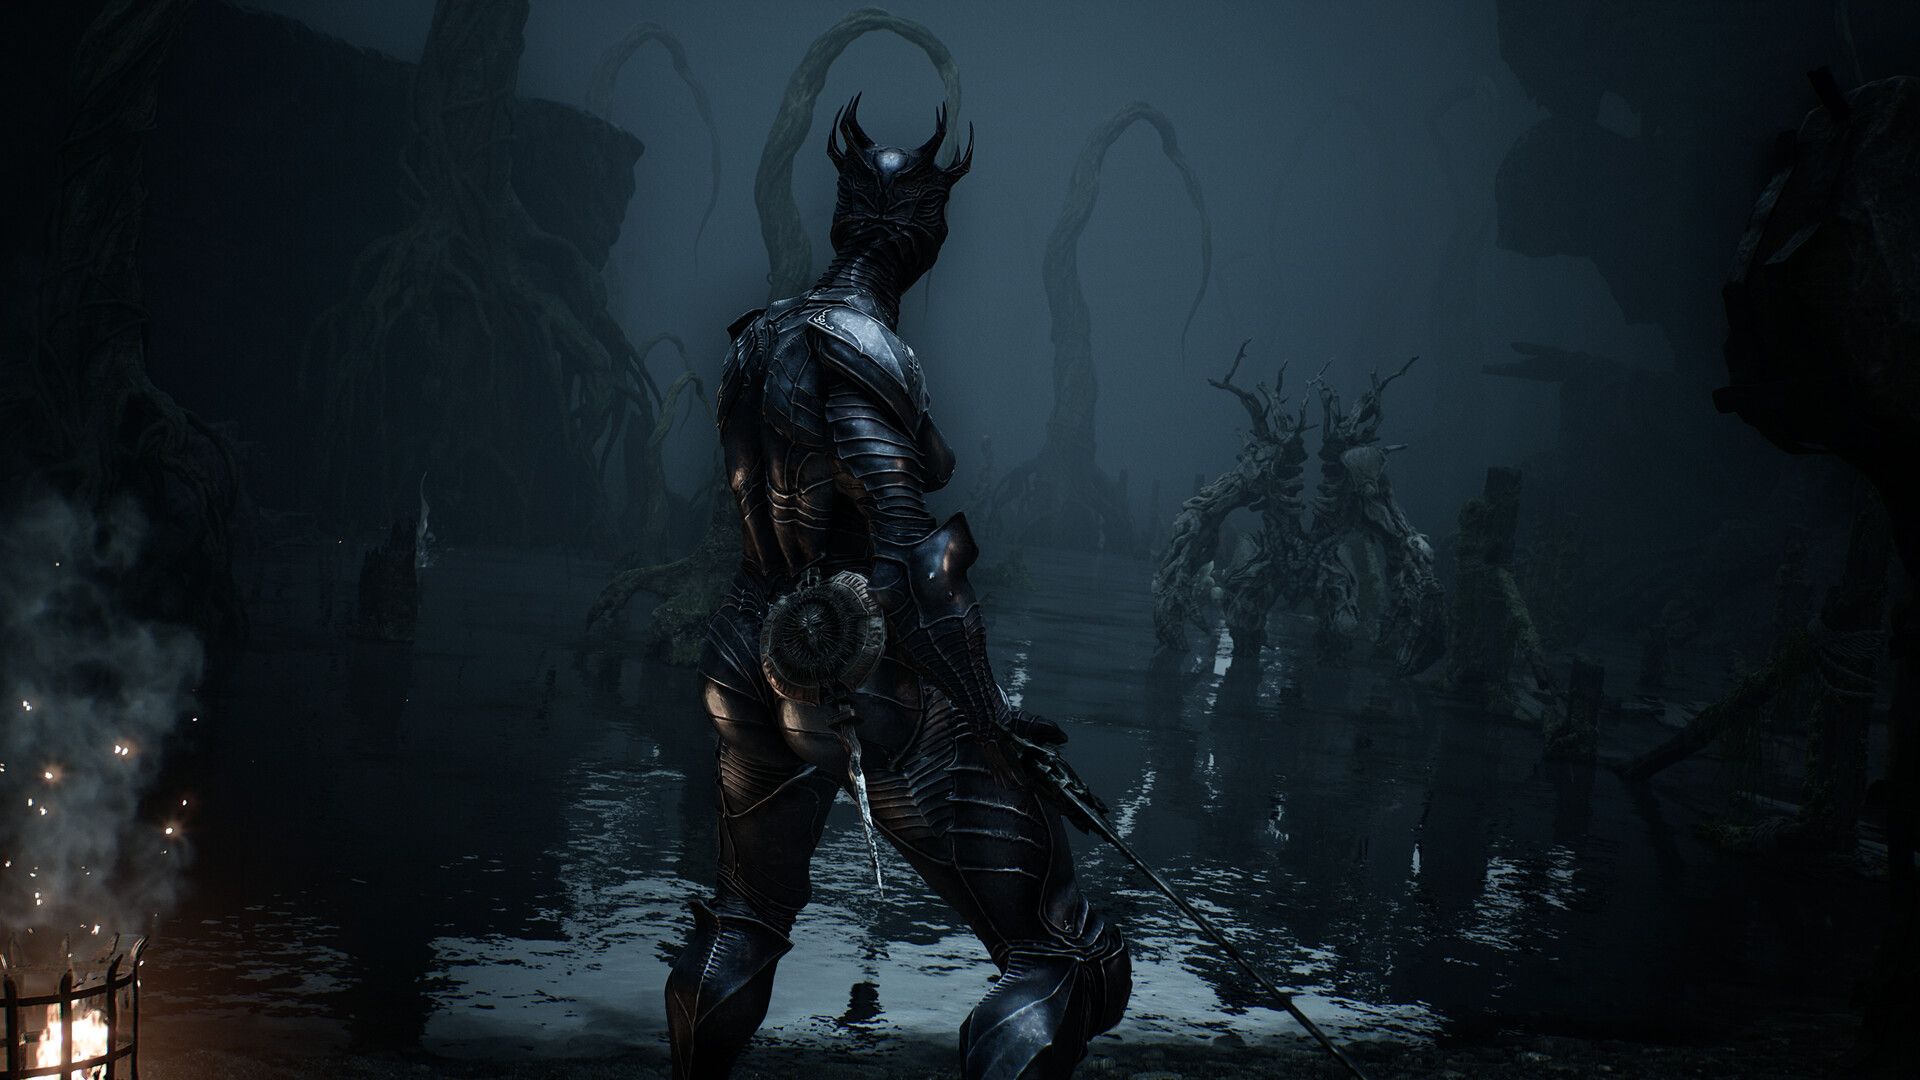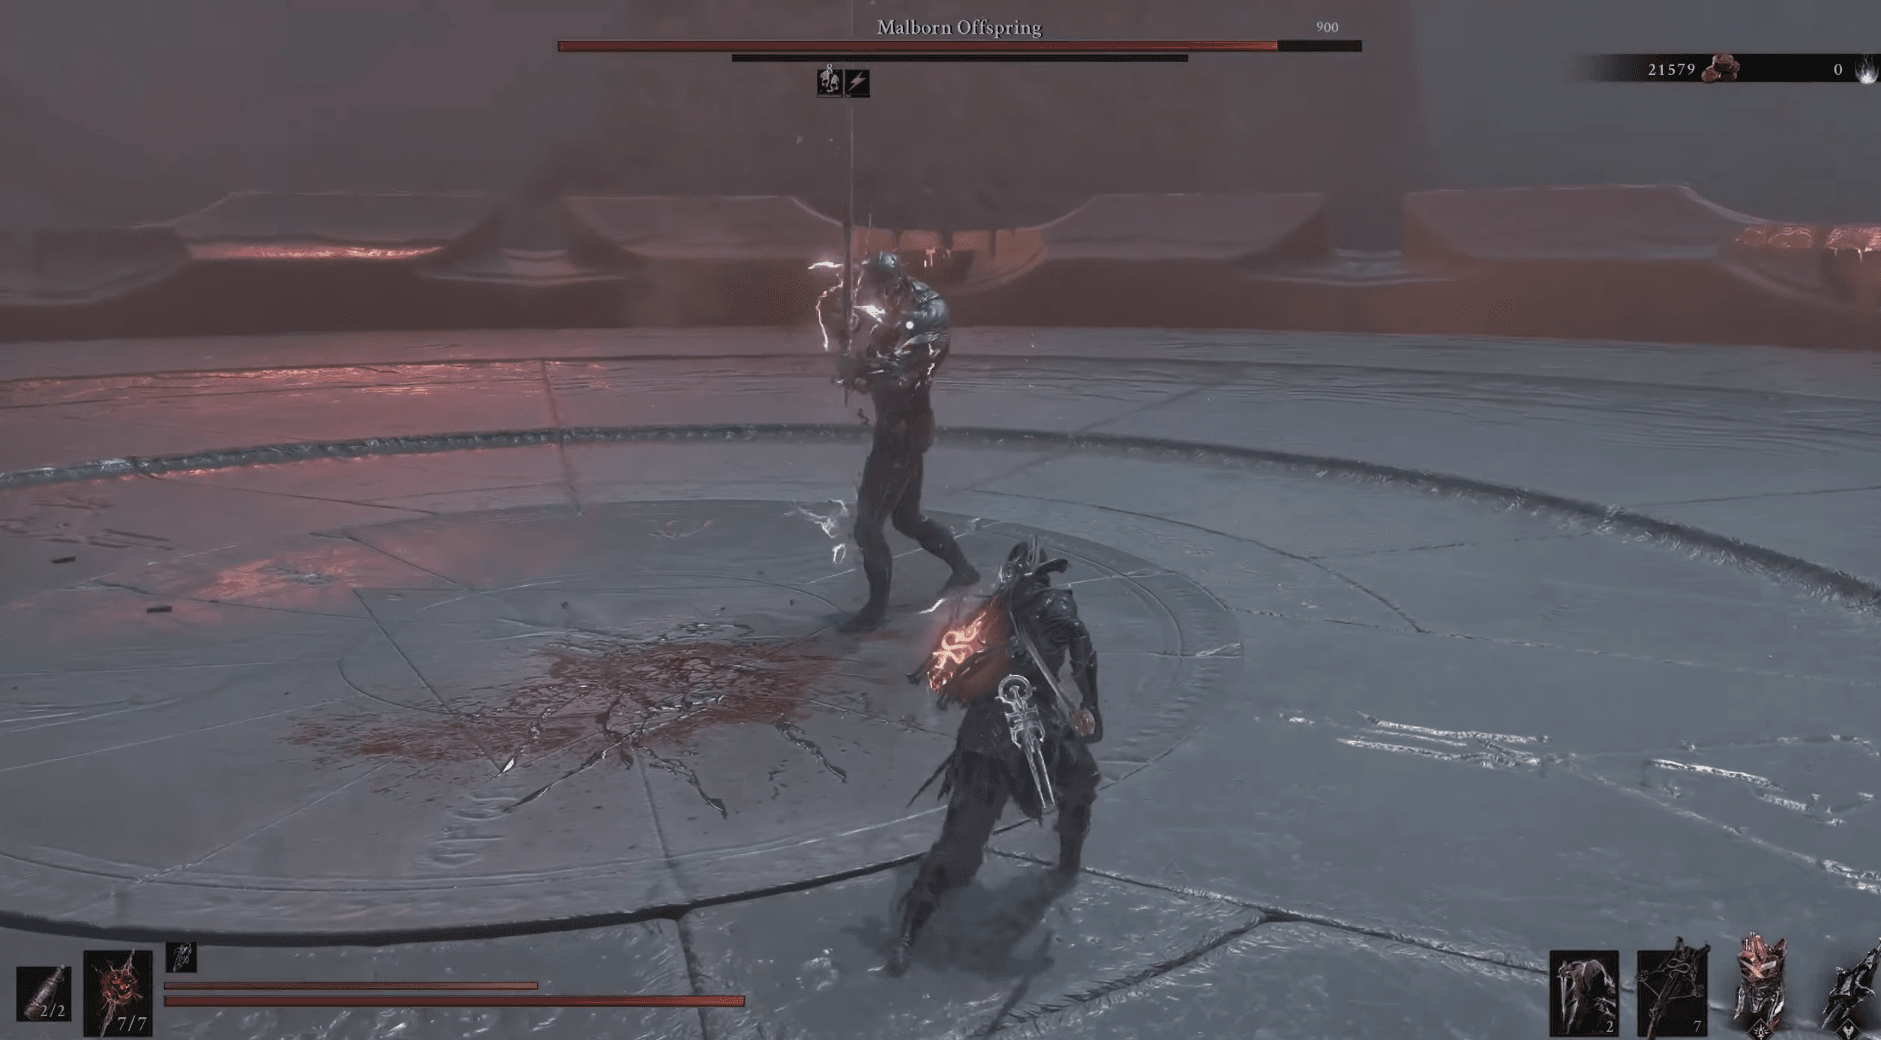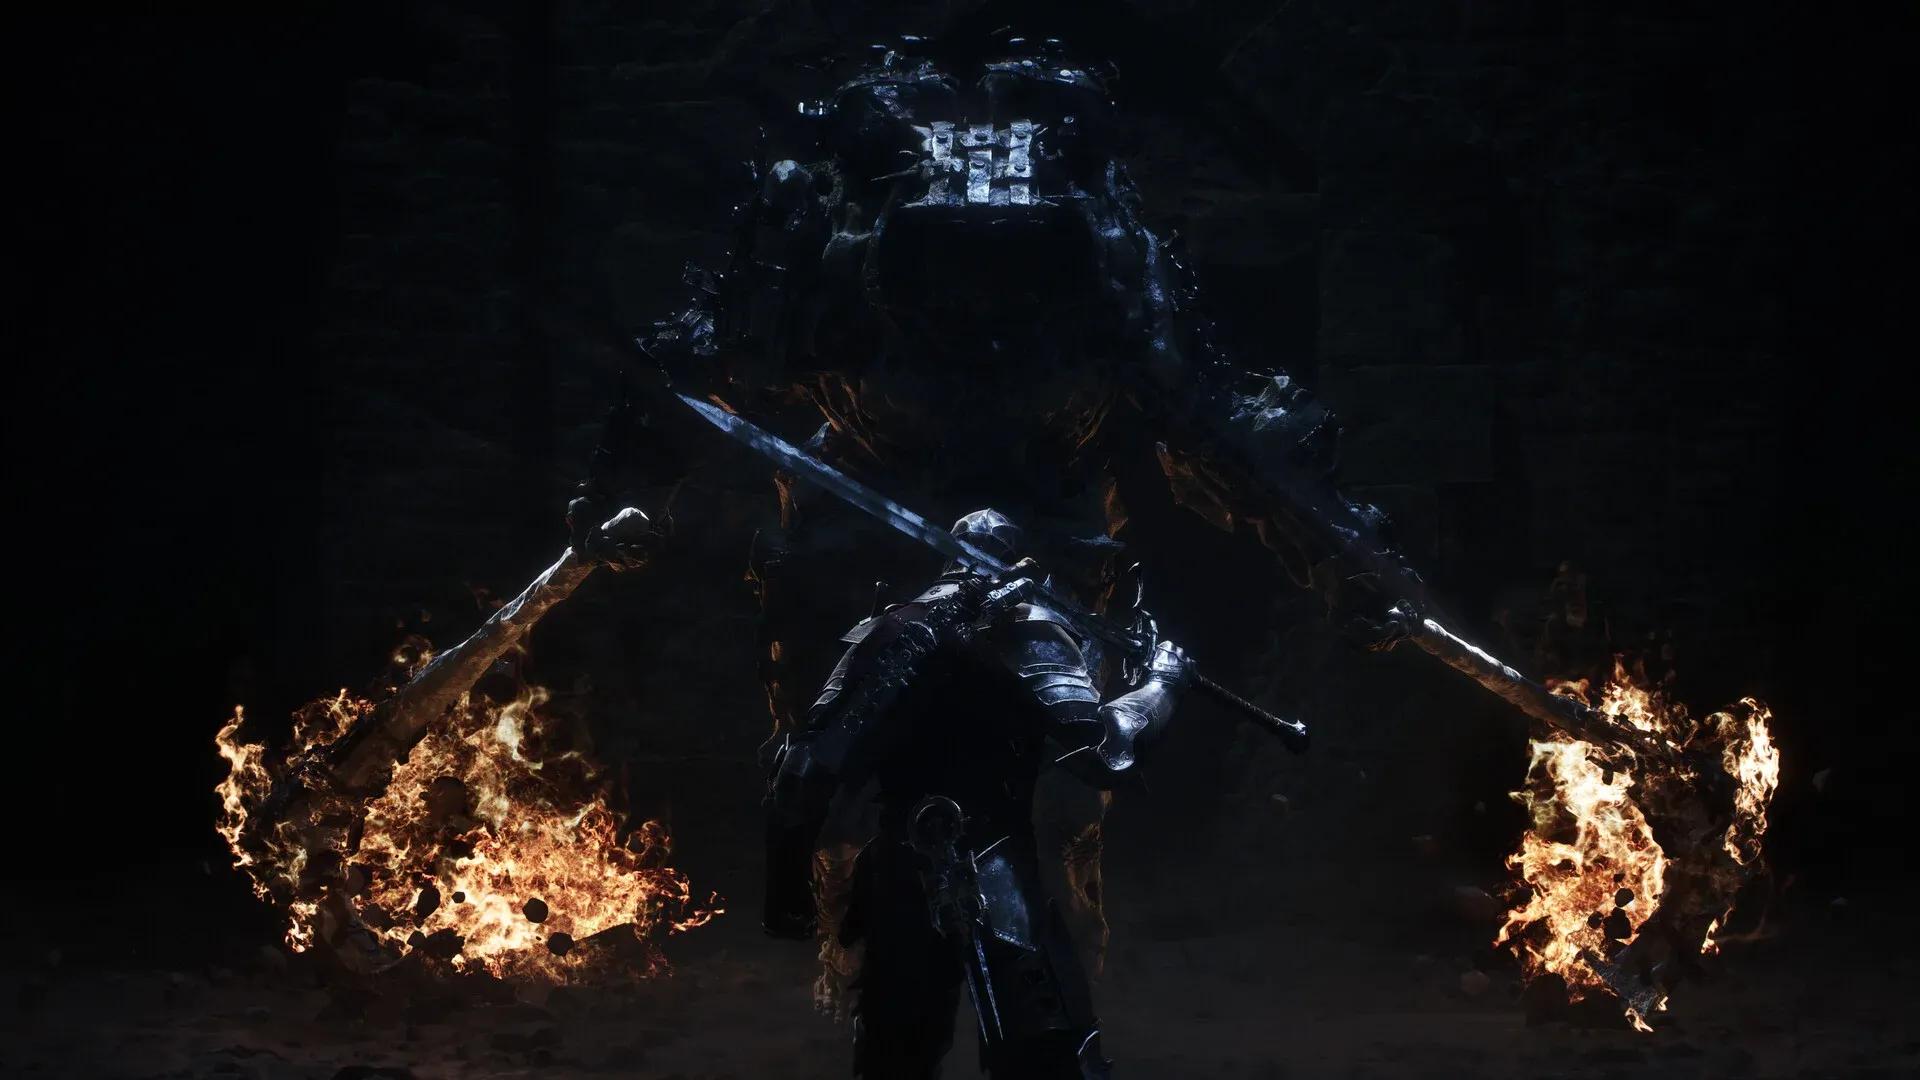

The Triarch Repeater is one of the more elusive sidearms in Mortal Shell II, tucked at the bottom of a fog-choked cave with no boss, no puzzle, and no merchant selling it. You either know where to go or you miss it entirely. Picking it up also unlocks the Old Painless trophy the instant it hits your inventory, making this a two-for-one stop worth prioritizing.
Where is the Triarch Repeater in Mortal Shell 2?
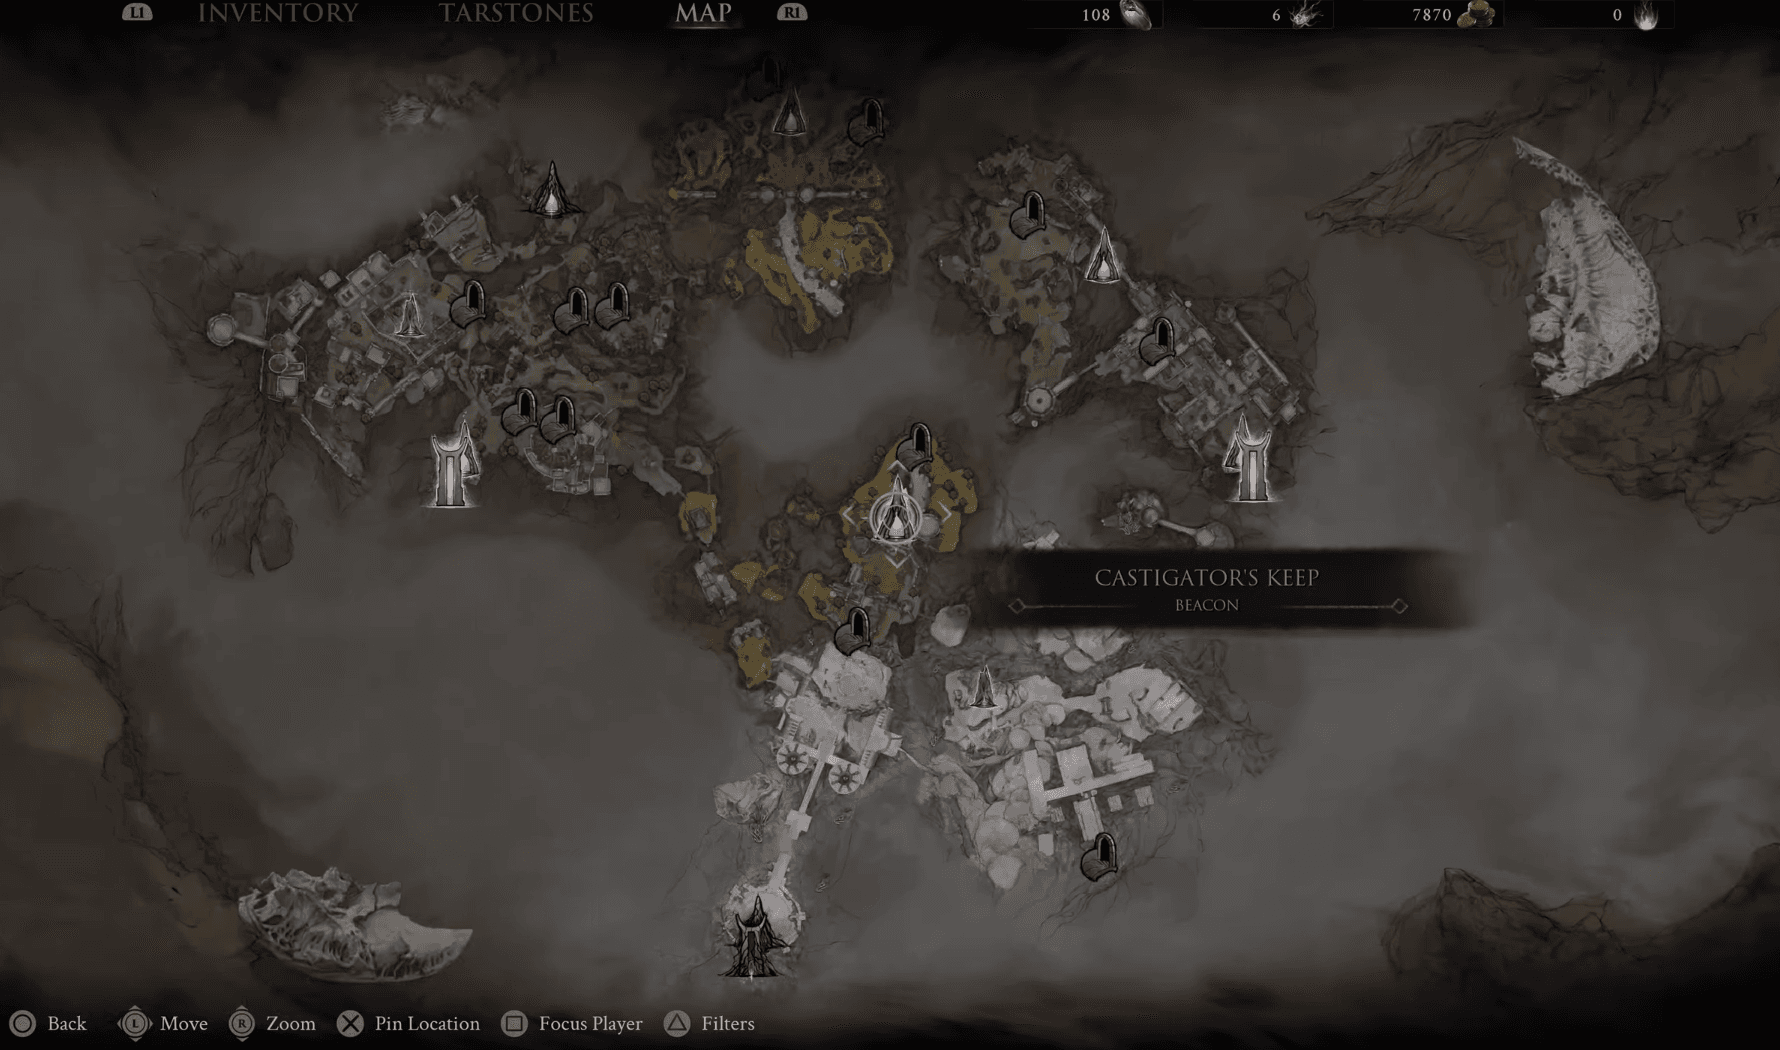
The Triarch Repeater sits on the ground inside Blackwell Cavern, a cave located in the southern part of Mammon, directly below the castle-wall area you reach after riding the elevator at Castigator's Keep. There is no enemy guarding it and no locked door blocking access. The entire challenge is simply navigating there.
You may also come across a Triarch Repeater map during your exploration of the Outskirts of Mammon. That map only marks the dungeon's location on your world map ahead of time. It is not the weapon. The actual sidearm only exists as a ground pickup inside Blackwell Cavern.
Mortal Shell 2 Guide: How to Get Triarch Repeater

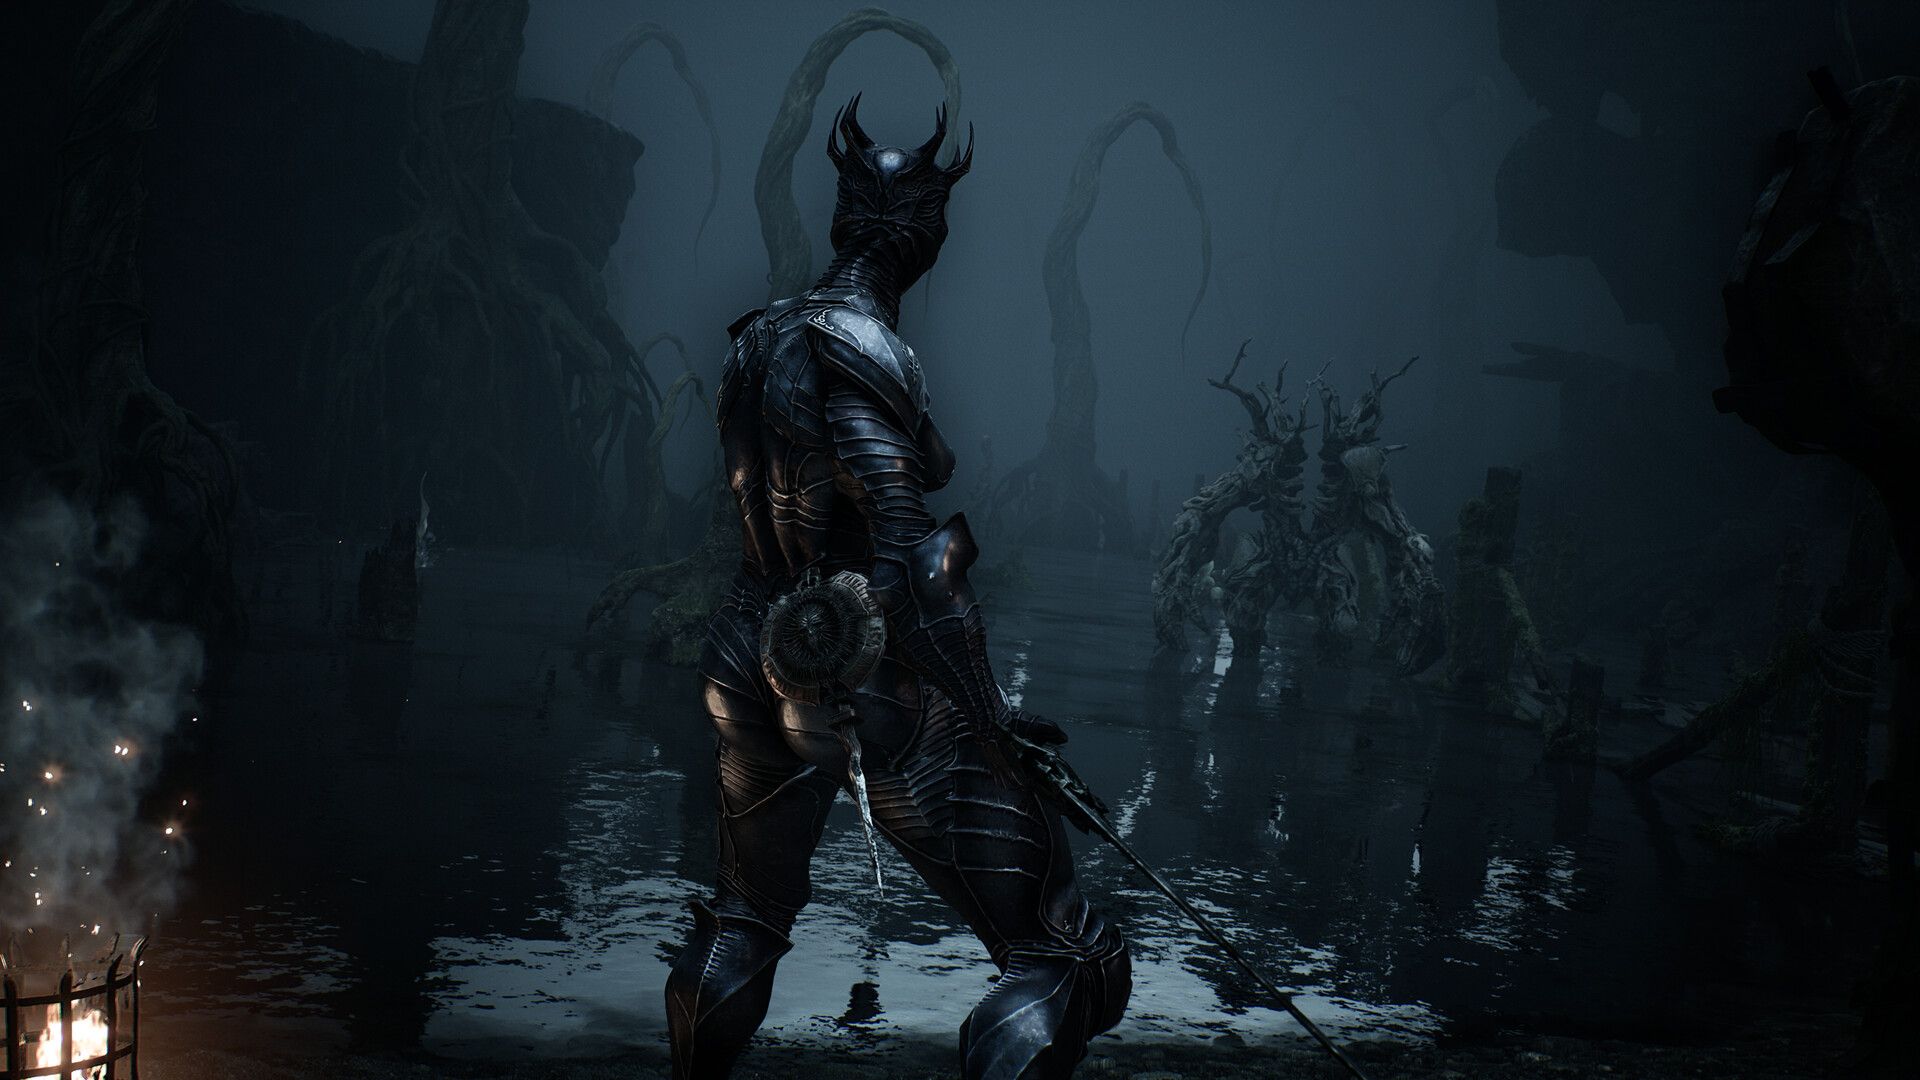
How to reach the Triarch Repeater
The fastest approach strings together two beacons, a teleport gate, and one elevator. Starting from Outskirts of Mammon is the cleanest entry point.
Step 1: Fast travel to Outskirts of Mammon
Open your map and warp to the Outskirts of Mammon beacon, which sits just south of Marrow Keep. This is your starting point for the entire run.
Step 2: Move to the castle wall
From the beacon, turn and head toward the stone castle-wall structure. A chest near this area contains a Foundry Stone worth grabbing before you push forward.
Step 3: Follow the Road to Absolution
Push through the walls to trigger the Road to Absolution and follow the path through it. The enemies lining this stretch can be fought or run past entirely. Running past saves time if you are just after the Repeater.
Step 4: Use the gate to cross the ravine
At the end of the pathway, activate the teleport gate to transfer across the ravine to the far side.
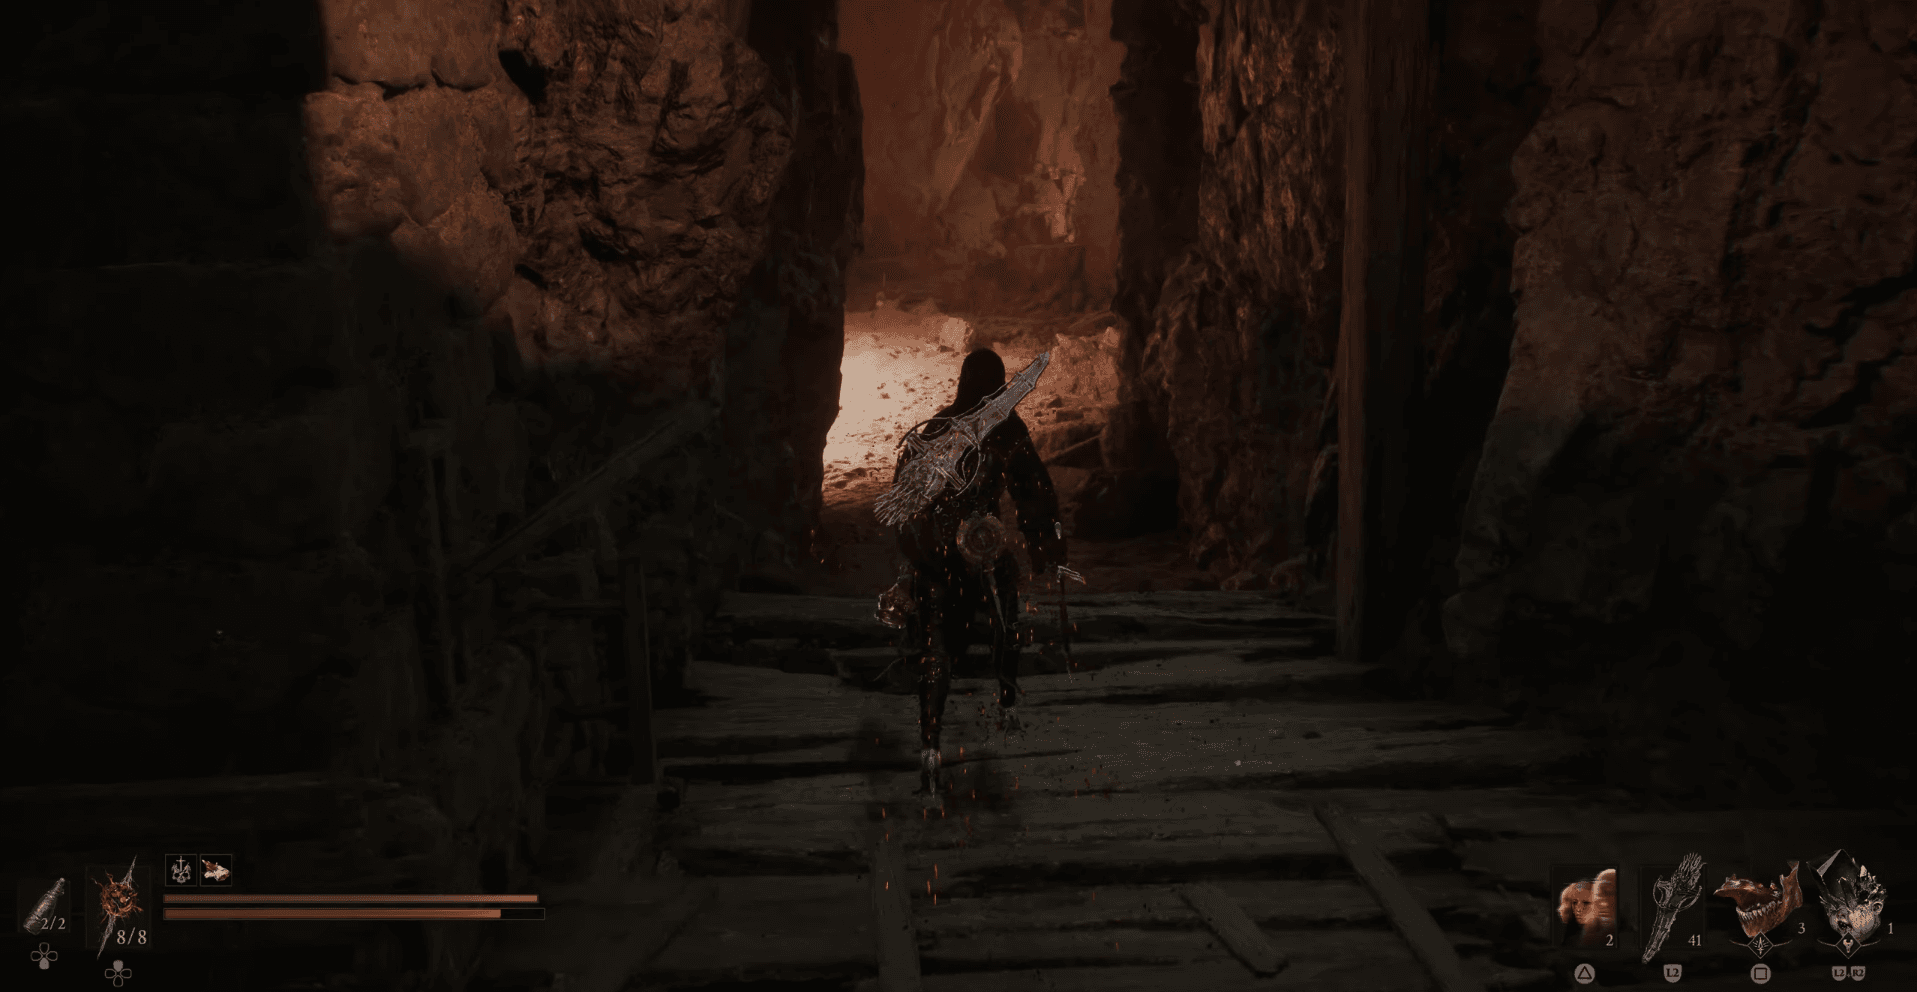
Mortal Shell 2 Guide: How to Get Triarch Repeater
Step 5: Cleanse the Castigator's Keep beacon
Climb the stairs on the far side. Snipers are positioned up top and will chip at you from range. Clear them first before engaging anything at ground level, then cleanse the Castigator's Keep beacon to set a fast-travel checkpoint.
Step 6: Ride the wooden elevator down
Follow the castle wall to the wooden elevator platform and ride it down to the grassy lower area beneath the keep.
Step 7: Enter Blackwell Cavern
From the elevator base, follow the lower path down the slope past a handful of easier enemies. The small cave mouth set into the cliff below the keep is the entrance to Blackwell Cavern.
Step 8: Pick up the Triarch Repeater
Take the lift inside the cave down, break through the wooden barrier, and grab the Repeater off the ground beside a note. It is not far in from the entrance.
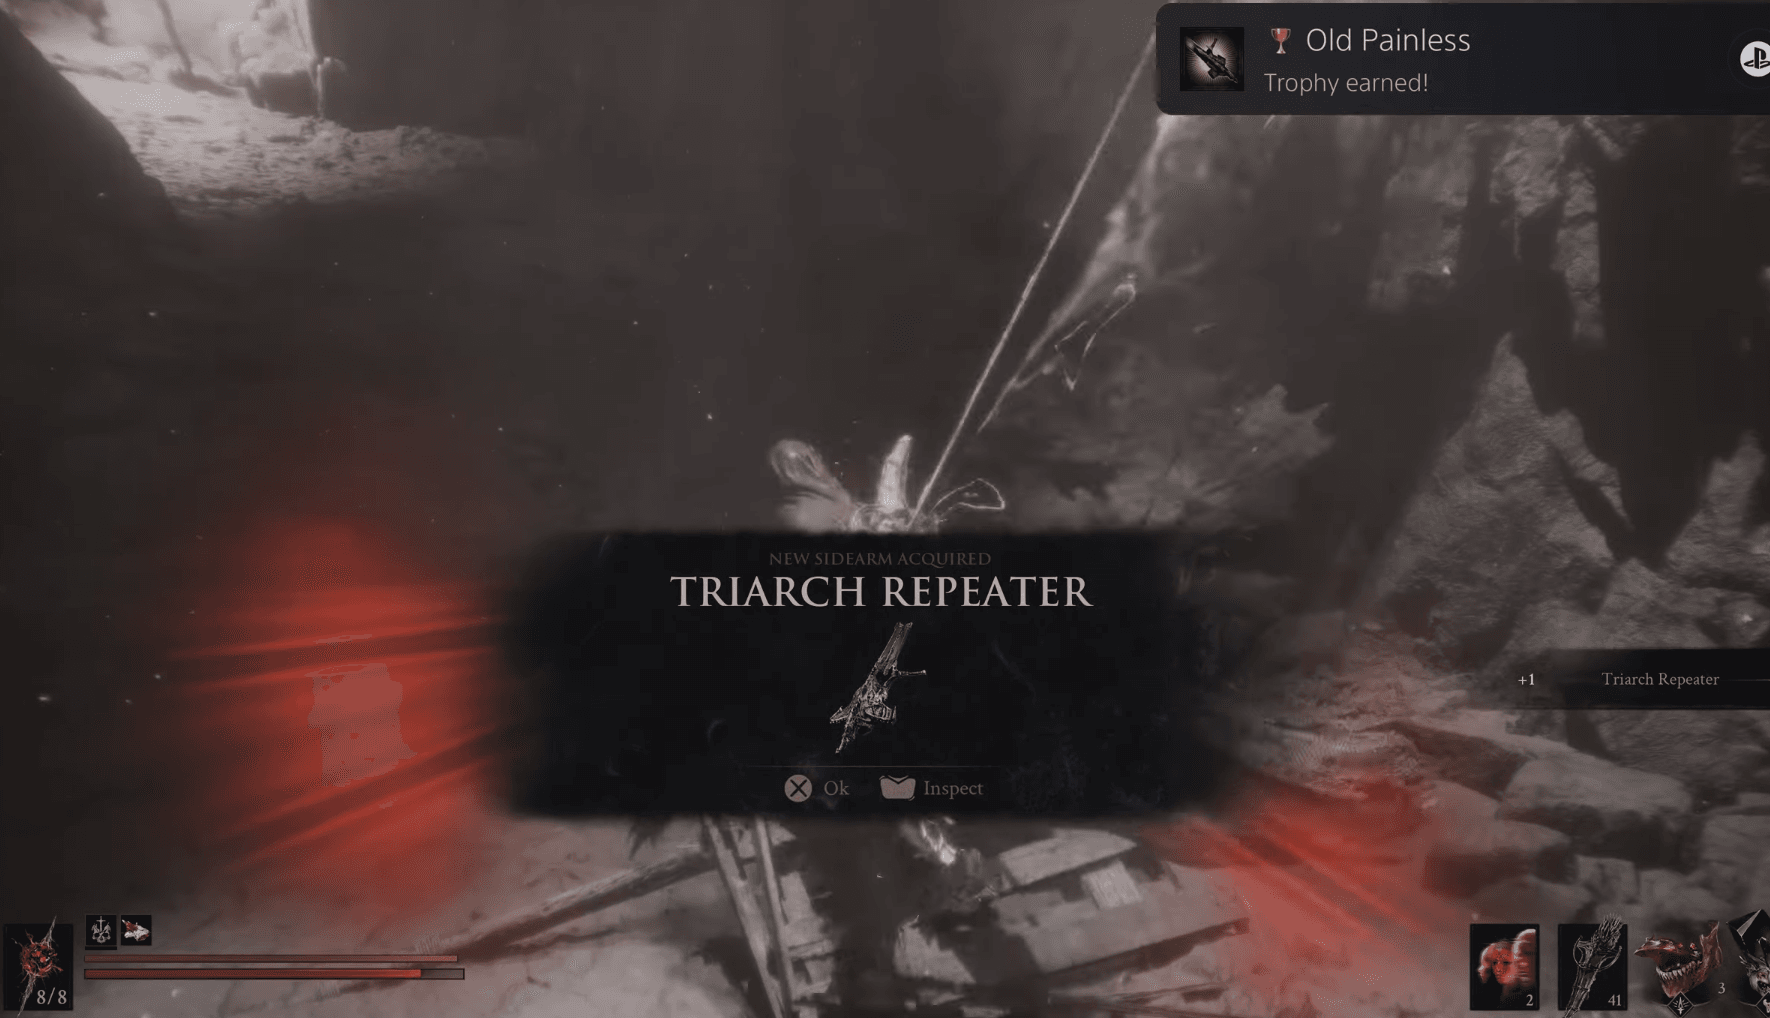
Mortal Shell 2 Guide: How to Get Triarch Repeater
Enemies and hazards on the route
Nothing on this run is a hard block. The Road to Absolution enemies are skippable. The stretch after the ravine is the trickiest section because the snipers at the top of Castigator's Keep will harass you from range while you deal with a rolling enemy at ground level. Taking out the snipers first removes that pressure.
Inside Blackwell Cavern, the fog is the real hazard. The wraith-like enemies inside blend into the darkness and can flank you before you register them. A slow, deliberate push works better than sprinting for the pickup, unless you are on a return trip and already know the layout.
When does the Old Painless trophy unlock?
The Old Painless trophy has no secondary condition attached to it. There is no kill requirement, no upgrade needed, and no challenge to complete. The trophy pops the exact moment you pick the Triarch Repeater off the ground. Weapon acquisition and trophy are the same event.
Does the Triarch Repeater have an ammo requirement?
Yes. The Repeater is Resolve-gated and requires at least 50 ammo stored before it will fire at all. The maximum reserve is 100. If you pick it up and it refuses to fire, that is not a bug. Build Resolve through combat to fill the reserve and the weapon functions normally.
What Tarstones work best with the Triarch Repeater?
The Triarch Repeater is a rapid-fire ranged sidearm, which means it benefits most from Tarstones that scale with hit frequency or reward aggressive low-health play. Here is a breakdown of every compatible Tarstone and what it does at each upgrade level.
| Tarstone | Type | Key Effect at Max Level |
|---|---|---|
| Voltaic Amber | Infusion | Permanent Lightning infusion (costs 20 Resolve to activate) |
| Frostshard Stone | Infusion | Permanent Frost infusion (costs 20 Resolve to activate) |
| Unstable Stone | Combat | Explosion after 4 hits on same enemy, 30-40 splash damage |
| Rupturing Stone | Combat | Critical hits deal up to 20 Break Damage |
| Enfeebling Stone | Combat | Inflicts up to 7 Fragile stacks per projectile |
| Spite Stone | Support | Up to 160% ranged damage when health is at 50% or below |
| Siegebreaker's Stone | Support | Ranged attacks deal +150% Stagger Damage |
| Marksman's Stone | Support | Ranged attacks gain +15% Critical Chance |
| Deadeye Stone | Support | Ranged attacks deal +40% Critical Damage |
For builds leaning into risk-reward play, Spite Stone at max level pushes ranged damage up to 160% when your health drops to 50% or below. That is a significant multiplier, but it requires staying in damage range consistently. Pair it with a Shell that has strong damage mitigation to make it sustainable. For more on optimizing your Tarstone setup, check out the guide to the best Tarstones to get early in Mortal Shell 2.

Tarstone loadout for sidearms
The two Infusion Tarstones, Voltaic Amber and Frostshard Stone, both reach permanent infusion status at level 4, which means you no longer spend Resolve per activation once fully upgraded. At lower levels they cost 20 Resolve each time and last only 4 to 8 shots. Upgrading them to max is the priority if you want reliable elemental output. The full process for reaching those upgrade levels is covered in the Mortal Shell 2 Tarstone upgrade guide.
Building around the Triarch Repeater
The Repeater works best as a secondary pressure tool rather than a primary damage source. Its rapid-fire nature makes it effective for stacking Fragile via Enfeebling Stone, softening enemies before your main weapon closes the fight. Siegebreaker's Stone at max level adds 150% Stagger Damage to every ranged hit, which is strong for interrupting enemy attacks or setting up stagger windows.
For Shell pairings, the Repeater fits naturally with Shells that generate Resolve quickly, since the weapon depends on that resource for both ammo and Infusion Tarstones. Check out our guide on the best Shells to unlock early to find the right match for a ranged-focused build.
For a full breakdown of every weapon in the game and how the Triarch Repeater fits into the wider arsenal, the Mortal Shell 2 weapon tier list covers damage, Tarstone pools, and ease-of-use rankings across all options.