
Tarstones are the backbone of any serious build in Mortal Shell II. You can slot up to ten at a time, swap them freely without resting at a Beacon, and the difference between a thoughtless loadout and a well-chosen one is night and day by the time you hit your first major boss. With over 70 Tarstones scattered across Fainweald, knowing which ones to prioritize saves a lot of aimless dungeon crawling.
What are Tarstones and how do they work?
Tarstones fall into four categories: Support, Combat, Infusion, and Ability. You can equip four Support Tarstones at once, plus two each from the remaining categories, one assigned to your main weapon and one to your sidearm. Passive Tarstones activate automatically, while Infusions require a manual trigger and Ability Tarstones are bound to number keys for on-demand use.
Some Tarstones are universal and work with every weapon in the game. Others are locked to specific weapons, so your loadout choice matters before you start slotting stones.
Mortal Shell 2 Guide: Best Tarstones You Should Get Early

What are the best Tarstones in Mortal Shell 2?
After testing combinations across multiple weapon types and Shells, these are the standout picks that deliver consistent value regardless of your build direction.
Grudge Stone (Combat)
The Grudge Stone guarantees a Critical Hit on a set attack interval. At level 1 that's every 10 hits, level 2 drops it to every 7, and at level 3 you're landing a guaranteed crit every 5 attacks. Critical hits in Mortal Shell 2 regularly double or triple base weapon damage, so a guaranteed proc on a short cycle is one of the most reliable damage increases in the game.
This stone works with every weapon, but it particularly shines with fast-hitting options like the Axe & Dagger and the Axatana, both of which build up to that 5-hit threshold extremely quickly. Give the Grudge Stone upgrade priority at the Tarforge.
Location: Chest south of the Citadel of Penance beacon, accessed via the Citadel Gate Lever.
Duality Stone (Combat)
The Duality Stone makes your standing light attack combo hit twice per swing. At level 1 it only applies to the first attack, level 2 covers the first and second, and level 3 extends the double-hit to every attack in the combo. That is effectively doubling your light attack DPS when fully upgraded, and it also doubles the Resolve generated per hit.
The catch: this only works with the Axatana and Axe & Dagger, and it does not affect heavy attacks or running light attacks. For those two weapons specifically, it is the single best Combat Tarstone available. Pairing it with the Thief's Stone to increase attack speed compounds the damage further.
Location: Chest inside the Ravaged Tomb dungeon, southeast of the Nochtean Gate beacon in the southwestern part of Fainweald.
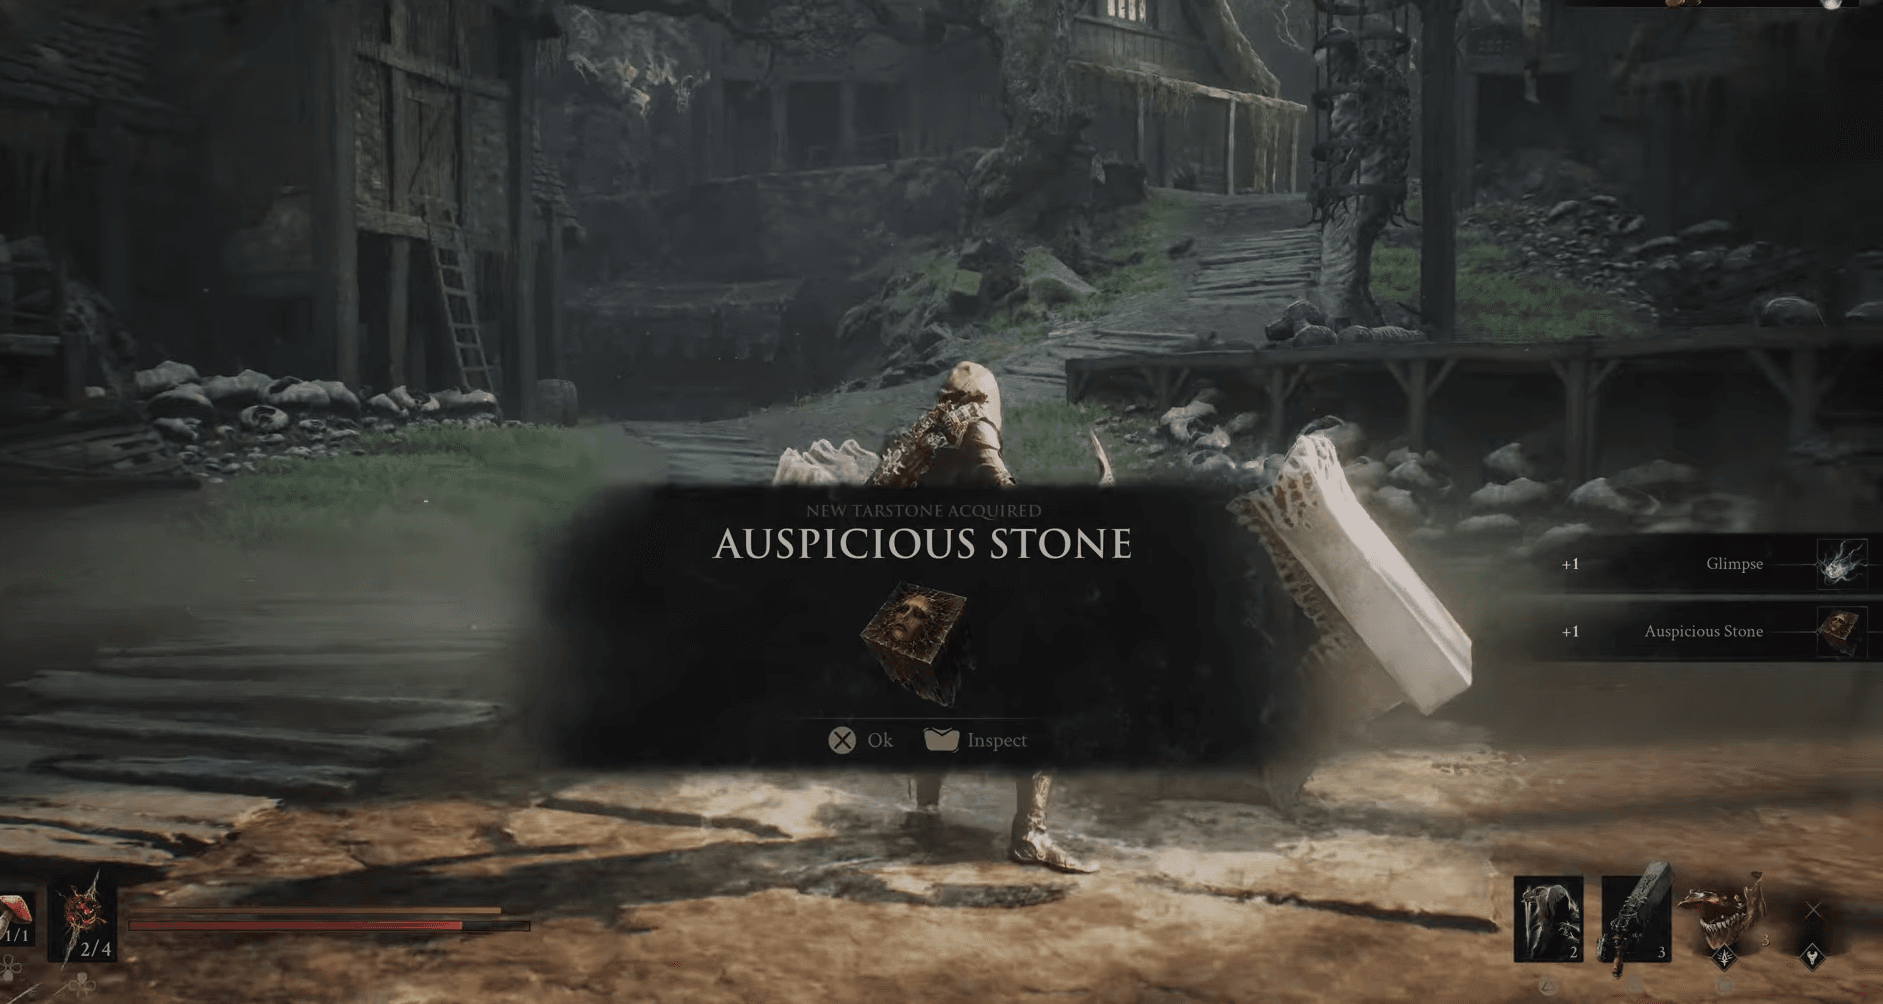
Auspicious Stone (Support)
The Auspicious Stone raises your melee Critical Chance: +10% at level 1, +15% at level 2, and +18% at level 3. It is the foundation of any crit-focused build and pairs directly with the Headman's Stone to increase the damage those crits deal. If you are running Tiel as your Shell, this is non-negotiable, as Tiel's kit is built around critical strike output. Check out the best build for Tiel to see exactly how it fits into the full setup.
Location: Offerings chest in the center of Mushroom Village, southwest of the Mushroom Village beacon.
Mortal Shell 2 Guide: Best Tarstones You Should Get Early
Headman's Stone (Support)
Where the Auspicious Stone increases how often you crit, the Headman's Stone increases how hard those crits hit. The two are designed to work together, and running both creates a feedback loop where you land crits more often and each one deals significantly more damage. If your build leans toward sidearms rather than melee, you can swap the Headman's Stone for the Deadeye Stone to get the same critical damage bonus on ranged attacks.
Unwieldy Stone (Ability)
The Unwieldy Stone costs 35 Resolve to activate and performs a Charged Heavy Attack. What makes it worth the slot is the upgrade path: level 2 restores 20 Health on kill, and level 3 bumps that to 25 Health and 5 Leech stacks. Health-on-kill is genuinely rare in Mortal Shell 2, and having a reliable source of it outside your Mether's Pulse healing flask changes how aggressively you can play. It works with all 8 weapons, so there is no loadout restriction.
Location: Sold by Merrick the Merchant in the Marrow Keep for 2,000 Gold.
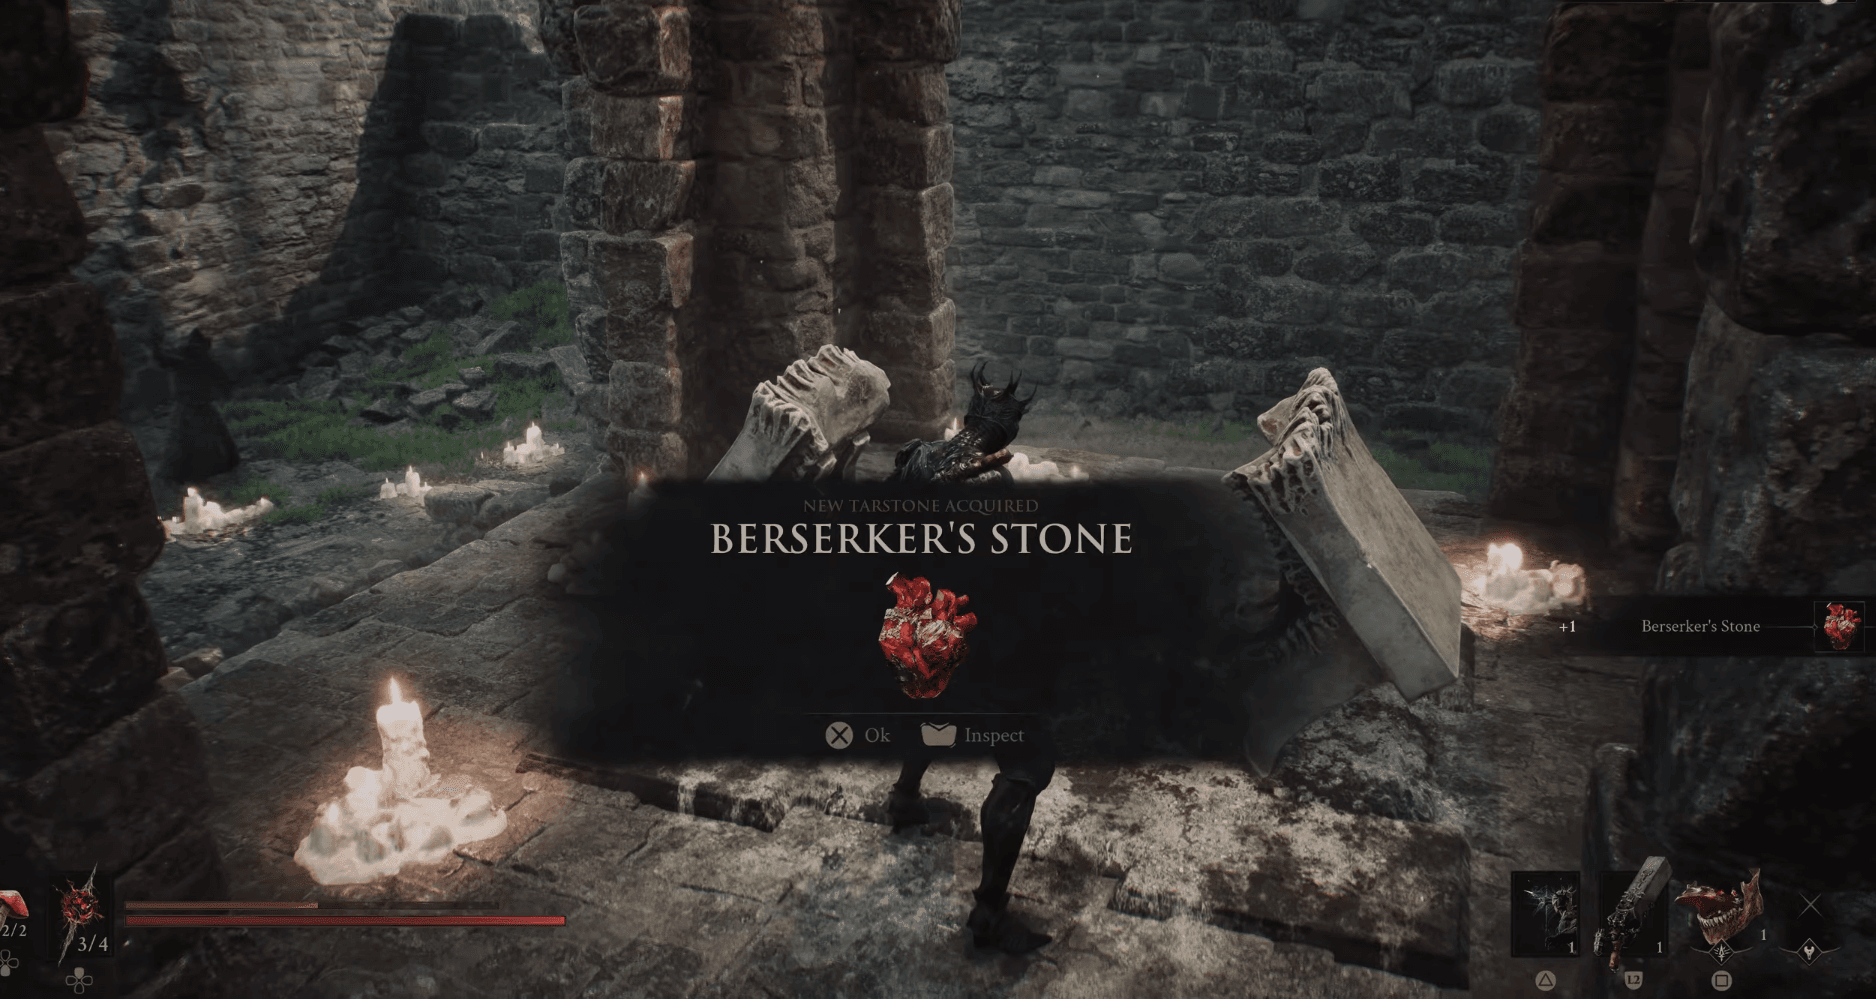
Berserker's Stone (Support)
The Berserker's Stone scales your melee damage based on how low your health is. At level 1, you deal up to 130% increased melee damage when health drops to 35% or below. Level 2 raises that threshold to 40% and the bonus to 140%. Level 3 pushes the threshold to 50% health with up to 165% increased damage. It suits Smert naturally, but any Shell can run it as a safety net that turns near-death situations into offensive windows.
Location: Offerings chest in the Temple of Vatra, east of the One Legged Wolf beacon.
Mortal Shell 2 Guide: Best Tarstones You Should Get Early
Enfeebling Stone (Support)
The Enfeebling Stone applies the Fragile status to enemies hit by your sidearm projectiles. Fragile increases the damage targets take from weapon attacks, making it a force multiplier for your entire melee output. At level 3 it stacks 7 Fragile per hit. The Triarch Repeater is the best sidearm pairing because its high fire rate maxes out Fragile stacks in seconds.
Location: Reward for completing the Trial east of the Outskirts of Mammon beacon.
Which Tarstones should you prioritize upgrading first?
Upgrade order matters because Tarstone tempering at the Tarforge costs resources. The Grudge Stone has the biggest jump between levels, going from a crit every 10 hits to every 5 at max level. That is a 2x improvement in crit frequency and should be your first upgrade target. The Duality Stone's level 3 unlock, which extends double-hits to the full combo, is the second priority if you are running Axatana or Axe & Dagger.
For a complete breakdown of how to actually upgrade your Tarstones and what materials you need, the Mortal Shell 2 Tarstone upgrade guide covers the Tarforge process step by step.
Early-game Tarstone priority order
For players just starting out, here is the most efficient acquisition sequence:
- Buy the Unwieldy Stone from Merrick immediately (2,000 Gold)
- Grab the Auspicious Stone from the Mushroom Village offerings chest
- Pick up the Berserker's Stone from the Temple of Vatra offerings chest
- Unlock the Duality Stone from the Ravaged Tomb dungeon near Nochtean Gate
- Find the Grudge Stone south of the Citadel of Penance beacon
- Complete the Trial east of Outskirts of Mammon for the Enfeebling Stone
The first three are accessible within the opening hours of the game and require no boss kills. The Duality Stone and Grudge Stone demand a bit more exploration but are reachable before you hit the mid-game difficulty spike.
For more on which Shells work best with these Tarstone setups, the Mortal Shell 2 shells tier list breaks down every Shell by damage, survivability, and synergy with the builds above. For a wider look at all the guides covering builds, weapons, and progression systems, the full Mortal Shell II guides collection has everything organized in one place.