Search games, articles, guides...CtrlK
Sign InGet Started
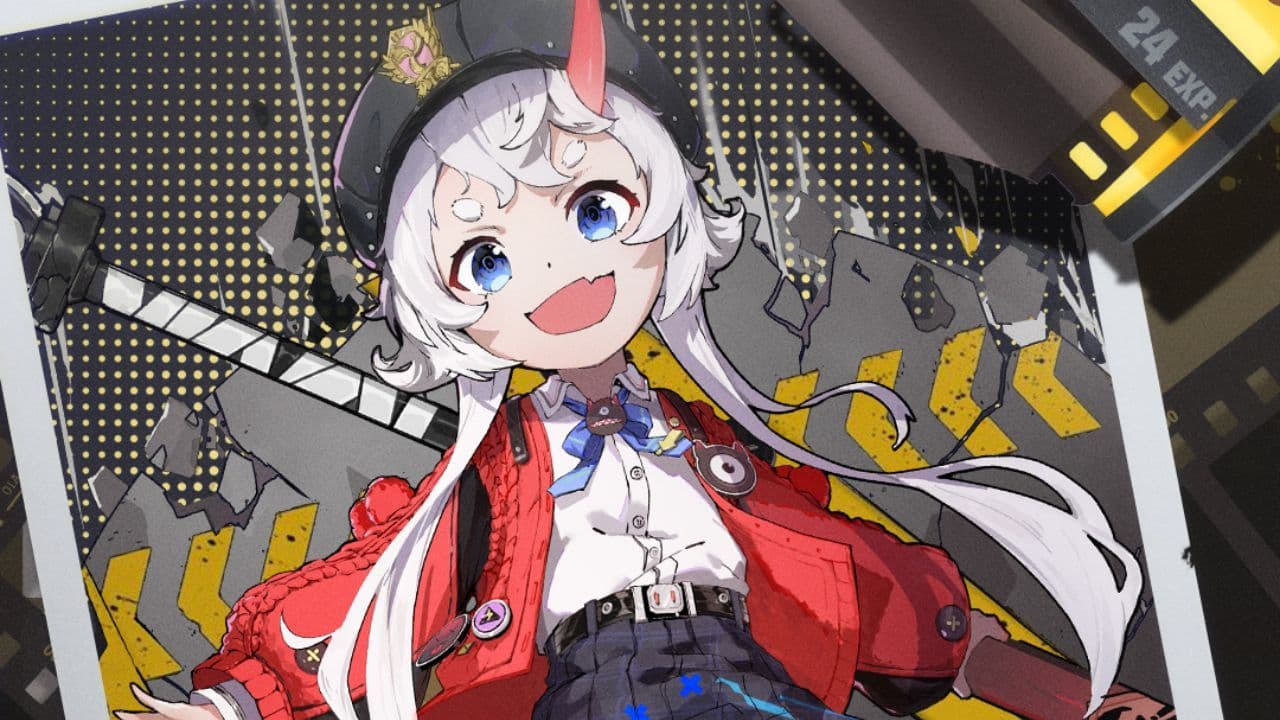
Master Sakiri in Neverness to Everness with the best Arcs, Cartridges, Modules, Awakenings, and team compositions for maximum ATK buffing.

Written by Larc
Content Writer
See more GAMES.GG guides on Google
Add us as a preferred source and our guides show up first in your results.
NTE Guide: How to Complete the Last Bus Out Anomaly Commission
Step-by-step guide to the Last Bus Out Anomaly in Duskmoor: escort the grey puppet, flip all three switches, and escape the Wayward Line.

Neverness to Everness Volley Star Event Guide
A complete NTE Volley Star guide covering unlock requirements, Rookie Series Stars, character upgrades, Weekly Match rewards, and winning strategies.
All Sunward Island Strange Tales in Neverness to Everness
Find all nine Sunward Island Strange Tales in Neverness to Everness, with locations, requirements, and solutions for earning Footprint points.
Sakiri is an S-rank Incantation-element character in Neverness to Everness who fills the Buffer role with one of the most reliable crowd-control kits in the game. Her held Skill pulls enemies into a cone and launches them airborne, her Ultimate pins them to the ground with Suppress, and that same Ultimate hands every teammate (except herself) a flat ATK bonus based on her own Base ATK. The result is a character who can slot into almost any team, set up a clean burst window, and then get out of the way. She consistently ranks at S-tier across build evaluations.
Jump in today and start your adventure with the latest rewards and bonuses available at launch.
Download Neverness to Everness
Sakiri's signature Arc is Good Boy's Grand Adventure, and it earns that top spot for a specific reason: her Ultimate already crowd-controls enemies, which means she automatically triggers the Arc's conditional second buff. Most characters running this Arc only get 10% Team ATK for 20 seconds. Sakiri gets the full 16% Team ATK because her Suppress counts as a control effect. That extra 6% is free, every single rotation.
The 18% Charge Efficiency bonus on the same Arc also matters more than it looks, since Sakiri's Ultimate costs 120 energy and has a 20-second cooldown. Getting it up faster directly increases how often your team benefits from her ATK buff.

Neverness to Everness Sakiri Build Guide: Best Arcs, Cartridges, & Teams
If you don't have Good Boy's Grand Adventure, here are the next-best options:
| Arc | Key Effect | Best For |
|---|---|---|
| Good Boy's Grand Adventure (BiS) | +16% Team ATK after Ultimate (with CC), +18% Charge Efficiency | Support / buffing |
| Watch Your Heads! | +10% ATK, +10% Lakshana DMG to Remora/Stain targets | Hybrid damage |
| Tears Beneath the Mask | Enemies hit by Ultimate deal 18% less damage for 20s | Defensive support |
| Cosmos Daze, Wild Reverie | +18% personal DMG after Support Skill (A-rank best option) | Budget personal DPS |
Run Speedy Hedgehog. The 2-piece gives +12% Charge Efficiency, which stacks with her Arc's own Charge Efficiency bonus to keep her Ultimate cycling fast. The 4-piece gives all allies +15% ATK for 20 seconds after she casts her Ultimate. That ATK buff does not stack with itself if multiple characters run the same Cartridge, so don't double up.
The other options worth knowing:
| Cartridge | Set Bonus Highlight | Use Case |
|---|---|---|
| Speedy Hedgehog (BiS) | +15% Team ATK after Ultimate (4-piece) | Universal support |
| Shadow Creed | +25% personal ATK after Skill (4-piece) | Self-damage focus |
| Crimson: Twin Butterflies | +6% ATK per stack (up to 6) when nearby enemies take Incantation DMG | Off-field DPS hybrid |
Sakiri's Console bonus grants +9% Incantation DMG per Type III Module equipped. With 6 Type III Modules and one Type II, you reach +54% Incantation DMG total from the Console alone.
For sub-stats, target these in order:
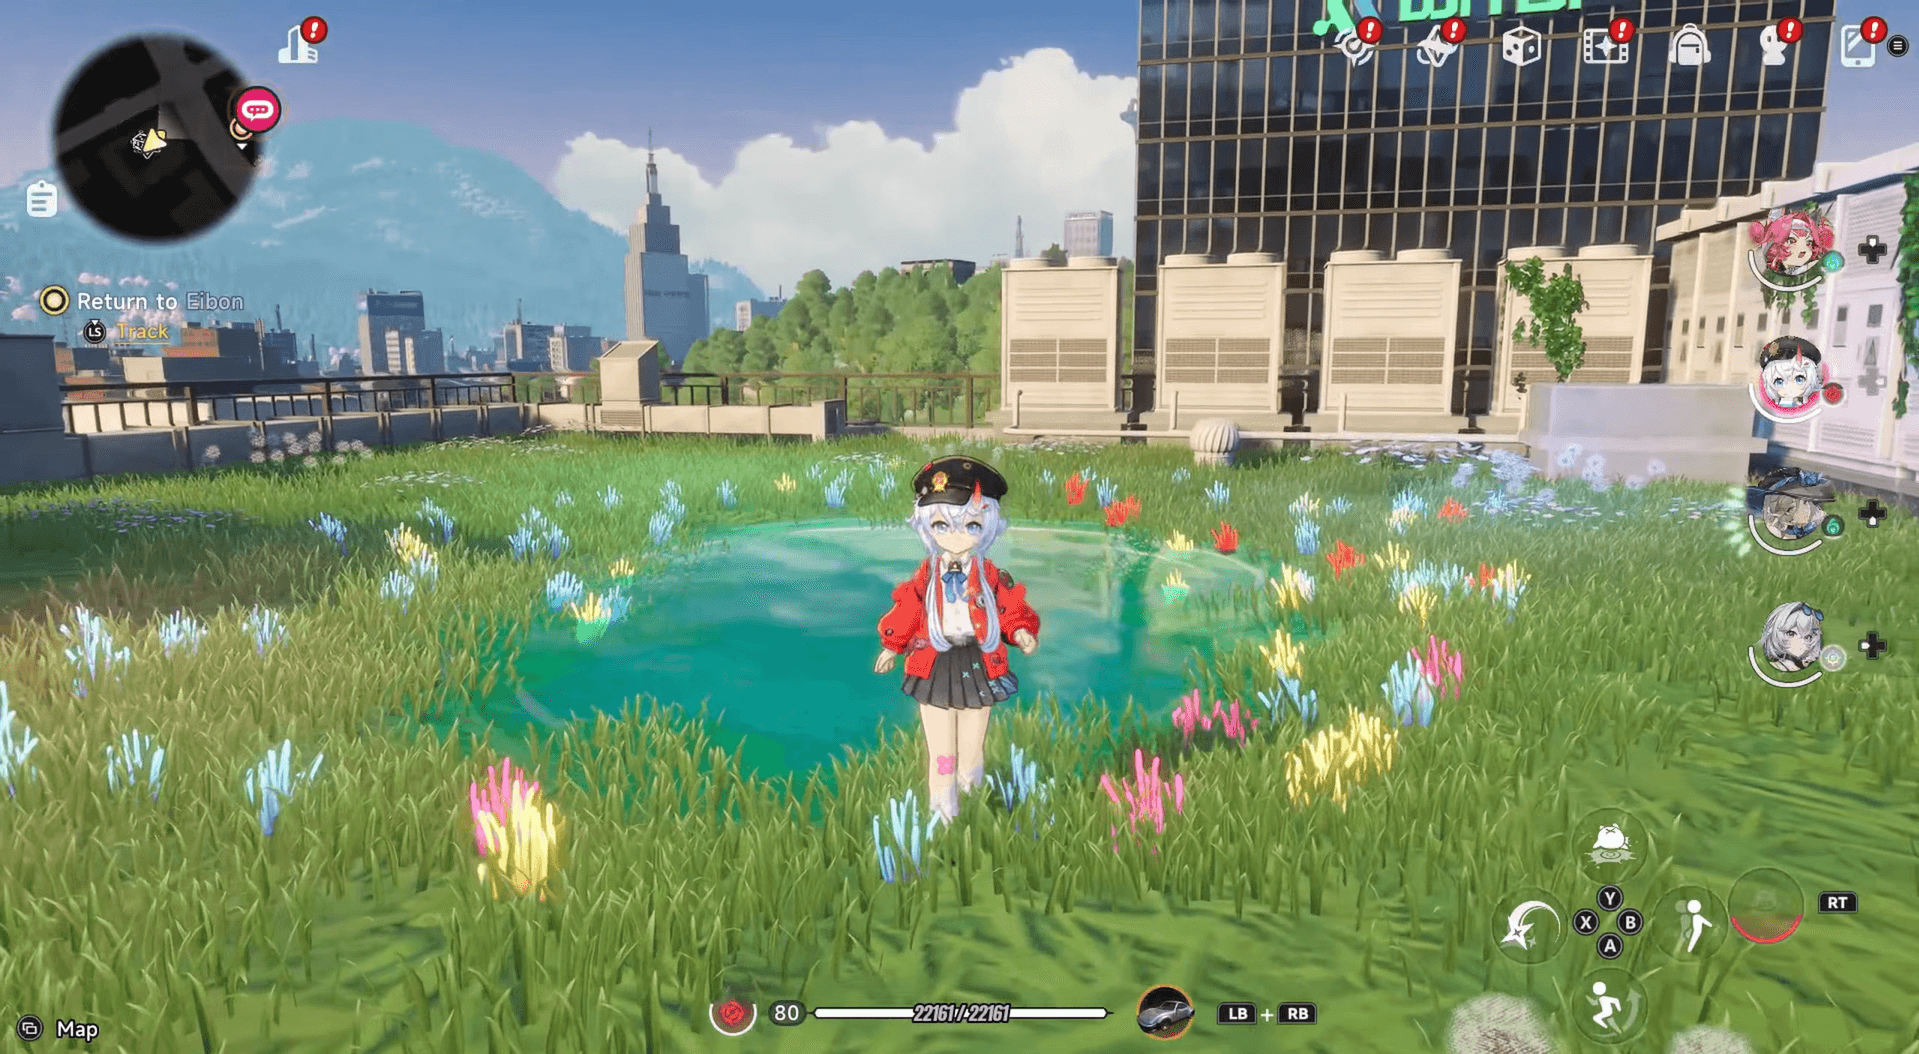
Sakiri's gameplan is straightforward once you understand why each step matters.
Neverness to Everness Sakiri Build Guide: Best Arcs, Cartridges, & Teams
That's the core loop. The Suppress from her Ultimate lasts 3 seconds by default, which is enough time to trigger an Esper Cycle or front-load a burst. Her Support Skill (Squash!) adds a DEF reduction of 10% on any enemy inflicted with Airborne or Suppress, which means your DPS is hitting a debuffed, grouped target with an ATK buff active simultaneously.
Her Basic Attack's Eating Mode (hold input) lets Kiroumaru devour weak enemies instantly, but each target takes 180 seconds to digest and only one can be processed at a time. Think of it as a mob-clearing convenience rather than a combat priority.
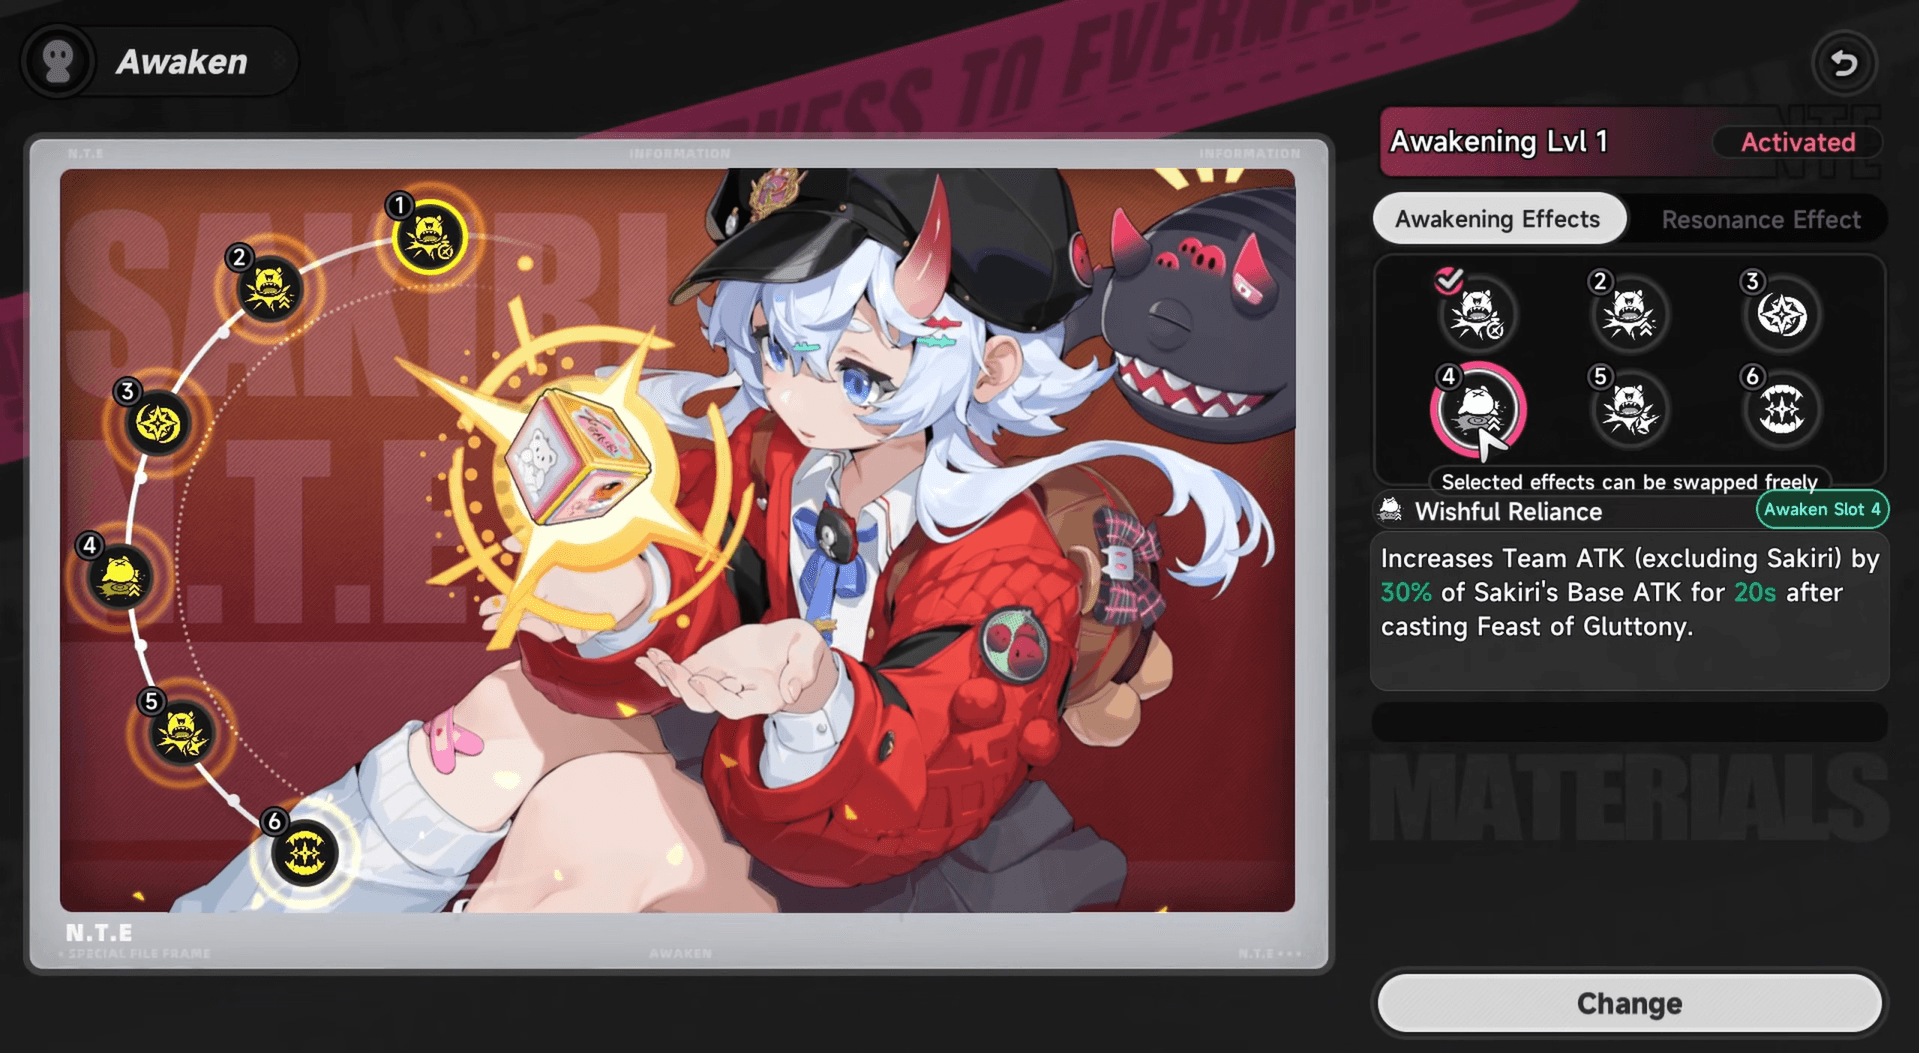
Awakening order matters a lot for Sakiri because two of her unlocks directly change how often she can use her Ultimate.
Neverness to Everness Sakiri Build Guide: Best Arcs, Cartridges, & Teams
| Order | Awakening | Why |
|---|---|---|
| 1st | Wishful Reliance | Increases Team ATK (excluding Sakiri) by 30% of her Base ATK for 20s after casting her Ultimate. This is her most impactful support upgrade and should come first. |
| 2nd | Sensory Collapse | Fully restores Ultimate Energy and resets its cooldown when Devour Whole launches enemies airborne. Effectively lets her spam her Ultimate in most non-boss encounters. |
| 3rd | Diffusive Haze | Extends Suppress duration from 3 seconds to 6 seconds. Doubles the window your DPS has to work in. |
| 4th | Dextrous Separation | Deals bonus damage with her Ultimate to airborne targets, scaling with enemy mass. Strong in practice but capped and situational. |
| 5th | Adhesive Grip | +6% damage per enemy defeated over 15 seconds, up to +60%. Good in mob-heavy content, resets between fights. |
| 6th | Gluttonous Dissolution | Eating Mode can devour up to 3 weak enemies simultaneously. Last priority since weak enemies rarely threaten your team anyway. |
Sakiri fits into two main archetypes: Hexed teams built around Anima characters, and Scorch teams built around Chaos and Incantation DoT damage.
| Role | Character |
|---|---|
| Main DPS | Nanally |
| Sub-DPS | Esper Zero |
| Buffer | Sakiri |
| Support | Adler |
This is widely considered Sakiri's strongest practical setup. Nanally is the primary damage dealer. Esper Zero handles burst Sub-DPS and can take advantage of the airborne enemies Sakiri creates. Adler provides shielding and applies small Incantation DoT, which helps Nanally trigger Hexed. Sakiri sets up the whole window with her Skill and Ultimate.
| Role | Character |
|---|---|
| Attacker | Sakiri |
| Chaos | Daffodill |
| Psyche | Fadia |
| Anima | Jiuyuan |
This team uses Sakiri's Support Skill passive (Scorch Enhancement) to amplify DoT damage. With Scorch active, targets take up to +100% additional DoT damage per type of DoT applied. Jiuyuan applies DoT via Attach, Daffodill contributes Chaos damage, and Fadia handles survivability. The Esper Cycle Discord chain ties it together.
| Role | Character |
|---|---|
| Attacker | Sakiri |
| Anima | Mint |
| Chaos | Daffodill |
| Buff | Haniel |
A low-rarity option built around Discord Esper Cycles. Haniel buffs from the bench via Redirect Skill, and the trio of Sakiri, Daffodill, and Haniel can chain Esper Cycles reliably. Not as high-ceiling as the Blossom team, but it works without pulling additional S-ranks.

Sakiri Blossom-Hexed team
Build guides differ slightly on the exact order, but here's the general priority:
For more character build guides across Neverness to Everness and other games, you can browse more guides at GAMES.GG.