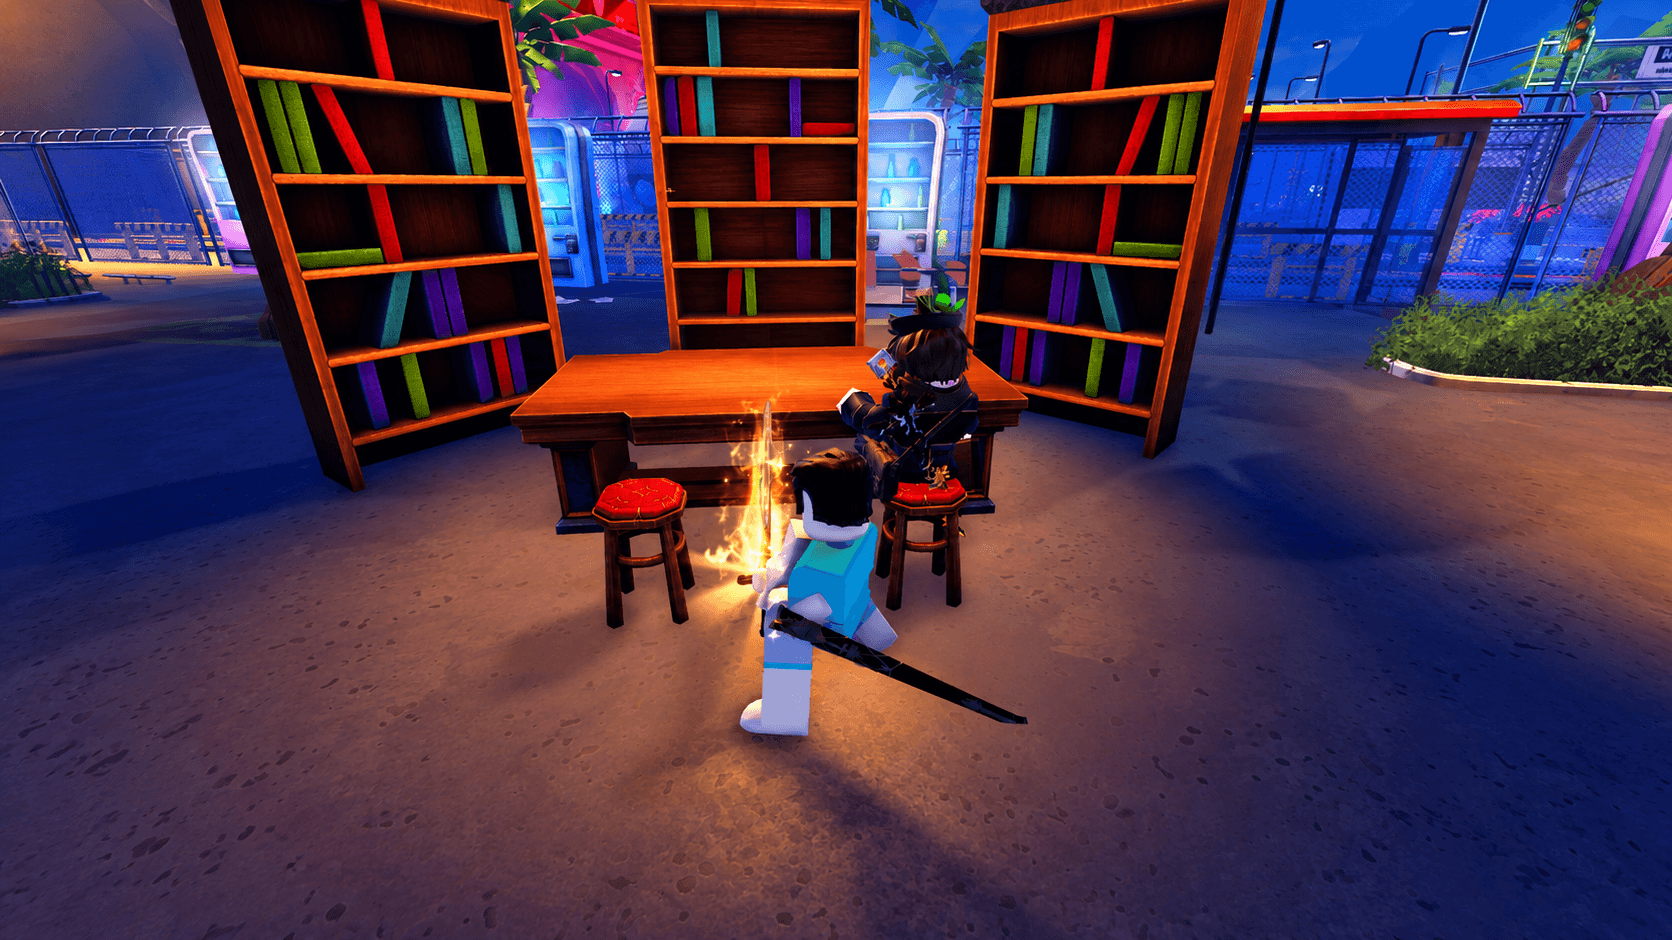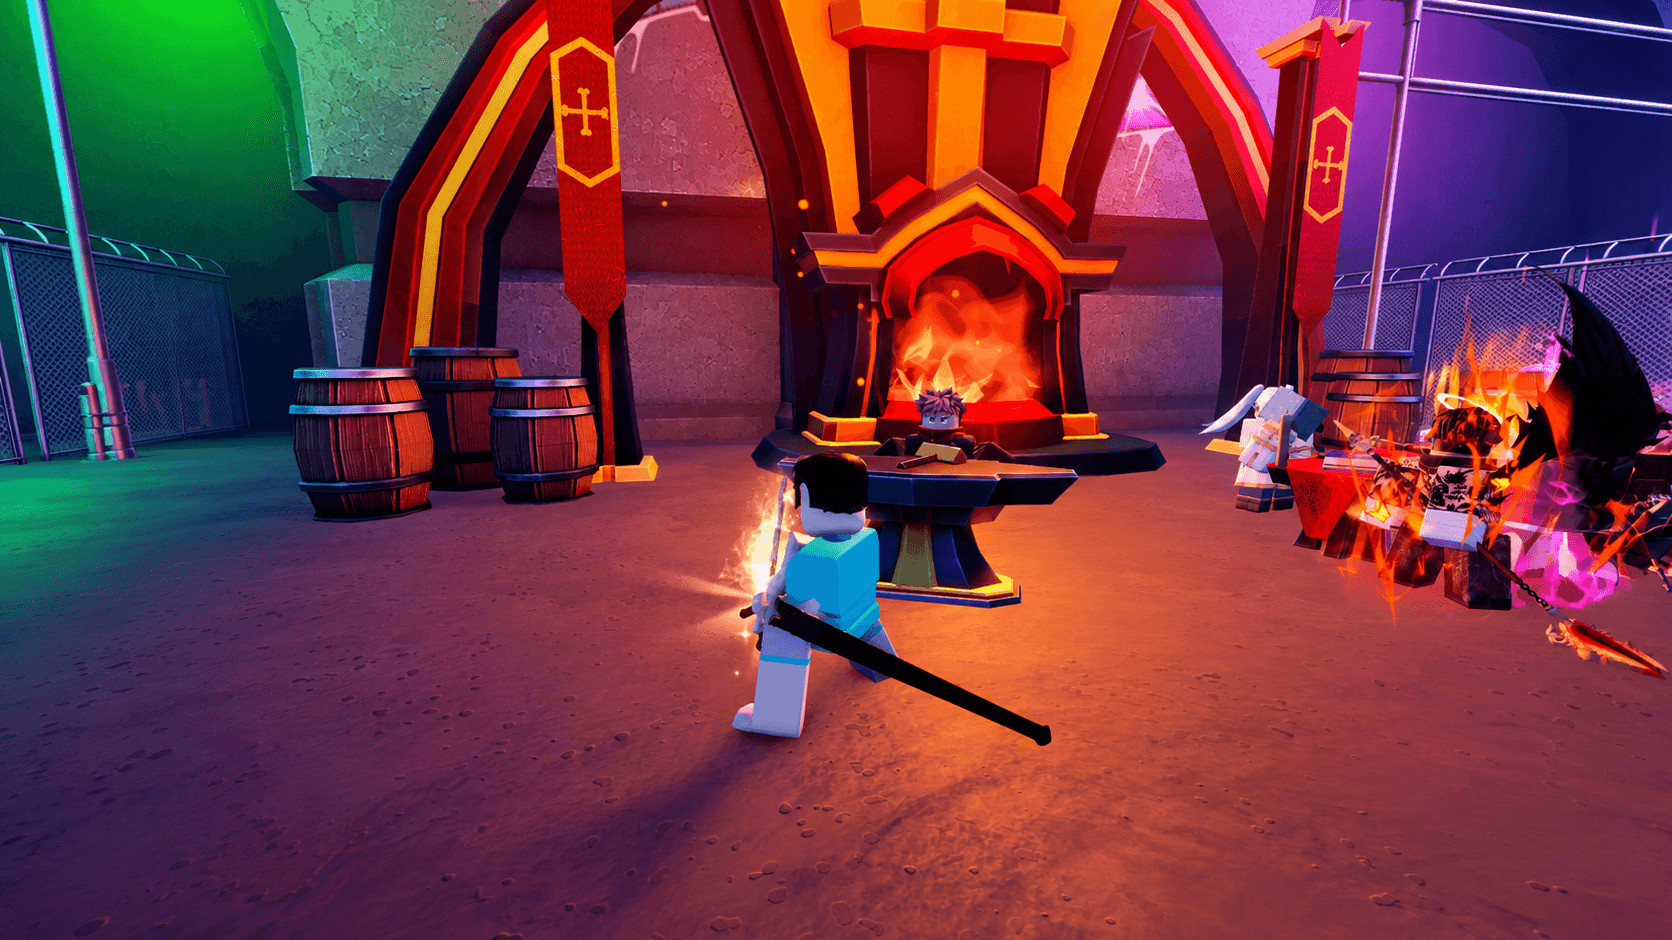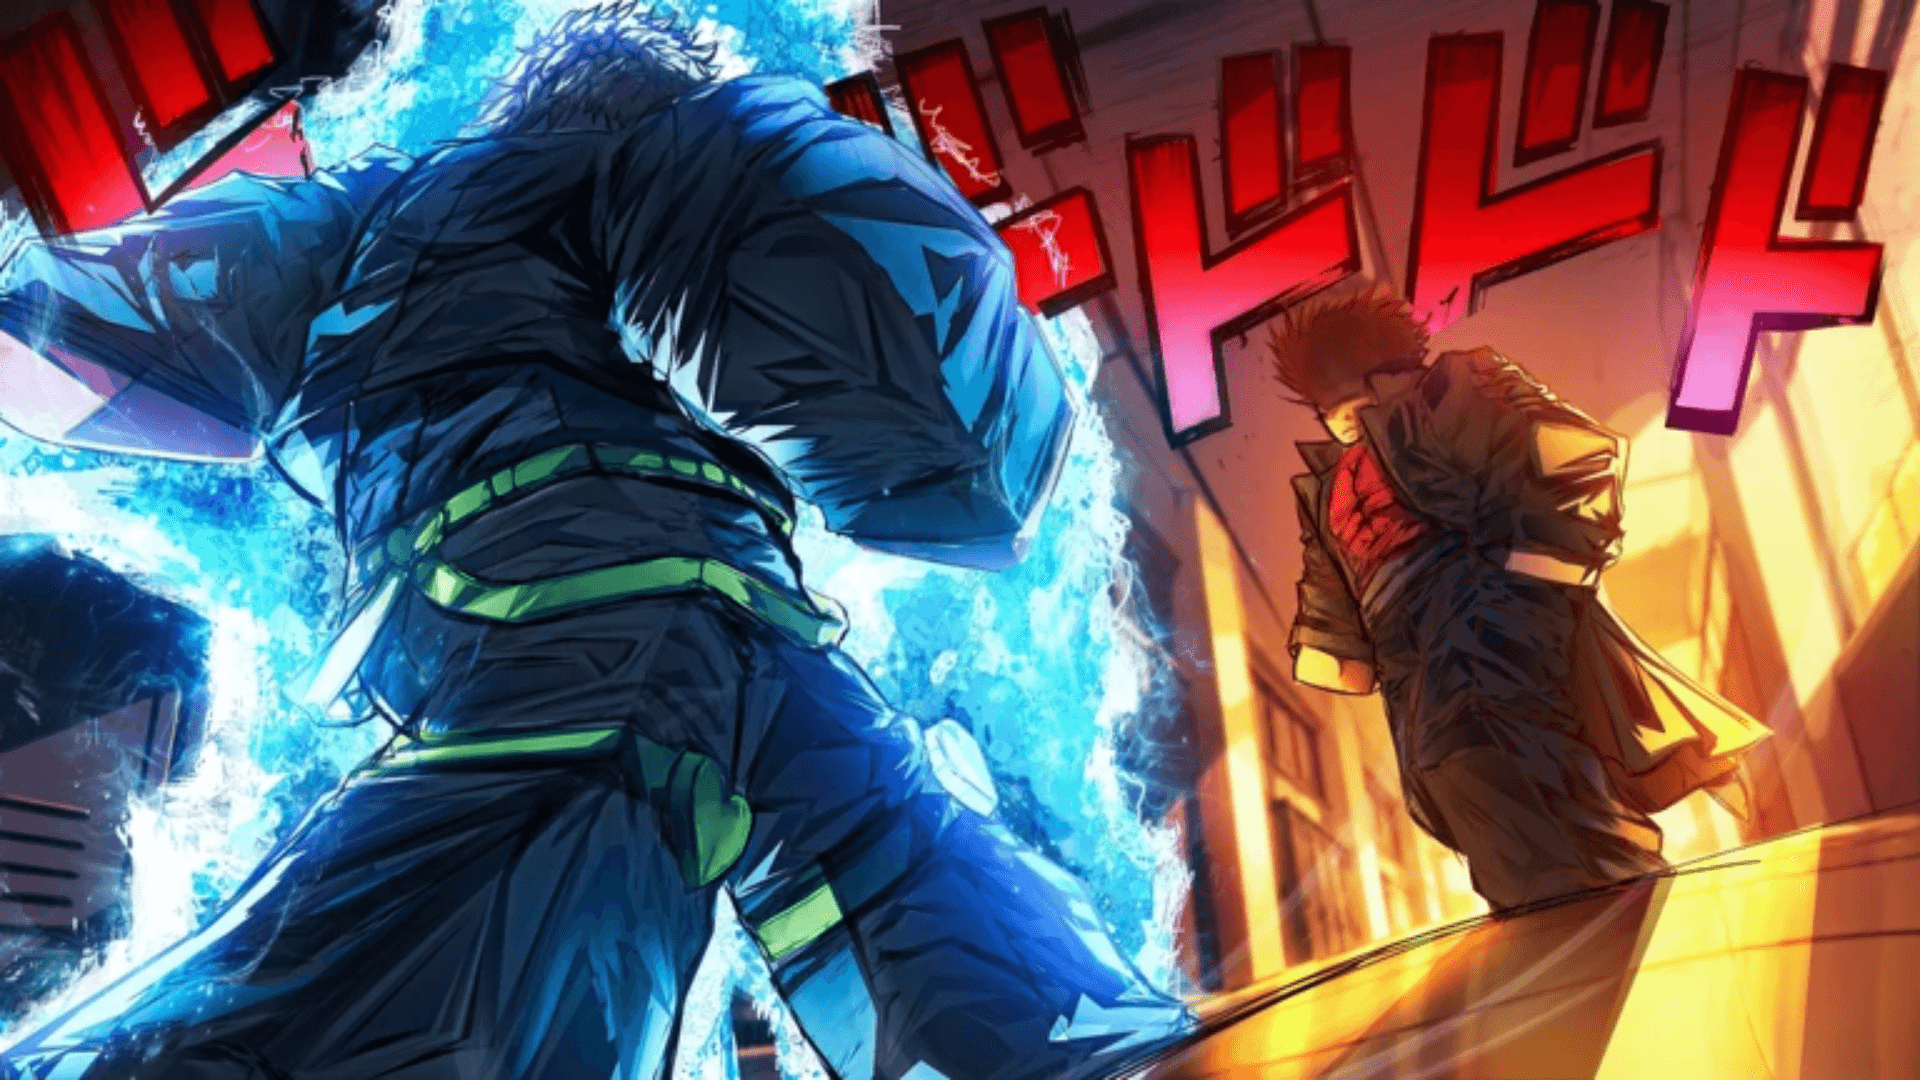

Bridger Western packs a lot into a single session: guns, Stands, cards, utilities, horses, and a Wild West sandbox that punishes bad build decisions hard. With Update 2.3 now live on Roblox, five new Stands (Emperor, White Album, Sticky Fingers, Mr. President, and C-Moon) and three new cards (Master Lumberjack, Time Is of the Essence, and Ice Skates) have reshuffled the meta. This tier list covers everything you need to slot into a build that actually wins.
Bridger Western weapons tier list
The weapons ranking below prioritizes effective range, fire rate, reload speed, and how well each gun performs when a fight goes sideways. Loadout synergy with utilities and cards also factors in.
| Tier | Weapons |
|---|---|
| S | Maverick 88, Malcom .70, Tommy Gun, Mare's Leg |
| A | Sabre, DB Shotgun, Winchester Repeater, Colt Ocelot |
| B | Bow, Whitney Dragoon, Mauser, Dual Derringers |
| C | Schofield 6, Taurus .357 |
The Maverick 88 and Malcom .70 sit at the top because they apply consistent pressure across multiple fight scenarios, not just clean one-on-one duels. The Tommy Gun rewards aggressive play with its fire rate, and Mare's Leg doubles as both a weapon and a Stand, which makes it uniquely flexible. A-tier options like the Winchester Repeater and Colt Ocelot are strong in the right hands but require more deliberate positioning to extract full value.
C-tier weapons like the Schofield 6 and Taurus .357 aren't unplayable, but they ask you to do more work for less payoff compared to anything above them.
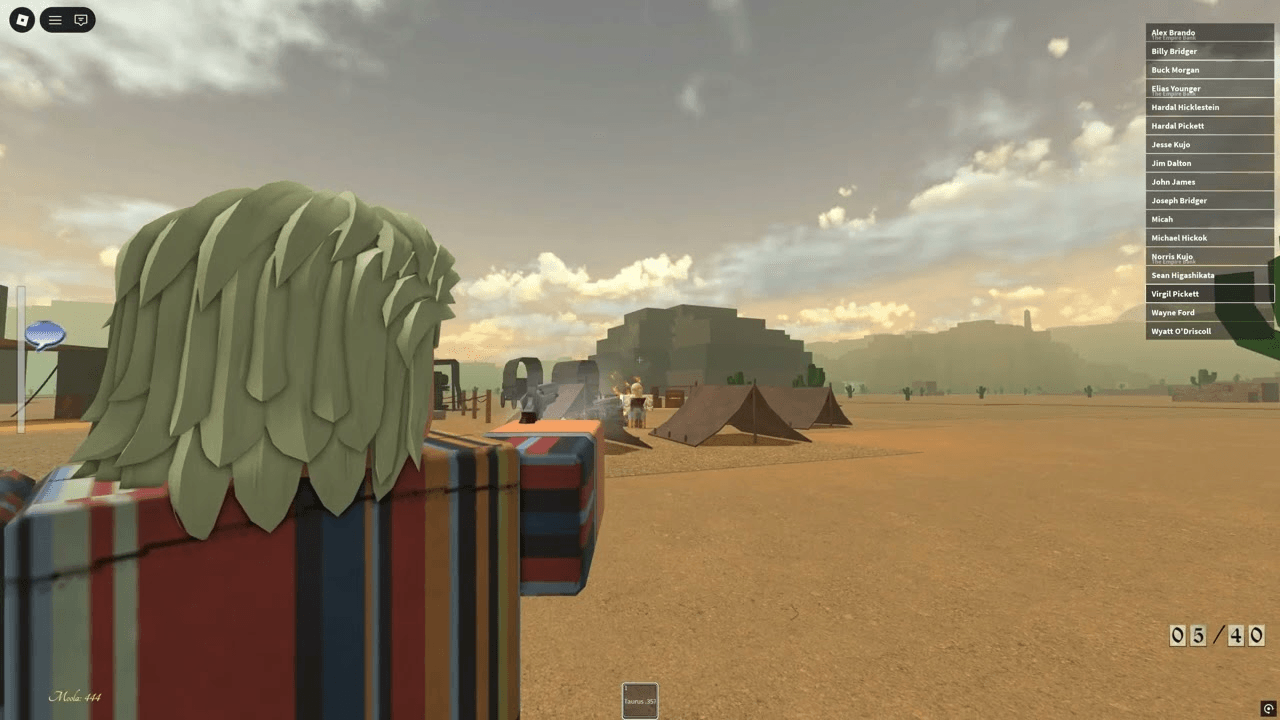
Bridger Western Tier List: Best Weapons, Stands, Cards, and Utilities


Bridger Western Stands tier list
Stands generally reduce your base gun damage, so a Stand needs to give back more than it takes. The best ones either create reliable kill pressure, lock opponents down, or bring utility that matters in almost every match.
| Tier | Stands |
|---|---|
| S | Weather Report, The World, TWAU, D4C, Mare's Leg |
| A | The Hand, Star Platinum: The World, Star Platinum, Silver Chariot, Gold Experience, Killer Queen, Mandom, Tusk Acts 1-3, Soft and Wet |
| B | Chocolate Disco, Catch the Rainbow, Hierophant Green, Magicians Red, Crazy Diamond, Purple Haze, 20th Century Boy, Hermit Purple, Tubular Bells, Oh Lonesome Me |
| C | Hey Ya, Khnum |
The World and TWAU (The World: AU) remain the gold standard for time-control pressure. D4C brings dimensional utility that few other Stands can match. Weather Report earns its S-tier placement through Heavy Weather mode, damage resistance, enhanced mobility, projectile control, and the Torrential Rain ability, though it requires building into that mode first, which is why it sits slightly behind the pure time-stop Stands.
Bridger Western Tier List: Best Weapons, Stands, Cards, and Utilities
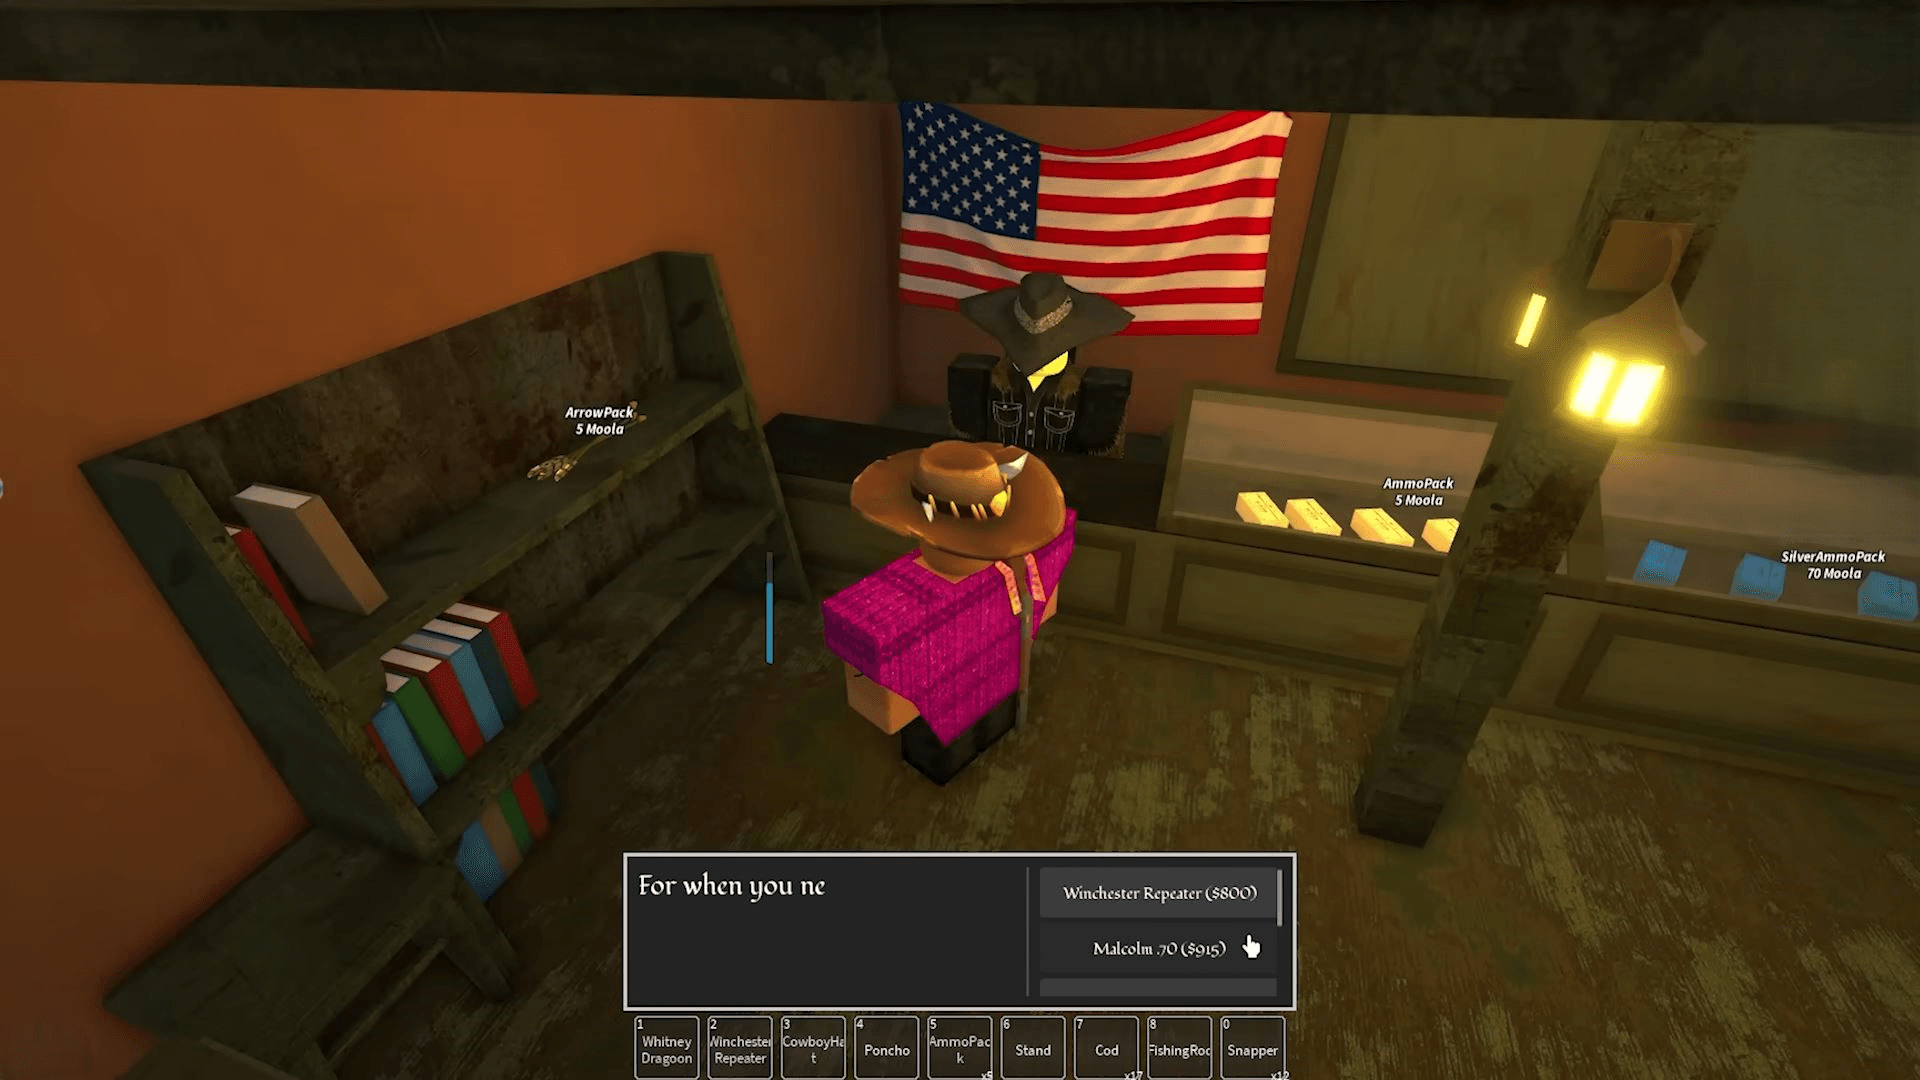
The Hand leads A-tier with burst damage, erasure utility, and strong execute pressure. The trade-off is losing basic M1 attacks, which makes it heavily cooldown-dependent. The rest of A-tier covers Stands that are genuinely strong but require more matchup knowledge or setup to get consistent value from.
After testing the new Update 2.3 additions, Emperor, White Album, Sticky Fingers, Mr. President, and C-Moon each bring interesting mechanics but none immediately displace the existing S-tier.
Bridger Western utilities tier list
With only three utility slots available, every pick has to pull its weight. Situational utilities that only shine in specific matchups are hard to justify when you could run something that helps in every fight.
| Tier | Utilities |
|---|---|
| S | Knife, Tonic, Poncho |
| A | Silver Ammo, Dynamite, Cowboy Hat |
| B | Lasso, Molotov, Coin |
| C | Smoke Bomb, Steel Wireset, Ammo Bag |
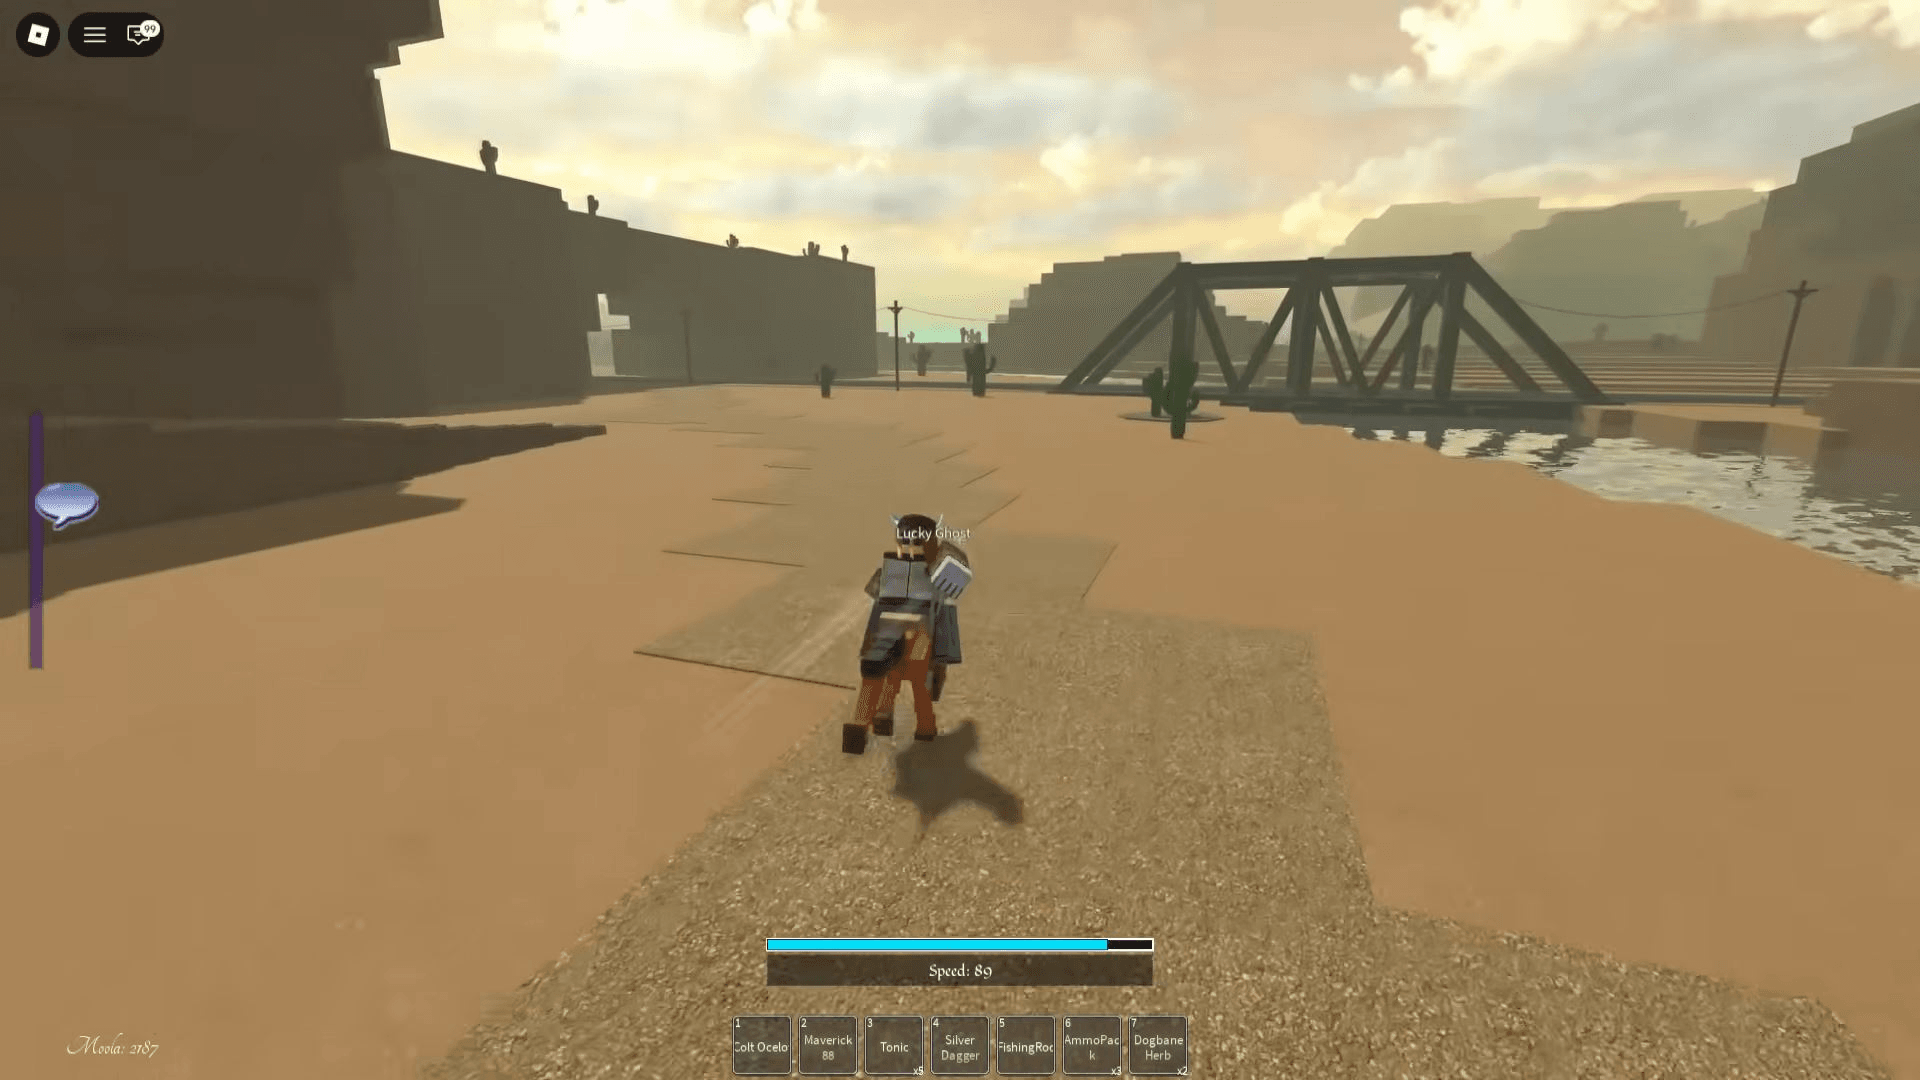
Knife, Tonic, and Poncho form the core S-tier trio because they provide consistent value regardless of the matchup. Knife adds pressure and combo potential, Tonic handles sustain, and Poncho creates defensive windows that can flip fights. Running all three is the default recommendation for most builds.
Bridger Western Tier List: Best Weapons, Stands, Cards, and Utilities
Silver Ammo and Dynamite are strong A-tier picks that fit well into aggressive builds, while Cowboy Hat adds survivability without demanding a specific playstyle. For a full breakdown of which utilities work best together, the Bridger Western utilities tier list covers every slot combination worth running.
C-tier utilities like Smoke Bomb and Steel Wireset aren't useless, but they're too setup-heavy or too narrow to compete with what the tiers above offer.
Bridger Western cards tier list
Cards are ranked by how often they provide real value in actual fights. Cards that improve survivability, movement, neutral, weapon handling, or reliable pressure consistently outperform cards that only activate in one niche scenario.
| Tier | Cards |
|---|---|
| S | Show Me A Good Time, Quick Draw, Free Runner, Time Heals All Wounds, Too Tired to Fall |
| A | FAUX: Violent Tendencies, Violent Tendencies, FAUX: Main Character Syndrome, Wind God, Soul Cleaver, Anger Issues, Gunslinger's Grit, Perfectionist, Tonicmaster, STURDY, Desperado, Boy With Fists, Demolitions Expert, Lung-shot, Archer's Child, Veteran, High Noon, Poltergeist |
| B | Main Character Syndrome, Hyperventilator, Faux Tea Time, Nocturnal, Tea Time, Narcoleptic, Evil Eye, FAUX: High Noon, A True Cowboy, Belmont Family Crest, Can't Lay Off the Tonic, Seasoned Hunter, Silver Wireset, Twenty Meter Radius Steel, Small Cuts Total Checkmate, Winged Man, Sneaky Lowlife |
| C | Strong Presence, Silver Prodigy, EXECUTIONER, Secret Technique, Snake Eater, Danger Sense, Coin Roller, Flesh Automaton |
Show Me A Good Time, Quick Draw, and Free Runner sit at the top of S-tier because they apply broadly across every playstyle. Quick Draw in particular is one of the most impactful cards in the game since faster draw speed directly converts into more kills. Time Heals All Wounds and Too Tired to Fall round out S-tier with survivability that kicks in exactly when you need it most.

Bridger Western Tier List: Best Weapons, Stands, Cards, and Utilities
The three new Update 2.3 cards (Master Lumberjack, Time Is of the Essence, and Ice Skates) are recent additions. Their tier placements will settle as the meta develops around them.
For build-specific card recommendations across gun, melee, bow, and mobility setups, the Bridger Western card tier list goes deeper on how to pair S and A-tier cards effectively.
What's the best overall build in Bridger Western?
For most players, the safest high-performing setup combines an S-tier weapon with a time-control Stand, the S-tier utility trio (Knife, Tonic, Poncho), and cards focused on movement and survivability. The Maverick 88 or Tommy Gun paired with The World or TWAU, supported by Quick Draw, Free Runner, and Time Heals All Wounds, covers most combat scenarios without demanding perfect execution.
If you're newer to the game and still figuring out the systems, the Bridger Western beginner's guide explains how to unlock Stands, earn Moola, and get your first cards without wasting resources on weak options.
The meta will keep shifting as Update 2.3's new Stands get tested more thoroughly, but the core principles here (broad utility over niche power, consistent pressure over theoretical burst) will stay relevant regardless of what gets added next. For everything else Bridger Western-related, the full Roblox guides collection has dedicated breakdowns for weapons, utilities, horses, and Moola farming.