
To get the Hollow Skull in Roblox, collect the relic on each of The Hollow Hub's nine numbered floors, then clear the secret floor's nine obby sections. Getting through the last maze unlocks the finale; completing its obstacle course earns the skull. The awkward part is that maze layouts and item locations change between runs. This walkthrough focuses on puzzle rules you can reuse, the mistakes that reset a run, and the monster attacks waiting between you and the final reward.
What unlocks the Hollow Skull?
Your route to the Hollow Skull has two stages: finish the numbered floors, then survive the secret floor. Use the elevator in Bloxhilda's Plaza to reach the relic challenges.
- Solve the puzzle on each numbered floor and collect its relic.
- Carry each relic back to the elevator without getting caught.
- Once you have all nine relics, enter the secret floor marked ?.
- Complete all nine obby sections to receive the Hollow Skull.
Each numbered floor pairs a different monster with a different puzzle. Use this table to identify your next objective without hunting through every walkthrough.
| Floor | Monster | Relic objective |
|---|---|---|
| 1 | Seek | Find five pieces and connect the purple puzzle path |
| 2 | Twisted Dandy | Rotate six pillars to match the wall clue |
| 3 | Biter | Enter symbols for the three shortest lifespans |
| 4 | The Deer | Repeat the zombie's route across the tiles |
| 5 | Hiachi | Reflect a beam into the blue skull |
| 6 | Mimic | Add three color-matched ingredients to a cauldron |
| 7 | The Inspector | Take a torch and light four pumpkins |
| 8 | The Overseer | Deliver five objects to matching pedestals |
| 9 | Piggy | Pull symbol-matched levers in the requested sequence |
Maze routes and collectible positions are randomized, so learn each floor's objective rather than memorizing corridor directions. If a monster closes in, portals and stair rooms can help you create space. In stair rooms, you can go downstairs, jump over a railing, and head back up to evade the pursuit.

Which relic puzzles send you back into the maze?
Floor 1: Find five pieces and complete the circuit
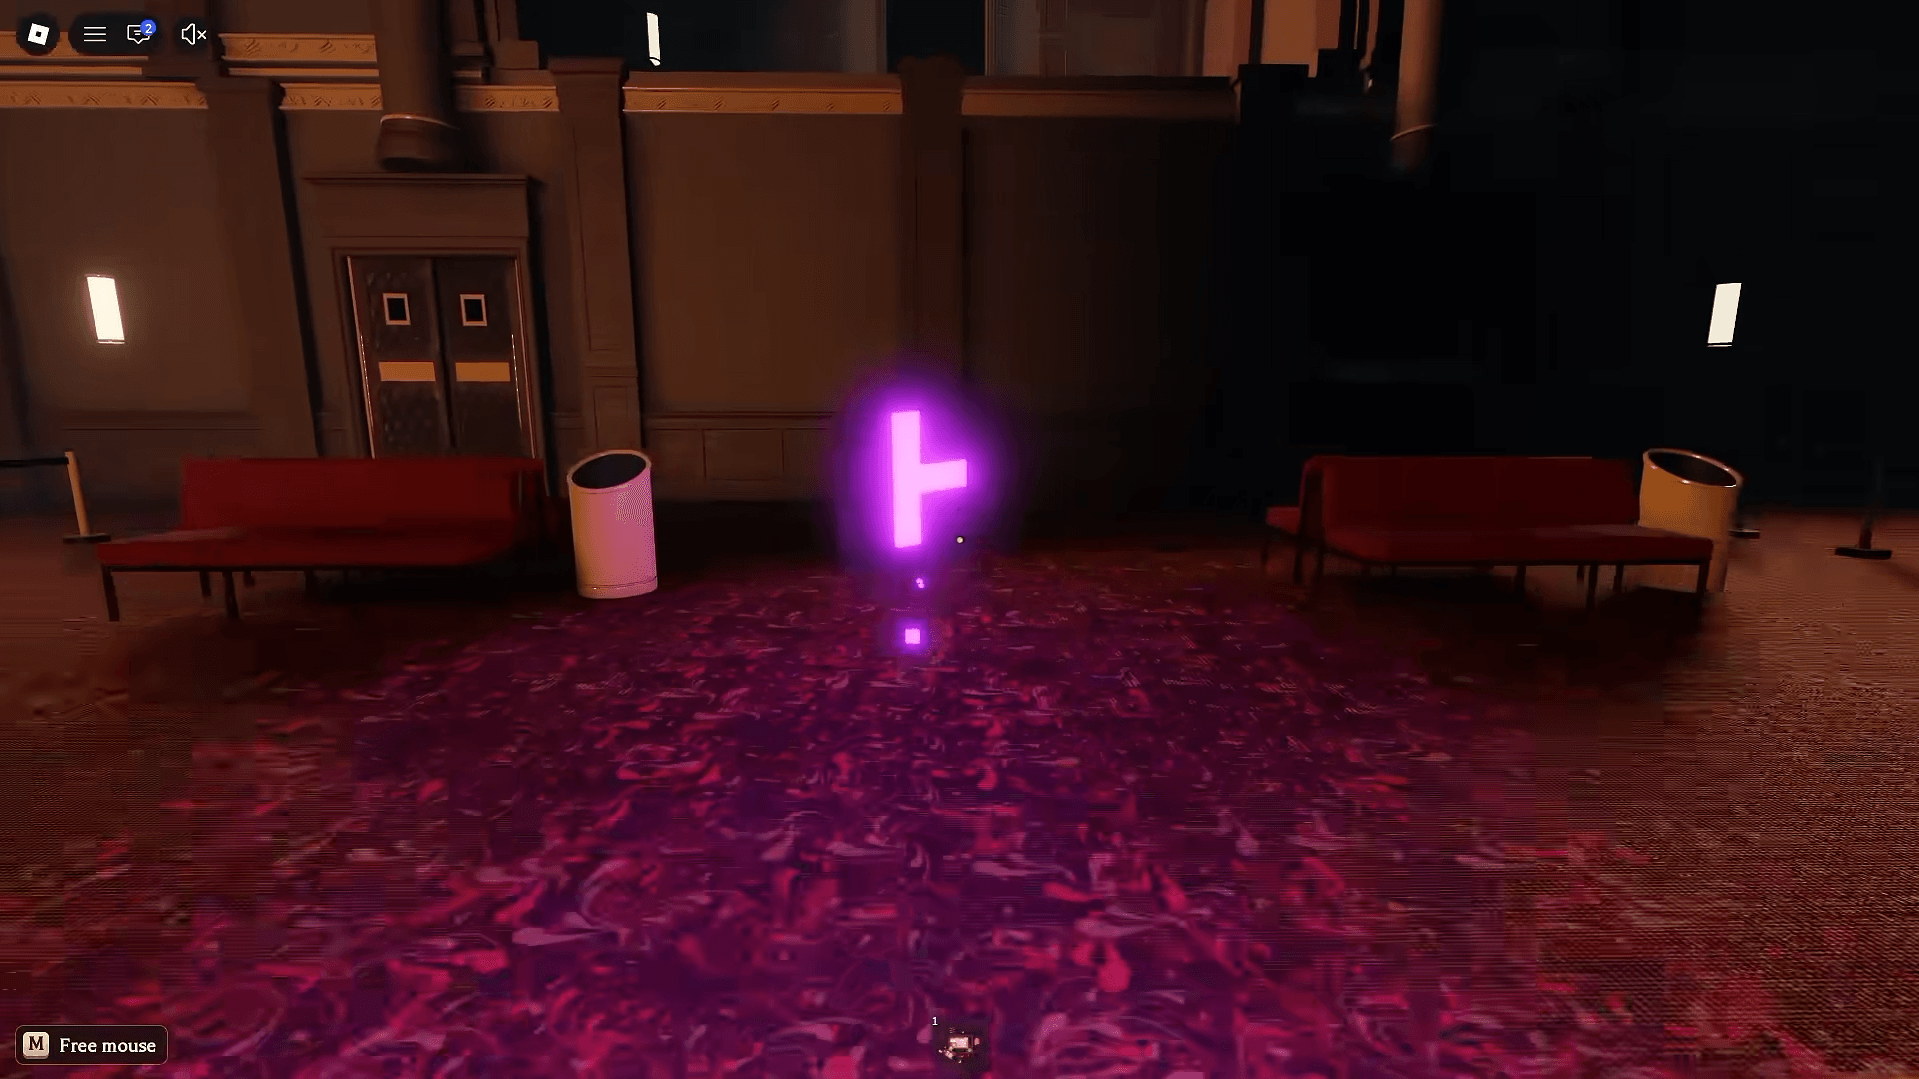
Seek patrols Floor 1 while you search for five purple puzzle pieces. Collect the full set, then locate the Doors-themed relic room and insert them into its puzzle panel.
Rotate the tiles until the glowing purple lines form a continuous connection between the left and right endpoints. Once the panel opens, collect the relic and return to the elevator. Completing this floor earns the Lord Umberhallow Bloxikin and its badge.
If this is your first relic, the dedicated Lord Umberhallow Bloxikin walkthrough covers the missing pieces and Floor 1 puzzle in more detail.
The Hollow Hub Guide: How to Get Hollow Skull
Floor 7: Get the torch before lighting pumpkins
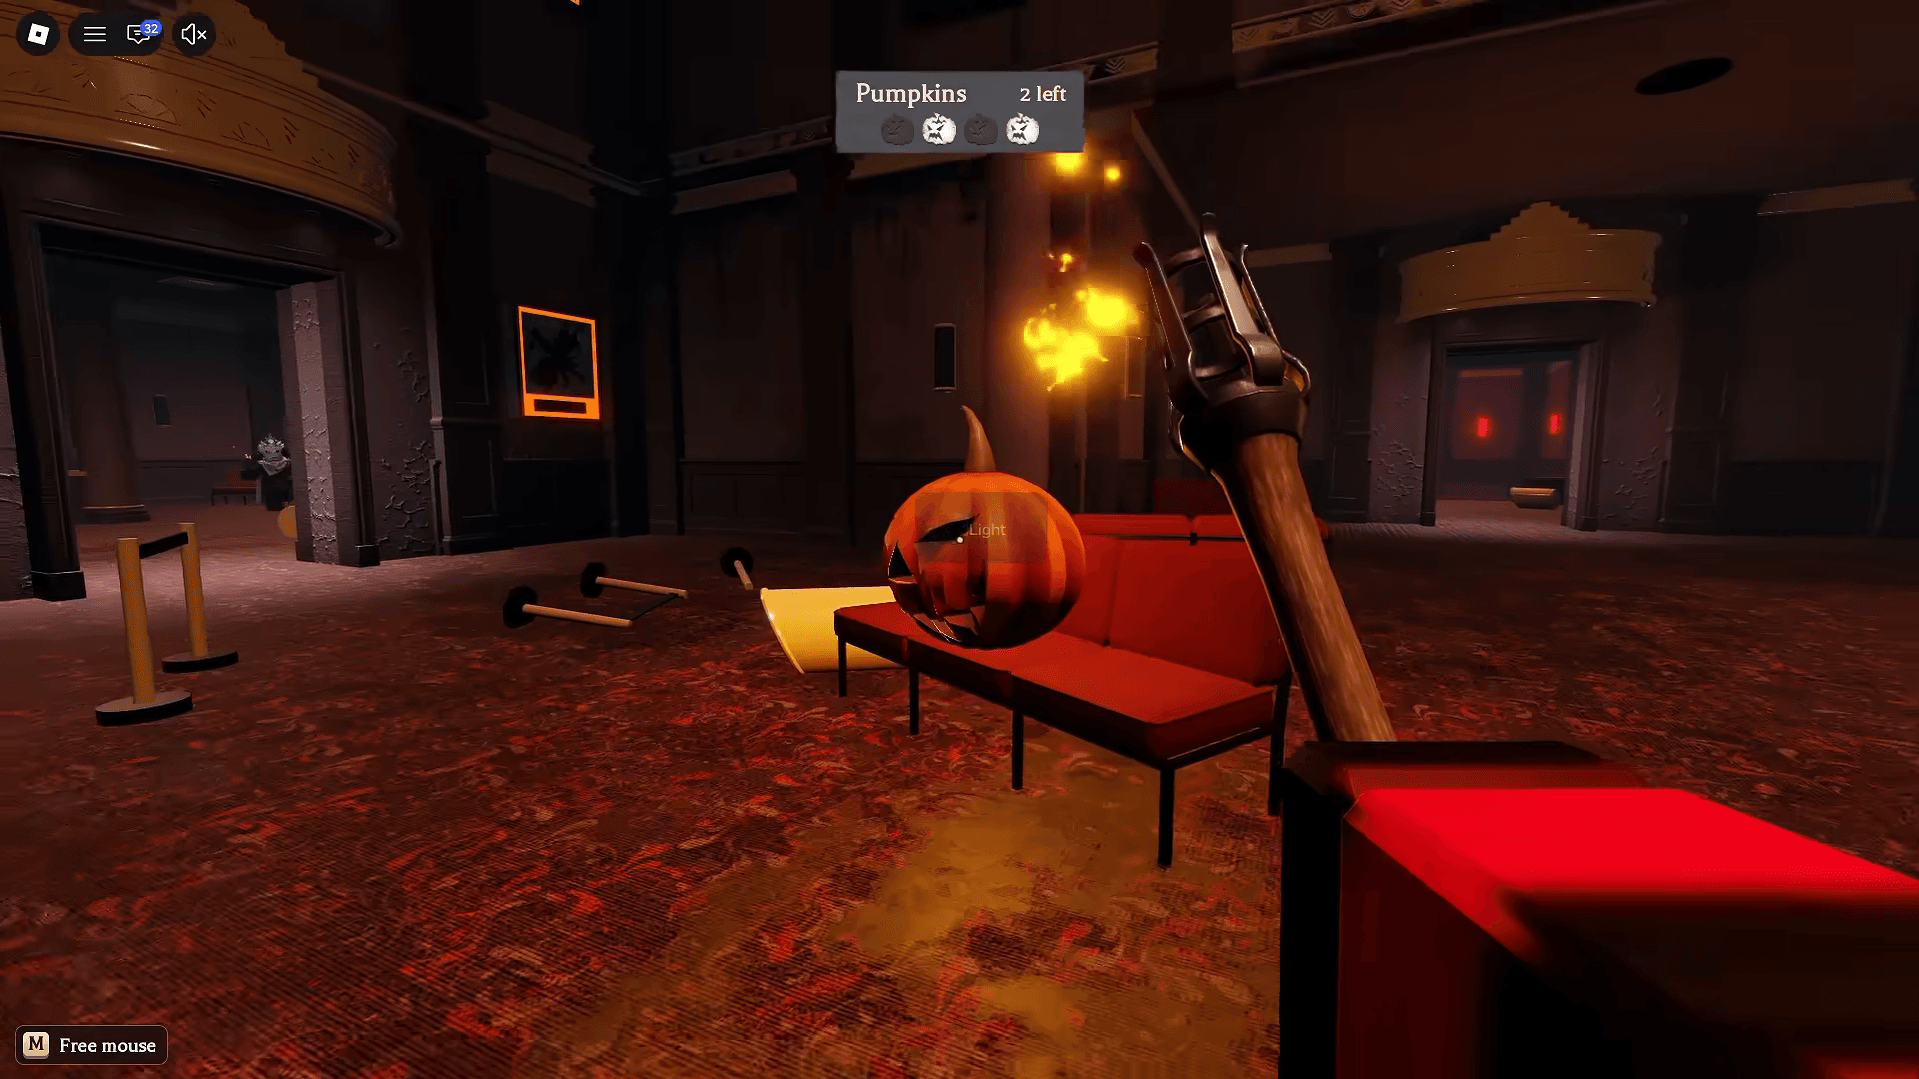
On Floor 7, find the puzzle room before starting your pumpkin search. Interact with the fire at its entrance to take a Torch, using E on keyboard, then return to the maze.
Light four pumpkins scattered through the corridors while avoiding The Inspector. Their positions vary between runs, but any pumpkins you notice while looking for the room are worth remembering. Lighting all four completes the relic objective.
The Hollow Hub Guide: How to Get Hollow Skull
Floor 8: Match five objects to their pedestals
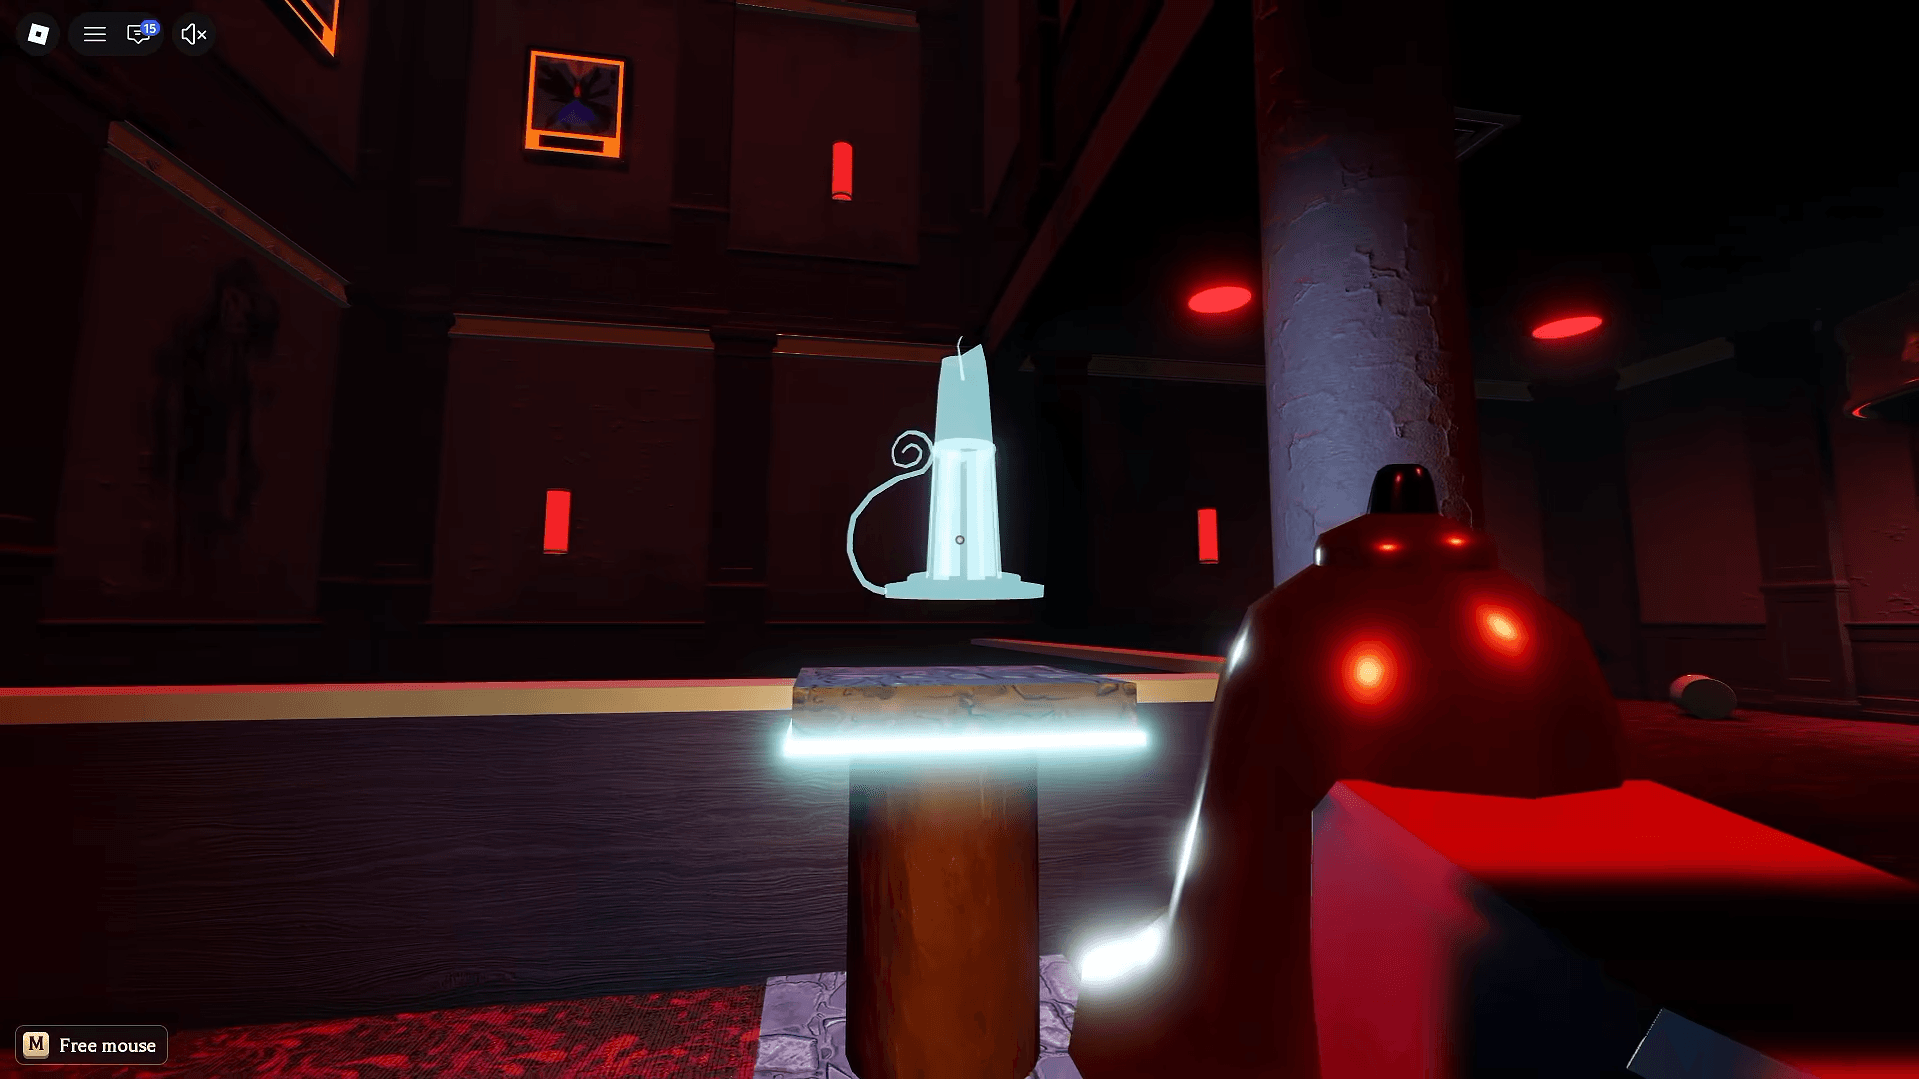
Floor 8 is a delivery puzzle with The Overseer chasing you. Find the room containing the five objects, then place each one on its matching pedestal somewhere in the maze:
- Candle
- Lantern
- Potion
- Skull
- Bell
You can carry only one object at a time. The more efficient approach is to locate a pedestal, check which object it needs, and then collect that object. Grabbing something blindly can leave you searching the maze with the wrong delivery in hand.
The pedestals glow, helping you spot them around the maze. Keep track of another pedestal when you pass one so your next trip has a clear destination. Deliver all five objects, collect the relic, and escape through the elevator.
The Hollow Hub Guide: How to Get Hollow Skull
Floor 9: Read the next symbol after every lever
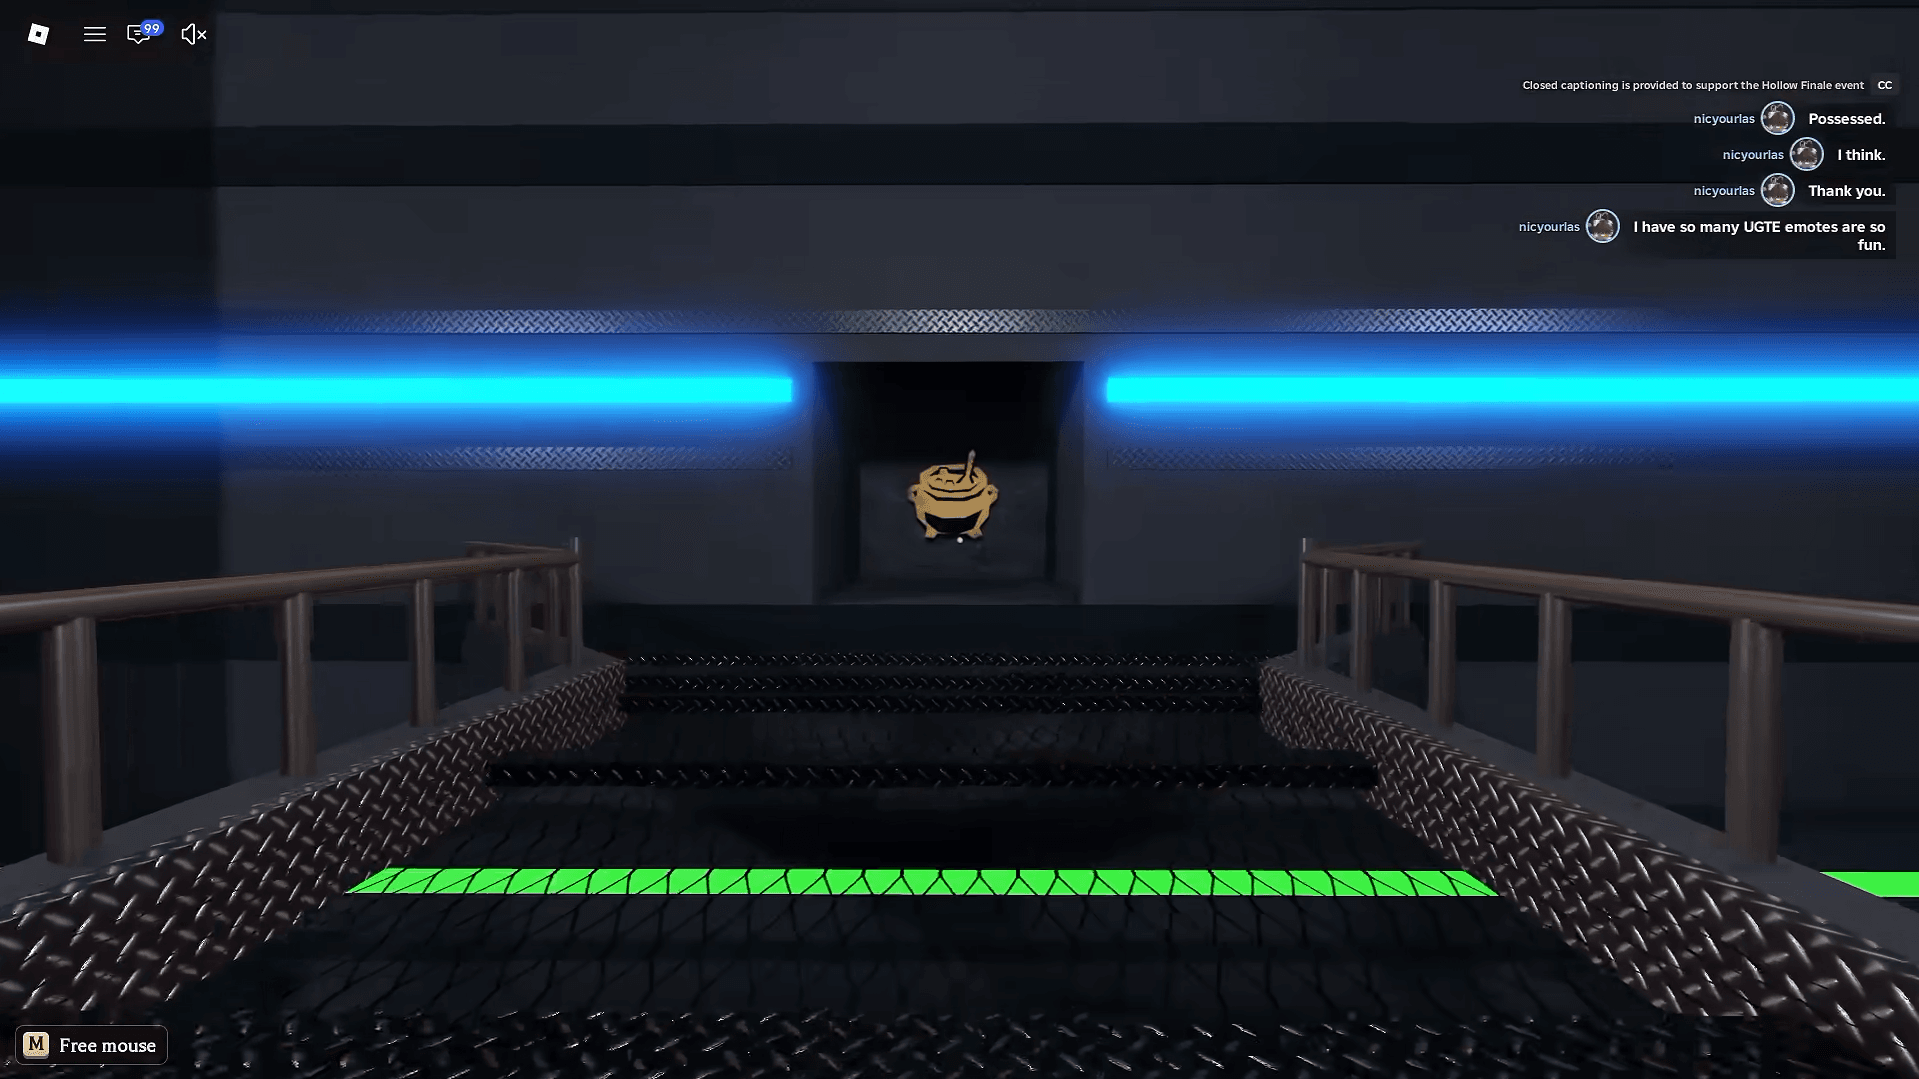
Find the Piggy-themed puzzle room and inspect the symbol on its rear gate or wall. Search the maze for the lever displaying that same symbol, pull it, and return to check the next request.
The lever symbols include a cat, witch hat, cauldron, and pumpkin. A sound signals that a correct pull has changed the symbol in the puzzle room. Repeat the process until the symbols are gone and the relic becomes accessible.
The Hollow Hub Guide: How to Get Hollow Skull
Floor 9 rewards careful backtracking. Remember lever locations as you explore, but let the puzzle room determine which one you pull next. Once the sequence is complete, retrieve the relic and return to the elevator.
How do you solve the room-based relic puzzles?
Floor 2: Follow the wall clue, not a fixed symbol
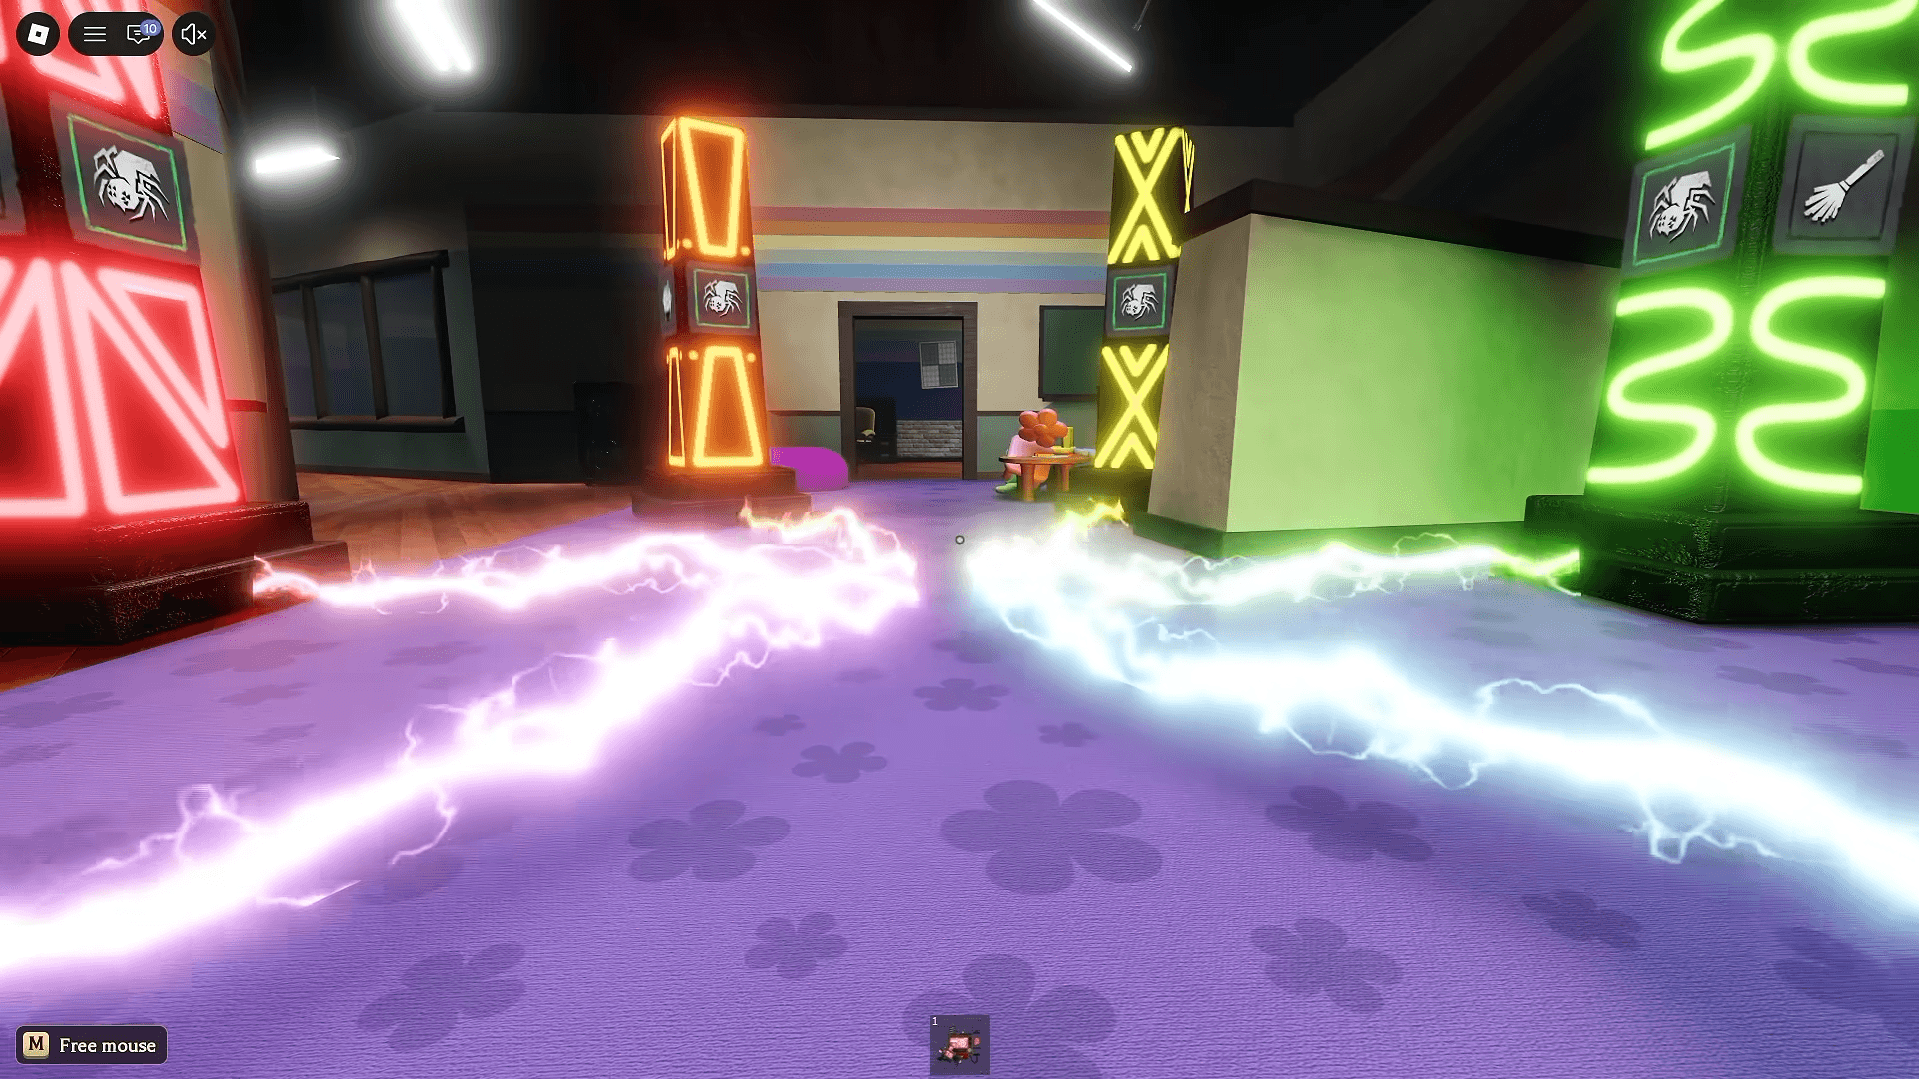
Find the Dandy's World-themed room, take the stairs on the right, and locate the six pillars upstairs. Read the wall clue to learn which symbol must face the center. The requested symbol can vary, so inspect your clue before turning anything.
Interacting with one pillar also rotates its two neighbors. You have 11 turns, so watch the neighboring pillars instead of judging a move only by the pillar directly in front of you. Work on one side, then the opposite side, checking which beams remain lit as you go.
Once all six pillars are correctly aligned and their beams point inward, pull the lever to access the relic. Return it to the elevator to earn Witches Brew-nado. For a closer breakdown of this puzzle, use the Witches Brew-nado pillar walkthrough.
The Hollow Hub Guide: How to Get Hollow Skull
Floor 3: Sort lifespans, not calendar dates
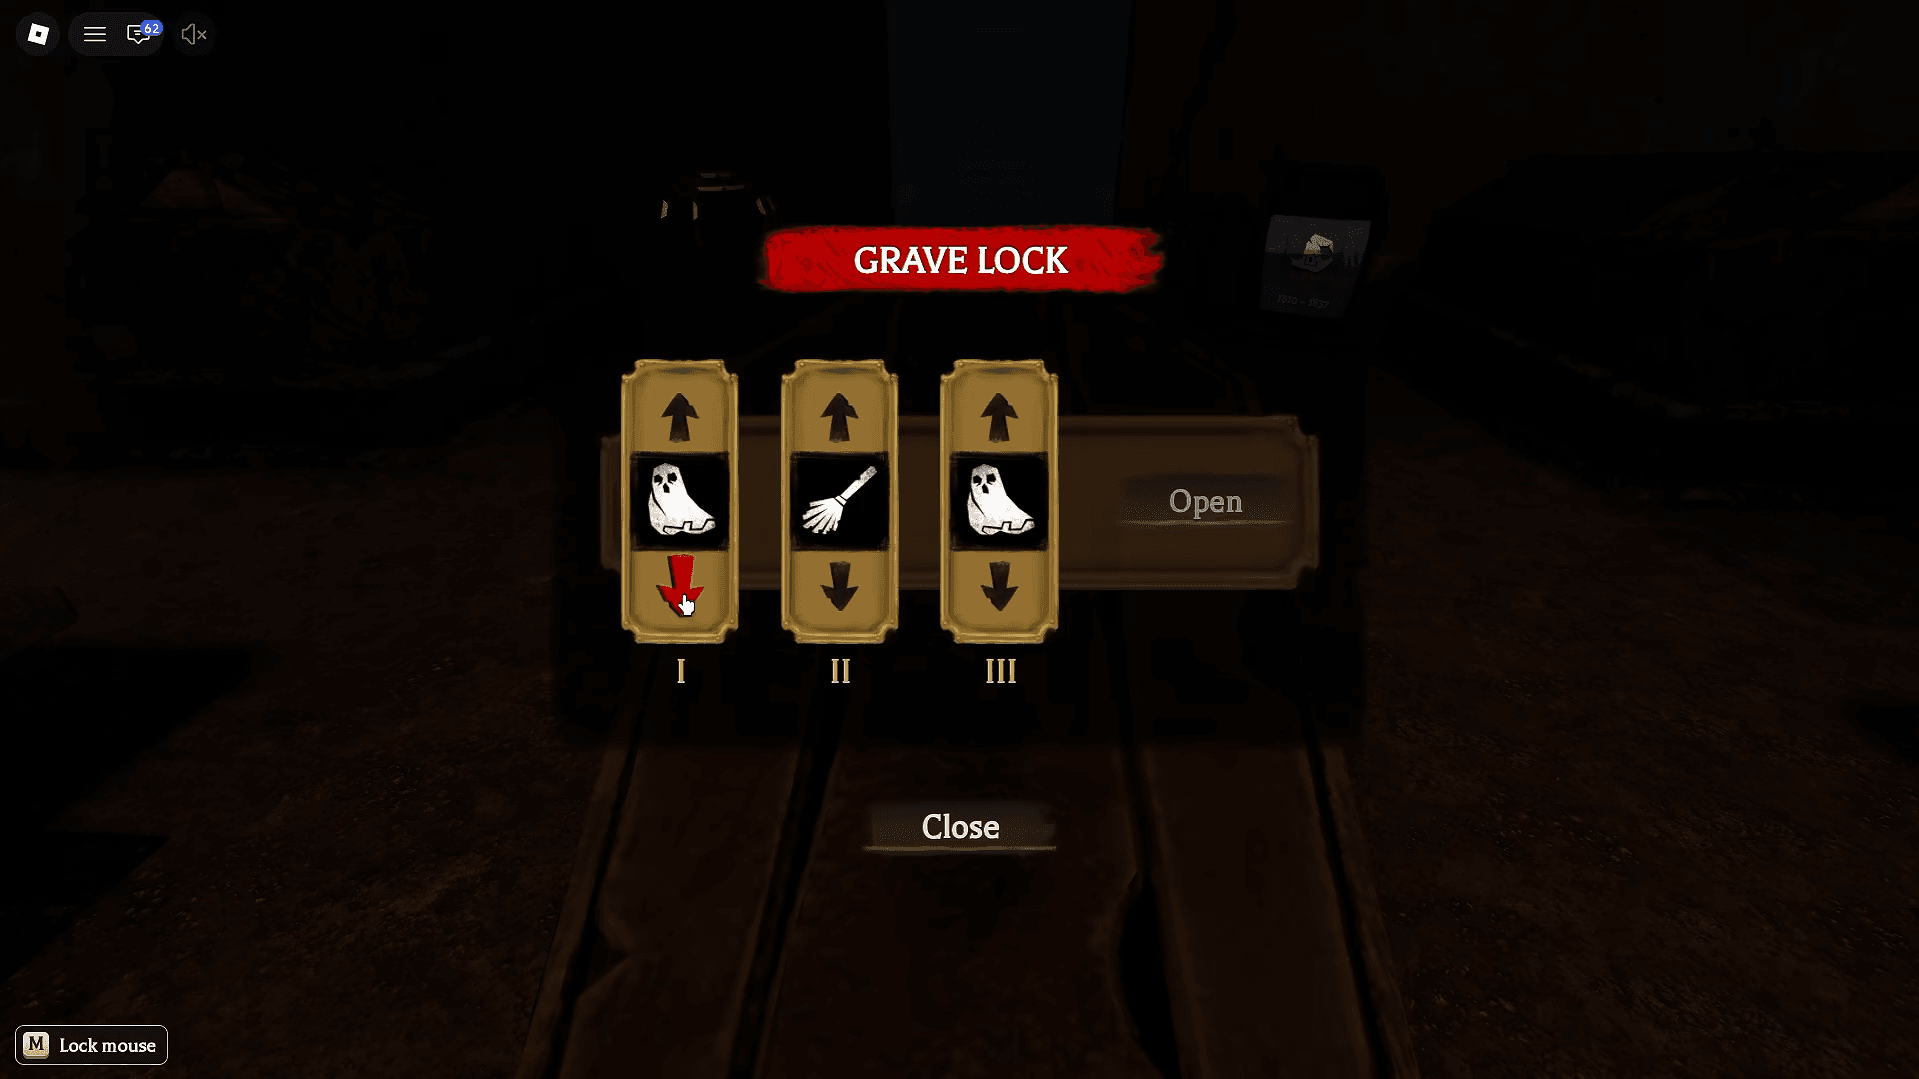
The Floor 3 coffin lock uses the symbols belonging to the three people who lived the shortest lives. Inspect all eight gravestones and calculate each lifespan as death year minus birth year. The earliest death date alone does not identify the correct grave.
Record each lifespan beside its symbol, select the three smallest values, and arrange those symbols left to right in ascending lifespan order. On keyboard, press M to release your mouse, then click the lock controls to change the symbols.
The gravestone details can differ between players, so calculate your own combination. Once the coffin opens, take the relic back through the maze while avoiding Biter.
The Hollow Hub Guide: How to Get Hollow Skull
Floor 4: Copy the zombie's tile sequence
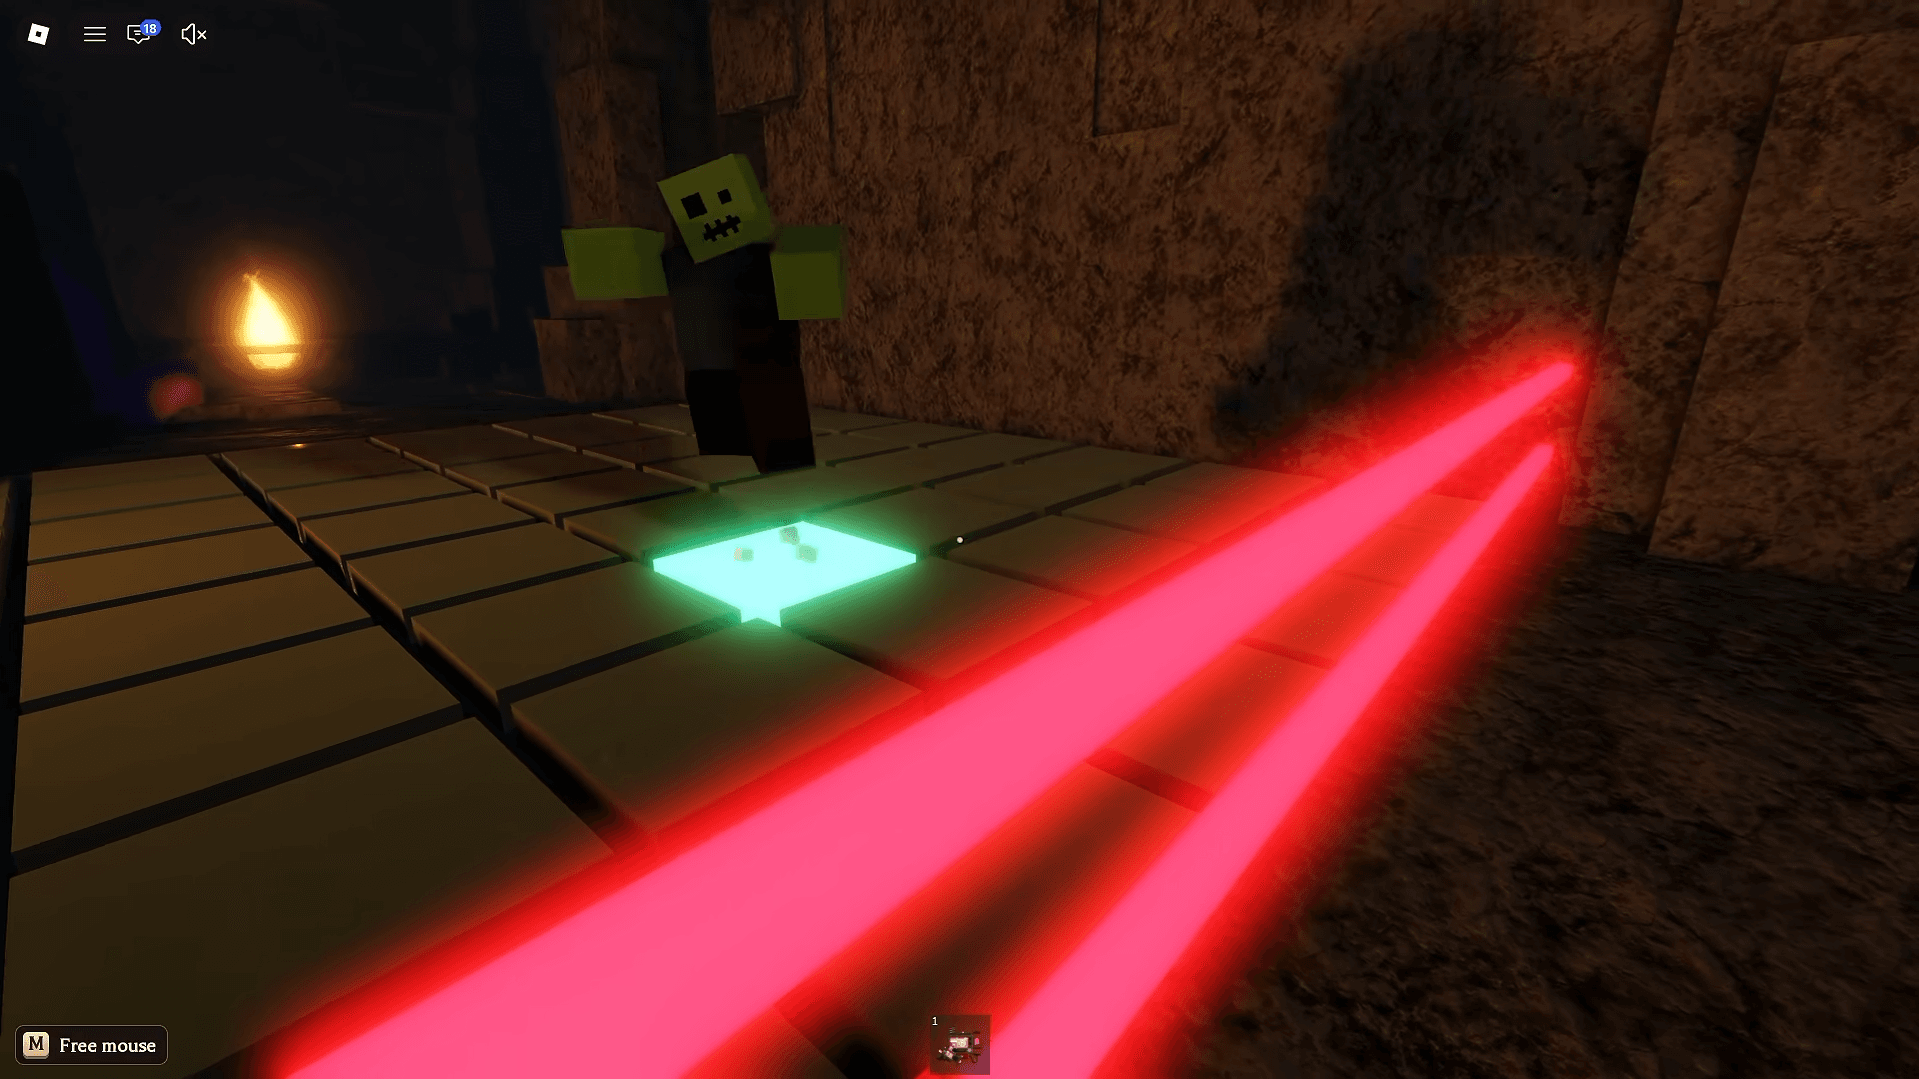
Inside the 99 Nights in the Forest-themed room, head left to find a zombie near the lasers and tiled platform. Interact with the zombie and watch the exact sequence of tiles it crosses.
Follow that same sequence to reach the relic. A wrong tile collapses the route and resets this puzzle, but you can retry without a deadly penalty. Watch the demonstration again if needed, then make the return trip while avoiding The Deer.
The Hollow Hub Guide: How to Get Hollow Skull
Floor 5: Send the beam into the blue skull
Find the ruined school-themed puzzle room and head upstairs to the mirrors. Rotate them to redirect the incoming light until it reaches the blue skull. Trace the visible beam through each reflection so you can see where the connection breaks.
Mirror colors matter because interacting with one mirror also turns another mirror with the same colored orb. After making an adjustment, check the beam again before changing a different pair.
Once the skull lights up, collect the relic and return to the elevator. Hiachi's singing warns that she is nearby, so listen during the trip through the maze.
Floor 6: Match ingredients to the cauldron's colors
Enter the Animal Hospital-themed room and turn right to find the Witch's Brew cauldron. Check the three colors displayed above it, then collect ingredients matching those colors from around the hospital.
| Requested color | Matching ingredient |
|---|---|
| Pink | Rose |
| White | Bone |
| Yellow | Mushroom |
| Cyan | Feather |
| Orange | Pumpkin |
| Green | Slime |
| Red | Pomegranate |
Approach the cauldron with a requested ingredient to deposit it automatically. Match all three displayed colors to obtain the relic, then return to the elevator. The darkness intensifies when Mimic gets close, making the escape harder to navigate.
How do you clear the secret floor and claim the Hollow Skull?
With all nine relics collected, enter the elevator's ? floor. The finale contains nine obby sections linked by portals. Your objective changes here: navigate the obstacles and reach each section's exit portal while avoiding its monster.
How should you handle the monsters?
The first obby features Piggy, and the course includes sections associated with all nine monsters. Each monster appears twice during its obby section, but their attacks do not all work the same way.
| Encounter | Attack behavior | What to watch |
|---|---|---|
| Most monsters | Use a cone-shaped attack, then disappear briefly | The attack area and the opening after they vanish |
| Seek | Rushes toward you in a straight line | The direction of the charge |
| Piggy | Roams an area near the end of its obby | Piggy's position while you cross that area |
For most encounters, use the brief disappearance after a cone attack as your opening to advance. Seek needs different attention because its danger comes along a straight rush rather than a stationary cone. Near the end of Piggy's section, keep watching its movement as you tackle the remaining obstacles.
What should you do in the connecting areas?
After each set of three obbies, continue through the connecting area that tells you to progress. You will see keys near the end of these sections. Their event objective has already been completed, so you can continue without stopping for them.
Finish all nine obby sections and reach the end to receive the Hollow Skull. For the other event rewards, use the full The Hollow UGC, badge, and puzzle guide to plan your remaining challenges.