STAR WARS: Galactic Racer is not a game you can brute-force with raw speed alone. The campaign is built around Tour runs where one League Entry Token separates you from starting over, and early mistakes with vehicle choice, upgrade order, and Ramjet management will end promising runs before they get anywhere. After spending time across all three vehicle classes and testing build paths, here is everything you need to know to stop crashing out and start finishing races.
What are the three vehicle classes and which should you pick?
Three repulsorcraft classes form the foundation of every campaign run, and each one plays completely differently.

Choose your repulsorcraft class
The Landspeeder is the safest starting point. Its heavier construction absorbs contact better than the other classes, its drift mechanic is forgiving, and it handles tight corners without demanding much precision. Start your drift slightly before a sharp corner rather than mid-turn, then begin straightening before the apex so you can accelerate out cleanly.
The Speeder Bike prioritizes speed and acceleration above everything else. Its Kinetic Burst ability provides extra push out of corners, which is genuinely powerful in capable hands. The downside is that its lightweight frame offers almost no protection from crashes, and its wide turning arc under Kinetic Burst makes positioning errors very punishing.
The Skim Speeder sits between the two. Its Knife Edge maneuver lets it carve through tight corners and narrow racing lines with precision, and its resilience gives it more room for error than the Speeder Bike. The trade-off is slow acceleration, meaning you need to build and protect momentum rather than recover it.
| Vehicle | Handling Style | Strength | Weakness | Best For |
|---|---|---|---|---|
| Landspeeder | Drift-based, stable | Durability, forgiveness | Lower speed ceiling | Beginners learning tracks |
| Speeder Bike | Fast, agile, fragile | Acceleration, Kinetic Burst | Crashes hurt badly | Aggressive, experienced players |
| Skim Speeder | Technical, precise | Balance, Knife Edge cornering | Slow acceleration | Intermediate to expert players |


Which Racer Style should you use?
Beyond the vehicle itself, you pick a Racer Style that functions like a perk kit applied to whatever class you drive. There are 14 styles total, but campaign mode hands you Survivor by default, while multiplayer starts you on Ramjet Rider.
For beginners, Survivor pairs well with the Landspeeder because it includes the Shield active ability alongside a higher top speed. Tenacious is worth considering if crashes are your biggest problem, since it grants an Autopilot feature and lets you survive one additional crash before losing a League Entry Token. Ramjet Rider starts you with the Vent skill and runs your engine cooler, which directly addresses the most common way new players destroy their runs.
Unlocking additional styles during solo play requires matching specific driving milestones in your logbook. Repeatedly using your boost burner unlocks Ramjet Rider, while aggressively taking out opponents opens the Brawler setup. In multiplayer, styles unlock as your rank climbs. For a full breakdown of all 14 options and their exact unlock conditions, the Racer Styles guide covering all unlock requirements covers every one.
How do Ramjet and Afterburner actually work?
The mistake most players make early is treating the Ramjet like a standard boost button. It is not.
Afterburner is your safe, everyday speed tool. It recharges automatically during normal driving and can be used out of corners or held flat on straights without serious consequences. Use it freely.
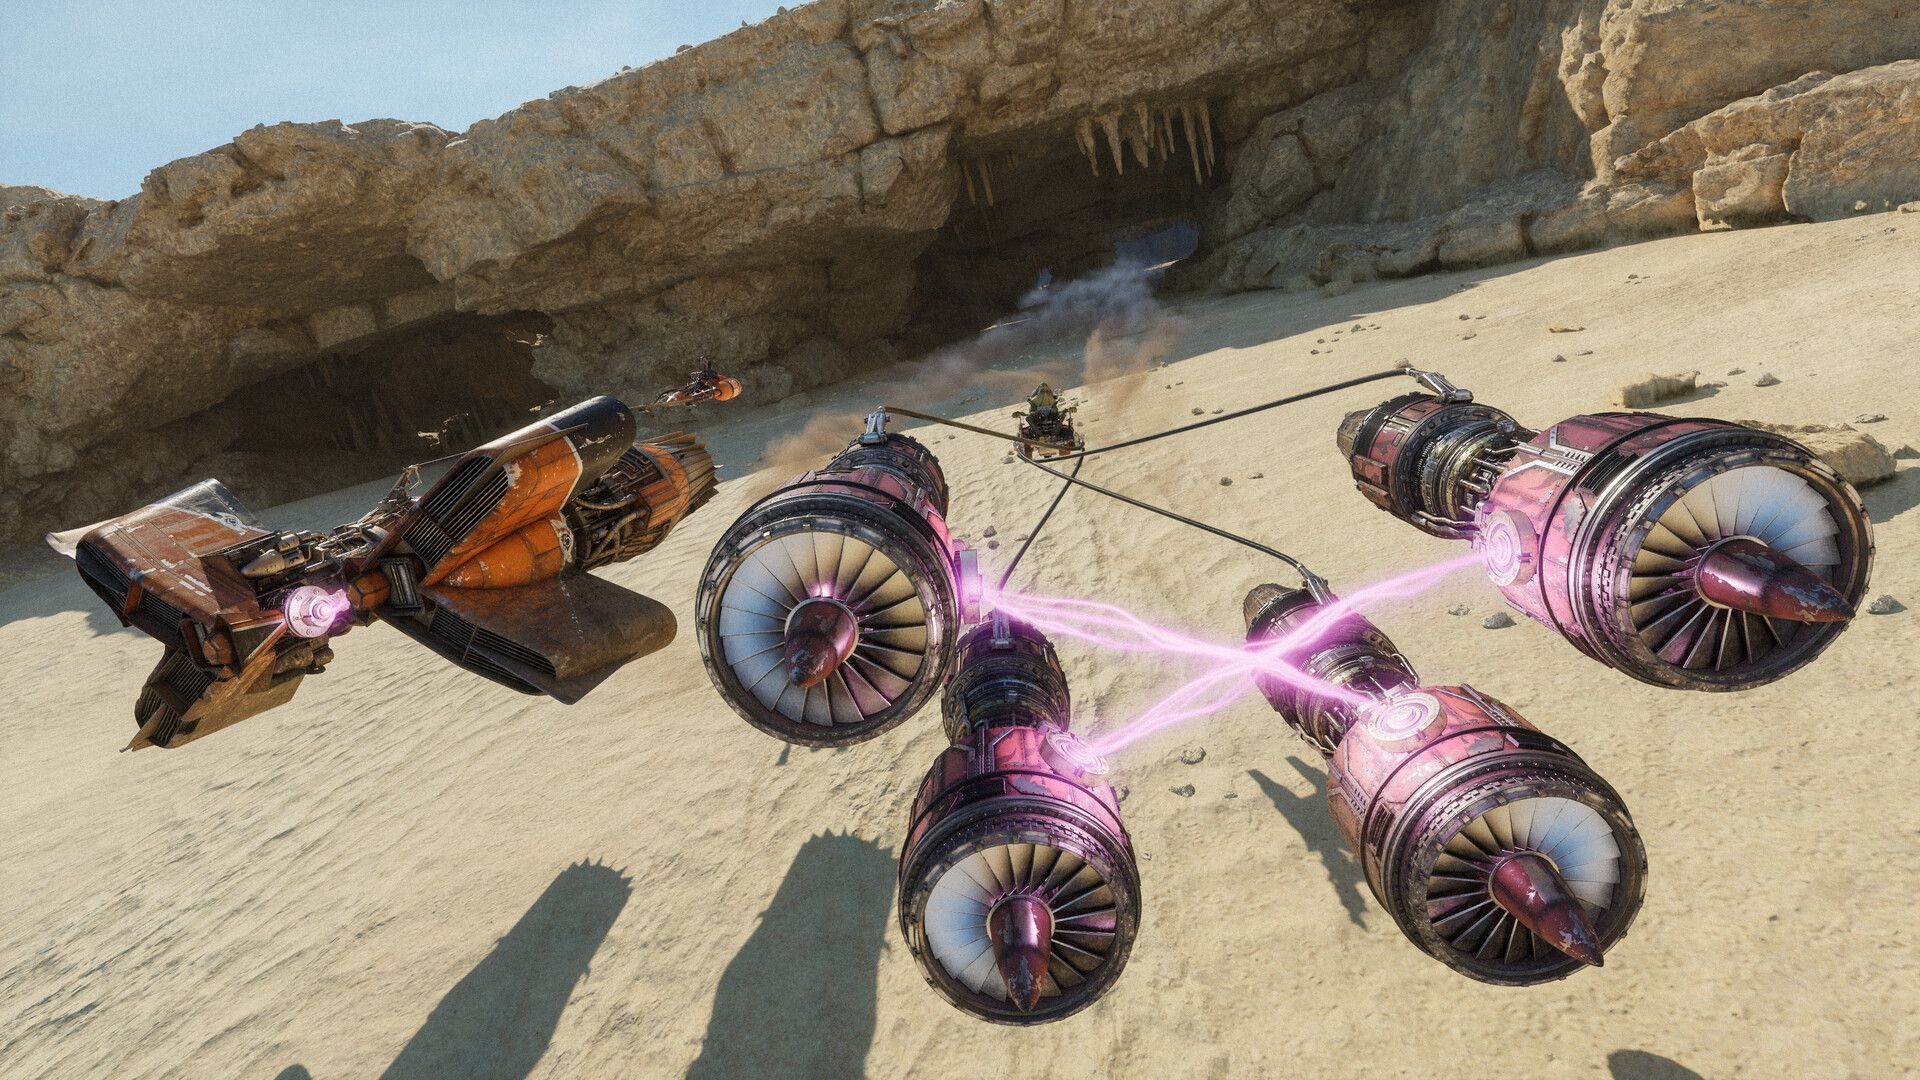
The Ramjet is a different system entirely. It delivers significantly more thrust but generates heat as it runs. Once the heat gauge enters the red zone, you are Redlining. Stay there too long and the vehicle overheats, which damages internal components, locks out your abilities, and can leave you carrying debuffs for the rest of the Tour.

Watch the Ramjet heat gauge
Here is how to manage it properly:
- Use Afterburner for regular acceleration and corner exits.
- Save Ramjet for long straights and position recovery.
- Release Ramjet before the heat becomes uncontrollable, then let it cool during normal driving.
- On Ando Prime, freezing conditions allow longer Ramjet use than most tracks.
- Acid environments are the opposite. They can cause malfunctions and interfere with the Ramjet directly.
- Water on track helps cool the system faster.
What should you upgrade first?
Top Speed is the most tempting stat on the upgrade screen. It is also the wrong priority for your first few Tours.
Cornering and Resilience produce the most immediate improvement for new players. Better Cornering makes difficult tracks manageable rather than punishing, while Resilience reduces how much damage each collision and hazard actually deals. Both directly reduce the chance of losing a League Entry Token.
A practical early upgrade order:
- Cornering
- Resilience
- Ramjet or Afterburner
- Your vehicle's unique maneuver stat
- Speed-focused upgrades
This applies to both temporary Upgrade Points earned during a Tour and the permanent Tuning Points you carry between runs. Tuning Points can permanently improve a vehicle's base stats up to Level 15, so every attempt adds something useful even when the run ends early.
How do you survive Tour runs?
The campaign structures progression around multi-planet Tours where a single League Entry Token is your lifeline. Lose it and the run ends. That one fact changes how you should approach every race.

Plan your Tour route carefully
Here is the short answer: finishing a race in fifth place is almost always better than wrecking while chasing first. On standard Pilot difficulty, you get three crashes per race. A fourth crash costs your League Entry Token. Once your crash allowance is low, drive conservatively.
Field Tests are useful specifically because failing their target does not normally cost a League Entry Token. They are lower-risk ways to earn rewards when a Tour is already fragile.
For the Tour map itself, do not just pick the next event directly ahead. Look at the full branching path and check what each route leads toward. A harder event can be worth taking if it delivers an important Ability, Part, or extra Upgrade Point before the final races. Watch for:
- Eliminators for additional Upgrade Points
- Mystery Encounters for unusual rewards or League Entry Token recovery
- Scrap Dealers for powerful Parts (read the attached Fault before buying)
- Hibi's Shop for Parts, Abilities, and upgrade packs
For a deeper look at how Tours are structured and what carries over between runs, the complete Tours explained guide covers the full system.
How do you build a vehicle that actually works?
More Parts do not automatically mean a stronger vehicle. The builds that fall apart are the ones built from random high-rarity drops with no connection to each other.
Every effective build focuses on one core mechanic and stacks Parts that support it. If you are investing in Ramjet performance, prioritize Parts that improve Ramjet power, cooling, or Redlining effects. If you are running multiple active Abilities, Battery upgrades and Ability-related Parts become your priority.
A Legendary Part that does nothing for your current setup is worse than a common Part that directly strengthens what you are already doing. Always read the attached Fault on Scrap Dealer items before buying.
For Abilities, get at least one useful option early in every Tour. Good beginner choices:
- Shield: Absorbs incoming collisions.
- Vent: Reduces Ramjet heat.
- Surge: Provides additional speed.
- Status Scrubber: Removes harmful status effects.
- Autopilot: Handles difficult track sections and can auto-complete the pre-race sequence.
Combining one defensive or utility Ability with one speed-focused option gives more flexibility than stacking everything into aggression.
What is the pre-race check and why does it matter?
Before the starting lights tick down, quick-time button prompts appear in the upper-left corner of the HUD. The more Abilities you have installed, the more prompts appear. Clearing all of them fills your Afterburner gauge instantly and powers up your active skills for their first use.
Priming Afterburner starts you with full fuel. Priming Vent prepares the Ramjet for early use. Missing the sequence is not a disaster since the advantage is relatively small compared to clean driving through the opening corners, but completing it consistently gives you a real edge at race start.
How do Sidebets and Favors work?
Once Sidebets unlock in Act 2, use them regularly. You do not need to win the entire race. You only need to finish ahead of the specific racer you bet against, which is a much more achievable target.
Repeatedly challenging certain racers eventually turns them into Rivals. Beat a Rival in their Head-to-Head race and you earn their Favor for future Tours, which is a permanent progression reward rather than just Credits. For the full list of all 20 Favors and their exact unlock requirements, the complete Favors guide has every detail.

Sidebets pay off in Act 2
Common mistakes to avoid
- Spending Credits on Parts that do not fit your current build direction.
- Ignoring Faulty Parts until they cause a critical malfunction mid-race.
- Forcing aggressive overtakes when your crash allowance is already low.
- Using Ramjet on short straights where Afterburner would do the job safely.
- Picking a Racer Style or vehicle that does not match how you actually drive.
FAQ
Can you unlock classic Podracers immediately? No. The default choices are the Landspeeder, Speeder Bike, and Skim Speeder. Classic Podracers are locked behind late-game milestones and specific Tour events.
What carries over when a Tour ends? Temporary Upgrade Points and equipped Parts disappear. Tuning Points, permanently unlocked vehicle classes, Racer Styles, Favors, and Kit Points all carry over.
What is the best vehicle for absolute beginners? The Landspeeder paired with the Survivor Racer Style. It offers the highest base durability, forgiving turning, and an on-demand Shield to absorb collisions while you learn the tracks.
Do failed Tours waste your time? Not entirely. Tuning Points earned during a failed run stay with you permanently and can be spent on base stat upgrades up to Level 15, so every run makes the next one slightly easier.
For the full collection of guides covering every system in the game, check the STAR WARS: Galactic Racer strategy guides hub.