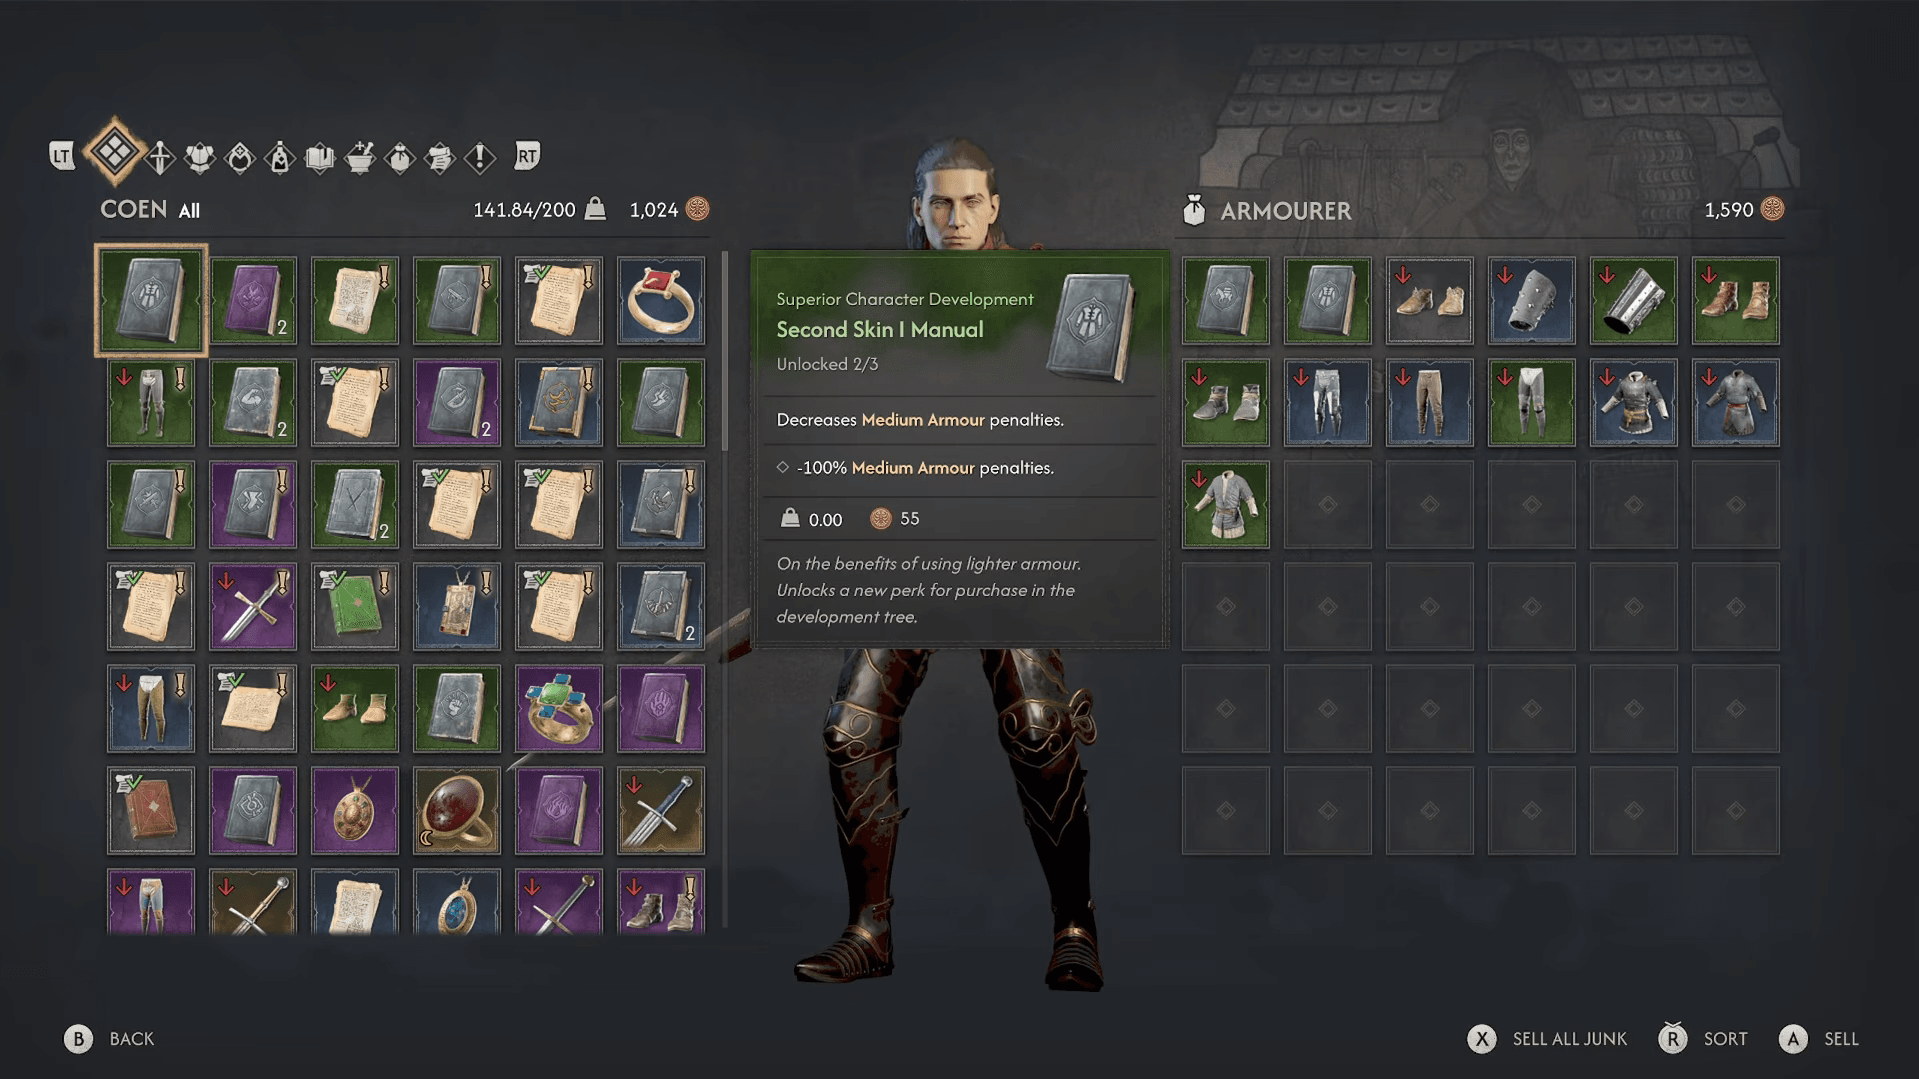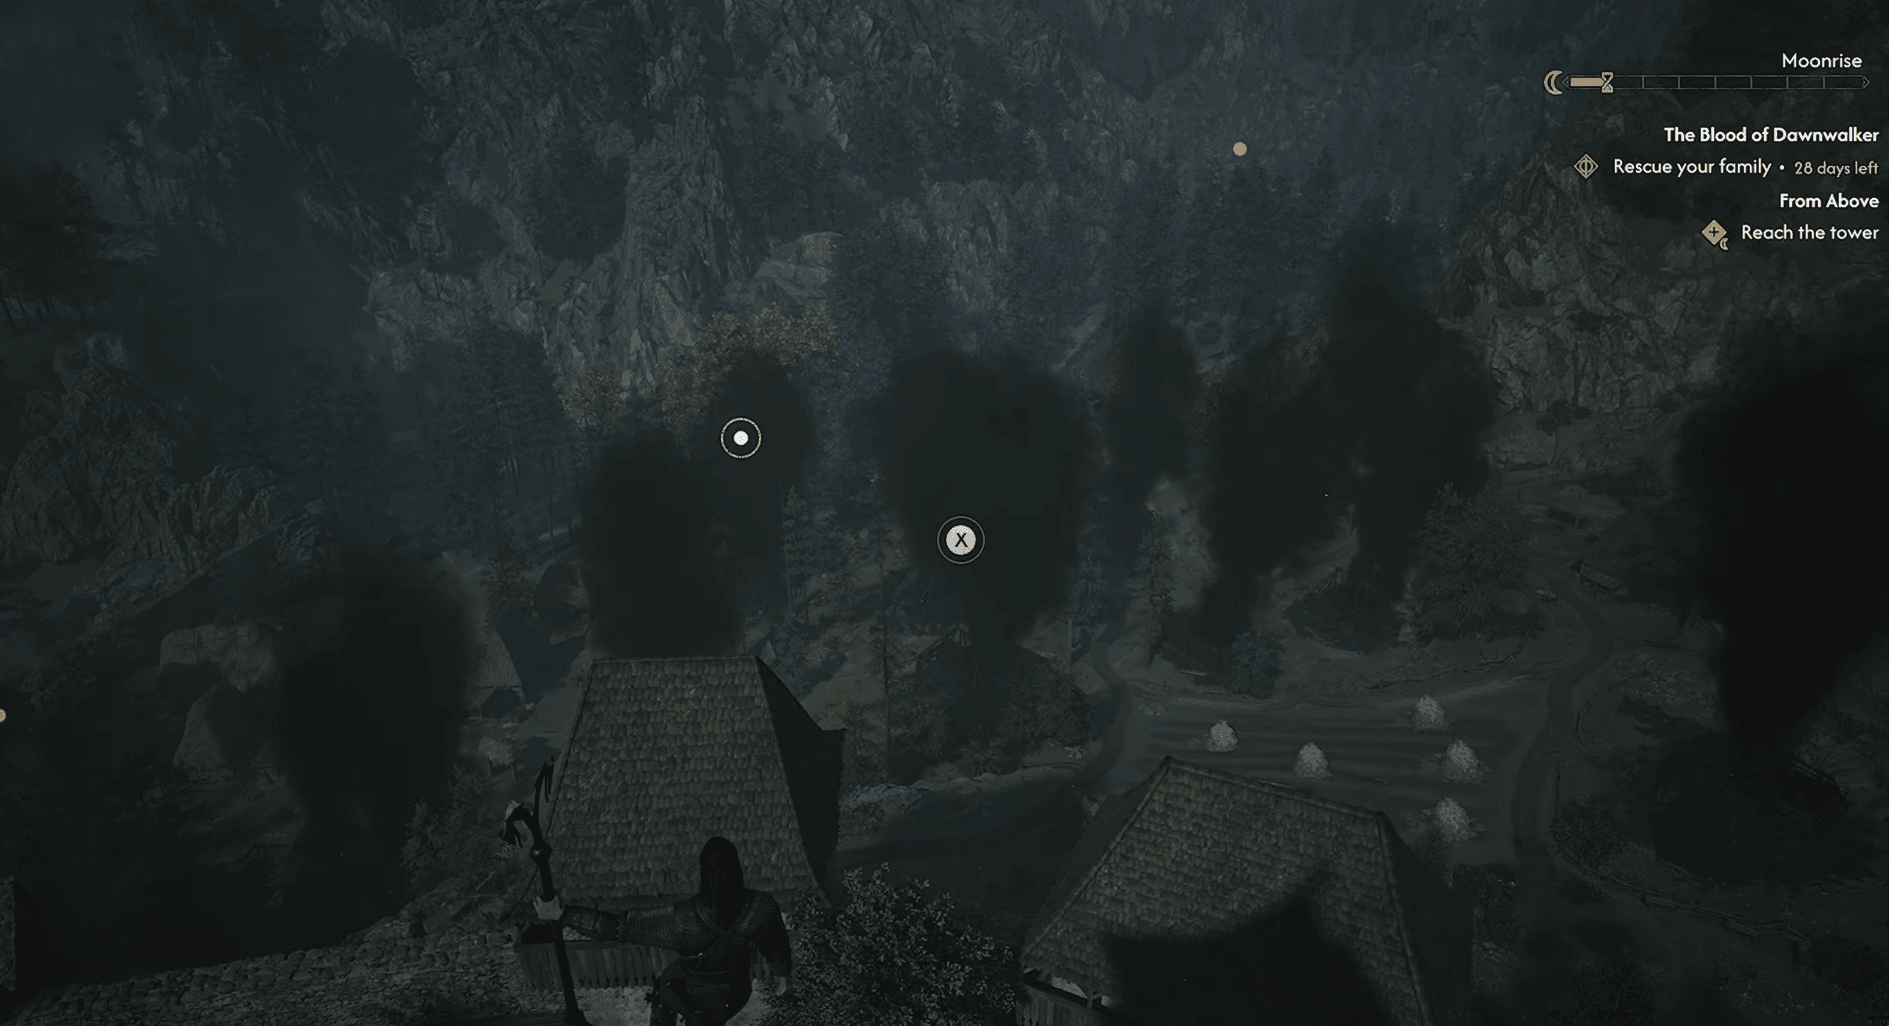

Scouting Towers are one of the best early investments you can make in The Blood of Dawnwalker. There are 11 of them spread across Vale Sangora, and scaling each one fills your world map with activities, collectibles, and points of interest you'd otherwise stumble across by accident. Most towers also drop skill manuals in nearby chests, so the time cost is minimal and the payoff is substantial.
The other thing worth knowing: climbing towers does not advance the in-game clock. That means you can chain all 11 in a single evening session without burning precious nighttime hours on anything else.
How do Scouting Towers work in Blood of Dawnwalker?
Once you reach the top of any tower, a button prompt appears at each survey spot. Activating it reveals nearby activities, locations, and collectibles on the world map. Think of it as the game's version of a viewpoint system, except the traversal required to get there actually tests your vampire abilities rather than just asking you to press climb.
After clearing the prologue, the full map opens up and you can tackle towers in any order. Since time doesn't pass while you're climbing, there's no reason to delay. Head out on your first free night and start working through the list.
Blood of Dawnwalker Guide: All Scouting Tower Locations


All Scouting Tower locations
Here's every tower broken down by region, with exact directions and the reward waiting at each one.
| Tower | Region | Reward |
|---|---|---|
| Church Tower | Starting Village | Aether Flow Manual |
| Briar Sloughs Tower | Laslea Glen (south) | Amalgam Manual |
| Maragir Wealds Tower | Maragir Wealds (east) | Blasphemous Echo Manual |
| Boar's Back Tower | Shrike's Crag | Potent Blood Manual + Duelist's Pendant |
| Neustadt Tower | Svartrau City (SW) | None |
| Market Tower | Svartrau City (N-central) | None |
| Cathedral Tower | Svartrau City (Cathedral) | None |
| St. Tyna's Grove Tower | St. Tyna's Grove | Forbidden Sigils Manual |
| Tantari Tower | Tantari Woods (NW) | Lasting Medication Manual |
| Rockfalls Tower | South of Oghasti | Blasphemous Echo Manual |
| Silts/Aurelius Tower | Silts region | Unnatural Resilience Manual |
Tower 1: Church Tower
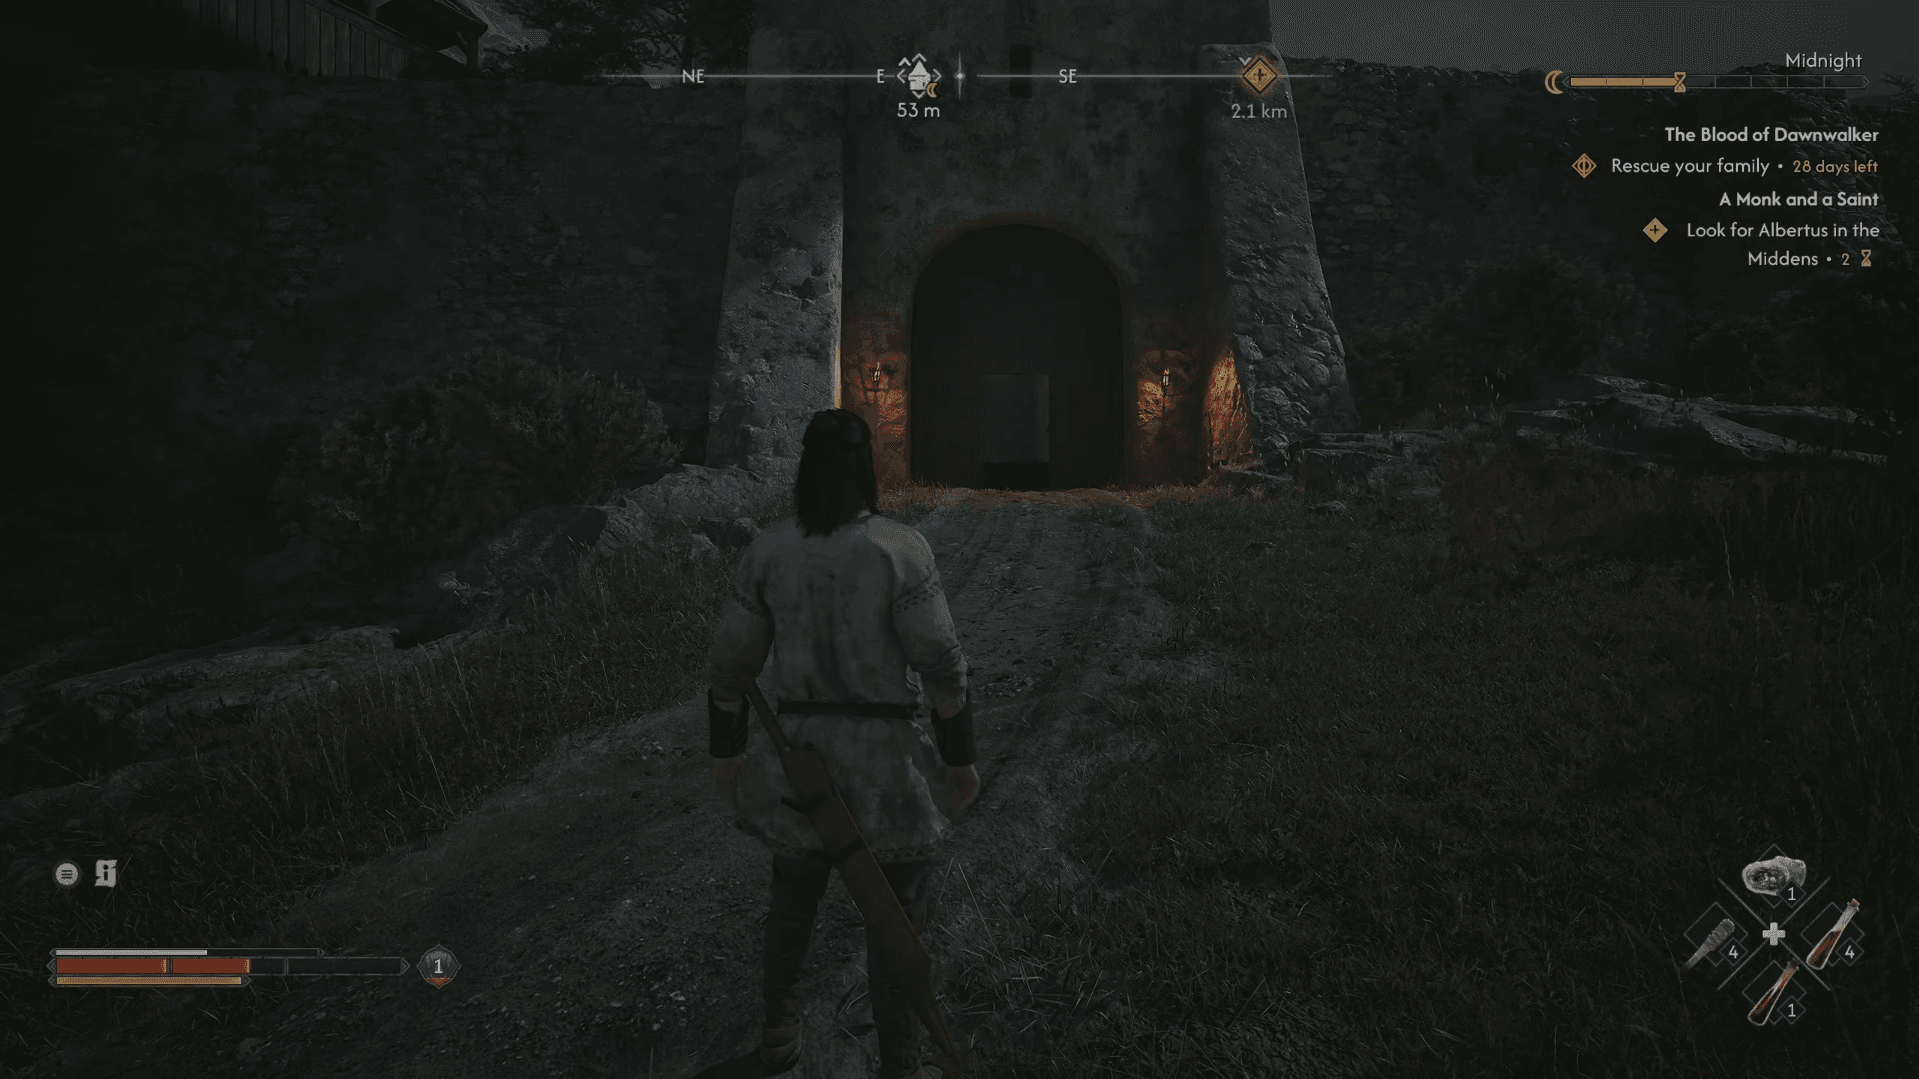
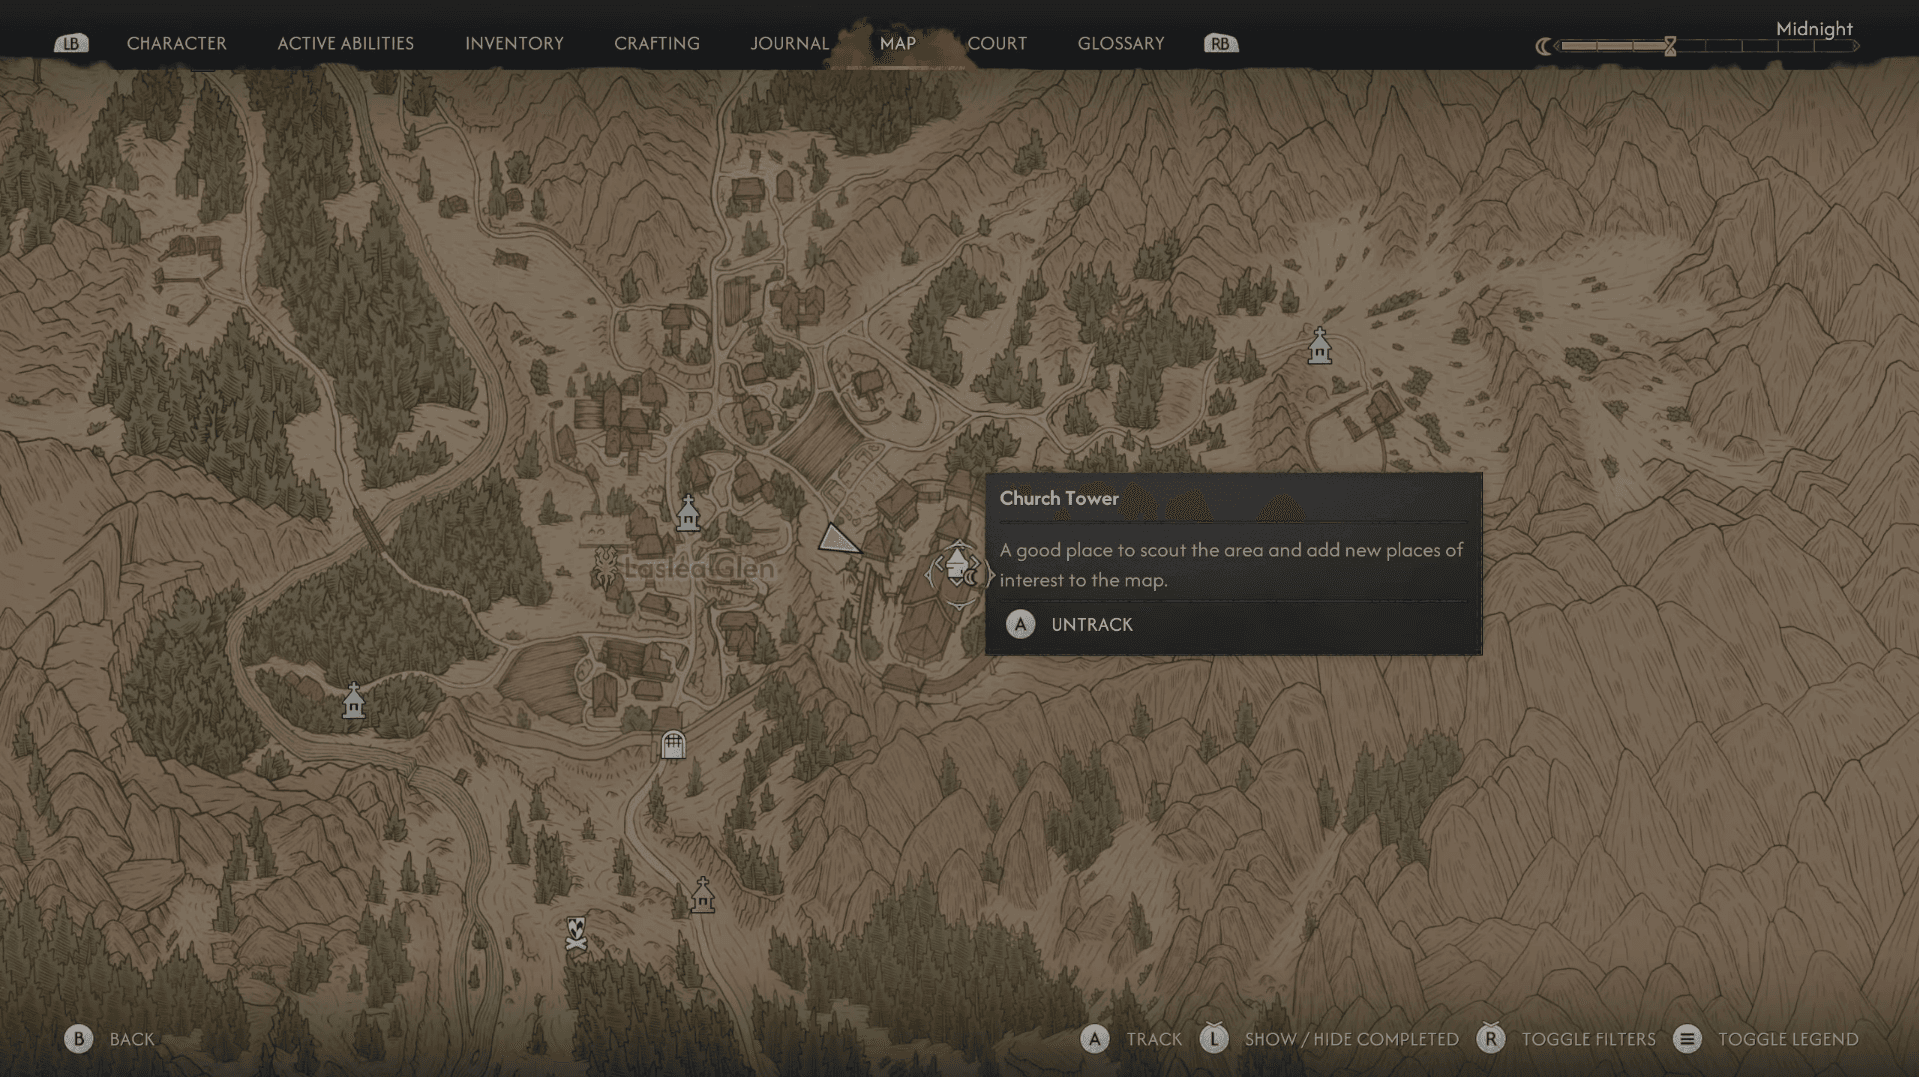
The first tower is the church from the prologue's Blood Mass sequence, right in your starting village. Return once you have your vampiric traversal abilities unlocked and scale it. The chest here contains the Aether Flow Manual.
Blood of Dawnwalker Guide: All Scouting Tower Locations
Tower 2: Briar Sloughs Tower
Head south out of Laslea Glen and follow the river. The tower sits close to the water's edge. A Pilgrimage for Power Sacred Stone is directly across the river if you want to grab both in one trip. Reward: Amalgam Manual.
Tower 3: Maragir Wealds Tower
This one sits at the far eastern edge of the Maragir Wealds region. Before you start climbing, know that a Vidmo specter is waiting inside the structure. Clear it or brace for a fight mid-climb. Reward: Blasphemous Echo Manual.
Tower 4: Boar's Back Tower
Located west of Svartrau City in the Shrike's Crag area. This tower has the best single reward of any non-city tower. Rewards: Potent Blood Manual and the Duelist's Pendant (epic amulet).
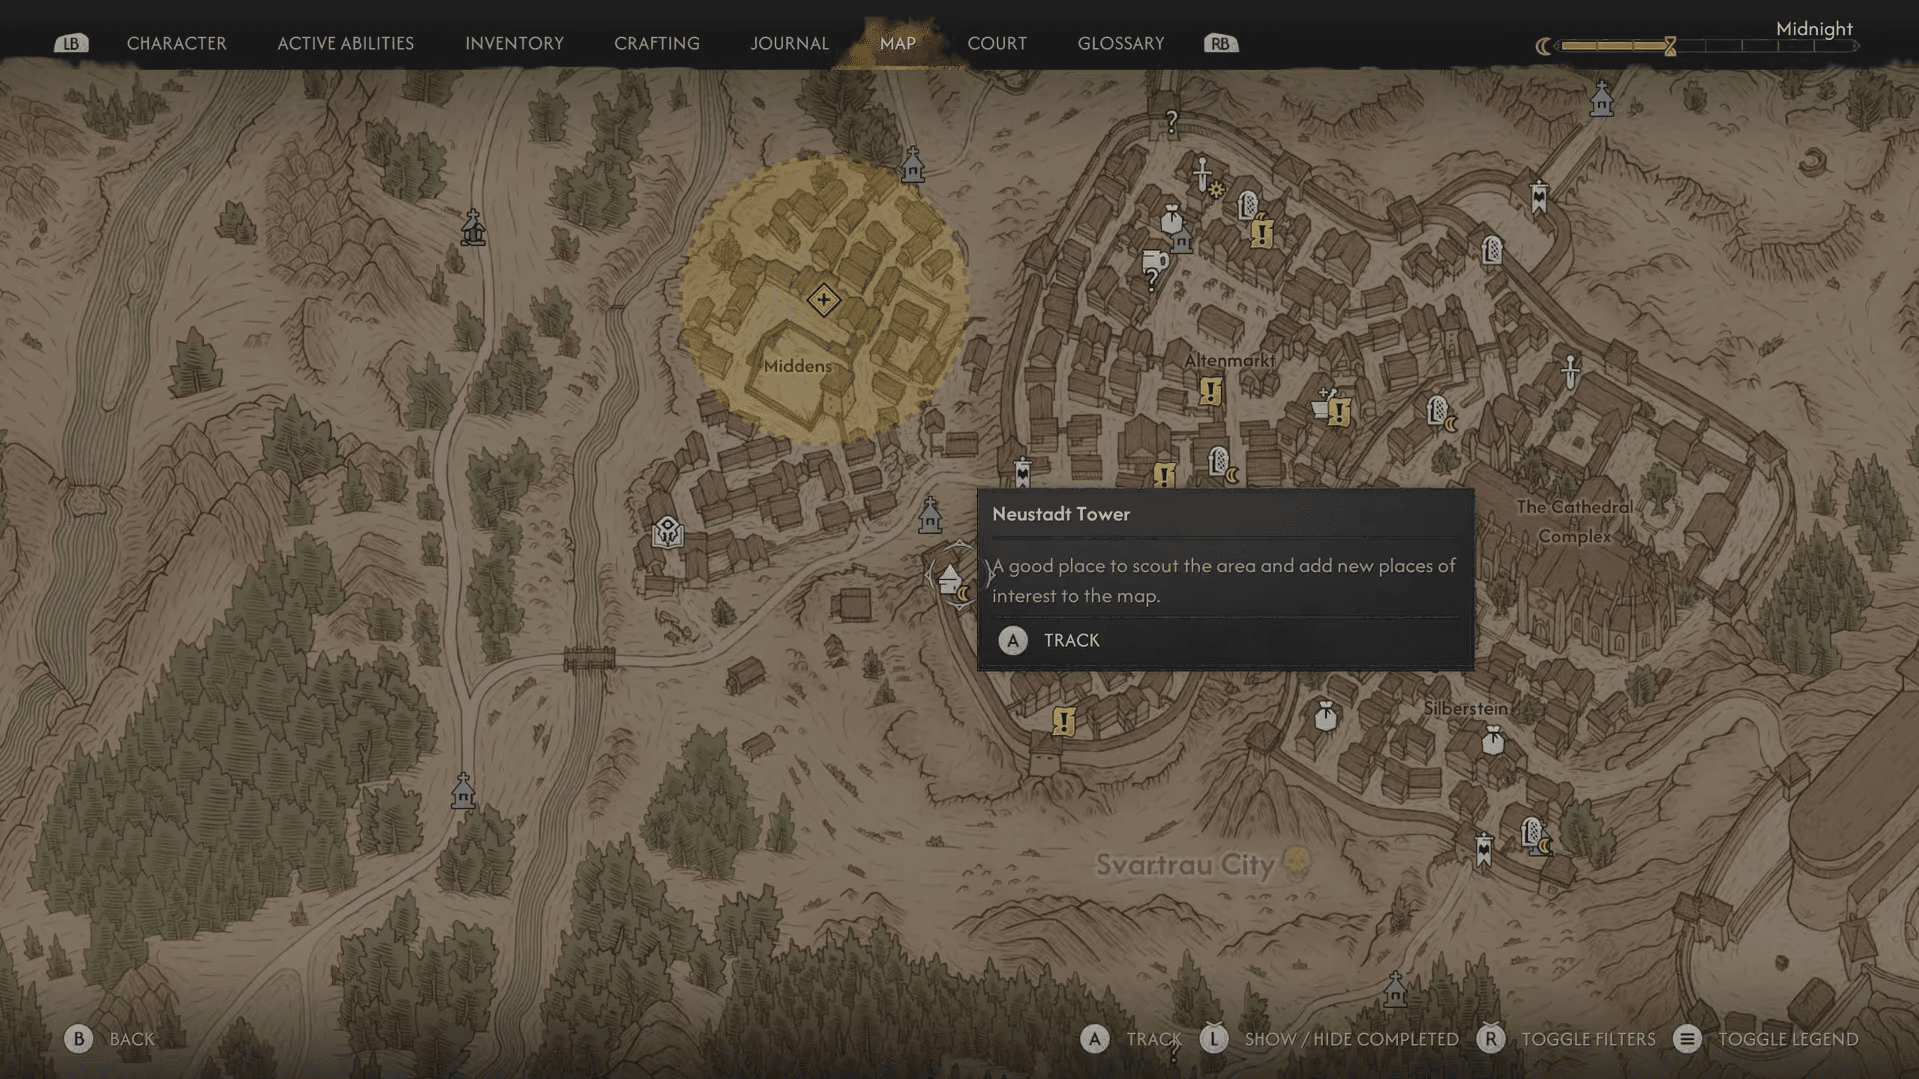
Tower 5: Neustadt Tower
The first of three towers inside Svartrau City, located in the southwestern section near the city battlements. Guards patrol this area and will turn hostile if you linger, so use Shadowstep to hop onto the rooftop before they notice you. No chest reward here, but the map reveal for the capital is worth the climb.
Blood of Dawnwalker Guide: All Scouting Tower Locations
Tower 6: Market Tower
Situated in the north-central district of Svartrau City. Like the Neustadt Tower, this one doesn't yield a manual, but it fills in a dense section of the city map. No reward.
Tower 7: Cathedral Tower
The most visually dramatic climb in the game. The massive cathedral dominates the city skyline, and your path takes you up scaffolding along its exterior before reaching the rooftop. From there, a prompt lets you teleport or fly up to the cross at the very top. No chest reward, but the survey point here reveals a significant chunk of the surrounding region.
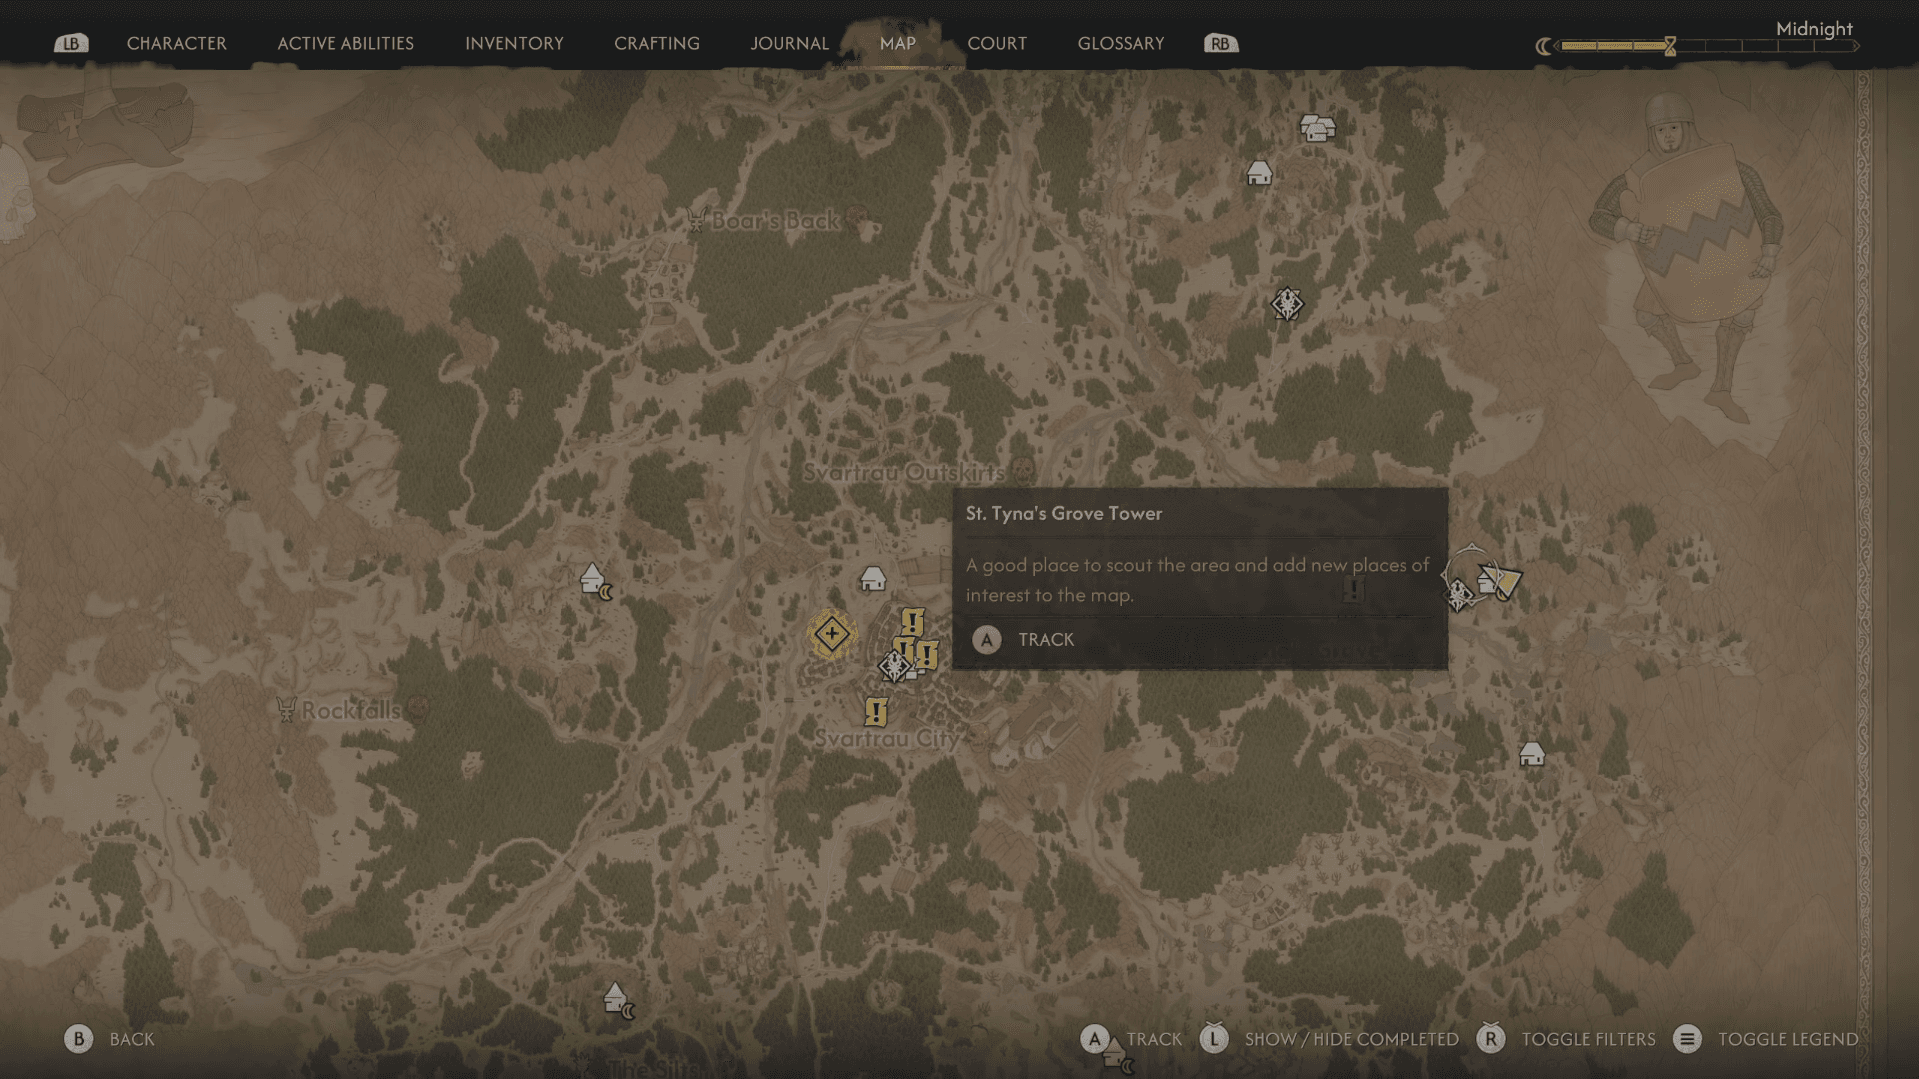
Tower 8: St. Tyna's Grove Tower
This tower sits between one of Ambrus' outposts and an Ancient Circle. A cluster of Undead enemies patrols the ground level, but you can skip the fight entirely by scaling the surrounding rock formations and Shadowstepping directly onto the tower structure. Reward: Forbidden Sigils Manual.
Blood of Dawnwalker Guide: All Scouting Tower Locations
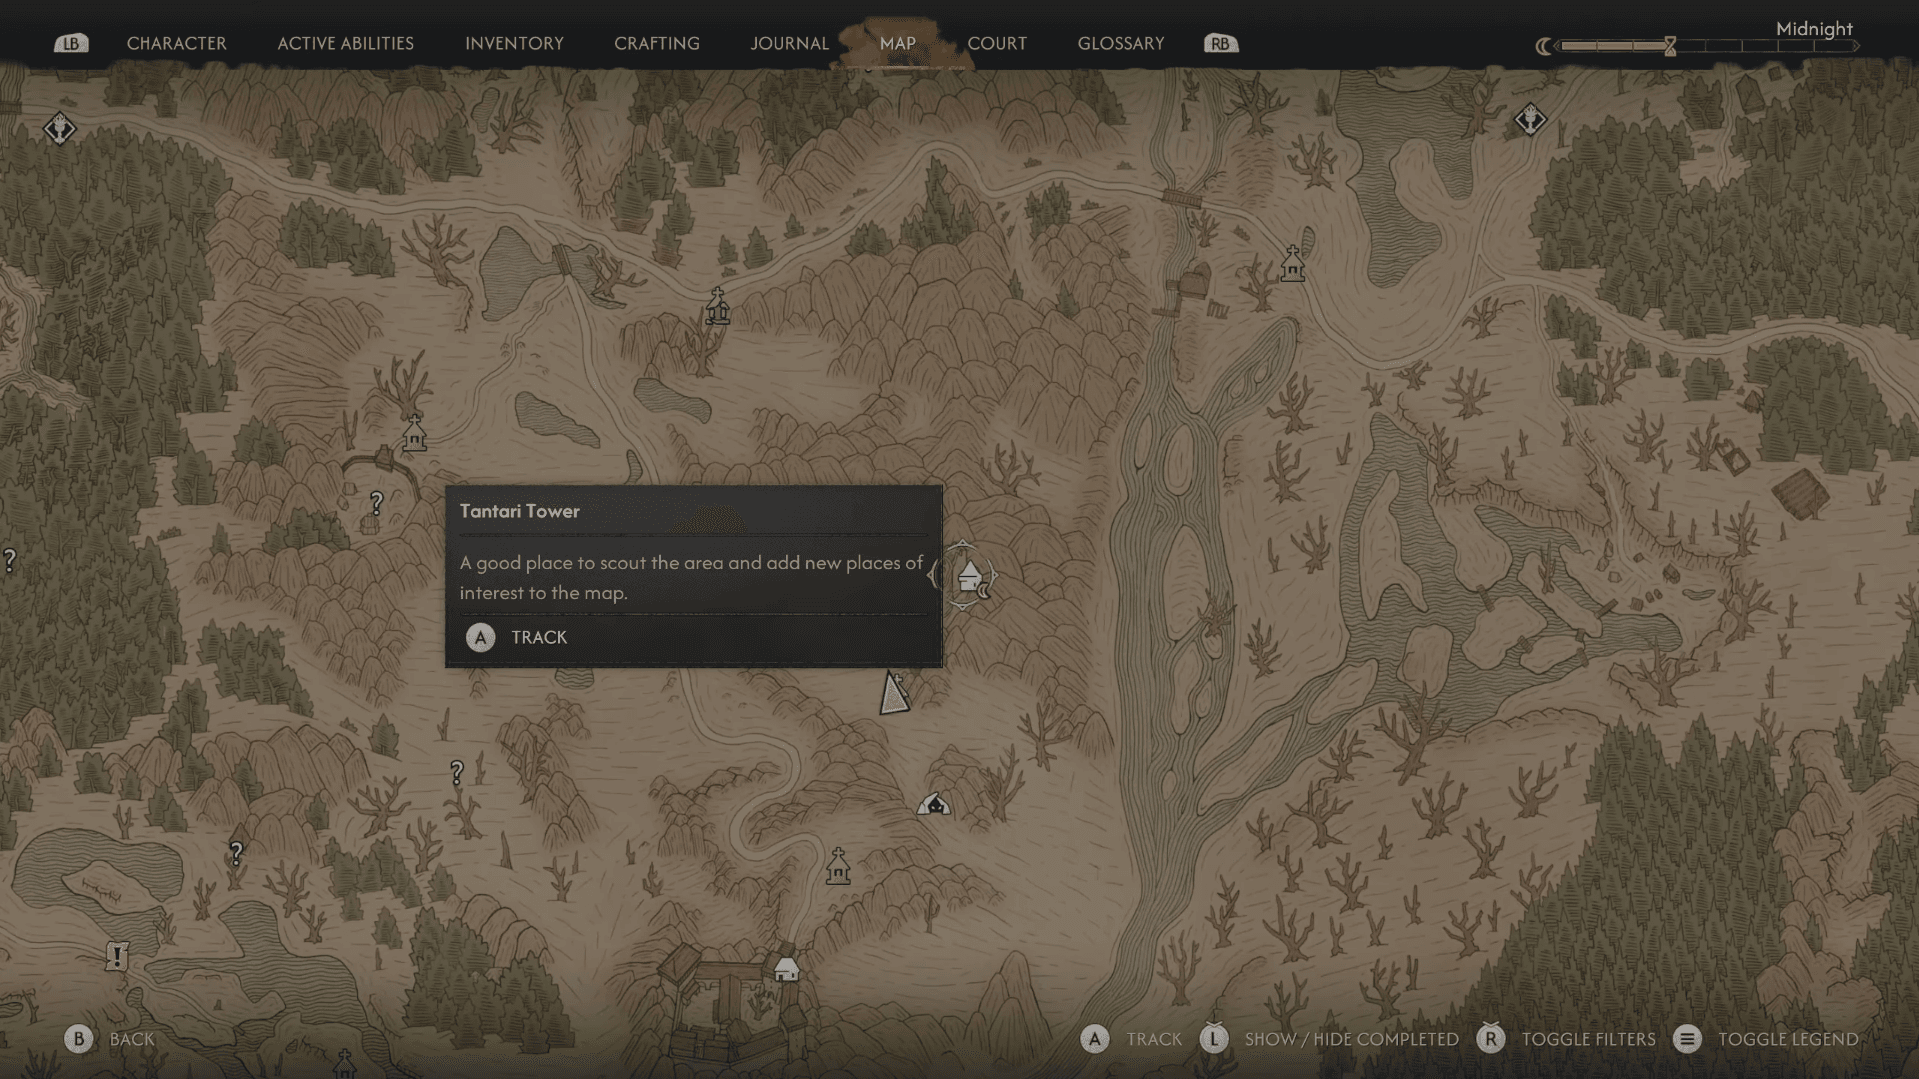
Tower 9: Tantari Tower
Northwest of Tantari Woods. The climb here chains both traversal abilities together: use Shadowstep on the wooden boards to gain height, then switch to Planeshift on the stone walls to continue upward. Reward: Lasting Medication Manual.
Tower 10: Rockfalls Tower
Found due south of the abandoned village of Oghasti and west of the Lunar Manor. The outer walls here are too tall to Planeshift up without running out of stamina, so ignore them. Go inside the tower instead and use Shadowstep to hop between the interior wooden boards on your way to the top. Reward: Blasphemous Echo Manual.
Tower 11: Silts Tower (Aurelius Tower)
The most unusual tower in the set. Something unexpected happens if you try to interfere with a ritual taking place here, and it's worth experiencing on your own terms. If you're just after the reward, hug the outer walls and ledges to reach the roof, then drop down to a balcony where a chest is waiting. Reward: Unnatural Resilience Manual.
Blood of Dawnwalker Guide: All Scouting Tower Locations
What rewards do you get from Scouting Towers?
Most towers drop skill manuals, which are the primary way to unlock new abilities in Blood of Dawnwalker. The three city towers (Neustadt, Market, Cathedral) are the exceptions, offering no item rewards but covering large portions of the Svartrau City map. Outside the city, every tower has at least one manual, and Boar's Back Tower doubles up with both a manual and the epic Duelist's Pendant.
If you want to know how to track down manuals efficiently beyond just the towers, the guide to finding manuals fast covers every source in the game. Once you have those manuals in hand, check the best early skills and perks to unlock first to figure out which ones to spend them on.
What should you do after clearing all Scouting Towers?
With all 11 towers tagged, your map will be populated with the locations that matter most: Ancient Circles, Haunted Sites, Sacred Stones, and enemy outposts. The Ancient Circle locations guide and the Haunted Sites guide are natural next stops since both activity types reward skill manuals and epic gear.
For everything else the game has to offer, the full Blood of Dawnwalker strategy guides collection has you covered from early exploration through endgame.