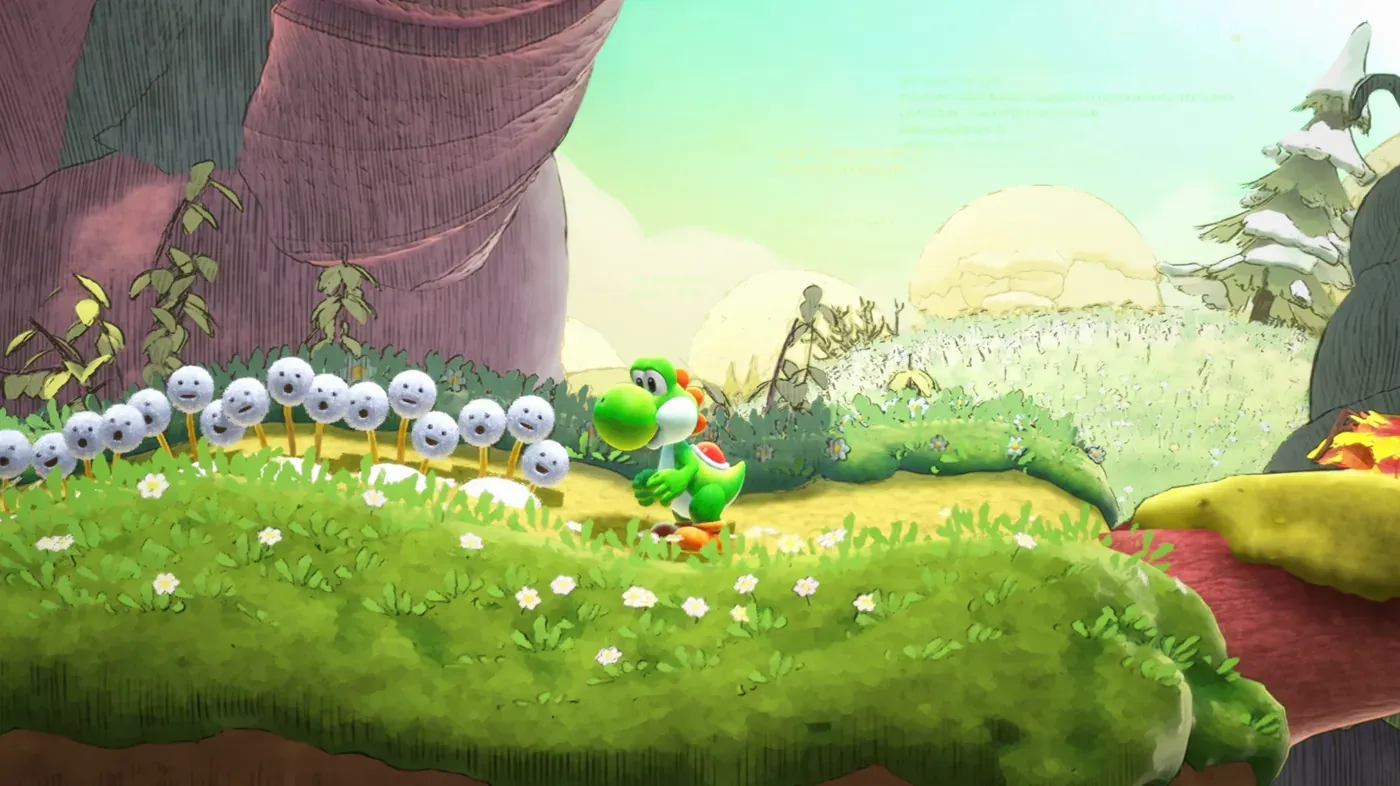
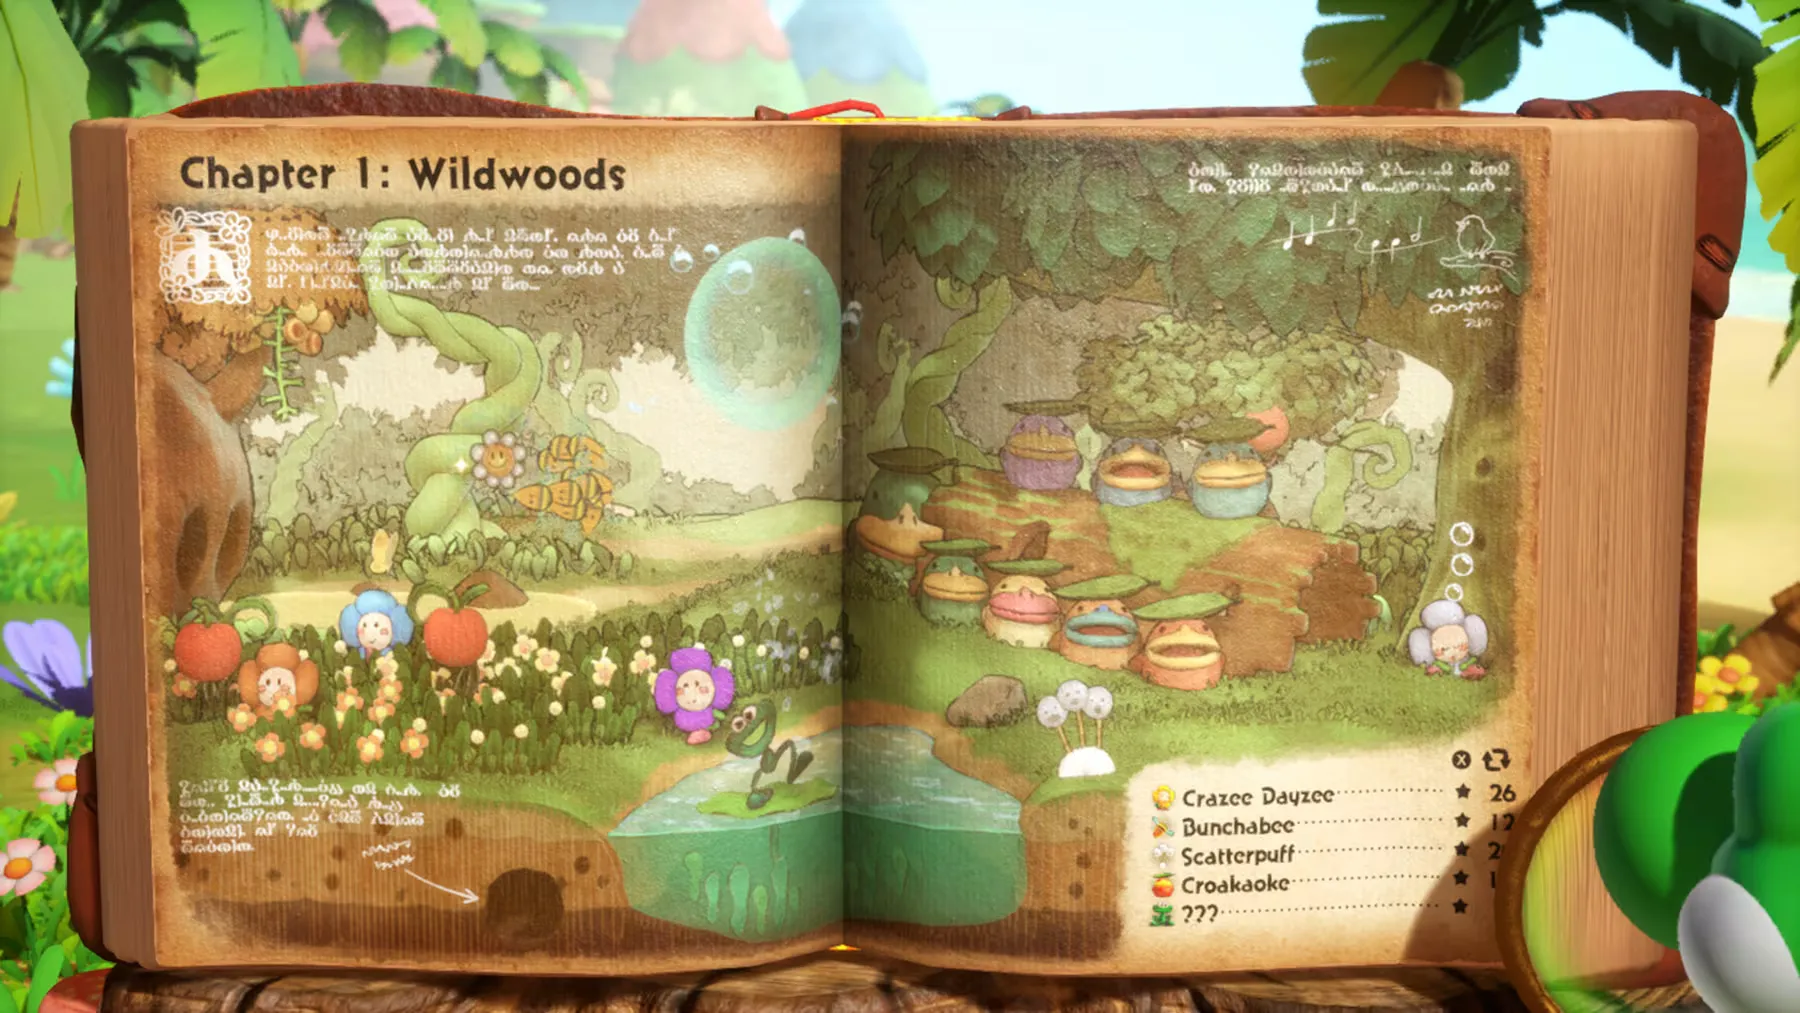
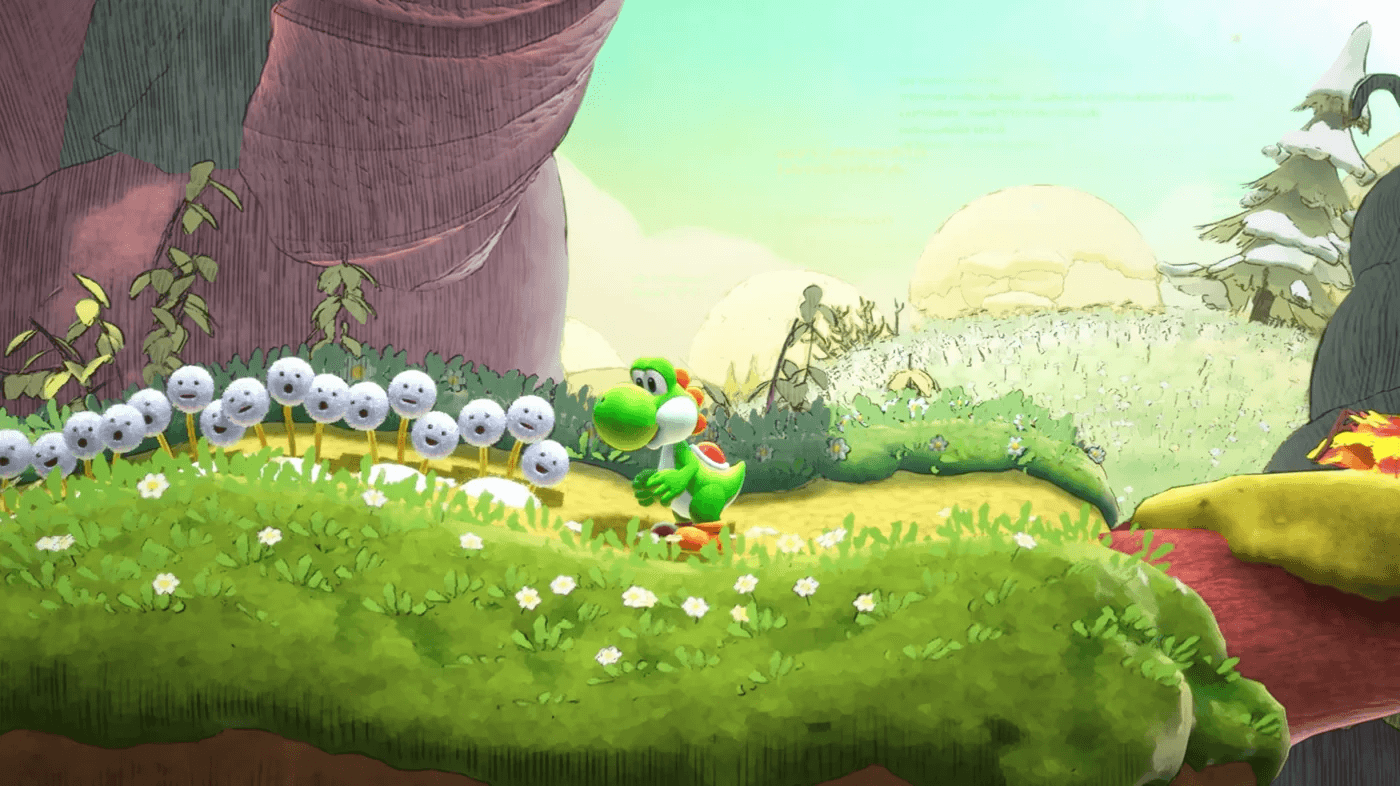
Chapter 2 of Yoshi and the Mysterious Book swaps the leafy calm of the Wildwoods for something with a bit more altitude. The Mountaintops chapter introduces 6 new creatures across distinct habitats, from underground tunnels packed with vine-swinging Taggits to a volcano full of bouncy Mildes, and a colossal sleeping giant named Thudd who holds more Smiley Flowers in his belly than any other creature in the game. There are 26 Smiley Flowers total to collect here, and you need 20 Stars from Discoveries to unlock the chapter in the first place.
How do you unlock the Mountaintops chapter?
You need 20 Stars earned through making Discoveries in earlier chapters. If you're short, replaying any already-unlocked chapter counts. Stars come from Discoveries, not just progression, so spending time experimenting with creatures pays off. For a broader look at how Stars, Tokens, and Discoveries connect, the Yoshi and the Mysterious Book beginner strategies guide covers the fundamentals well.
The chapter has 6 creatures, each with their own habitat:
Creature
Habitat Type
Smiley Flowers
Taggit
Forest/underground tunnels
3
Milde
Volcanic pools
3
Peckadee
Rocky nest area
4
Floofly
Cloud/sky terrain
5
Plumebrella
Open mountain air
4
Thudd
Mountain domain
7
Note that creature names are defaults given by Mr. E. You can rename any of them after making the Big Discovery in each habitat.
Yoshi and the Mysterious Book Guide: Mountaintops Chapter Walkthrough
Taggit habitat walkthrough
Taggit is a small creature that loves to grab things and run. The core mechanic here is catching and throwing them to retrieve items they snatch.
How to catch all 5 Taggits
You need to catch 5 Taggits to complete the habitat. Here's the sequence based on source documentation:
Use the Magnifying Glass on the creature walking in the grass patch, then explore the habitat.
Follow the first Taggit to the right, grabbing all tokens it drops. Watch for the tunnel in the ground and avoid falling in early.
Climb the platforms and go right to find and catch the second Taggit.
Throw a Taggit upward to let it retrieve the first Smiley Flower from its basket location. Catch the Taggit again to claim the flower.
Jump from vine to vine going back left to find and catch the third Taggit.
Drop into the underground tunnel and head to the far end to catch the fourth Taggit, which is balancing on a nut.
Throw 2 Taggits at the ceiling leaves to pull down the heart turnip.
Feed the heart turnip to the Croakaoke to open the narrow tunnel leading to the second Smiley Flower.
Ride the balloon plants up and launch a Taggit at the pile of leaves on the right to reveal the third Smiley Flower.
At the very top of the level, throw an egg into the orange leaves to reveal and catch the fifth Taggit.
Jump into the sparkly Big Discovery spot to exit the habitat.
info
Carry a Taggit while riding balloon plants. You'll need one ready to throw at the leaf pile for the third Smiley Flower without backtracking.
Taggit Smiley Flower locations
Smiley Flower 1: Throw a Taggit at the flower sitting in the basket above the waterfall, then catch the Taggit to reclaim it.
Smiley Flower 2: Feed a heart turnip to the Croakaoke underground. Get the heart turnip by using a Taggit on the ceiling root above the upper right platform near the Croakaoke.
Smiley Flower 3: Take the red balloon on the far right to reach the top, then break the leaves on the right side to find the hidden flower.
Milde habitat walkthrough
Mildes are bubble creatures. Jumping on them causes small explosions, and throwing them into pools makes them multiply. The whole habitat is built around chaining those bounces.
Key mechanics to understand
Bouncing on a Milde in succession activates the volcano chamber.
Throwing a Milde into a pool causes them to multiply.
Ground pounding a Milde on honey creates the "Honey filled!" Discovery.
Popping Mildes on the lava surface eventually spawns a Mega Milde.
Milde Smiley Flower locations
Smiley Flower 1: Break the boxes to the right of the pink pool to access the volcano underside. Carry a Milde on your back, jump on another Milde on the right side to reach the dried flower, then pop the Milde on the pool to water it.
Smiley Flower 2: Climb out of the volcano by jumping on the Mega Milde. Head left to the sticky pink platform, then bounce on Mildes to reach the flower at the top.
Smiley Flower 3: On the far right of the map, activate the dark pool by popping a Milde on it. Ground pound on the Mildes to bounce higher and reach the flower in the upper right.
warning
In the Milde habitat, always carry one extra Milde on your back before attempting the pool sections. Running out mid-sequence means backtracking across the volcano.
Peckadee habitat walkthrough
Peckadees have sharp beaks that stick into surfaces. You throw them at targets, rocks, wood, and even other creatures to trigger Discoveries and open paths.
Peckadee Smiley Flower locations
Smiley Flower 1: Get a Peckadee to fall into the large nut on the right side of the map, then ground pound on top of the stuck Peckadee to crack it open.
Smiley Flower 2: Feed a Peckadee a hot pepper, then throw it at the boulder blocking the upper left path. Head through the cleared route to reach the platform above.
Smiley Flower 3: Aim an egg into the small hole to collect the flower.
Smiley Flower 4: From the Smiley Flower 2 area, use a Peckadee to reach the upper right ledge. Stop the Peckadee running in the wheel, then use it to climb up.
Floofly habitat walkthrough
Flooflies are cloud-like creatures you hop on to float. Different colored Flooflies do different things: blue ones make rain, yellow ones produce lightning, and a group of them can assemble into a cloud ship that carries you to the goal.
Floofly Smiley Flower locations
Smiley Flower 1: After first stepping on a Floofly, use the windmill tree propellers to reach the Floofly clouds above where the flower is waiting.
Smiley Flower 2: On the platform after the windmill tree, walk over the 3 Floofly clouds on the ground to reveal a hidden gap. Crawl through it to find the flower.
Smiley Flower 3: Climb to the top of the Floofly boat while passing through the two stalactites.
Smiley Flower 4: Walk on the rain Flooflies on the boat to water the dried Smiley Flower on the platform before the end.
Smiley Flower 5: Near the end of the level, climb to the fish-shaped Flooflies just before the goal. Flutter jump from them to reach the final flower.
info
For Floofly Smiley Flower 5, stay on the highest Floofly groups as you approach the end of the level. Dropping down too early means missing the fish-shaped cluster entirely.
Plumebrella habitat walkthrough
Plumebrellas function like living parasols. Grab one and you can glide, ride updrafts, and chain jumps between multiple Plumebrellas in sequence.
Plumebrella Smiley Flower locations
Smiley Flower 1: Throw an egg at the upper right corner of the cave to reveal a hidden Winged Cloud. Hit the Winged Cloud with another egg to make it drop the flower.
Smiley Flower 2: Grab a Plumebrella and float left above the water to reach the flower.
Smiley Flower 3: Enter the cave below the windmill tree near the upside-down Plumebrella. Eat the Golden Plumebrella, throw the egg to create a small gold version, then use it to float up and flutter jump to the flower.
Smiley Flower 4: Use the Golden Plumebrella to clear the storm clouds in the upper right area of the map, revealing the hidden flower underneath.
Thudd domain walkthrough
Thudd is a massive sleeping creature that inhales water, creatures, and Yoshi itself to spit them out as projectiles. With 7 Smiley Flowers, this is the most demanding habitat in the chapter.
How to wake and use Thudd
Thudd starts asleep. Ground pound its belly button to trigger the Big Discovery and wake it up. From there, Thudd can inhale ponds, creatures, and you, then spit everything out toward targets you aim at.
Thudd Smiley Flower locations
Smiley Flower 1: Get inhaled by Thudd and aimed toward the upper left ceiling. This deposits you in a small area with Crazee Dayzees, one of whom holds the flower.
Smiley Flower 2: Get Thudd to spit you toward the left corner rocks repeatedly, aiming at the same spot until you reach the flower at the end.
Smiley Flower 3: Ground pound Thudd's belly button while it sleeps. It spits the flower out of its mouth.
Smiley Flower 4: Get Thudd to inhale the pond on the left, then spit the water at the dried Smiley Flower near where Thudd was originally sleeping.
Smiley Flower 5: After Thudd stands up, go outside and position yourself so Thudd fires you upward into a small ceiling opening.
Smiley Flower 6: Near the end of the area, get Thudd to drain the large pond completely. Drop into the dried pond and enter the secret passage at the lower right.
Smiley Flower 7: Past the goal portal, keep walking right and get inhaled by Thudd. Fire yourself into the upper right alcove near the tree branches.
danger
Do not leave the Thudd domain after hitting the goal portal before collecting Smiley Flower 7. It sits past the completion point, so you need to deliberately walk past the exit.
Notable Discoveries worth chasing
The Mountaintops chapter has a large pool of Discoveries across all 6 creatures. A few stand out as easy to miss but worth grabbing for Stars:
Taggit: Let a Taggit catch and carry Yoshi for the "Caught you!" Discovery. Just stand still near one.
Milde: Pop Mildes on the lava surface to trigger Mega Milde, then ground pound it for "Popped a mega Milde!"
Peckadee: Hit all 5 targets in the area using Peckadees for a completion Discovery.
Floofly: Step on blue Flooflies forming an arc to reveal a rainbow, triggering "The rain Floofly storm hid a rainbow!"
Thudd: Lead Thudd near Kameki to trigger the "It even tried eating Kameki?!" Discovery.
Plumebrella: Change the color of every butterfly in the area while gliding with a Plumebrella.