
The prologue of 007 First Light drops you onto an Icelandic beach with no weapons, no backup, and a camp full of Arrowhead soldiers standing between you and your objectives. It's a strong first impression from IO Interactive, and it also packs 9 challenges into a single mission, including some that require very specific routes through the Central Camp section. This guide covers every checkpoint from Night Flyer to the escape, then breaks down exactly how to clear each challenge.
Night Flyer: how to reach the camp without being seen
The opening section is essentially a guided stealth tutorial. After the beach cutscene, follow the cover along the stone wall leading up the cliffs. The patrol patterns here are forgiving, and you won't be spotted as long as you stick to the makeshift wall rather than cutting across open ground.
Watch for ledges with a lighter stone color, those are your climbing points. Sidle along them, get to the grass, and follow it into the cave. Continue climbing until you pass through a gap in the rocks and spot the camp below.
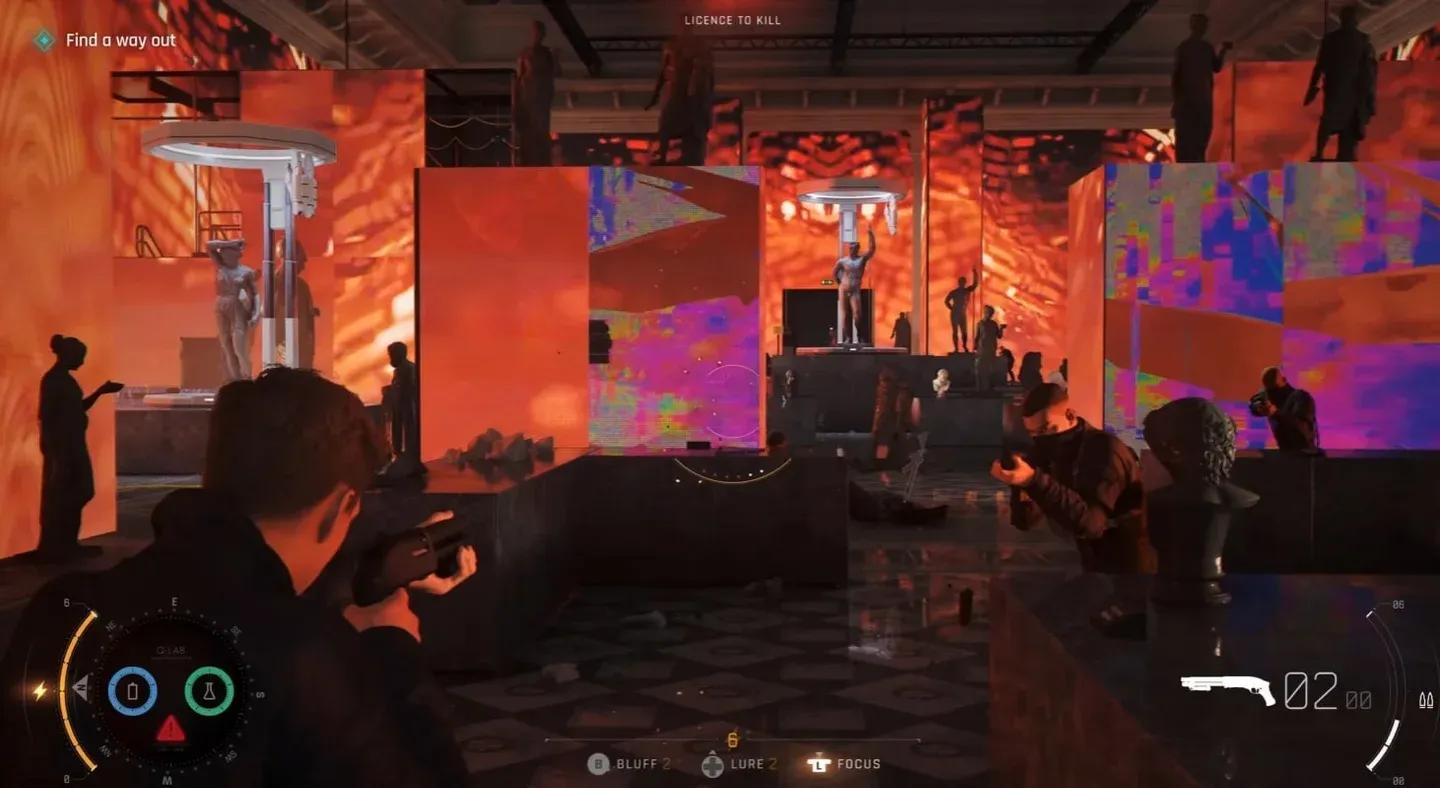
Stick to the cliff cover

The Descent: searching the camp and finding the antidote
Search the room in building A2
After sliding downhill and waiting for the guards to move on, head to building A2 and enter through the window to find your disguise. Once the cutscene ends, examine all three clues in the room: the case full of ashes in the corner behind you, the body of the engineer in the restroom, and the biometrically locked gun near the door. All three must be examined before you can leave.
Exit through the door to your left when done.
Search building A4 and move the truck
Head directly into building A4, where you'll find a radio, a patch, a torn page, and a rocket launcher to investigate. Through the doorway to the right of the launcher, you'll see a truck blocking a crate with a laptop on it. Interact with the laptop to reverse the truck and clear the path.
Follow the blue marker right and up through the lit tent door. The workers inside are occupied, so walk straight through, into the round tunnel, through two sets of automatic doors, then follow the right-hand wall to a white tarp with an opening. Head through it to reach the flashing wreckage area.
Find the antidote
After Bond overhears the group's plans and discovers he's been exposed to a toxin, the clock starts ticking. You can actually die from this if you ignore it long enough, so make it your next priority.
Once the two guards leave through the red door, follow them through it into the decontamination tunnel. At the end, go through the archway on the right side of the room, turn left, and interact with the large green crate labeled First Aid on the shelf. Complete the quicktime event to inject the antidote.
After the cutscene outside, climb the small cliff to the left and watch the prisoner. When Bond learns about captives in buildings B4 and G9, the mission shifts into its most complex section.
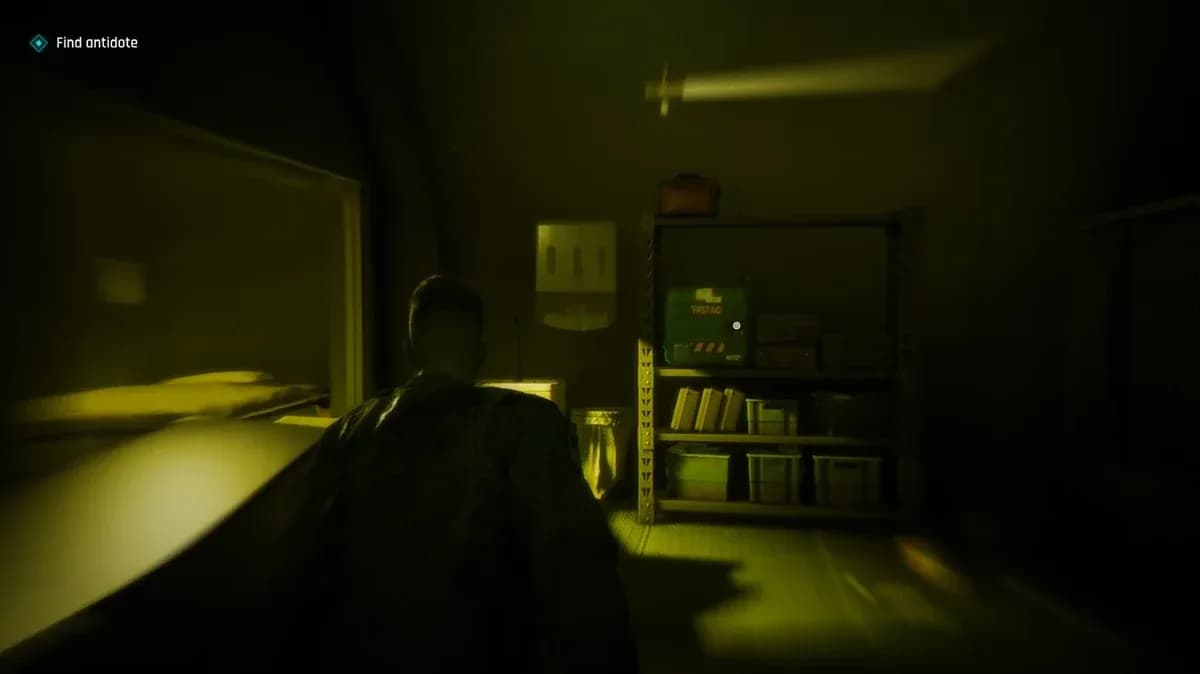
First Aid crate in the tunnel
Central Camp: how to save the captives in G9 and B4
This is where all 9 challenges live. The game's checkpoint system is generous here, and you can replay just the Central Camp section via Select Chapter from the main menu without restarting the whole mission. Keep that in mind before attempting challenge runs.
Recommended order: G9 before B4
Drop from the cliff edge into the tall grass directly ahead. Once the patrol to the right passes, it won't return, so enter building F8 ahead of you. Climb the ladder inside to the roof, then climb the second ladder to the top. Jump while holding left to slide down the wire to a cliff overlooking building G9. This also completes the Scenic Route challenge automatically.
Jump onto the G9 roof and drop through the hole to take down the guard below. Loot the storage key from his body and use it to free the first group of captives.
After the cutscene, exit left. Immediately look left for the BT65 Control Station laptop on top of some crates. Activating it is one of two steps for the Full of Surprises challenge.
Drop into the ditch to your right and follow it until you squeeze through the narrow gap. Climb the rocky ledges past a couple of guards and an ATV. Pull into the tall grass, then approach the ATV and sabotage the brakes. This triggers the second distraction and completes Full of Surprises.
Head left back toward building B4. Follow the tall grass into the ditch, through the narrow gap again, then instead of climbing right, turn around and climb up into the window. Take down the guard inside, free the captives, and collect the detonator. They'll lower a ladder to the roof.
Escape the camp
Climb to the roof and sabotage the mast support cable to bring down the antenna. Once chaos breaks out, drop from the roof and head to the C2 building. Climb out the window and handle the quicktime event, then follow the hostages out. When the armored vehicle opens fire, veer right into the shallow crevice. Two more quicktime events on the ATV, then run forward until the final cutscene and detonator sequence close out the mission.
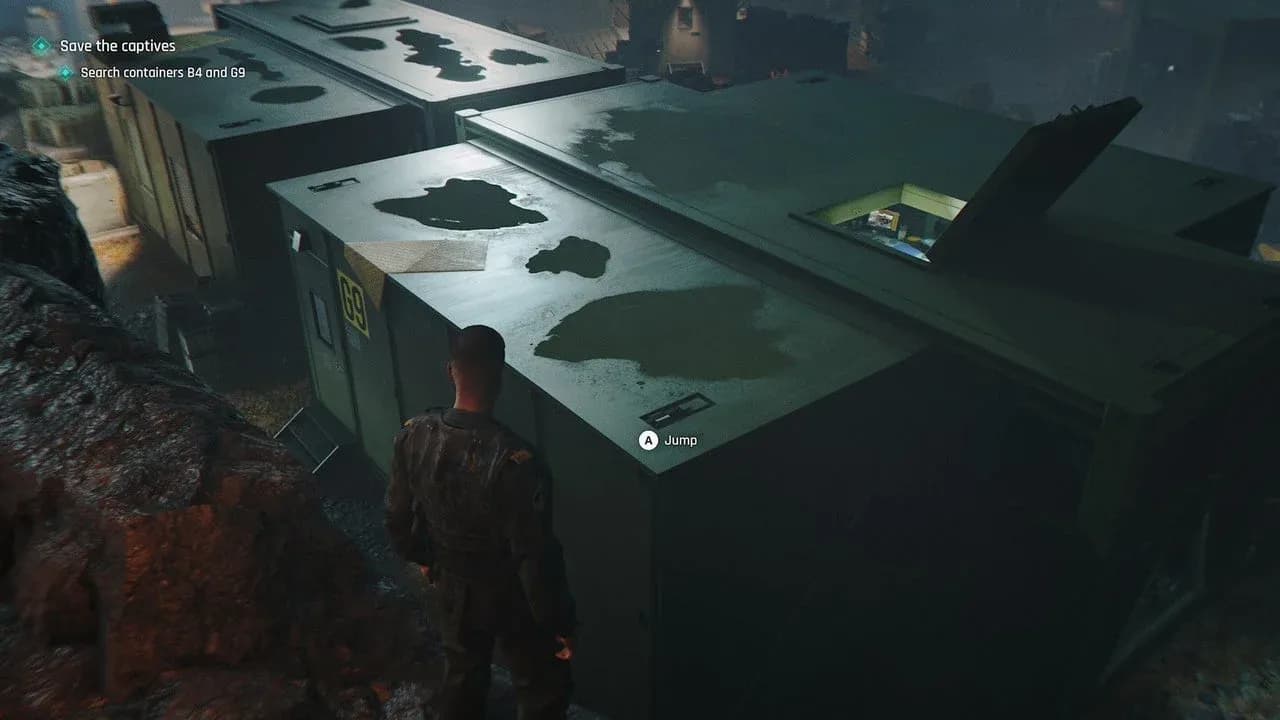
G9 rooftop entry point
All Against the Odds challenges
There are 9 challenges total. Completing all 8 unique ones unlocks the Completionist: Against the Odds challenge and the Iceland outfit.
| Challenge | Description | Key Requirement |
|---|---|---|
| Pacifist: Against the Odds | Take down only two soldiers in the central camp | Only knock out the guards in G9 and B4 |
| Ghost: Against the Odds | Pass through the central camp without being spotted | Stick to edges and use the zipline route |
| Assault: Against the Odds | Fight 4 soldiers without alerting the camp | Very specific soldier order, see below |
| No Help Needed | Complete the camp without using any distractions | Skip both the BT65 and the ATV |
| Full of Surprises | Use both the BT65 and the ATV to distract soldiers | BT65 is left of G9's front door, ATV is on the path to B4 |
| 00 to Become | Take down 7 soldiers without being spotted | Specific route through B2, B4, and G9 |
| High Ground | Take down 3 soldiers from above | All three are on the left path toward G9 |
| Scenic Route | Use the zipline in the central camp | Climb F8, then the antenna, jump left at the top |
| Completionist: Against the Odds | Complete all other challenges | Unlocks the Iceland outfit |
How to complete Pacifist, Ghost, and No Help Needed in one run
These three stack cleanly into a single playthrough if you follow this exact path:
- From spawn, head into B2 without attacking the guard. Exit through the right door.
- Turn left into the tall grass, pass the crates, and drop into the crevice on the right.
- Follow the crevice and climb up into B4. Take down the guard here (first Pacifist kill).
- Collect the detonator. One of the captives activates a ladder, climb it and drop back into the crevice.
- Follow the path left to the rocky ledge. Climb to the top, shimmy across, and leap to the G9 container.
- Use the roof hatch to drop a takedown on the guard inside (second and final Pacifist kill).
- Take the storage key and free the captives.
- Exit G9 via the back door. Guards are now distracted. Head left, back through the crevice to B4.
- Climb B4 and interact with the wires to finish.
How to complete Full of Surprises
From spawn, go into B2 and through the right door. Stick to the crates and find the ATV at the end. Sabotage its brakes with Y (Xbox) or Triangle (PlayStation). Return to spawn, take the left rock path upward, head right toward the front of G9, and continue right to find the BT65 Control Station. Interact with it using the same button. Both distractions activated means the challenge is done.
How to complete Assault: Against the Odds
You need to fight 4 soldiers without alerting the camp or dying. Soldiers can one-shot you, so this is the hardest challenge in the mission.
- Enter B2 and run behind the guard so he turns around, then fight him openly.
- Enter B4 and approach the guard directly to trigger a fight instead of a silent takedown.
- From B4, head into the crevice toward G9. Take a left and use silent takedowns on two guards, then run at the third to fight him.
- Reach the G9 roof, drop through the hatch for a silent takedown, free the captives, exit the back door, silent takedown one guard, then fight the last one.
How to complete High Ground
All three targets are on the left side of the camp, near G9:
- Lure the first guard into the crevice just before G9 by raising his suspicion to yellow, then hide. Once he drops in, climb out above him and perform the takedown from above.
- Climb the rocks to the G9 rooftop and look down through the hatch at the guard standing below.
- After freeing the captives, head to the back of G9. Use the rooftop to get above the third guard and take him down from above.
How to complete 00 to Become
You need 7 takedowns without being spotted. The full sequence:
- Guard in B2
- Guard in B4
- Three guards opposite G9 (via the crevice approach)
- Guard inside G9 via the roof hatch
- Two remaining guards out the back of G9 after freeing the captives
How to complete Scenic Route
From spawn, look right for building F8. Enter, climb the ladder inside to the roof, then climb the antenna. At the very top, press X (PlayStation) or A (Xbox) to jump and grab the zipline. You'll slide all the way to the cliff overlooking G9.
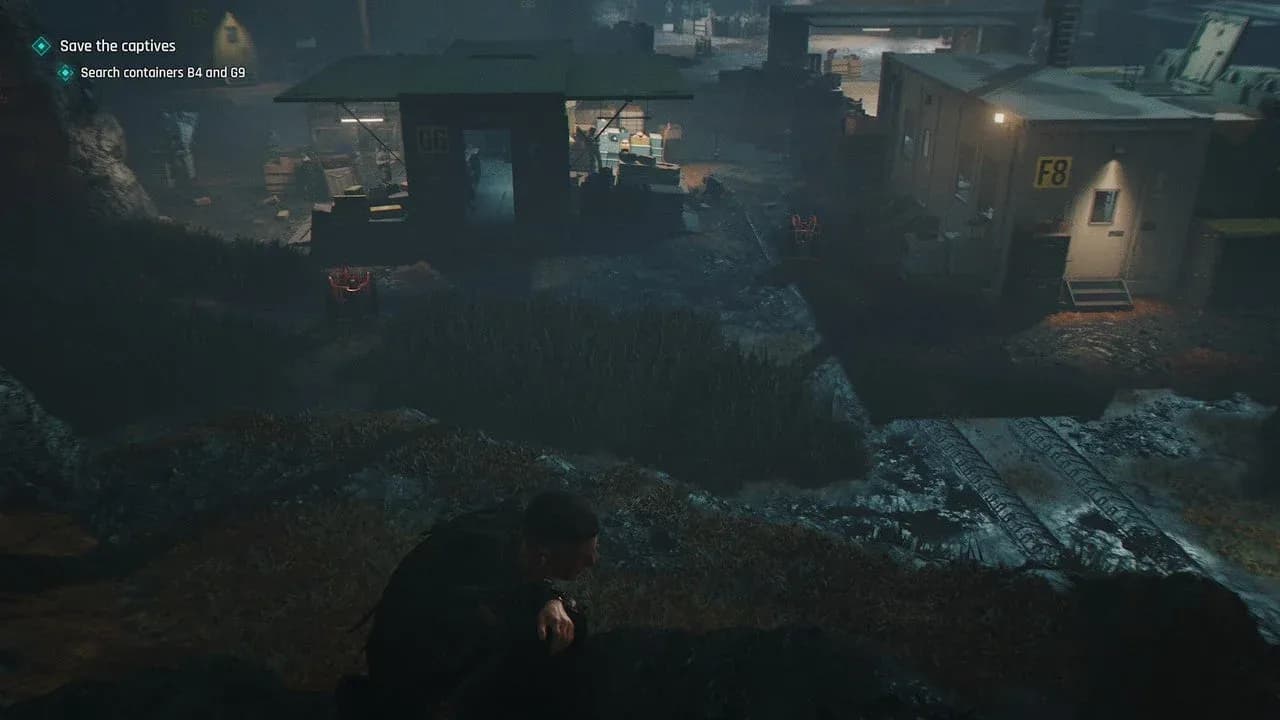
F8 antenna zipline route
What comes after Against the Odds?
Once the escape sequence ends, Bond gets his classic intro sequence and moves into the next sub-chapter, In His Majesty's Secret Service. Moneypenny meets you at the office, leads you upstairs, and after a brief wait with Ms. Ponsonby, you meet M. Despite Bond's insubordination in the prologue, M offers him the path to becoming a spy. Moneypenny then walks you out with details about housing and training, leading directly into The Needle's Eye.
This section is purely narrative, but feel free to ask Ponsonby questions while you wait. She'll cut you off eventually, but there's some useful background on M and your situation.
For everything else the game has to offer, the full 007 First Light strategy guides collection covers combat mechanics, trophies, and more. If you want to know how long the full campaign runs before committing to a completionist playthrough, check out how long it takes to beat 007 First Light. And if you're chasing the platinum, the 007 First Light trophy list and achievement guide has every unlock condition laid out.