Search games, articles, guides...CtrlK
Sign InGet Started
Clear every boss in Ferocious Horn Den, dodge the worst mechanics, and farm the Epic Black Claw gear set efficiently.

Written by Abdalla
Content Writer
See more GAMES.GG guides on Google
Add us as a preferred source and our guides show up first in your results.
Aion 2 Draupnir Expedition Guide: All Bosses and Rewards
Beat every boss in Aion 2's Draupnir dungeon, survive Bakarma's wave phases, and maximize your Anguish and Bakarma gear drops.

Aion 2 Krao Cave Expedition Guide: Clear Every Boss Fast
Master Krao Cave in Aion 2 with boss mechanics, stagger timing, and reward tips for both Exploration and Conquest modes.

Aion 2 Urugugu Canyon Expedition Guide: All Bosses and Rewards
Beat every boss in Urugugu Canyon, avoid the one-shot mechanics, and maximize your Odyle Energy Cube rewards in Aion 2.
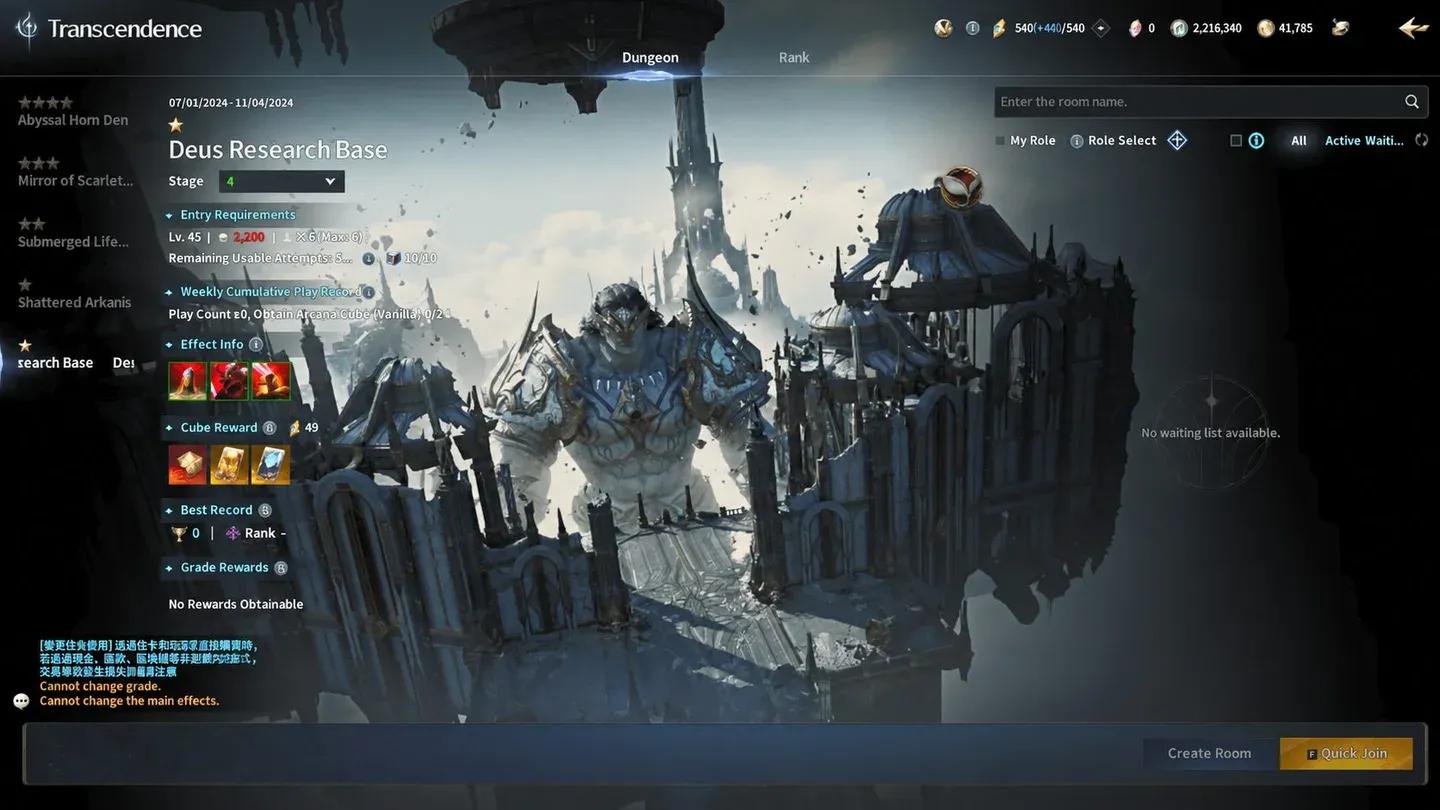
Ferocious Horn Den is a party dungeon in Aion 2 set deep in the Abyss, inside a stronghold belonging to the Ferocious Horn Mau tribe. The whole run pits you against four hero-rank bosses across five named rooms, and the main prize is the Epic Black Claw gear set. You need item level 2,100 to enter on both Exploration and Conquest, and item level 2,600 for Transcendence. Party size caps at five players, and Conquest runs are limited to 10 per week, resetting every Wednesday.
Dungeon entry requirements
| Mode | Min. Item Level | Party Size | Weekly Limit | Resets |
|---|---|---|---|---|
| Exploration | 2,100 | 1-5 | No limit | Wednesday |
| Conquest | 2,100 | 1-5 | 10 runs | Wednesday |
| Transcendence | 2,600 | 1-5 | 10 runs | Wednesday |
Every boss inside sits at level 74, and the regular monsters scale between level 63 and 74. Conquest runs pack 48 monster packs containing 176 monsters total, spread across five rooms: Fera Surveillance Site, Requiem Altar, Mau's Resting Place, Abyssal Surface, and Howling Throne.
The short answer: the Black Claw gear set is the main target. Each piece is Epic, item level 45, with three manastone slots and a maximum enchant of +10. The set covers every armor slot plus a Ring, Earrings, and weapons for every class. The Fera Necklace (Epic, item level 45) rounds out the accessory line and drops from the two mid-bosses.
Beyond gear, every boss drops Amplify Stone Fragment (Unique, Bound) at a 20% rate. Ferocious Horn Nuakum adds the Balaur crafting materials (Balaur's Essence, Durable Balaur Scale, Durable Balaur Leather, Durable Balaur Horn) at 30% each. The Odyle Energy Cube that appears after clearing Nuakum guarantees Kina, Enhance Stone, Silentium, and a Soul Codex, with a separate 20% roll on the Amplify Stone Fragment.
After 28 Conquest clears, a Sync Stone (Unique, Bound) and a Gear Change Voucher: Ferocious Horn Den (Bound) are guaranteed regardless of regular drop luck.
The dungeon follows a fixed four-boss sequence. Skipping ahead is not possible until each encounter is resolved.
Watchdog Kwapo is the opening boss, reached after pushing through 31 monster packs including Ferocious Duduka Workers, Ferocious Horn Mau Sentries, and Abyssal Lupyllini. Two Bomb Chests sit along the path and are useful for clearing packs quickly.
The key mechanic is called Thunder Cry. Kwapo becomes untargetable at roughly 75% and 25% health, leaps across the arena, and scatters blue lightning orbs. The orbs then detonate with an expanding ring. Clear the orbs on one side of the arena first to create a safe pocket, then jump the ring as it sweeps outward. Missing the jump while standing in orb debris is the most common wipe point here.
Kwapo drops the Fera Necklace at 6.8% alongside Black Claw armor pieces and accessories. The Black Claw Ring has the best odds from this boss at 11.4%.
The Shining Mau Totem is a gate encounter rather than a gear source. Get the entire party inside the Requiem Altar before anyone interacts with the totem, because triggering it seals the doors and immediately summons waves of Summoned Duduka Workers and Mutated Shulak enemies.
Three Bomb Chests are placed on the stairs nearby. Using the bombs is faster than burning through the adds with skills, since they deal AoE damage and clear multiple enemies at once. The totem cannot be damaged until all summoned adds are dead. Once they are cleared, focus the totem down to open the Altar Door and proceed to Necromancer Duanka.
Necromancer Duanka shares its loot pool with Watchdog Kwapo, including the 60% Soul Codex, 20% Amplify Stone Fragment, and identical Black Claw and Balaur material rates.
The fight has two distinct mechanics. At 75%, 50%, and 15% health, Duanka summons four tethered adds that cannot be damaged through normal attacks. One player must pick up the white orb on the north side of the room. That buff enables the party to damage and kill the adds before Duanka absorbs them. If the adds are absorbed, Duanka gains a heal and a stacking damage buff that compounds with each subsequent absorption.
At 65% and 30% health, Duanka pulls everyone to the center and casts Soul Caller. The closer you are to the center when it resolves, the more damage you take. Run outside the large circle before the cast finishes. Surviving both mechanics leaves a clean burn to the kill.
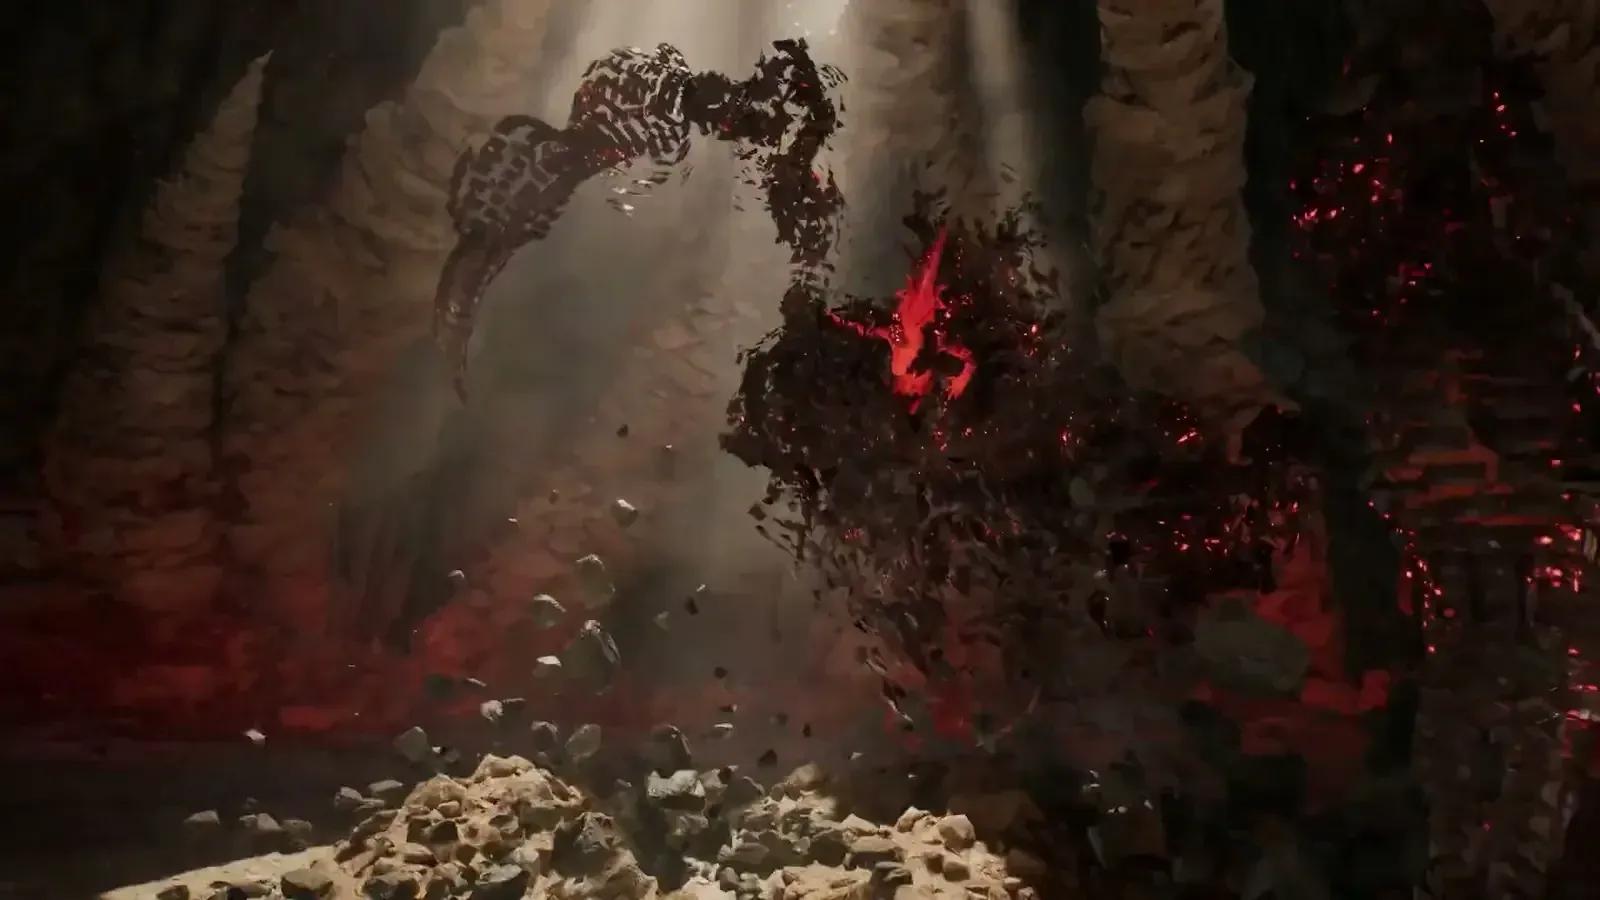
Ferocious Horn Nuakum is the reason to run this dungeon repeatedly. It holds the best Black Claw drop rates in the instance and is the only boss that drops Black Claw weapons. Take the portal to Howling Throne and wait for the full party by the Kibelisk before pulling, because the boss fight triggers easily and can lock out anyone still in transit.
Nuakum has two core mechanics to track:
Prey Mechanic: Nuakum leaps onto a platform and leaves dark slow-puddles across the arena floor. It then marks one player with an eye icon and leaps directly at them. All other party members must stack on the marked player's location to share and reduce the incoming damage. Avoid the dark puddles while repositioning, as contact applies a movement speed debuff.
Bleed Attacks: Many of Nuakum's standard attacks generate red puddles on the ground. Stepping on these applies a bleed debuff and deals damage over time. Drop them at the arena edges and avoid walking through old puddles while repositioning for the Prey stack.
A Conquest enrage timer kicks in at five minutes, so DPS output matters. Nuakum guarantees Silentium, Kina, Enhance Stone, and bound Kina on every kill.
| Item | Grade | Drop Chance |
|---|---|---|
| Durable Balaur Scale | Epic | 30% |
| Balaur's Essence | Epic | 30% |
| Durable Balaur Leather | Epic | 30% |
| Durable Balaur Horn | Epic | 30% |
| Amplify Stone Fragment (Bound) | Unique | 20% |
| Black Claw Ring | Epic | 12.2% |
| Black Claw Gloves | Epic | 9.2% |
| Black Claw Cloak | Epic | 9.2% |
| Black Claw Earrings | Epic | 9.2% |
| Black Claw Helm | Epic | 7.3% |
| Black Claw Pauldrons | Epic | 7.3% |
| Black Claw Boots | Epic | 7.3% |
| Black Claw Greaves | Epic | 6.1% |
| Black Claw Breastplate | Epic | 4.6% |
| Wrathful Ego | Unique | 3.6% |
| Black Claw Greatsword | Epic | 3.1% |
| Sealed Dark Veil Wings | Unique | 0.75% |
| Nuakum Helm | Unique | 1.02% |
| Nuakum Gloves | Unique | 1.27% |
| Nuakum Cloak | Unique | 1.27% |
The Nuakum armor set (Helm, Breastplate, Greaves, Guard, Pauldrons, Gloves, Boots, Cloak) is Unique grade, item level 86, and drops exclusively from the final boss.
Eight achievements are tied to this dungeon. The most rewarding to chase are the Conquest Clear chain, which runs six tiers from 1 clear to 20 clears and pays out a cumulative 2,480 Enhance Stones and 53,000 bound Kina plus the Ferocious Horn Den Tour Guide title at tier one. The Conquest Perfect Clear (no deaths) rewards a Soul Codex: Reset and 7,000 bound Kina. Destroying 20 Mau Totems across runs unlocks the Hey! I'm Walkin' Here! title.
For players still building toward Conquest, the Aion 2 Duty Missions guide is worth checking to ensure your daily progression lines up with your dungeon schedule.
If you want to compare the pacing and rewards across other expeditions, the Aion 2 Krao Cave expedition guide covers stagger timing and reward structure for a different dungeon in the same content tier.
Does Ferocious Horn Den have a time limit? Yes. The run has a 60-minute limit. Conquest adds a five-minute enrage on Ferocious Horn Nuakum specifically, so plan your DPS accordingly.
Can you run Ferocious Horn Den solo? Yes on Exploration. There is even a Solo Clear achievement that rewards 4,000 bound Kina for completing Exploration alone. Conquest Solo Clear rewards 7,000 bound Kina.
What drops the Fera Necklace? Watchdog Kwapo drops it at 6.84% from its direct loot pool. Necromancer Duanka also carries it at the same rate. Ferocious Horn Nuakum does not drop it.
What is the Odyle Energy Cube? It spawns in the Howling Throne after defeating Nuakum and confirms your run is complete. It guarantees Kina, Enhance Stone, Silentium, and a Soul Codex, with a 20% chance at the Amplify Stone Fragment on top.
When does the weekly limit reset? Conquest and Transcendence limits reset every Wednesday (server time).
For a broader look at all the expeditions available, the full Aion 2 guides collection covers every dungeon and content system in the game.