Search games, articles, guides...CtrlK
Sign InGet Started

Master Krao Cave in Aion 2 with boss mechanics, stagger timing, and reward tips for both Exploration and Conquest modes.

Written by Abdalla
Content Writer
See more GAMES.GG guides on Google
Add us as a preferred source and our guides show up first in your results.
Aion 2 Draupnir Expedition Guide: All Bosses and Rewards
Beat every boss in Aion 2's Draupnir dungeon, survive Bakarma's wave phases, and maximize your Anguish and Bakarma gear drops.

Aion 2 Urugugu Canyon Expedition Guide: All Bosses and Rewards
Beat every boss in Urugugu Canyon, avoid the one-shot mechanics, and maximize your Odyle Energy Cube rewards in Aion 2.
Aion 2 Ferocious Horn Den Guide: All Bosses, Drops, and Rewards
Clear every boss in Ferocious Horn Den, dodge the worst mechanics, and farm the Epic Black Claw gear set efficiently.
Aion 2 features Krao Cave as one of its first Expedition dungeons, and it hits harder than most new players expect. The instance runs for up to 5 players, scales across Exploration (unlocked at level 20) and Conquest (requires level 45 and item level 700), and ends with a final boss that will wipe your entire party if you misread a single mechanic. Here's everything you need to clear it cleanly.
The two modes have very different bars to clear.
| Mode | Level Req. | Item Level Req. | Players |
|---|---|---|---|
| Exploration | 20 | None specified | 1-5 |
| Conquest | 45 | 700 | 1-5 |
For Conquest, you want at least 1,400 combat power to realistically kill Ultimate Berk before the enrage timer runs out. A party of 3 DPS and 1 healer is the recommended starting composition. If your group keeps hitting the enrage, boosting your gear score is the fix before attempting another run.
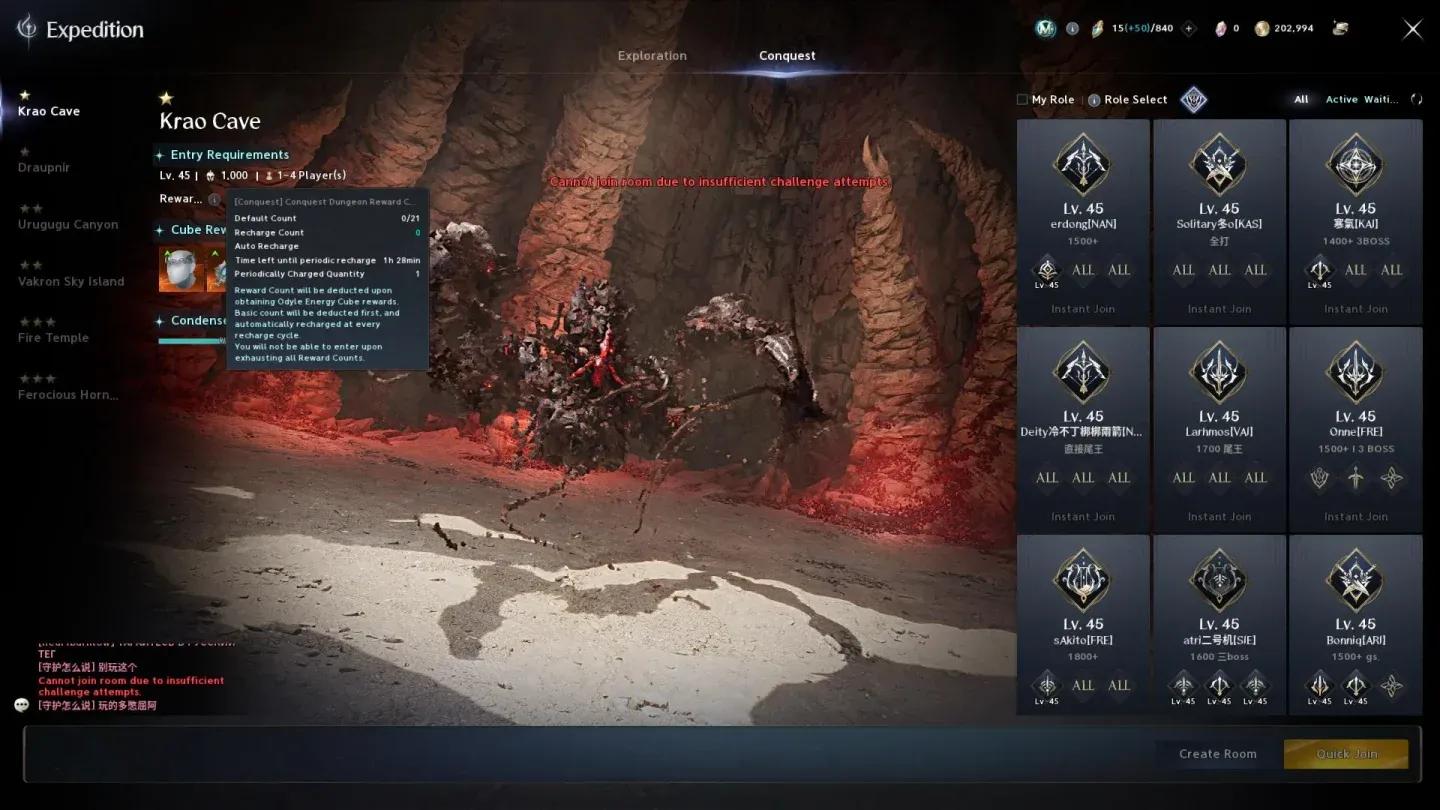
Aion 2 krao cave Conquest mode entry requirements UI screen
The dungeon has three bosses and a handful of route decisions that affect your final reward. Here's the short answer: kill the two mid-bosses before the final boss if you want better loot from the Odyle Energy Cube at the end. Skipping them isn't a run-ender, but it cuts into your rewards.
As you move through the cave, red orbs are scattered among the standard mob spawns. Do not aggro them. Once they lock onto you, they follow you all the way into sub-boss rooms, turning manageable pulls into chaotic messes. Hug the flanks and give them a wide berth.
The cave splits into two branches. You can take them in either order.
Neglected Gadioton (left branch): This boss drops fireballs that scorch the ground on contact, leaving persistent damage zones. The key thing to know is that the lingering zones spawn away from the boss, so you have fighting room near it. At 35% HP, Gadioton pulls everyone in with a vacuum move and follows up with an AoE stun. Start saving stamina when the boss drops below 50% so you have dodge charges ready when the pull lands.
Enhanced Harcon (right branch): The main threat here is a crossing laser pattern fired across the field twice. The safe gaps shift slightly between the first and second sets, so don't assume the same spot covers both. The first set spawns around the boss; the second passes through the boss's position. Adjust between each set.
The Krao Seal Guardian locks the cave housing Ultimate Berk. Kill it to remove the seal. This pull tends to drag nearby mobs, so the play is to focus the guardian down fast and rush into the cave the moment it opens rather than cleaning up every stray enemy first.
Before engaging Ultimate Berk, wait for every party member to enter the cave. The fight triggers when any player gets too close to the boss, and anyone still outside when that happens gets locked out for the entire encounter. One person rushing in early has ended more runs than the boss itself.
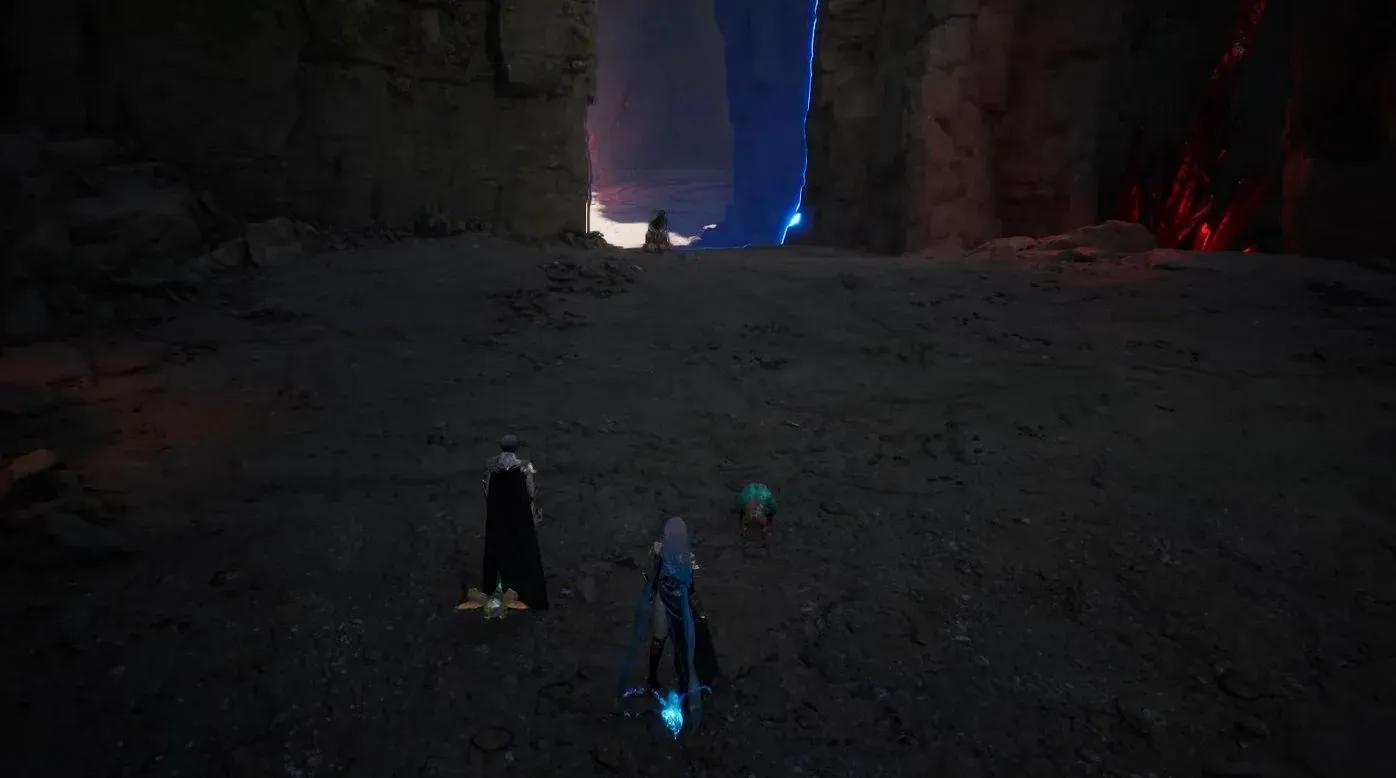
Berk's arena, stones marked
This is where most groups fall apart. Berk has four mechanics that matter, and two of them are instant party wipes if you don't know what's coming.
Berk leaps to the center of the arena and shouts before channeling an attack that covers the entire open floor. The only way to survive is to get behind one of the protruding stones in the arena before the 5-second cast bar ends. Your character glows yellow once you're properly covered. The protection takes a moment to apply, so don't wait until the last second. This happens twice: once at 75% HP and again somewhere between 25% and 33% HP.
The Chanter's Barrier Spell, the Gladiator's Tenaciousness, and the Cleric's Salvation do not protect you from this attack. There's no substitute for getting behind a stone.
At 50% HP, Berk triggers a 9-second stagger check. The stagger gauge under its health bar opens up, and your entire party needs to dump every stagger skill and Stigma into it simultaneously. If you fill the gauge in time, Berk staggers and the phase ends cleanly. If the 9-second cast bar finishes first, the party wipes.
During this window, stones fall from the ceiling and land on orange circle markers on the floor. Each stone stuns for 1 second, which costs you part of the stagger window. Every player needs to keep moving while firing their stagger skills. Every class has a Stagger Stigma worth 50 stagger points; slot it before this fight if your group has been failing the check.
Red dust or embers swirl around Berk for about 2 seconds before it spins for 6 seconds, hitting everything within 12 meters repeatedly. The spin follows a target, usually the tank. The correct response is for the targeted player to kite Berk around the edge of the arena while everyone else backs away. Walking is enough distance once the spin slows, but start moving the moment you see the red dust. Melee DPS with low movement speed should stay at maximum range during this phase and not try to chase the boss.
Berk leads with a forward slam (orange strip on the floor in front of it), then sweeps right, then sweeps left in a wider arc. The final arc leaves only a narrow slice directly behind the boss clear. Melee should move behind Berk as soon as the slam animation starts and stay there through both swings.
| Attack | What to do |
|---|---|
| Double charge (Rush) | Don't chase it; re-engage once it returns |
| Cross-shaped AoE, twice (second cross rotated 45°) | Dodge the first, then immediately move again |
| Shockwave around the boss | Ranged stay out of range; melee time a dodge. Gladiator and Templar can block it, but a hit stuns you |
| Falling rocks after 50% HP | Keep moving to avoid the stun |
Conquest has an enrage timer with a countdown visible on Berk's HP bar for the final 60 seconds. After enrage, Berk moves twice as fast and hits two to three times as hard. The party wipes shortly after. Exploration does not have an enrage. If you're consistently hitting the timer in Conquest, the fix is more combat power and gear score, not a different strategy.
Krao Cave drops gear from all three bosses in both Exploration and Conquest. The Odyle Energy Cube at the end of the run scales with how many bosses you killed: defeating both mid-bosses before the final boss gives the best chest rewards.
Conquest Normal clears guarantee a Gear Change Voucher. Krao Cave is one of three Expeditions that drops it, alongside Urugugu Canyon and Fire Temple. Two vouchers combined with one weapon from the same dungeon and 1,000,000 Kina convert into a different weapon from that dungeon's set through Substance Morph. Only bound gear from Odyle Energy Cubes and guaranteed rewards can be used as the conversion material.
The weekly final boss kill limits that existed in earlier versions of the game have since been removed, so you can run Krao Cave as many times as your Odyle Energy allows.
For more on progressing through Aion 2's dungeon content and daily systems, the full Aion 2 strategy guides collection has you covered across every major system in the game.