Search games, articles, guides...CtrlK
Sign InGet Started
Beat every boss in Aion 2's Draupnir dungeon, survive Bakarma's wave phases, and maximize your Anguish and Bakarma gear drops.

Written by Abdalla
Content Writer
See more GAMES.GG guides on Google
Add us as a preferred source and our guides show up first in your results.

Aion 2 Krao Cave Expedition Guide: Clear Every Boss Fast
Master Krao Cave in Aion 2 with boss mechanics, stagger timing, and reward tips for both Exploration and Conquest modes.

Aion 2 Urugugu Canyon Expedition Guide: All Bosses and Rewards
Beat every boss in Urugugu Canyon, avoid the one-shot mechanics, and maximize your Odyle Energy Cube rewards in Aion 2.
Aion 2 Ferocious Horn Den Guide: All Bosses, Drops, and Rewards
Clear every boss in Ferocious Horn Den, dodge the worst mechanics, and farm the Epic Black Claw gear set efficiently.
Draupnir is one of Aion 2's harder expedition dungeons to get right on a first visit. The entry bar is approachable at level 45 and 700 item level, but the final boss will wipe an entire party if nobody saves their stagger skills for the right moment. Here's the short answer: get your tank on the entrance device, kill both mid-bosses in Exploration, and hold your highest-stagger ability until Transcendent Bakarma hits 75% HP.
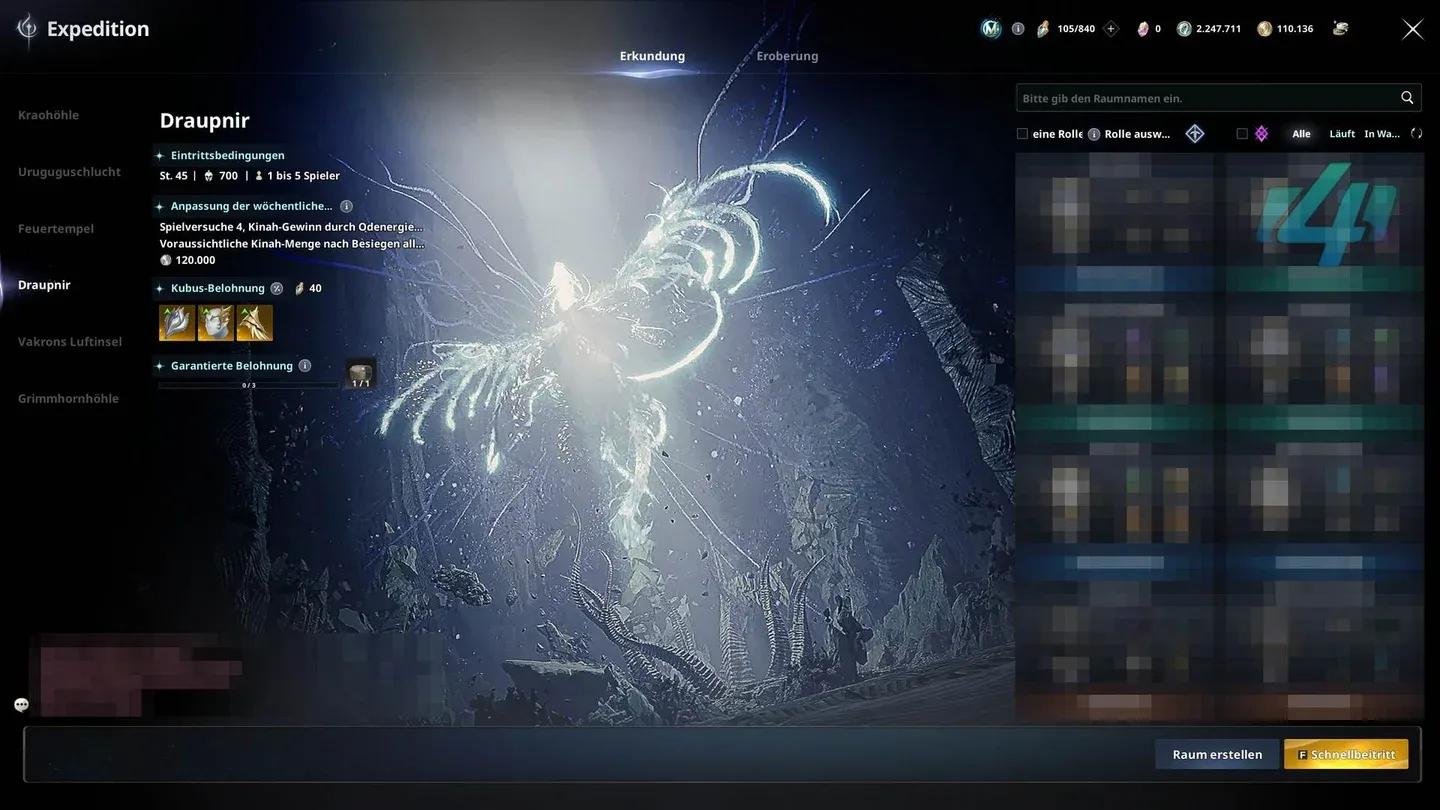
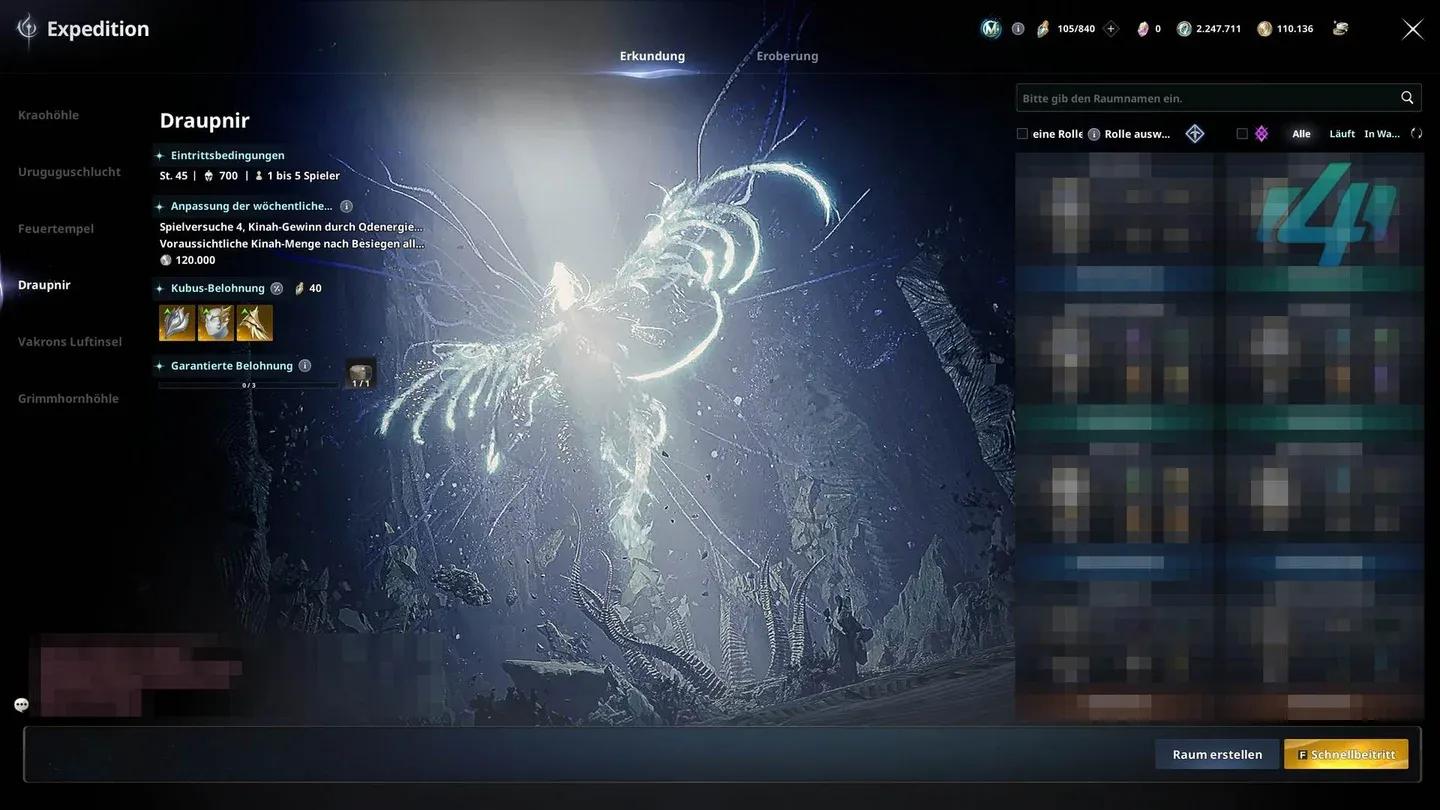
Both the Exploration and Conquest variants share the same gate: level 45 and 700 item level, with a party size of one to five players and a 60-minute time limit. Conquest lets you skip the two mid-bosses entirely, while Exploration requires you to kill all three before the final boss unlocks. If you want the Saraswati Earrings or the Lakshmi Necklace, run Exploration.
| Mode | Level Req. | Item Level | Bosses Required | Skip Mid-Bosses? |
|---|---|---|---|---|
| Exploration | 45 | 700 | All three | No |
| Conquest | 45 | 700 | Transcendent Bakarma only | Yes |
Draupnir entry requirements
The dungeon opens with a gating mechanic before you even reach the first boss, and it catches a lot of groups off guard.
The Abyss Entrance Control Device sits just inside the entrance and must be channeled to open the path forward. Nearby enemies will immediately swarm whoever interacts with it. Have your tank or frontliner pull aggro on those enemies first, then send one other player to hold the device. Trying to activate it while getting hit is a reliable way to reset the attempt.
Both mid-bosses are mandatory in Exploration. After dropping into the opening beyond the entrance, glide left toward Predator Saraswati's area first. Once she's down, register the nearby waypoint, then ride the updraft toward Phantasmal Lakshmi. After Lakshmi dies, use the return teleport and take the Windstream toward the final area.
Before the final boss portal opens, your party needs to clear Petty Officer Akvar, the Draconute Task Soldiers, and the Draconute Task Captain in the Meditation Room. Register the respawn point outside Bakarma's room here. Once the blue portal into Bakarma's Subspace appears, wait for every party member to enter before pulling the boss. Anyone outside when the fight starts gets locked out.
Predator Saraswati constantly drops blue damage-over-time pools across the floor throughout the fight. The mistake most players make is standing in them while trying to maintain damage uptime. Step out of any pool the moment it forms under you. Ranged players can move to a clear patch and keep attacking; melee players should reposition to the boss's clean side.
The boss will also wrap itself in one of its own pools, so don't commit to a damage window until you've pulled Saraswati clear of the hazard. A targeted ground circle can root a player, followed by a poisonous cone that can transform the target into a larva. Keep the boss facing away from the rest of the party to reduce how many people are in the cone's path.
Phantasmal Lakshmi has two things that kill groups who ignore them: a damage reflect window and a healing add.
When Lakshmi calls out "Agony always comes back around!", she reflects all incoming damage back at the attacking players for 8 seconds. Stop attacking immediately when you hear that line. Resume after 8 seconds. The boss still takes damage during the reflect window, so a group with strong healing output can technically ignore it, but that's a gear check most groups won't pass early on.
The second problem is Lakshmi's Handmaiden, an add that heals the boss when left alive. As soon as the Handmaiden appears, switch targets and kill it before returning to Lakshmi. Splitting damage between the boss and the add while the Handmaiden heals is a fast way to stall the fight indefinitely.
This is where most Draupnir runs fall apart. Bakarma has a punishing phase at 75% and 25% HP that requires the whole party to coordinate, and failing it resets the boss to full HP.
When Bakarma hits either threshold, it teleports all party members to the far edges of the arena and begins sending repeating water rings outward. Your job is to reach the boss, not to stand at the edge waiting for the waves to stop.
At the second wave phase (25% HP), whirlpools appear in the arena that can pull players off their path. Note their positions before the screen darkens and plan a route around them before committing to the crossing.
Once your party reaches the inner area, you have a limited window to fully deplete Bakarma's stagger meter. This is the moment to use whatever high-stagger skill you've been holding. If the meter doesn't break before the cast ends, Bakarma wipes the group with a wave and resets its HP to full.
Before entering the dungeon, identify which of your skills deals the most Stagger Damage and treat it like a cooldown reserved specifically for this moment. Don't burn it on trash or the mid-bosses.
During normal combat, Bakarma's frontal breath follows whoever has the highest threat. That player needs to keep the boss facing away from the group. The arena floor also turns red and concentric orange circles appear under individual players that erupt into water geysers. Move out of your circle before it detonates, and avoid crossing through another player's path since you can walk into their incoming eruption.
| What went wrong | Fix for the next pull |
|---|---|
| Arrived at Bakarma too late to hit the stagger gauge | Start moving at the phase cue and jump before each wave reaches you |
| Everyone arrived but the gauge didn't break | Hold high-stagger skills and use them immediately inside the safe area |
| Whirlpools knocked players off course | Plan your crossing line around visible whirlpools before the screen darkens |
| Eruptions hit multiple players at once | Spread out and avoid crossing each other's movement paths |
| A party member missed the fight after falling on the route | Wait for all five players to enter the boss room before pulling |
The main gear targets here are the Anguish epic set from the two mid-bosses and the Bakarma unique set exclusively from the final boss. Both sets bind on obtain.
Lakshmi guarantees a Refining Stone and a Soul Codex (Bound) on every kill. The Amplify Stone Fragment (Unique) (Bound) drops at 99.9%. Anguish gear rolls at very high rates, with the Anguish Ring at 98.2% and the Lakshmi Necklace (her exclusive accessory) at 90.3%. The Anguish Breastplate is the lowest-odds armor piece at 76.2%, and weapon rolls sit around 61.3% each.
Saraswati's loot table mirrors Lakshmi's closely, with her exclusive drop being the Saraswati Earrings at 93.2%. Her Anguish rates run a few points below Lakshmi's across the board. The Amplify Stone Fragment drops at 99.8%, and the Anguish Ring sits at 97.4%.
Bakarma is the only source in this dungeon for the Bakarma unique armor set, the Sealed Blue Wave Wings, and the Artwork: Draupnir cosmetic. Balaur's Essence is guaranteed at 100%, and the Amplify Stone Fragment drops at 99.9%. The Bakarma armor pieces roll between 17.9% (Breastplate) and 32.7% (Gloves and Cloak). The Sealed Blue Wave Wings and Artwork: Draupnir each sit at 20.8%.
Bakarma's exclusive loot table
Both Lakshmi and Saraswati drop bound Souls that unlock pet transforms. Each pet requires 5 Souls to unlock at level 1, scaling to 25 Souls for level 2 and 75 for level 3. The stat gains are modest (HP and Critical Hit bonuses), but the transforms are a nice cosmetic reward from repeated farming.
The Amplify Stone Fragment (Unique) (Bound) converts into an Amplify Stone through Substance Morph and has a stack limit of 1,000. It cannot be traded. If you're short, it also sells in the shop for 2,000 Abyss Points per fragment, so you don't have to run Draupnir repeatedly just to top off a crafting shortfall.
For more on how Draupnir fits into the broader expedition lineup, the Aion 2 Krao Cave expedition guide covers similar stagger timing and reward structures worth comparing. If you're farming other content between runs, the Aion 2 field bosses guide covers open-world targets that also drop Kina and useful gear. For a full picture of your daily and weekly progression options, check out the Aion 2 Duty Missions guide to make sure you're picking the right rewards each reset. The full Aion 2 strategy guides collection has everything else you need across all expedition types.