Search games, articles, guides...CtrlK
Sign InGet Started

Find every Aion 2 field boss, learn what they drop, and master group tactics to claim Kina, titles, and rare gear.

Written by Abdalla
Content Writer
See more GAMES.GG guides on Google
Add us as a preferred source and our guides show up first in your results.
Aion 2 Draupnir Expedition Guide: All Bosses and Rewards
Beat every boss in Aion 2's Draupnir dungeon, survive Bakarma's wave phases, and maximize your Anguish and Bakarma gear drops.

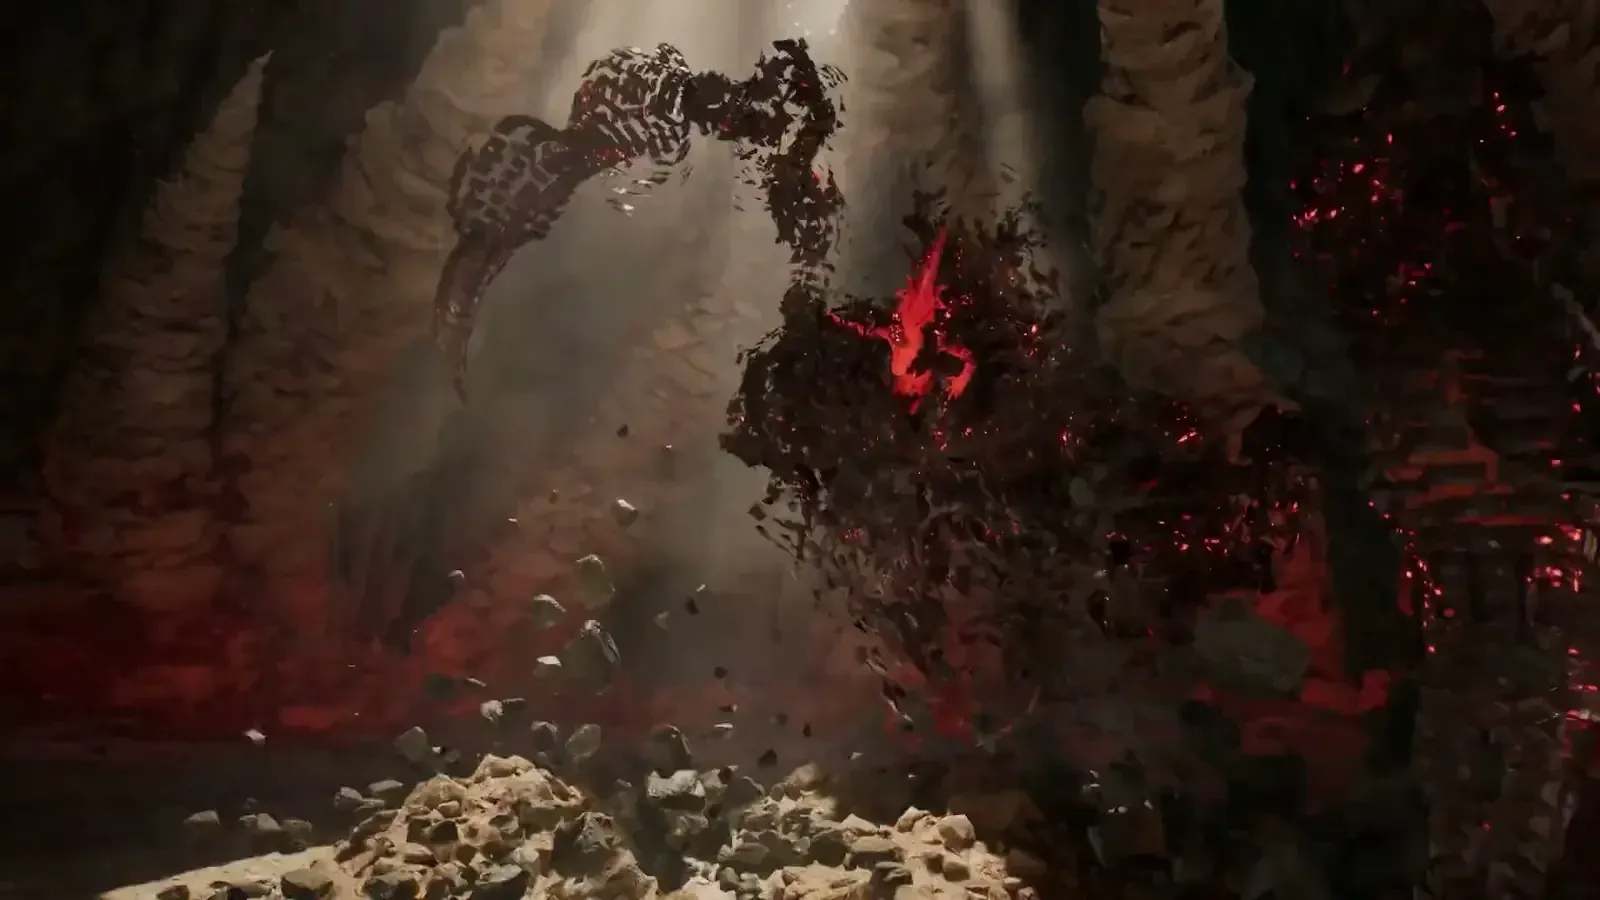
Aion 2 Krao Cave Expedition Guide: Clear Every Boss Fast
Master Krao Cave in Aion 2 with boss mechanics, stagger timing, and reward tips for both Exploration and Conquest modes.

Aion 2 Urugugu Canyon Expedition Guide: All Bosses and Rewards
Beat every boss in Urugugu Canyon, avoid the one-shot mechanics, and maximize your Odyle Energy Cube rewards in Aion 2.
Field bosses in Aion 2 are some of the best reasons to keep the map open while you explore. These open-world encounters pull players together from across a zone, drop Kina, titles, and rare gear, and hit noticeably harder than anything you find on a standard quest path. The catch is that they spawn without a fixed schedule, reward luck as much as skill, and can turn chaotic fast when a public group loses coordination.
Field bosses appear in open-world areas rather than inside instanced content. When one goes active, a red boss icon shows up on the map, giving nearby players a chance to converge on the location. There is no confirmed fixed respawn timer, so every appearance should be treated as time-sensitive.
These encounters are separate from the instanced Expeditions (Krao Cave, Urugugu Canyon, Fire Temple, Draupnir), which cap at five players and follow structured group rules. Field bosses are open participation, meaning you can join whoever is already fighting.
| Feature | What to expect | Practical note |
|---|---|---|
| Location type | Open-world zones | Keep the map visible while exploring |
| Map indicator | Red boss icon | Check before traveling across the zone |
| Group format | Public, no cap confirmed | Join nearby players rather than soloing |
| Respawn schedule | Not confirmed | Treat every spawn as urgent |
| Difficulty range | Simple to mechanics-heavy | Do not assume every boss is easy |
| Loot consistency | Variable | Expect inconsistent results per kill |
Here's the short answer: the loot table is visible but not guaranteed. Player reports from recorded runs show Kina payouts of around 19 and 30 per kill, though those figures will vary. Several kills in those same sessions produced no weapon or armor drop at all, even when higher-rarity gear appeared in the visible loot interface.
| Reward type | Evidence | Reliability |
|---|---|---|
| Kina | Reported at 19 and 30 per kill | Possible, amount varies |
| Green equipment | Listed in loot interface | Not guaranteed |
| Blue equipment | Listed in loot interface | Not guaranteed |
| High-rarity gear | Visible in loot table | Likely uncommon |
| Titles | Earned after recorded boss kills | May depend on boss or achievement |
| Title stats | Equipped titles can provide stat bonuses | Confirm in-game per title |
| Pantheon artwork | Reported as a possible drop | Useful for housing customization |
Titles are worth paying attention to beyond the cosmetic label. Some equipped titles carry stat bonuses, which means they can actually factor into a build. Check every title you earn after a kill before dismissing it as flavour text.
Pantheon artwork is the other sleeper reward here. The Pantheon system functions as player housing, and artwork drops from field bosses give you long-term customization options even on sessions where no combat gear appears.
The first documented encounters split into two rough patterns. One boss used melee-focused attacks: a ground smash and a charge. That fight stayed manageable as long as the tank held aggro, but the moment aggro dropped, the boss ran through the group and the whole encounter got messier.
The second type leaned on magic-based patterns, including rotating tornado effects. That kind of boss punishes players who stack too close or stay inside visible danger zones on the ground.
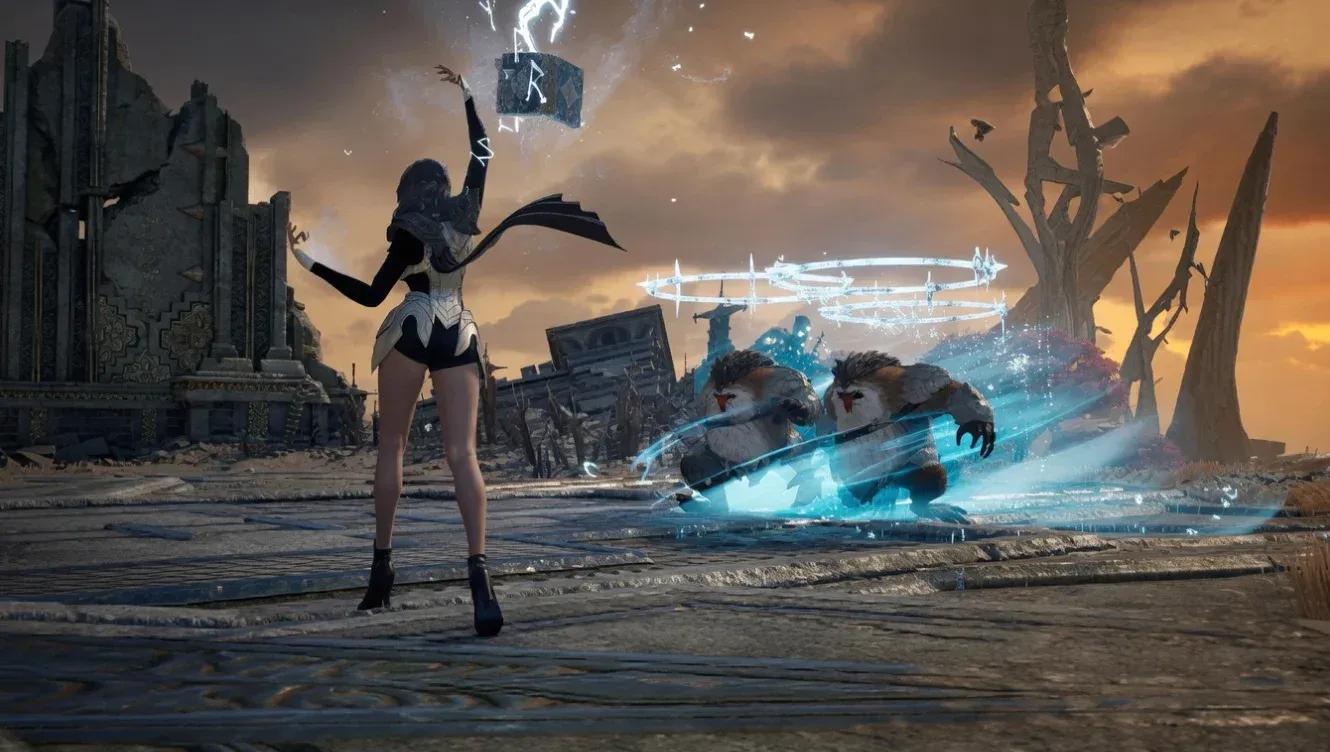
Aion 2 field bosses tornado magic attack zone
| Boss behavior | Risk | Response |
|---|---|---|
| Ground smash | Area damage near the boss | Move when the animation starts |
| Charge | Burst damage on target | Avoid straight lines; give the tank room |
| Tornado or rotating effect | Persistent area damage | Watch the ground and reposition early |
| Aggro loss | Boss chases damage dealers | Ease off burst; let the tank recover |
| High damage while undergeared | Healers get overwhelmed | Improve gear before attempting harder spawns |
The tank's job is to establish control before anyone else opens up. Losing aggro early forces the boss into the group and burns healer resources on avoidable damage.
A reliable sequence:
Damage dealers should not push through mechanics just to maintain a rotation. Dying mid-fight costs more total damage than pausing for two seconds to dodge an attack.
Healers get the most value from saving a major recovery ability for a boss charge or wide-area hit, rather than spending it on chip damage that the group could have avoided with better positioning.
Because field bosses spawn without warning, the best preparation happens before you ever see the red icon on the map. Arriving with broken gear, a full inventory, or no consumables is the mistake most players make on their first few encounters.
| Preparation step | Why it matters |
|---|---|
| Repair equipment | Prevents durability failure mid-fight |
| Carry healing items | Backup when the group healer is occupied |
| Clear inventory space | Room for Kina, gear, and artwork drops |
| Check your title setup | Active title stats apply immediately |
| Keep movement skills available | Reach the boss and dodge mechanics faster |
| Review the map regularly | Spot the boss icon before others do |
If you want to stay on top of your daily routine alongside field boss hunting, the Aion 2 daily and weekly checklist covers every reset activity worth slotting into your session so nothing gets missed.
Public field-boss groups are unpredictable by nature. Clear, short communication before the pull saves a lot of chaos during it. Establish three things early:
During the fight, spread out when the boss uses rotating or targeted effects. Melee players should avoid stacking in front of a boss with frontal attacks. If the boss charges and targets a non-tank, that player should move away from the group without cutting through allies.
| Situation | Best response |
|---|---|
| Tank loses aggro | Stop burst; let the tank re-establish control |
| Boss targets a ranged player | Move away from the group without crossing allies |
| Area effect covers melee zone | Reposition together, not randomly |
| A player dies | Stabilize before attempting a risky recovery |
| Multiple groups arrive | Focus on mechanics, not on other players |
The open-world format can create competition for damage contribution and positioning. Loot eligibility rules are not fully confirmed, so verify how participation works on your server rather than assuming the largest group always gets the best rewards.
For titles, Kina, and Pantheon artwork, yes, especially when a boss spawns near where you are already questing or gathering. The travel cost stays low and the upside is real.
For guaranteed gear upgrades on a deadline, field bosses are the wrong tool. Drops are random, the loot table shows possibilities rather than promises, and waiting around for a spawn eats time that structured content would use more efficiently.
The most efficient approach is to treat field bosses as opportunistic content. When the red icon appears near your current zone, join the fight. Do not cross the entire map for a boss that has a low-probability weapon drop you need for a specific slot.
If you are focused on gearing up quickly, the Aion 2 Item Level guide breaks down every system from Enhancement to Arcana so you can hit Item Level breakpoints without relying on random field boss drops.
Not always. Simpler bosses with straightforward attack patterns can be handled by a small group with a tank and solid damage output. Bosses with strong area effects or complex mechanics are safer with a coordinated party. At minimum, a tank plus reliable support makes the encounter significantly more stable.
Watch the map for the red boss icon and respond quickly. Because spawn timing is not on a fixed schedule, monitoring map activity and staying in local communication with other players gives you the best chance of catching an active spawn.
Yes, based on player reports. Some equipped titles carry stat bonuses rather than being purely cosmetic. Check the details on every title you earn, particularly if you are optimizing a build.
Expeditions offer more predictable, structured rewards for a five-player group. Field bosses are more variable but accessible to anyone in the zone. For consistent gear progression, Expeditions are more reliable. For titles, artwork, and supplemental Kina, field bosses fill the gap well.
For a broader look at everything the game has to offer, the full Aion 2 guides collection covers progression, farming, pets, and more in one place.