Search games, articles, guides...CtrlK
Sign InGet Started

Master the Aion 2 Gladiator with the best PvE skills, Stigmas, passive priorities, macro setup, and Level 45+ rotation tips.

Written by Abdalla
Content Writer
See more GAMES.GG guides on Google
Add us as a preferred source and our guides show up first in your results.
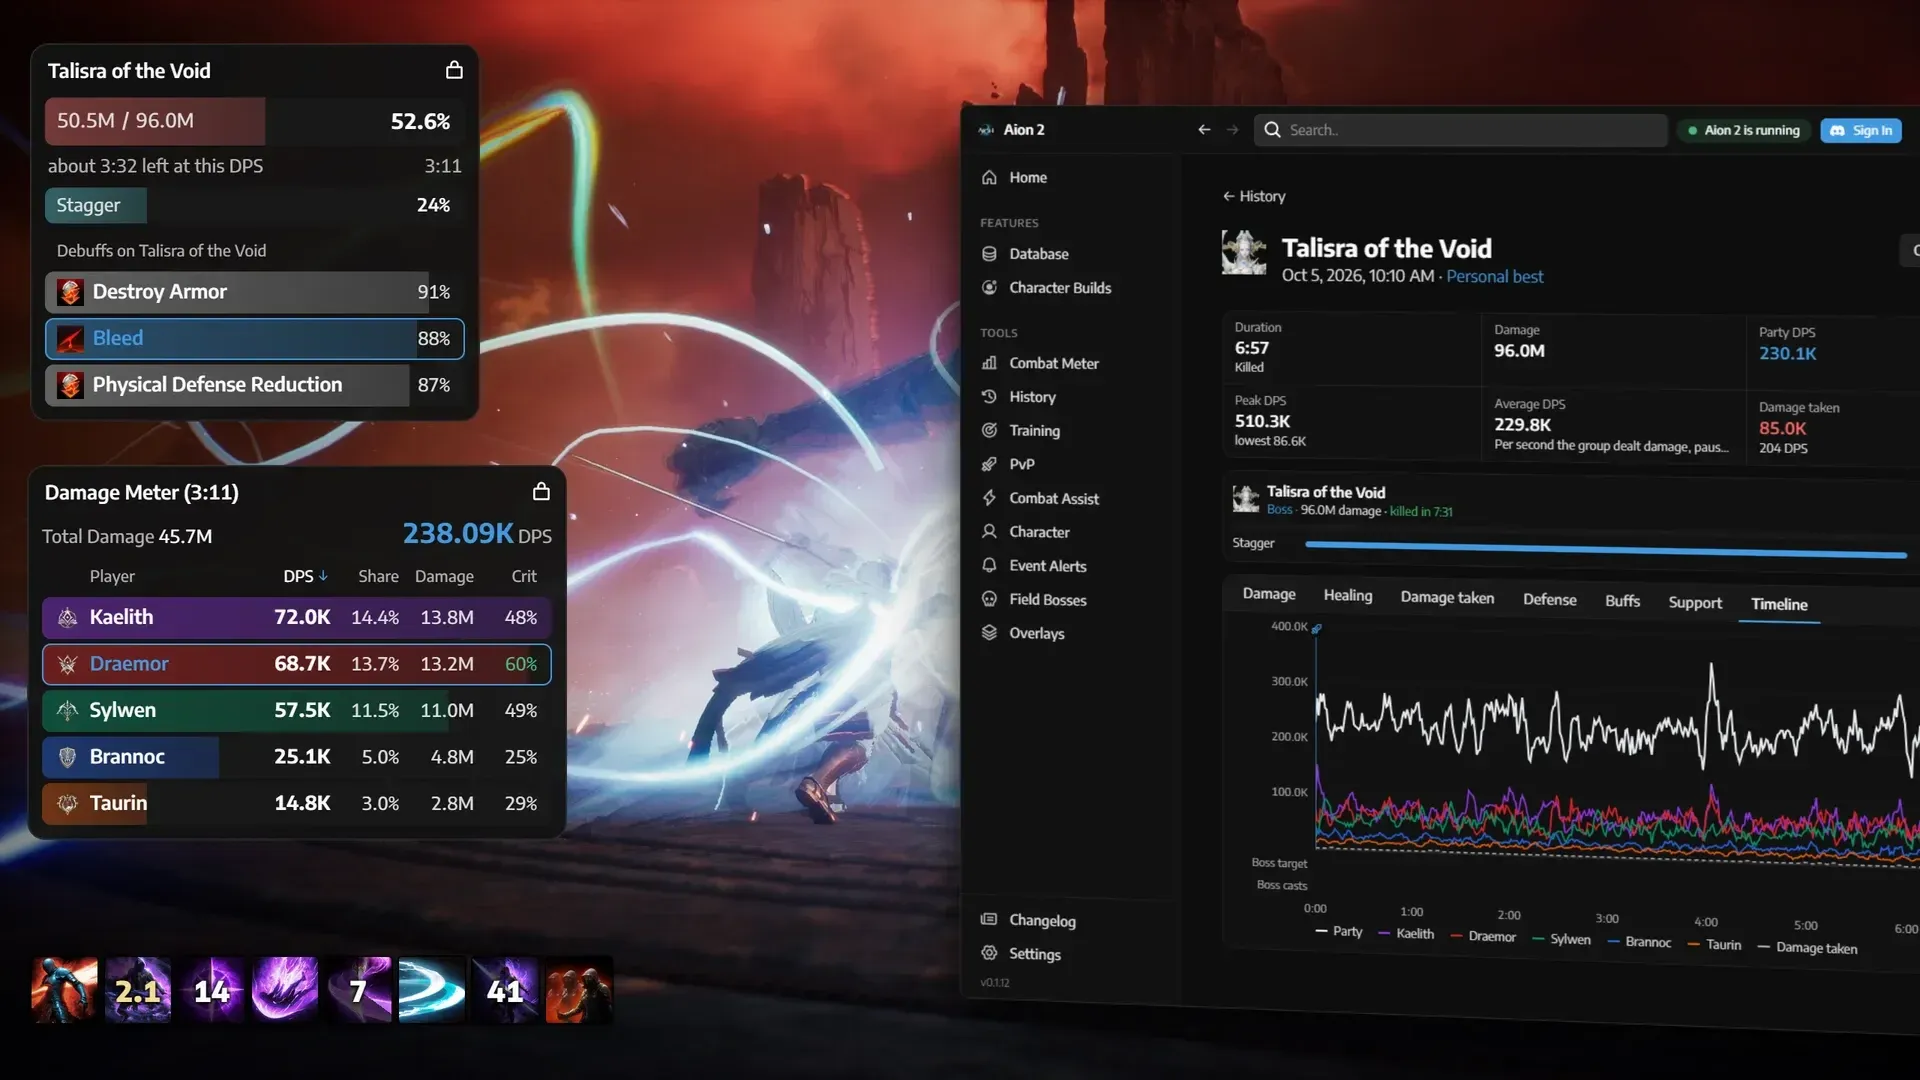
Aion 2 Combat Analysis Guide: How to Read and Use the DPS Meter
Learn how to open Aion 2's built-in Combat Analysis, read every stat, compare builds on Training Scarecrows, and set up macros.

Aion 2 Draupnir Expedition Guide: All Bosses and Rewards
Beat every boss in Aion 2's Draupnir dungeon, survive Bakarma's wave phases, and maximize your Anguish and Bakarma gear drops.

Aion 2 Krao Cave Expedition Guide: Clear Every Boss Fast
Master Krao Cave in Aion 2 with boss mechanics, stagger timing, and reward tips for both Exploration and Conquest modes.
Aion 2 puts the Gladiator in a rare spot for a tank class: it genuinely deals competitive PvE damage while holding aggro. Armed with a greatsword and a kit built around knockdowns, block counters, and burst windows, the Gladiator rewards players who understand when to pop their buffs and how to stay planted in front of the boss. This guide covers every layer of the PvE build, from early leveling through Level 45+ endgame content, including the exact macro that makes it a near one-button powerhouse once your skills are fully upgraded.
The Gladiator sits at 9 out of 10 for group and solo PvE performance. Unlike burst-focused classes that need a clean damage window and then back off, the Gladiator can keep attacking through boss mechanics that force squishier DPS out of range. Its passive lifesteal means it rarely needs a healer to bail it out, and Experienced Counterstrike turns every successful block into a party-wide damage buff. That combination of self-sustain and team utility is what separates it from the other melee options.
The class does have one real weakness: all damage is melee-range. If a boss mechanic forces you out of position and you burn your gap closers too early, your damage drops fast. Positioning discipline matters more here than on ranged classes.
Keen Strike is your MP engine in the early game. Take the MP Recovery and Multi-Hit options when upgrading it. You will use it constantly until Rending Blow gets its Level 16 critical-hit MP recovery upgrade, at which point Keen Strike largely exits the main rotation.
Rending Blow is your primary sustained damage skill. Take the movement option first so you can use it while repositioning, then pick up the bonus damage option against fewer targets. Get both Keen Strike and Rending Blow to at least Level 10 before pushing anything else.
Overhead Slam is the centerpiece of the entire build. Against regular enemies it triggers on knockdown; against bosses it has a 7% random proc chance. Add the Upward Strike chain specialty to extend its damage window. The real unlock happens at Level 16, where a specialization removes the cooldown entirely during Rage Burst windows.
Ruinous Blow functions as both an opener and a burst finisher. It grants a 20% PvE damage boost, plus additional Critical Hit and Status Effect Chance for 5 seconds after use. Its cooldown is long, so treat it as a fight-starter and not a filler. Take the Skill Speed specialty early to shorten the cast animation.
For mobility, Leaping Slam and Rush Strike handle gap closing. Upgrade Rush Strike's range so it matches Leaping Slam's reach, giving you two reliable ways to stay glued to your target after a boss knockback.
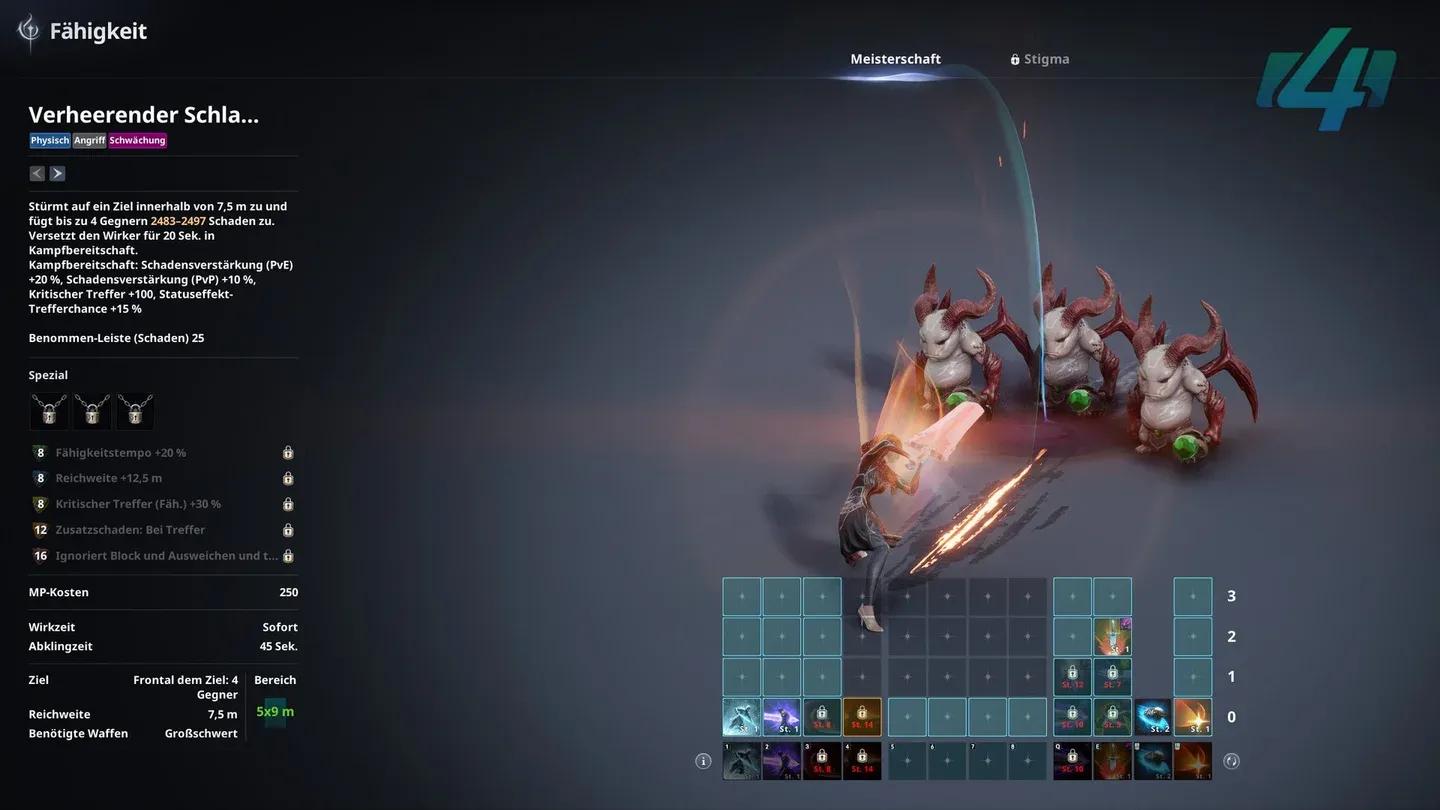
Overhead Slam boss proc window
| Skill | Target Level | Key Unlock |
|---|---|---|
| Keen Strike | 10 | MP Recovery +20%, Multi-Hit +50% |
| Rending Blow | 16 | MP restore on critical hit |
| Overhead Slam | 16 | Remove Cooldown specialty |
| Ruinous Blow | 5+ | Skill Speed, additional hit damage |
| Rush Strike | 8 | Range extension |
Stigmas unlock after Ascension at Level 22. For PvE, four are non-negotiable.
Rage Burst is the most important ability in the build. It increases your PvE damage boost by 10% for 10 seconds, reduces enemy attack by 10%, and most importantly triggers Overhead Slam on the target for 10 seconds. That triggered window is where the majority of your burst damage happens. Upgrade it to Level 5 to bring the cooldown down to 30 seconds.
Lunge Stance increases Combat Speed by 20% and reduces MP cost by 20% for its duration. At Level 20, it gains a 50% chance to reduce all other skill cooldowns by 1 second on hit, which compounds into a significant rotation acceleration. This is the Stigma to invest in most heavily.
Zikel's Blessing adds 20% Attack and 100 Accuracy for its duration. It has the longest cooldown of the four, so save it for elite enemies and boss fights rather than burning it on trash packs.
Focused Block is both defensive and offensive. A successful block activates Experienced Counterstrike, giving you and your party members increased front and PvE damage for 20 seconds. Learning each boss's opening attack pattern so you can time this correctly is one of the higher-skill elements of the class. Upgrade it to Level 5 to gain an additional charge.
Stigma upgrade order: Rage Burst → Focused Block → Lunge Stance
Experienced Counterstrike is the top priority. It increases Front Attack Damage Boost and, on a successful block, grants a PvE Damage Boost to the entire party for 20 seconds. Since the Gladiator attacks from the front anyway, this passive pays off constantly.
Attack Preparation improves PvE attack and defense simultaneously, making it a strong early investment.
Impact Hit adds a 3% chance to deal double damage. The number sounds small, but against bosses with long health pools the proc adds up noticeably over a full fight.
Murderous Burst builds Menace stacks on each hit. At 5 stacks it deals AoE burst damage and increases Critical Damage Boost for 3 seconds. It syncs well with the high attack frequency the Gladiator generates during Rage Burst windows.
Blood Absorption provides 50% lifesteal on hit and an emergency HP restore when you drop below 50%. It is not the first passive to max, but it becomes more valuable in longer dungeon runs where healer uptime is inconsistent.
Passive priority: Experienced Counterstrike → Attack Preparation → Impact Hit → Murderous Burst, then Blood Absorption.
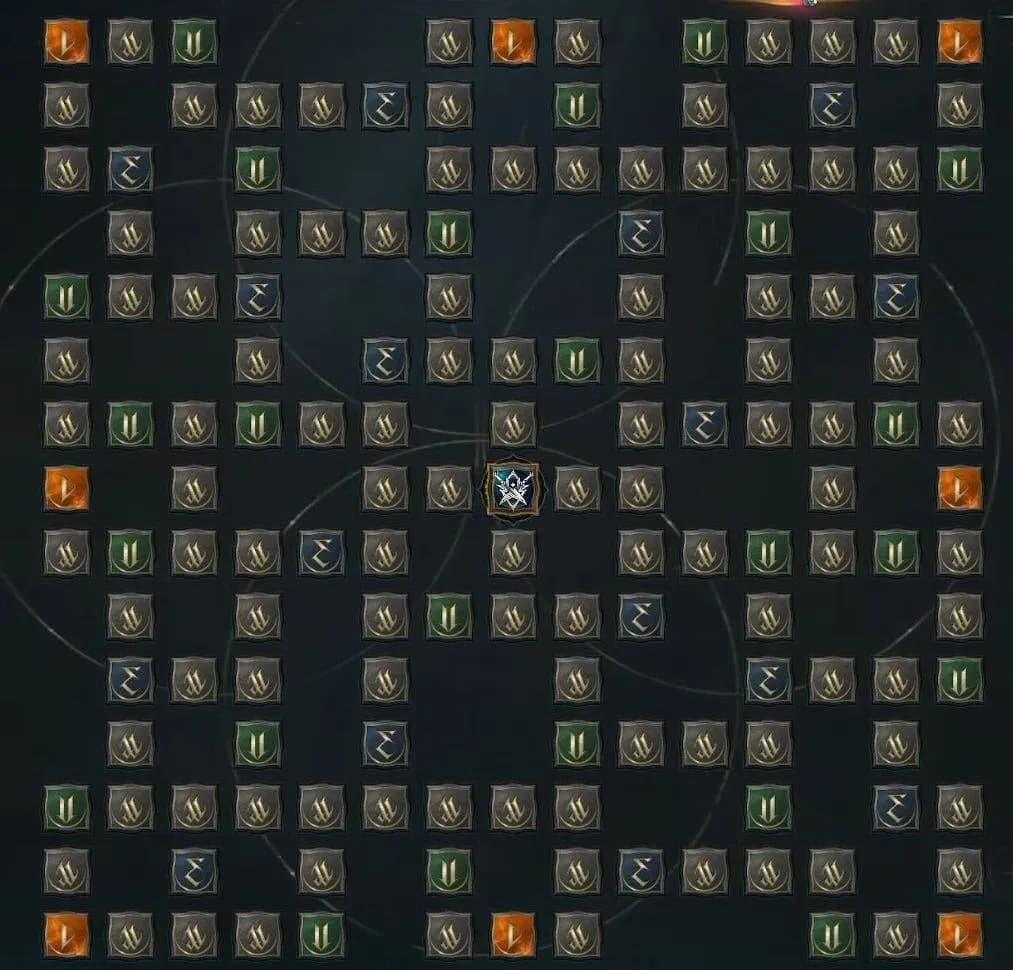
Gladiator passive priorities
The rotation has two phases: pre-combat setup and the main damage window.
Pre-combat buffs:
Main damage window:
Before Overhead Slam reaches Level 16, keep Keen Strike available for MP recovery. After Rending Blow gains its critical-hit MP restore at Level 16, you can remove Keen Strike from the main rotation entirely. The build becomes genuinely close to a one-button setup at that point.
Time Focused Block manually around each boss's telegraphed opening attack. Never put it in the macro, because the timing is too situational and wasting the block on a non-blockable hit loses the party buff entirely.
The core macro is simple: Rage Burst → Overhead Slam → Rending Blow.
That three-skill sequence handles the majority of your PvE damage output once both skills hit Level 16. Hold left-click for Keen Strike during early leveling to maintain MP. After the Level 16 upgrades, Rending Blow's critical-hit MP recovery makes Keen Strike redundant in the macro.
Keep all mobility skills, Focused Block, Zikel's Blessing, and Lunge Stance on manual keybinds outside the macro. If you need help structuring your hotbar for this setup, the Aion 2 hotbar and macro setup guide walks through exactly how to bind skills, consumables, and build 20-slot macro presets.
The mistake most players make early is treating Overhead Slam like a filler skill and spamming it outside of Rage Burst. Before Level 16, Overhead Slam has a cooldown. Using it randomly instead of banking it for the burst window cuts your total damage output significantly.
A second common error is ignoring frontal positioning. Experienced Counterstrike only triggers on blocks, and blocks only generate the party damage buff when you are facing the boss. Drifting to the side or rear to dodge mechanics and forgetting to re-establish frontal position means the party loses the buff for the entire 20-second window.
Finally, many players over-invest in Keen Strike past Level 16. Once Rending Blow restores MP on critical hits, Keen Strike becomes a passive MP tool at best. Spending upgrade resources on it past that point delays the more impactful Level 16 Overhead Slam unlock.
Before committing to the Gladiator, it helps to see how it stacks up. The Aion 2 class tier list for PvE and PvP breaks down every class across both modes in detail, but here is a quick comparison of the melee frontline options.
| Class | PvE Damage | Survivability | Ease of Use | Party Utility |
|---|---|---|---|---|
| Gladiator | High | High | Easy | Experienced Counterstrike buff |
| Templar | Moderate | Very High | Easy | Taunt, damage mitigation |
| Assassin | Very High | Low | Hard | Burst windows only |
The Gladiator sits between Templar's pure tank identity and Assassin's glass-cannon burst. It is the best choice if you want to tank reliably while still contributing meaningful damage numbers.
Does Gladiator need a healer in dungeons? For most content, no. Blood Absorption and Lifestealing Blade provide enough passive sustain to carry through standard dungeon encounters. High-difficulty nightmare content is a different story, but the class is genuinely self-sufficient for daily progression.
When does Overhead Slam become spammable? At Level 16, the Remove Cooldown specialization activates. Combined with Rage Burst's 10-second trigger window, you can chain Overhead Slam repeatedly during every burst phase.
Should I use Lunge Stance before or after Rage Burst? Activate Lunge Stance first. The Combat Speed and MP cost reduction it provides amplify everything that follows, including the Rage Burst window itself.
What faction works best for a Gladiator? Faction choice does not affect class mechanics directly, but it does affect server structure and PvP matchups. The Aion 2 Elyos vs Asmodian faction guide covers every real difference so you can pick based on your preferred playstyle.
For more guides covering every system in the game, the full Aion 2 guide collection has you covered from beginner setup through endgame optimization.