
The Hydra is the most dangerous turret ARC added in the Frozen Trail update, and it shows up in the two places you least want to be underprepared: the top deck of the ARC Raiders Frigate and inside the Fallen Emperor dungeon. Three stacked autonomous firing units, heavy armor, and the ability to track multiple targets at once make it a squad-wiper if you walk in without a plan. Here's exactly how to take it apart.
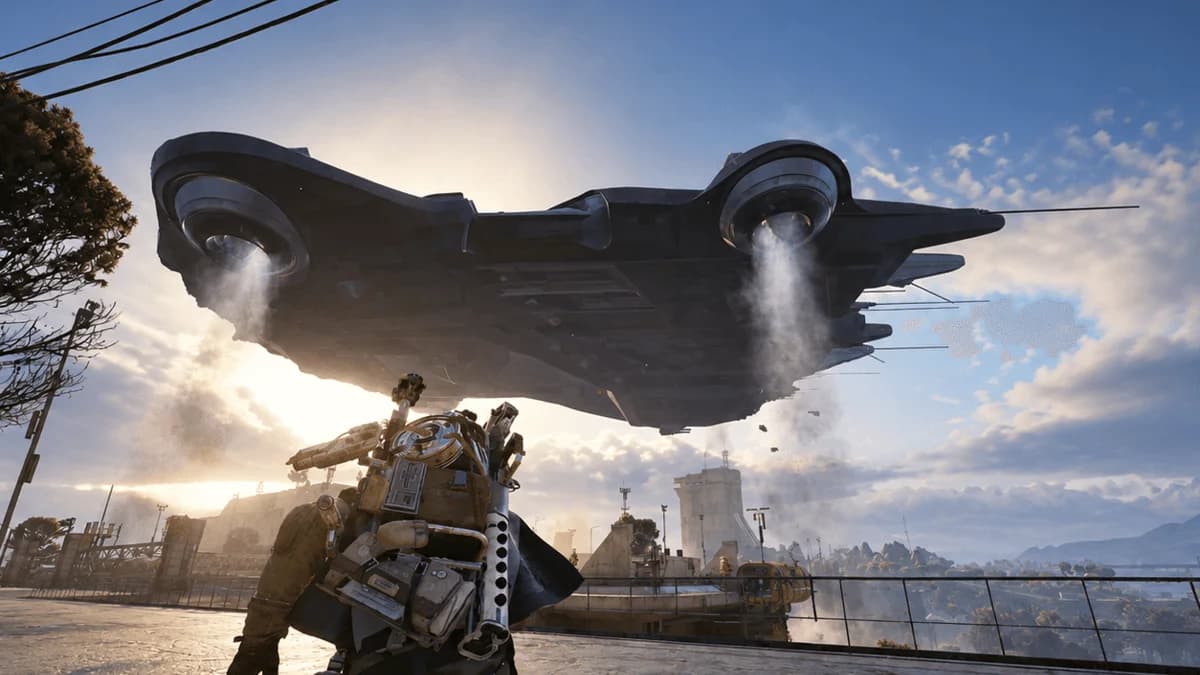
Hydra rising on the Frigate deck
Where does the Hydra spawn?
The Hydra only appears in two locations. The first is on the top deck of the ARC Frigate, which is a map condition in the Frozen Trail update. You'll know the Frigate is active because its icon appears on your map and the condition is listed under the map name at the start of a raid. The second location is inside the Fallen Emperor dungeon on the Pendola Pass map.
You won't run into a Hydra roaming open terrain or in standard raid zones. If you want to fight one, you're committing to either the Frigate route or the Emperor, both of which are multi-stage challenges that demand a full loadout and a coordinated squad.

What makes the Hydra so dangerous?
Unlike most turret-type ARC enemies, the Hydra isn't a single unit you can focus down from one angle. It's three autonomous firing sections stacked vertically, each capable of targeting independently. That means it can track different members of your squad at the same time, making the usual tactic of stacking behind one piece of cover actively dangerous.
The front and sides are protected by heavy armor plates, which absorb a significant amount of damage from most weapons. The rear is unarmored, which is where you want to be spending your ammo. Hydras don't move from their position once they rise, but they rise in groups: up to four can appear on the Frigate deck, with two emerging first and then two more after a short delay.
Other ARC types spawn alongside them. Rocketeers pressure you from range, Fireflies set you on fire, and Vaporizers add to the chaos. The Hydra itself isn't the only threat; it's the anchor that makes everything else harder to deal with.
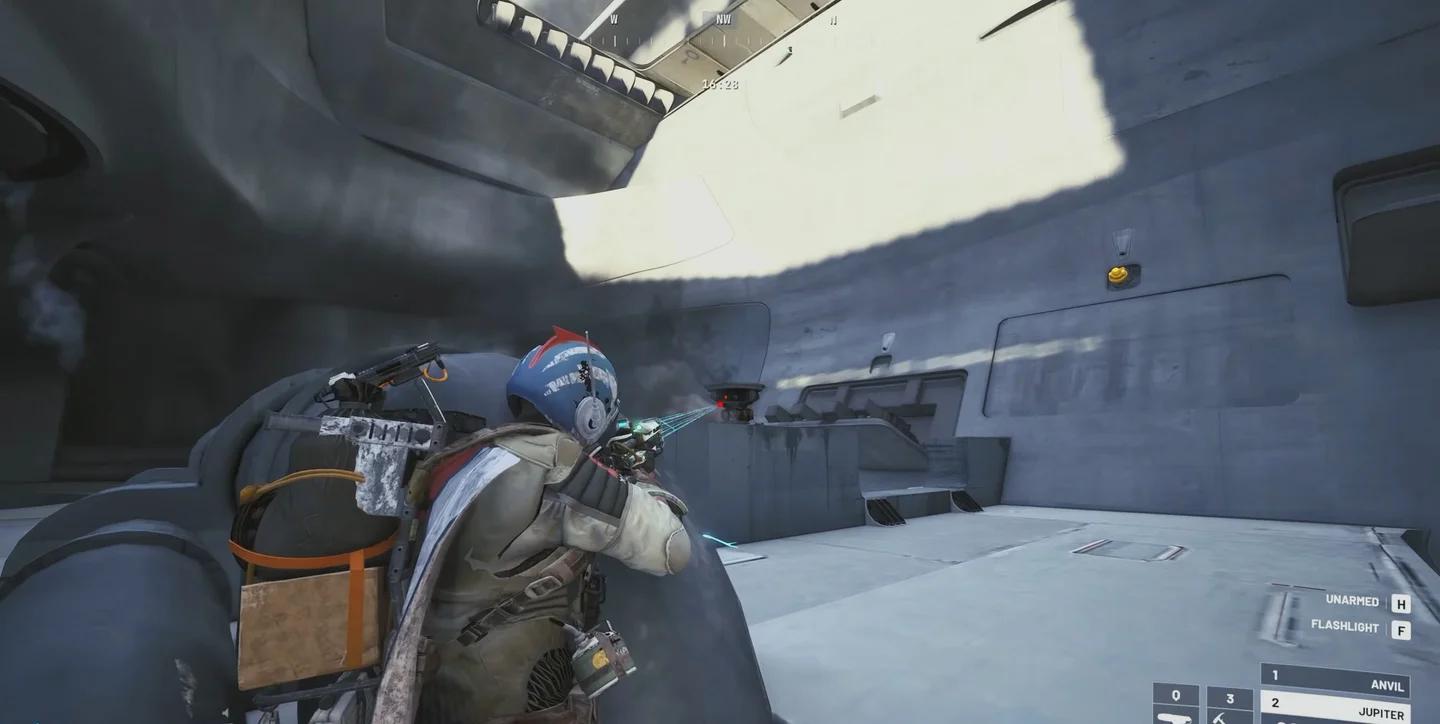
Target the unarmored backplate
How do you kill a Hydra?
There are three viable approaches, and the right one depends on your positioning when the Hydra rises.
Flank to the backplate
This is the fastest and most ammo-efficient method. The backplate is completely unarmored, so sustained fire from behind drops a Hydra significantly faster than attacking from the front. The problem is getting there while the Hydra is already shooting at your squad.
Have one or two teammates draw the Hydra's attention from the front. While it's tracking them, push around to the rear and unload. Weapons with strong or very strong ARC penetration work best here: the Hullcracker, Equalizer, Bettina, and Anvil are all solid picks. Once the first Hydra is down, it stays down, so move to the next one immediately.
Front-on sustained fire
If flanking isn't possible, you can still kill a Hydra from the front. It takes longer and burns more ammo, but it works. Find solid cover, wait for a break in its fire, then shoot. The heavy armor means you need those high-penetration weapons even more here. Don't expose yourself for long bursts; short controlled shots between its attack cycles are safer.
Melee at point-blank range
This is the cheese option, but it's genuinely useful when you're low on ammo or need a fast kill. Use a Photoelectric Cloak or a Barricade Kit to close the distance without taking fire. Once you're directly next to the Hydra, it can't target you effectively. Switch to your Raider Tool and melee it to death. It takes a few seconds but costs no ammunition.
Best loadout for fighting the Hydra
After running the Frigate, the loadout table below reflects what actually holds up against the Hydra and its supporting cast.
| Item | Purpose |
|---|---|
| Hullcracker or Equalizer | High ARC penetration for the backplate and front armor |
| Bettina or Anvil | Secondary options with strong penetration if primaries run dry |
| Medium or heavy shield | Fire damage from Fireflies stacks fast; you need the buffer |
| Herbal or Sterile bandages | Premium healing to recover between Hydra phases |
| Shield rechargers | Recharge between engagements rather than burning bandages |
| Photoelectric Cloak | Lets you close distance safely for the melee option or flank |
| Barricade Kit | Creates cover on the open Frigate deck where natural cover is sparse |
| Energy Clips | Energy weapons perform well against ARC; stock up before the raid |
Skip grenades when fighting the Hydra directly. Throwing one exposes you for long enough that the Hydra or a nearby Rocketeer will punish it. The Wolfpack grenade is worth bringing for the Rocketeers and Fireflies between Hydra spawns, but don't use it as your primary tool against the Hydra itself.
What loot does the Hydra drop?
The honest answer: not much. Hydras drop ARC Powercells, ARC Alloy, and Light Ammo. There's no unique item tied to the kill, which surprises a lot of players given how much effort the fight takes.
The real loot reason to fight the Hydra is that you have to. Clearing Hydras is part of completing the Frigate challenge, and the Frigate itself is one of only two sources of Amplification Modules in the game (the other being the Fallen Emperor). Modules have been found in the round Breach & Search ports under the hull and in the cargo canister after it lands, with early finds including Mk. II, Mk. IV, and Mk. V variants.
So treat Hydra kills as a progression gate rather than a farming target. The modules are the reward; the Hydra is just what stands between you and them.
Squad coordination tips
The Hydra is designed around squad play. A solo player can technically fight one, but the Frigate's structure makes it brutal without teammates to split aggro.
- Spread out before the Hydra rises. Stacking together means all three of its autonomous sections can fire at the same target cluster.
- Call out which Hydra your squad is focusing. Destroyed Hydras stay down, so concentrate fire rather than spreading damage across multiple units.
- Assign one player to handle Rocketeers and Fireflies while the other two focus the Hydra. The supporting enemies are what get you killed if you ignore them.
- Proximity chat works with other Raiders on the Frigate. Coordinating with strangers to split Hydra aggro is more common than you'd expect.
For the full Frigate walkthrough including the boarding route, power cores, and cargo release, check the ARC Raiders Frigate guide.
Frequently asked questions
Does the Hydra appear outside the Frigate?
No. The Hydra only spawns on the ARC Frigate and inside the Fallen Emperor dungeon. It doesn't appear in standard raid zones or on open maps.
Can you kill the Hydra solo?
Technically yes, but the Frigate itself requires at least three players for several mechanics, so you won't be fighting the Hydra alone in practice. The melee method is the most reliable solo approach if you're in a pinch.
What's the fastest way to kill a Hydra?
Flank to the unarmored backplate and fire with a high ARC-penetration weapon. Drawing its attention with a teammate first makes this significantly easier.
Does killing the Hydra respawn it?
Destroyed Hydras stay down. Up to four can appear on the Frigate deck across two waves, but once a specific unit is destroyed it doesn't come back during that raid.
For more on tackling the Frozen Trail's toughest encounters, the ARC Raiders guides collection covers everything from boss strategies to weekly trials, including how to destroy the ARC Turbine and handle the Skulker in the Skulker guide.