Search games, articles, guides...CtrlK
Sign InGet Started
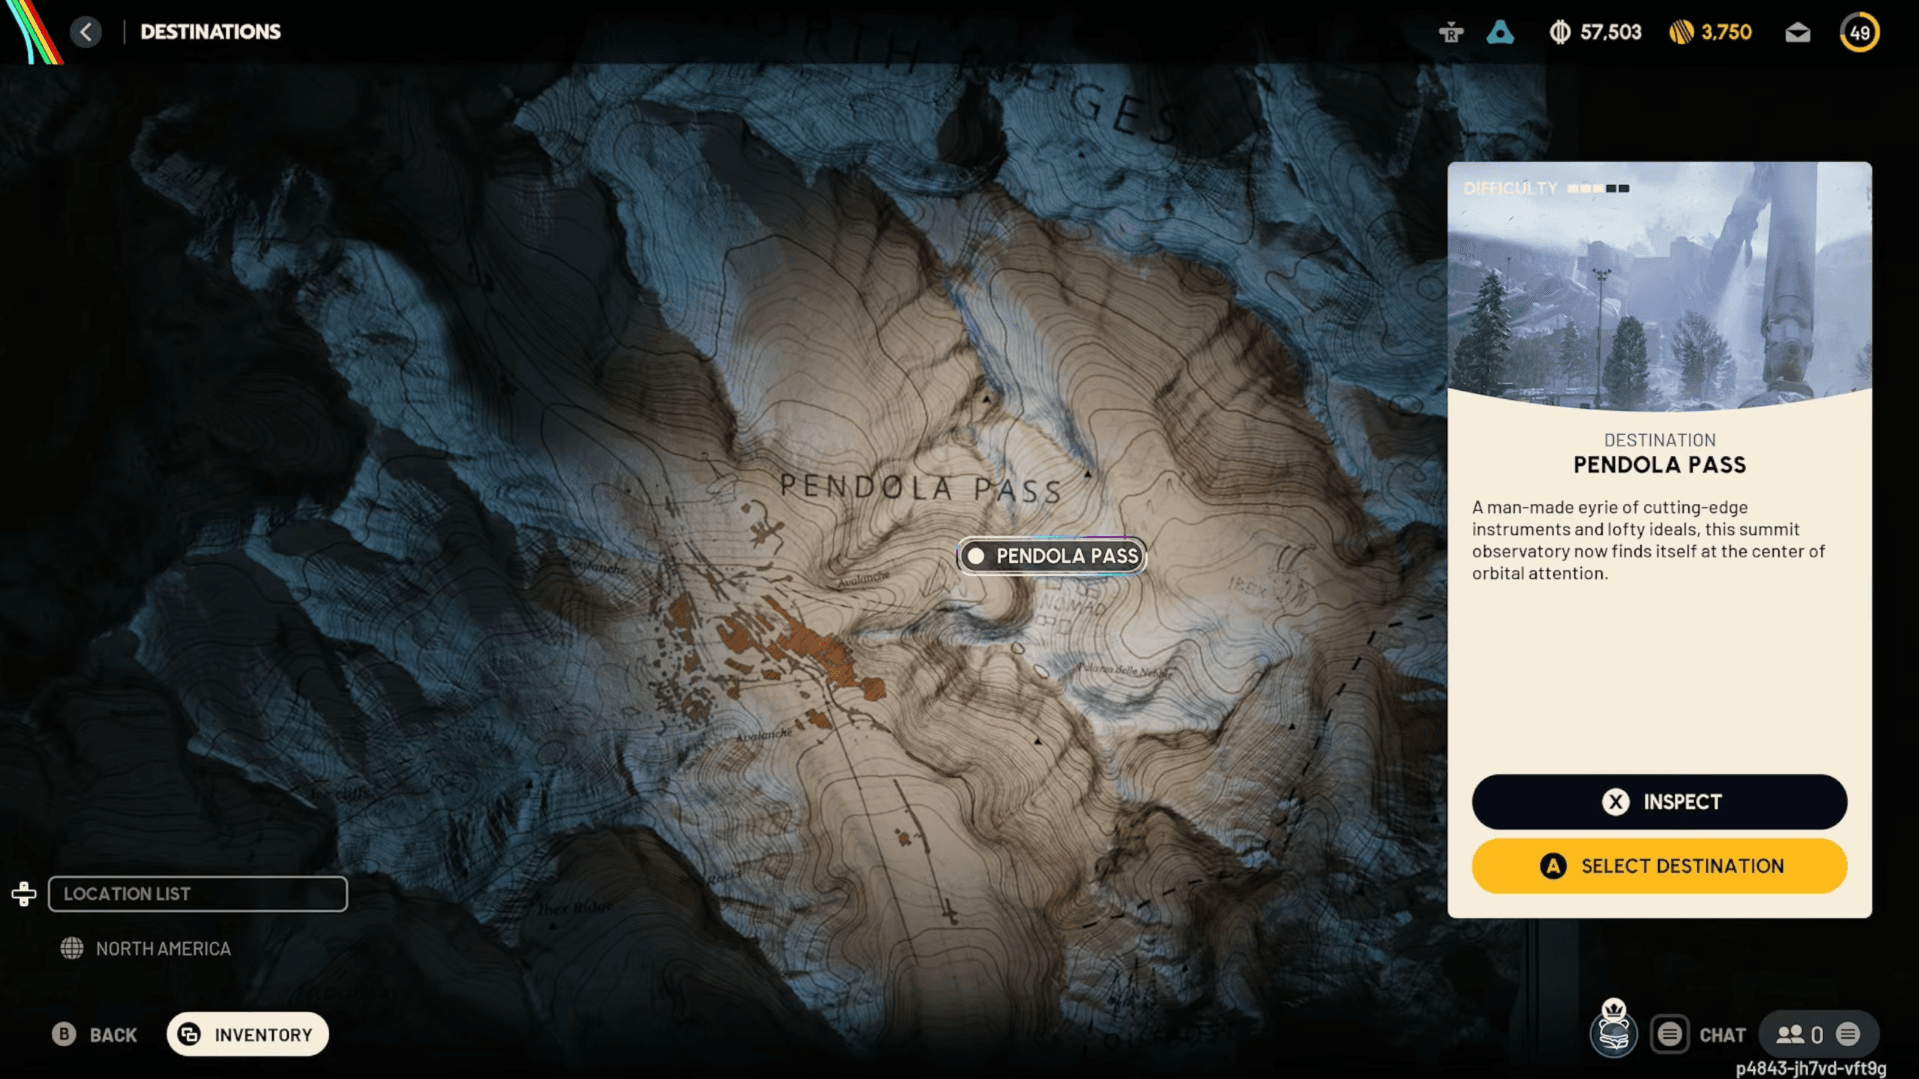
Destroy a Bully in Pendola Pass, recover the Bully Fragmenter, and deliver it to Apollo for 10,000 XP and a Wolfpack.

Written by Larc
Content Writer
See more GAMES.GG guides on Google
Add us as a preferred source and our guides show up first in your results.
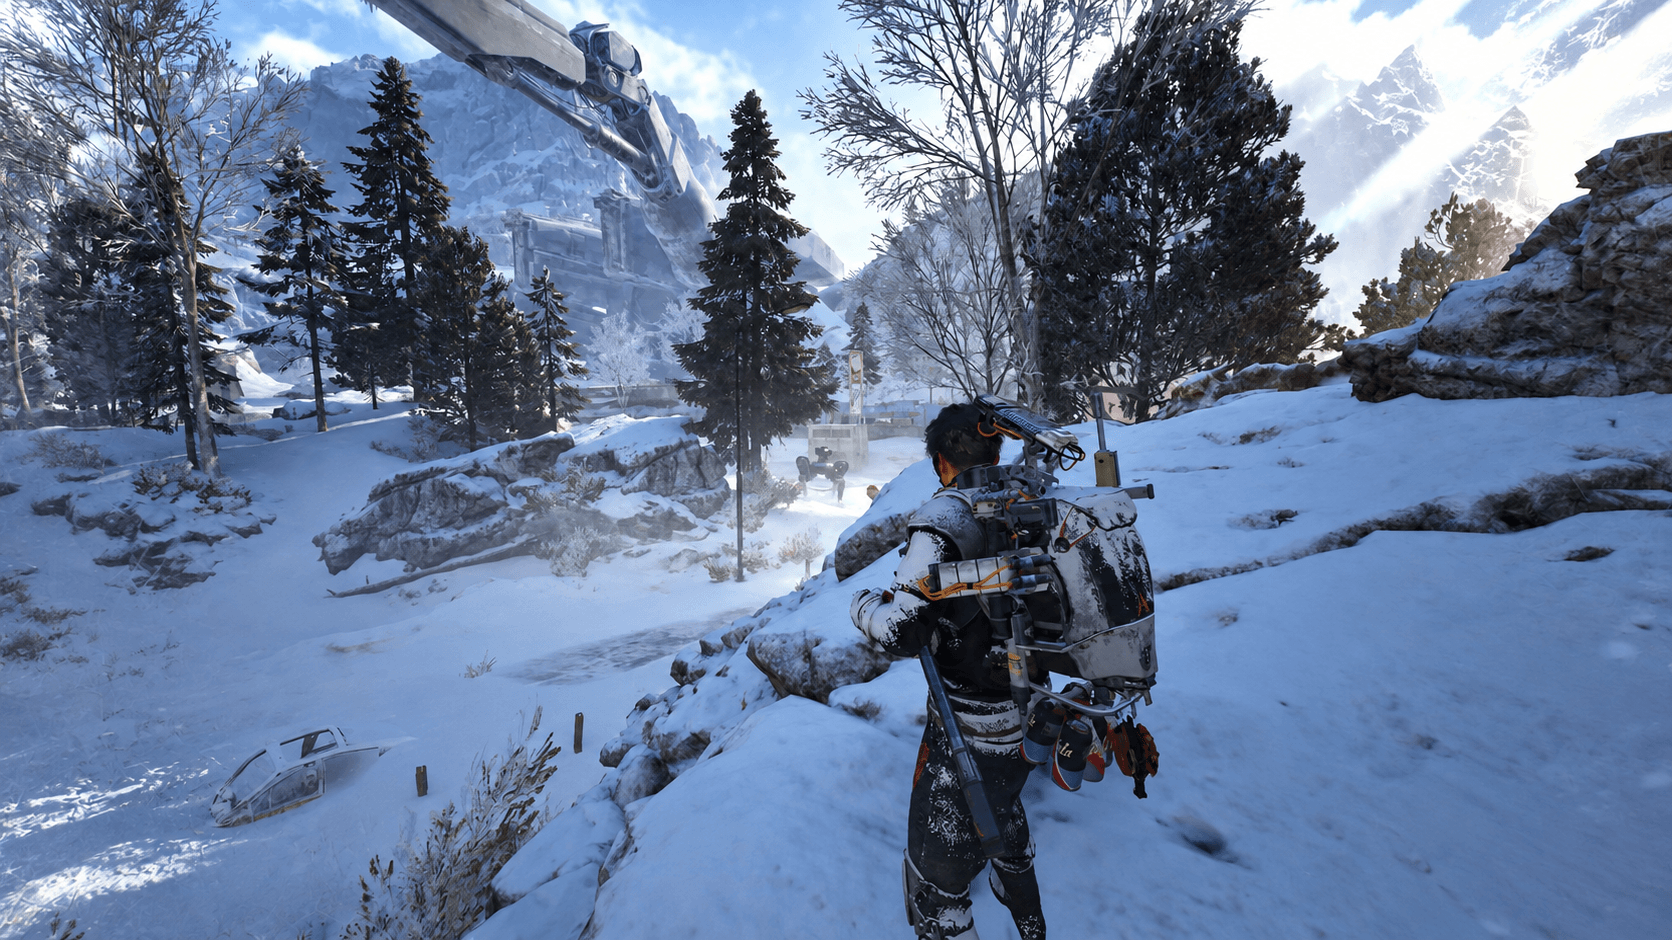
ARC Raiders Guide: How to Complete Empathetic Prototypes Quest
Complete the Empathetic Prototypes quest in ARC Raiders. Find the Cargo Crate, disable the Magnetic Lock, and deliver the Empathy Core to Lance.
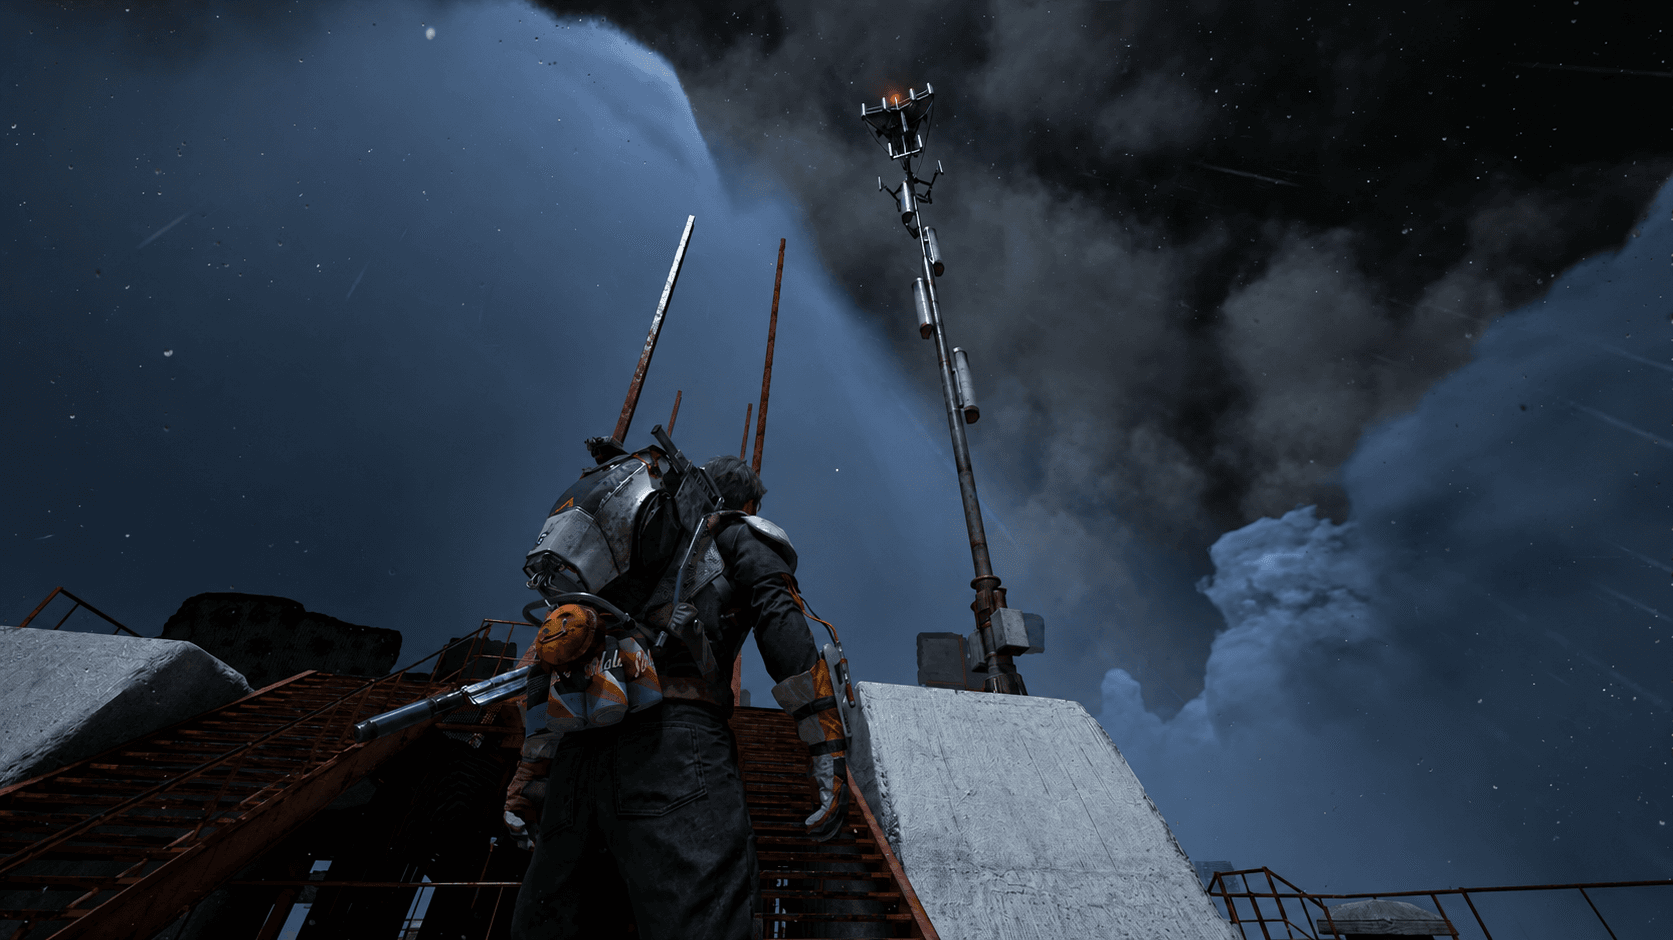
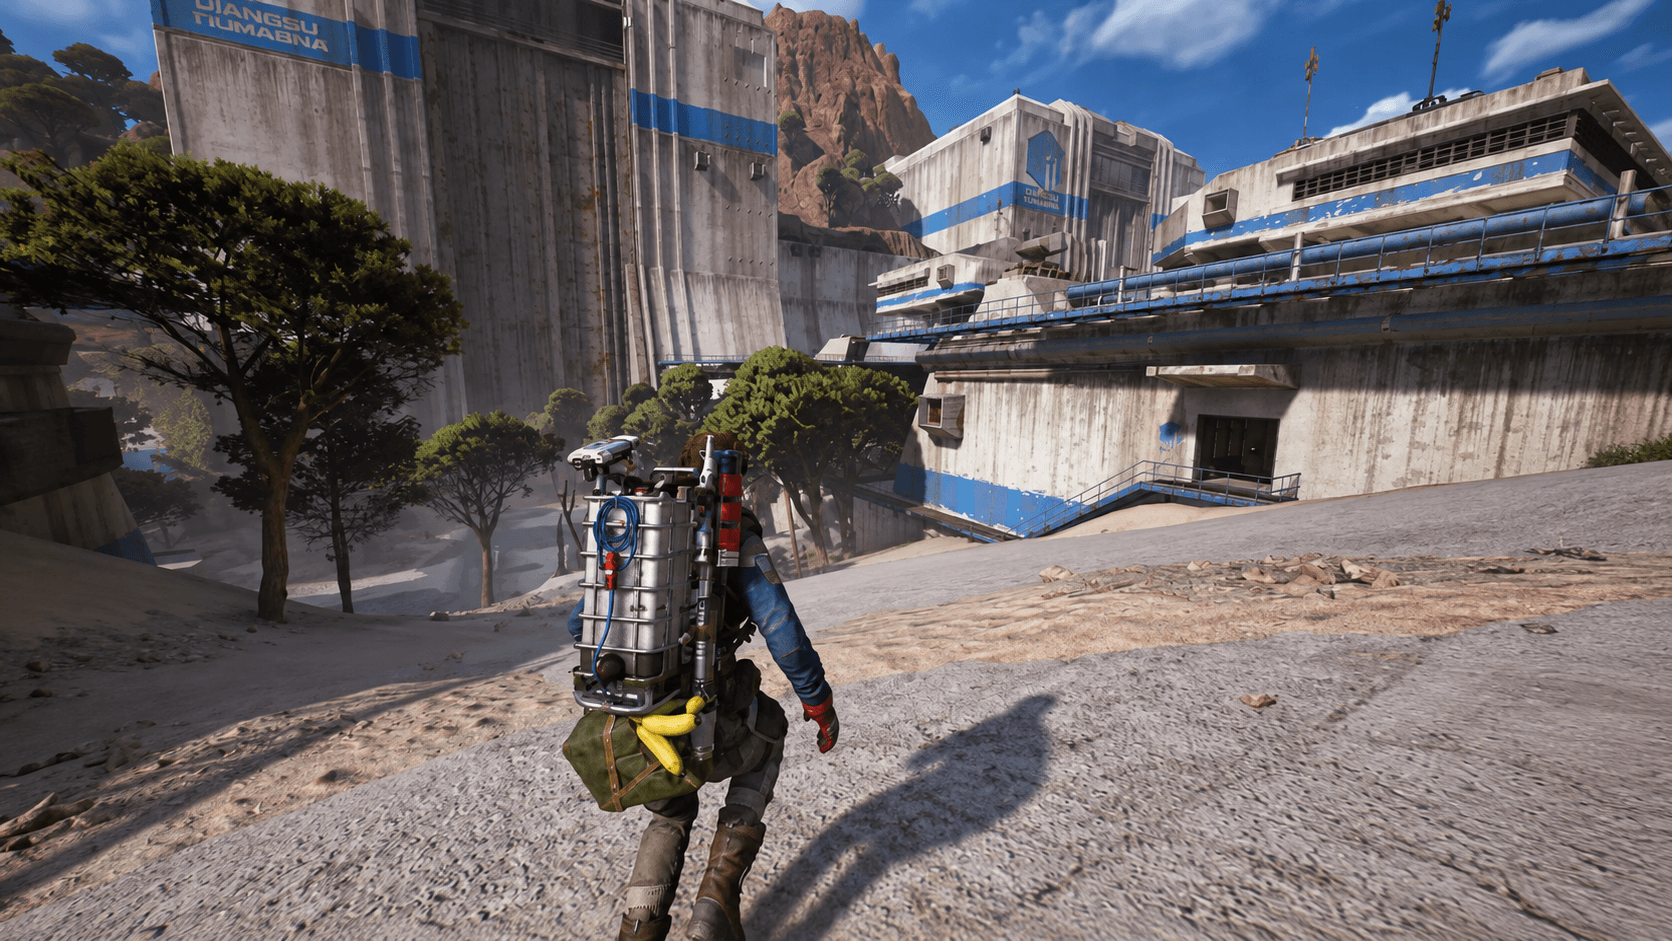
ARC Raiders Guide: How to Complete Wires Crossed Quest
Complete the Wires Crossed quest in ARC Raiders by attaching ARC components to antennas across three maps. All locations covered.
ARC Raiders Guide: How to Unlock Nomadic Crafting Skill
Learn how to unlock Nomadic Crafting in ARC Raiders and craft ammo, Grappling Hooks, Ziplines, and Shrapnel Grenades mid-raid.
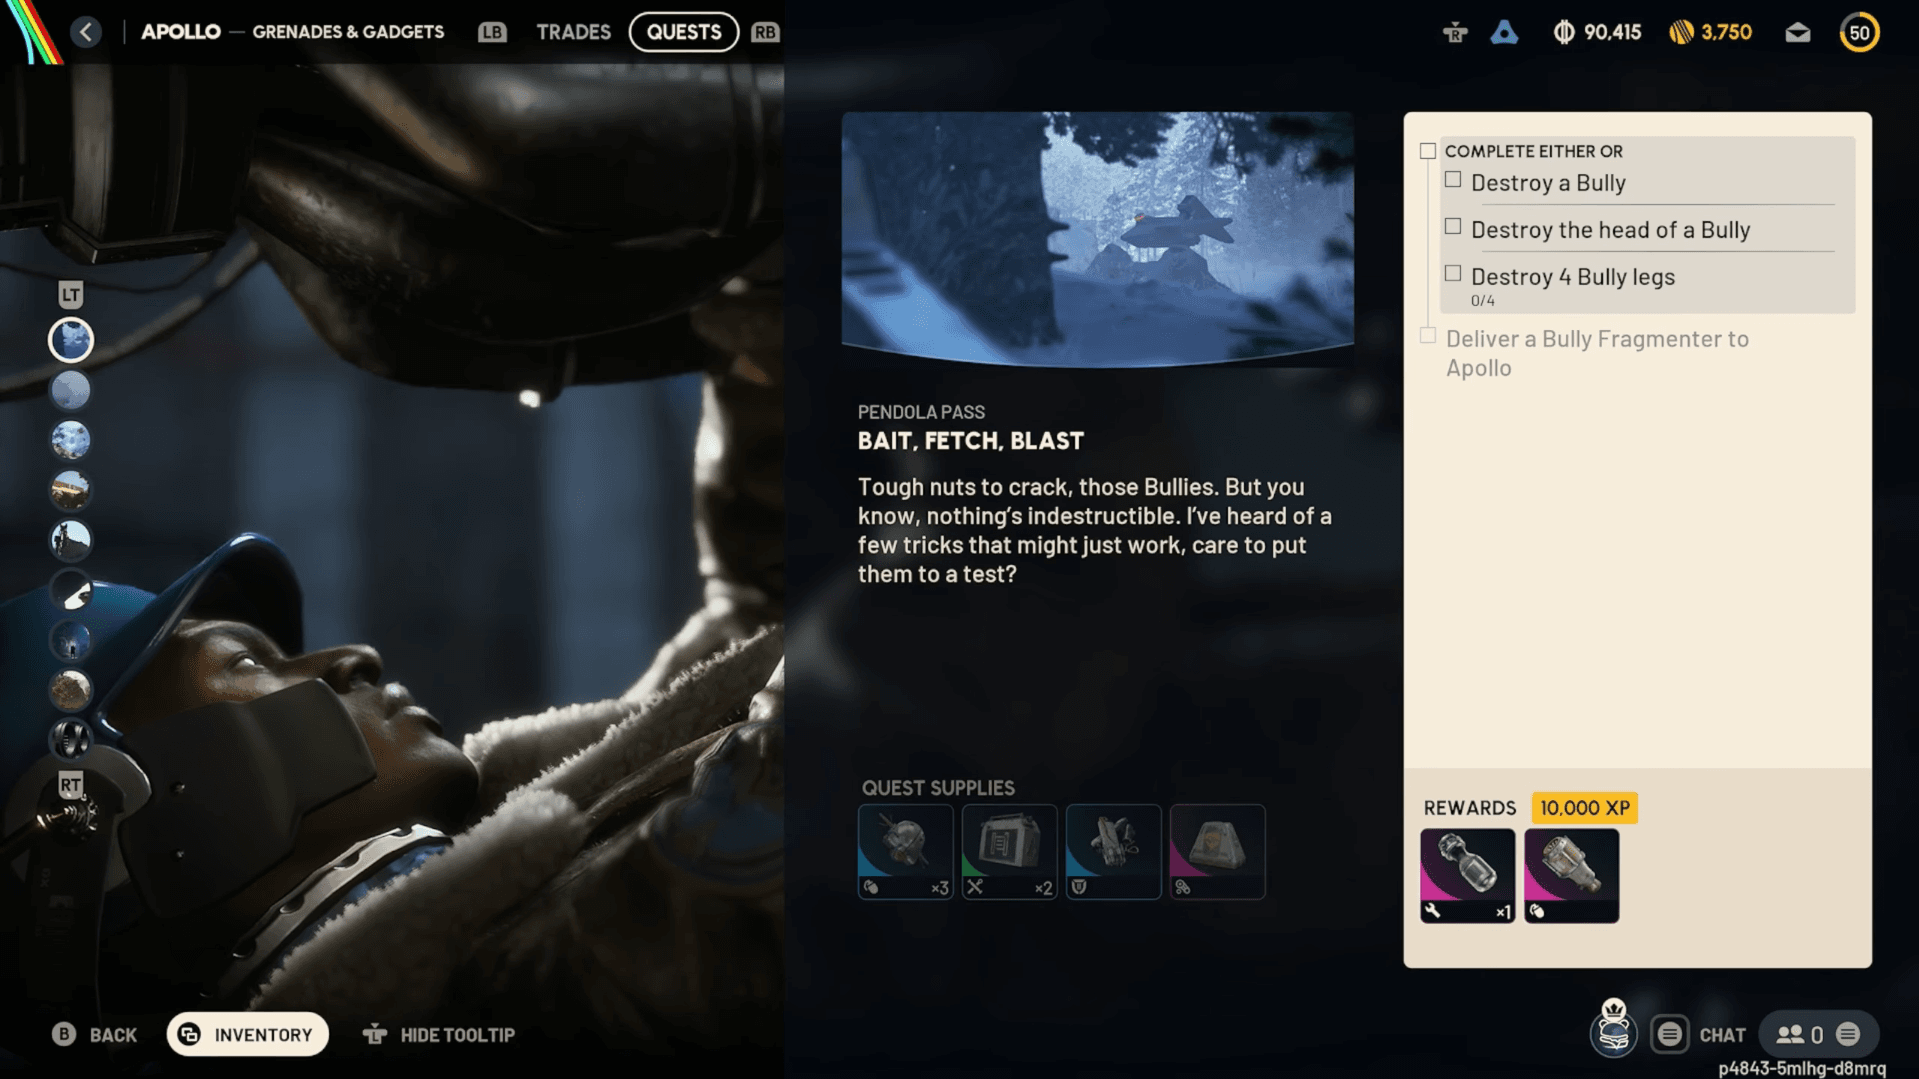
The Bait, Fetch, Blast quest in ARC Raiders is Apollo's closing assignment in his quest chain, and it's the most combat-heavy one he gives you. The target is a Bully, an armored four-legged ARC walker with 3,000 health on its chassis, a charging attack that hits for 85 damage, and a turret that keeps tracking you even mid-charge. Two objectives, one machine, and a Pendola Pass full of exposure. Here's how to get through it cleanly.
Before Apollo hands you this quest, you must finish Tracks of the Beast, which is assigned by Shani. Complete that first, then check Apollo's quest list in Speranza. If you need help with that prerequisite, the Tracks of the Beast walkthrough covers every step.
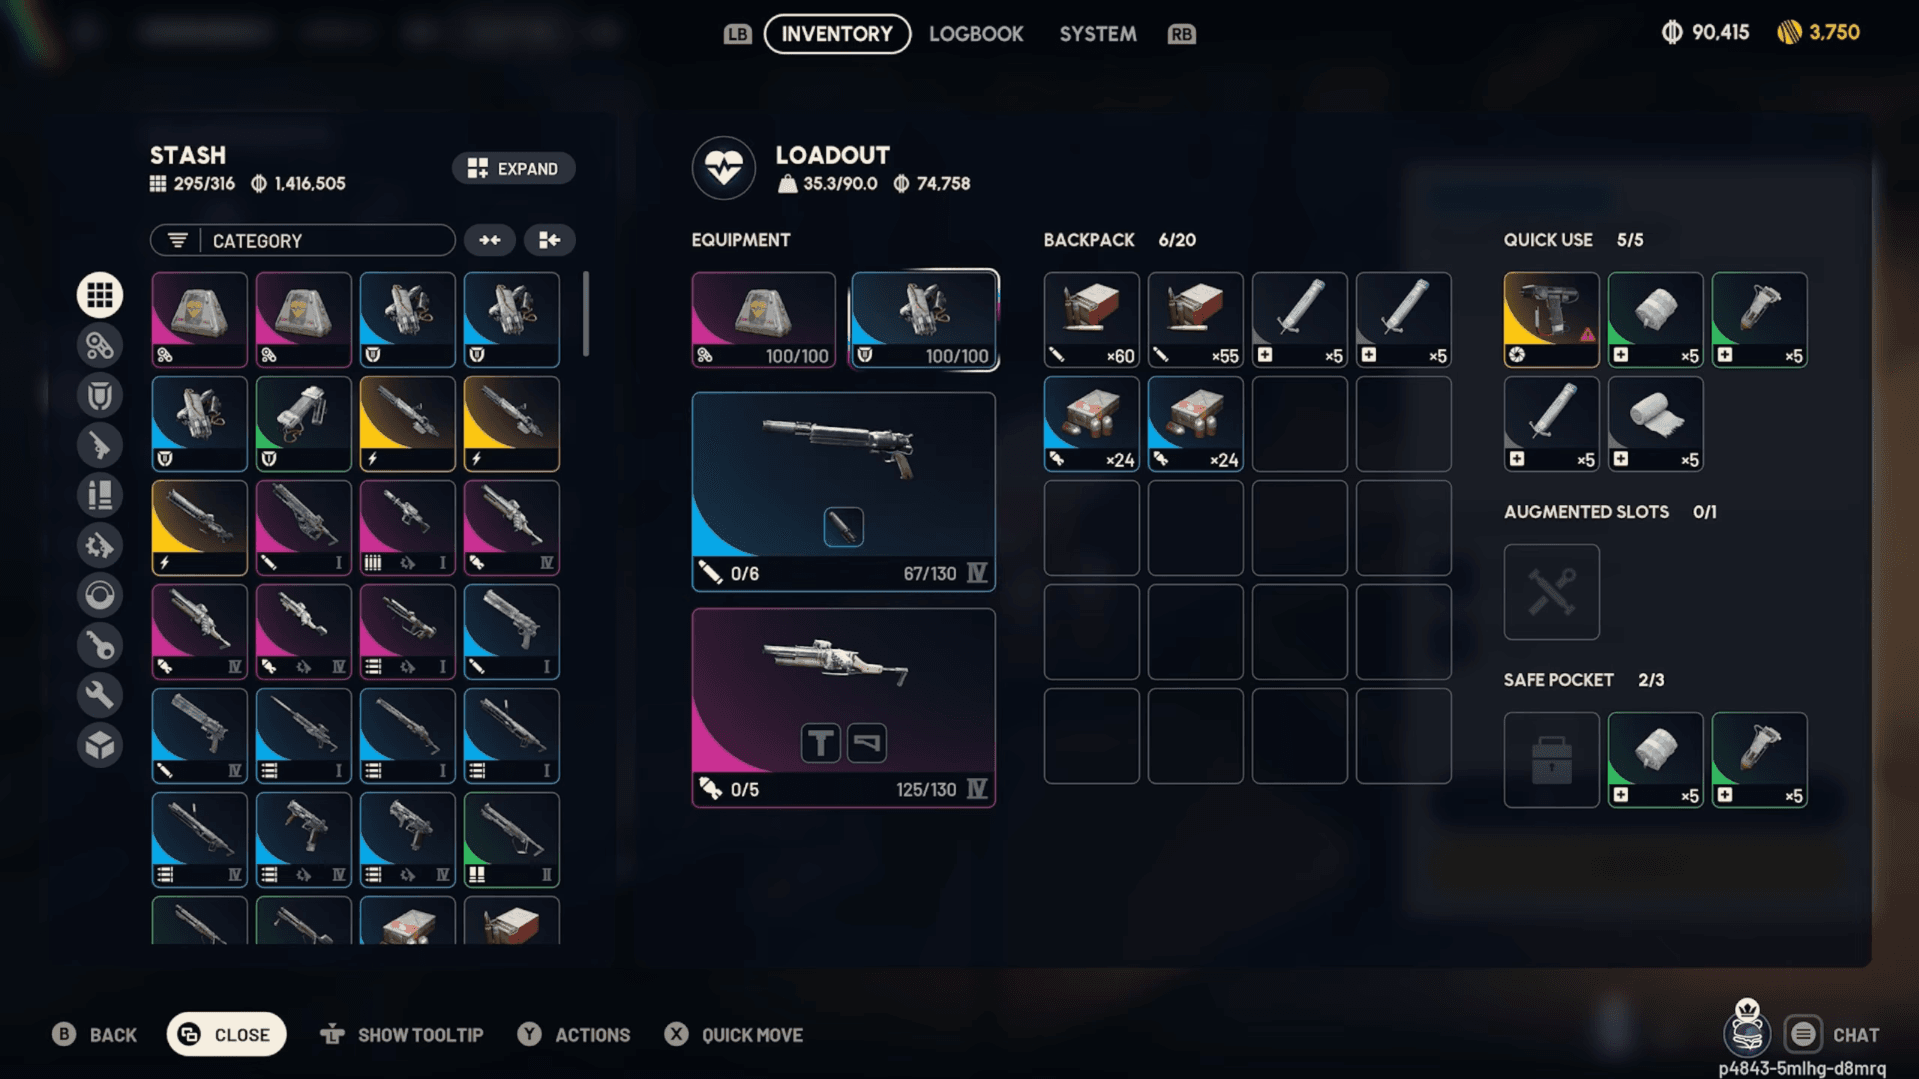
Once you accept Bait, Fetch, Blast, Apollo drops a free supply kit straight into your inventory. Use it. Equipping the kit before you deploy means your own gear stays intact for other runs.
Free supply kit contents:
ARC Raiders Guide: How to Complete Bait, Fetch, Blast Quest
Pouring rounds into the Bully's main body is a waste of time. That 3,000-health chassis is heavily armored. The real targets are the head at 1,600 health and the legs, with upper legs sitting at 500 and lower legs at 400. Three weapons stand out for this fight.
| Weapon | Type | Rarity | Role in the Fight |
|---|---|---|---|
| Hullcracker | Special | Epic | Breaks leg joints fast with explosive ARC-only rounds |
| Jupiter | Sniper Rifle | Legendary | Very Strong ARC armor penetration, damages multiple parts per shot |
| Anvil | Hand Cannon | Rare | Reliable secondary while Hullcracker reloads |
The Hullcracker is the budget pick here. Its explosive rounds only detonate on ARC targets, so every shot goes exactly where it needs to. Aim at the knees and the joints come apart quickly.
If you have the Jupiter, bring it. One bolt-action shot can register damage across several machine parts simultaneously, which shortens the fight considerably. The Very Strong ARC armor penetration rating means the armored torso stops being the problem it would be with most other rifles.
The Anvil fills the gap between Hullcracker reloads. It rewards precise shots and keeps pressure on the Bully's head or legs while you cycle back to your primary.
The Medium Shield from the supply kit carries 70 charge and cuts incoming damage by 42.5% at the cost of 5% movement speed. Keep it equipped. Snap Blasts and Deadline mines are worth bringing too; placing a mine along the Bully's charge path before it commits to a run pays off consistently.
ARC Raiders Guide: How to Complete Bait, Fetch, Blast Quest
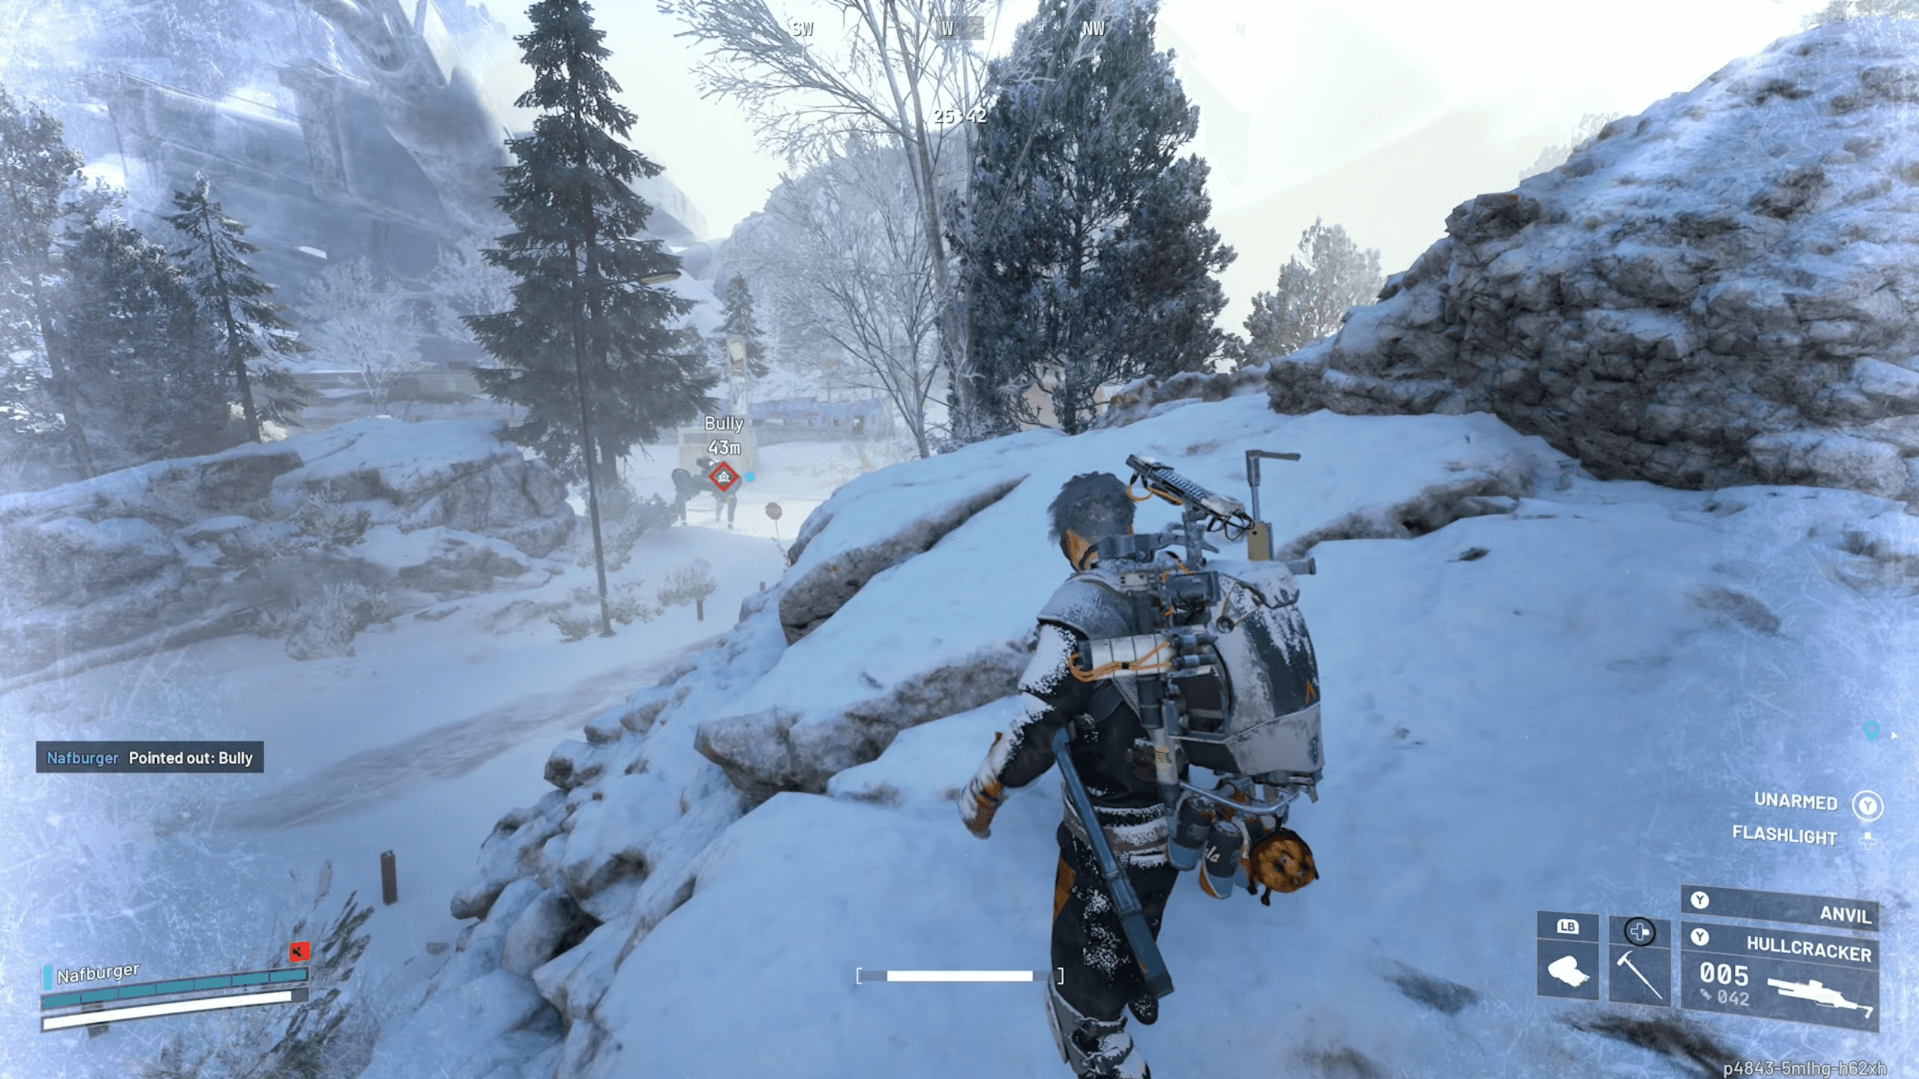
Deploy to Pendola Pass and start at the Railyard. The Bully's spawn location shifts between raids, so it won't always be in the same spot, but the Railyard is the most reliable starting point based on consistent sightings. Move carefully across exposed snow and listen for the machine's engine noise before you see it.
Once you spot the Bully, do not engage from open ground. Get to solid cover first. Large rocks, damaged train cars, and the small metal outposts near the tracks all work. A doorway or window you can shoot through is ideal since it lets you reload and heal without giving the Bully a clean angle on you.
The combat objective clears if you do any one of the following: destroy the entire machine, destroy its head, or destroy four of its legs. Leg destruction is the fastest route for most players because the joints are exposed and the Hullcracker tears through them.
When the head is destroyed, the machine loses control, catches fire, and drops. Four broken legs produces the same result. Either condition registers the objective.
For squad play, put one Raider on aggro management to hold the Bully's attention while the rest focus fire on its legs and head from protected angles.
ARC Raiders Guide: How to Complete Bait, Fetch, Blast Quest
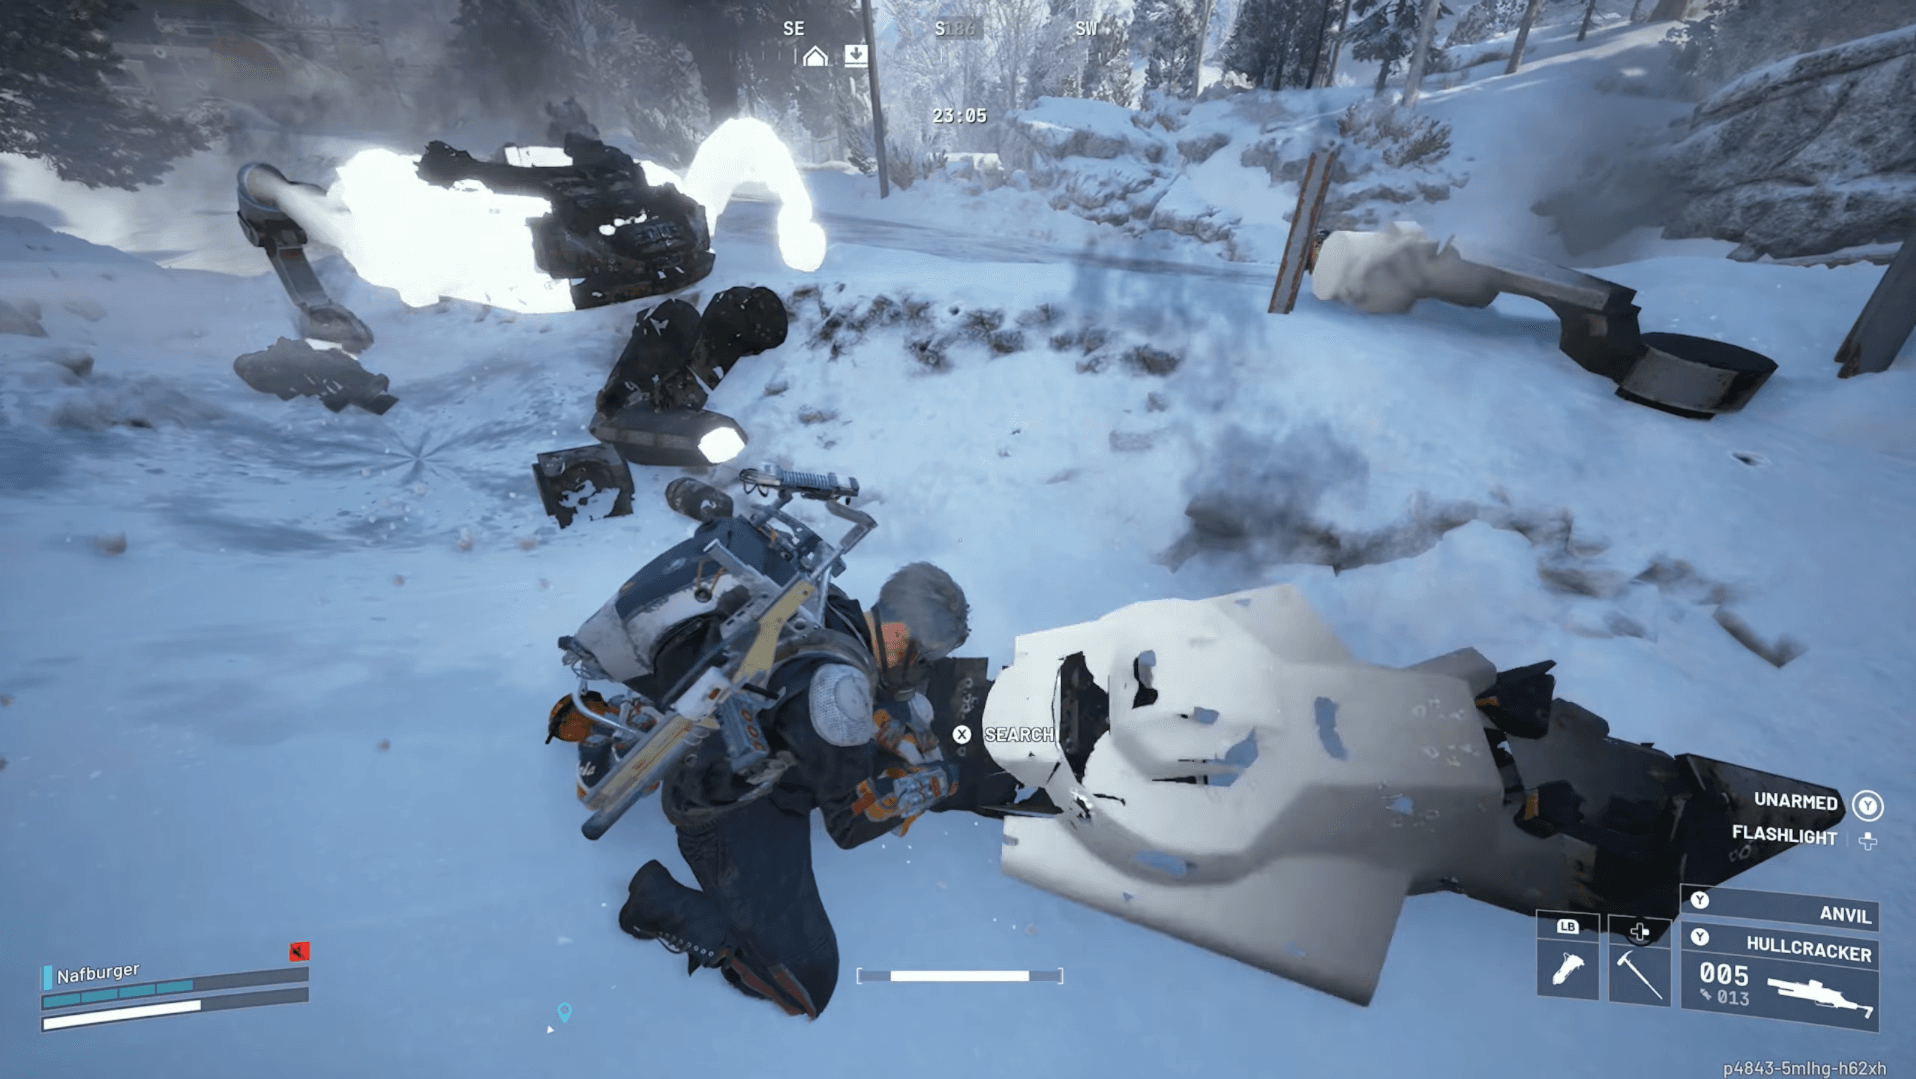
Walk up to the wreck and search it. The Bully drops a mix of materials, but only one item matters for the quest.
Typical loot from a Bully:
Pick up the Bully Fragmenter and immediately move it to your Safe Pocket. This protects it if another Raider eliminates you before you reach extraction. One important note: the Fragmenter functions as a throwable explosive, which means it's tempting to use in a pinch. Don't. The one you're carrying back to Apollo is the one you need.
Once the Fragmenter is secured, go straight to an extraction point. There's nothing else to accomplish in this raid, and every additional fight is just a chance to lose the item.
ARC Raiders Guide: How to Complete Bait, Fetch, Blast Quest
Back in Speranza, open Apollo's Quests tab and hand over the Bully Fragmenter. The quest marks complete the moment you press Claim, and the rewards land immediately.
| Reward | Quantity |
|---|---|
| XP | 10,000 |
| Wolfpack | 1 |
| Bully Fragmenter | 1 |
The Wolfpack grenade you receive pairs well with future Pendola Pass runs. This is the end of Apollo's chain, so there's no follow-up quest waiting after this one.
Bait, Fetch, Blast sits at the end of Apollo's chain, but there's plenty more to complete across Speranza's quest board. The Battening Down quest sends you to three Riven Tides locations and pays out a Hotel Keycard No. 107. The Shoring Up Defenses quest has you destroying Wasps and Fireflies before reinforcing shelter positions. For everything else, the full ARC Raiders guide collection covers every active quest with step-by-step breakdowns.