Search games, articles, guides...CtrlK
Sign InGet Started
Complete every photo objective in ARC Raiders' When Everything Falls quest with this step-by-step Spaceport walkthrough.

Written by Larc
Content Writer
See more GAMES.GG guides on Google
Add us as a preferred source and our guides show up first in your results.
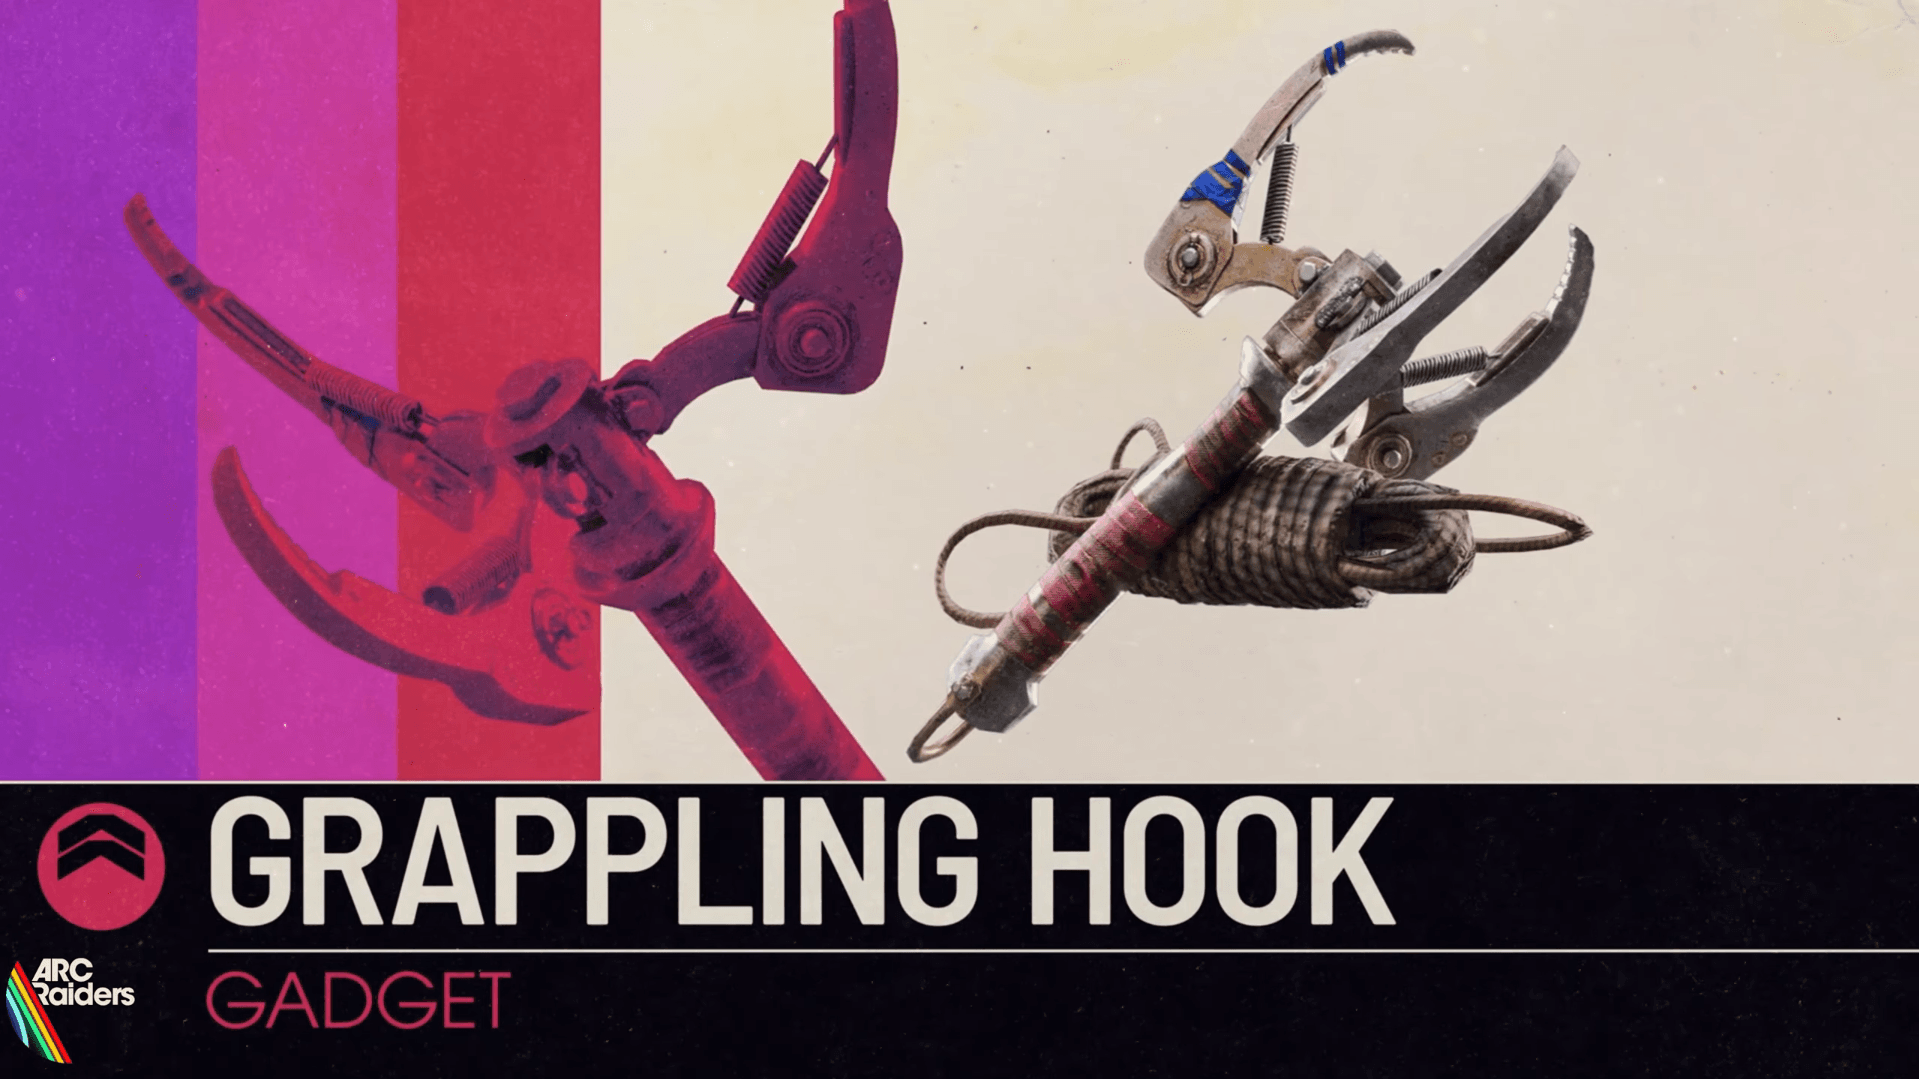
ARC Raiders Guide: How to Get Grappling Hook Blueprint
Find the Uncommon Grappling Hook Blueprint in ARC Raiders and craft it at a Level 1 Utility Station with this complete guide.
ARC Raiders Guide: How to Complete A Path Not Yours Quest
Complete the A Path Not Yours quest in ARC Raiders: find Bilguun's gift, grab the Broken Compass, and unlock the secret stash.
ARC Raiders Guide: How to Complete Someone Else's Shoes Quest
Complete the Someone Else's Shoes quest in ARC Raiders: scan androids on Stella Montis, find Research Lab 3, and reach the Western Tunnels.
The When Everything Falls quest sends you back to the Spaceport map with a camera in hand and a very specific mission: retrace the mutineers' assault and document every key location they stormed. Seven photographs stand between you and the rewards, and the path snakes from the northwestern Water Towers all the way up to the top of the Launch Towers. In ARC Raiders, this is one of the more travel-heavy quests, so knowing exactly where to point your lens saves a lot of wandering.
The quest requires a Basic Camera to complete. The good news: the game hands you one as a granted item when you pick up the quest. If you somehow don't have one, you can purchase a Basic Camera from Shani's store. Once you have it, stash it in a Safe Pocket before dropping into the raid. The Launch Towers control room in particular attracts other players, so losing your camera to a hostile raider mid-quest is a real possibility.
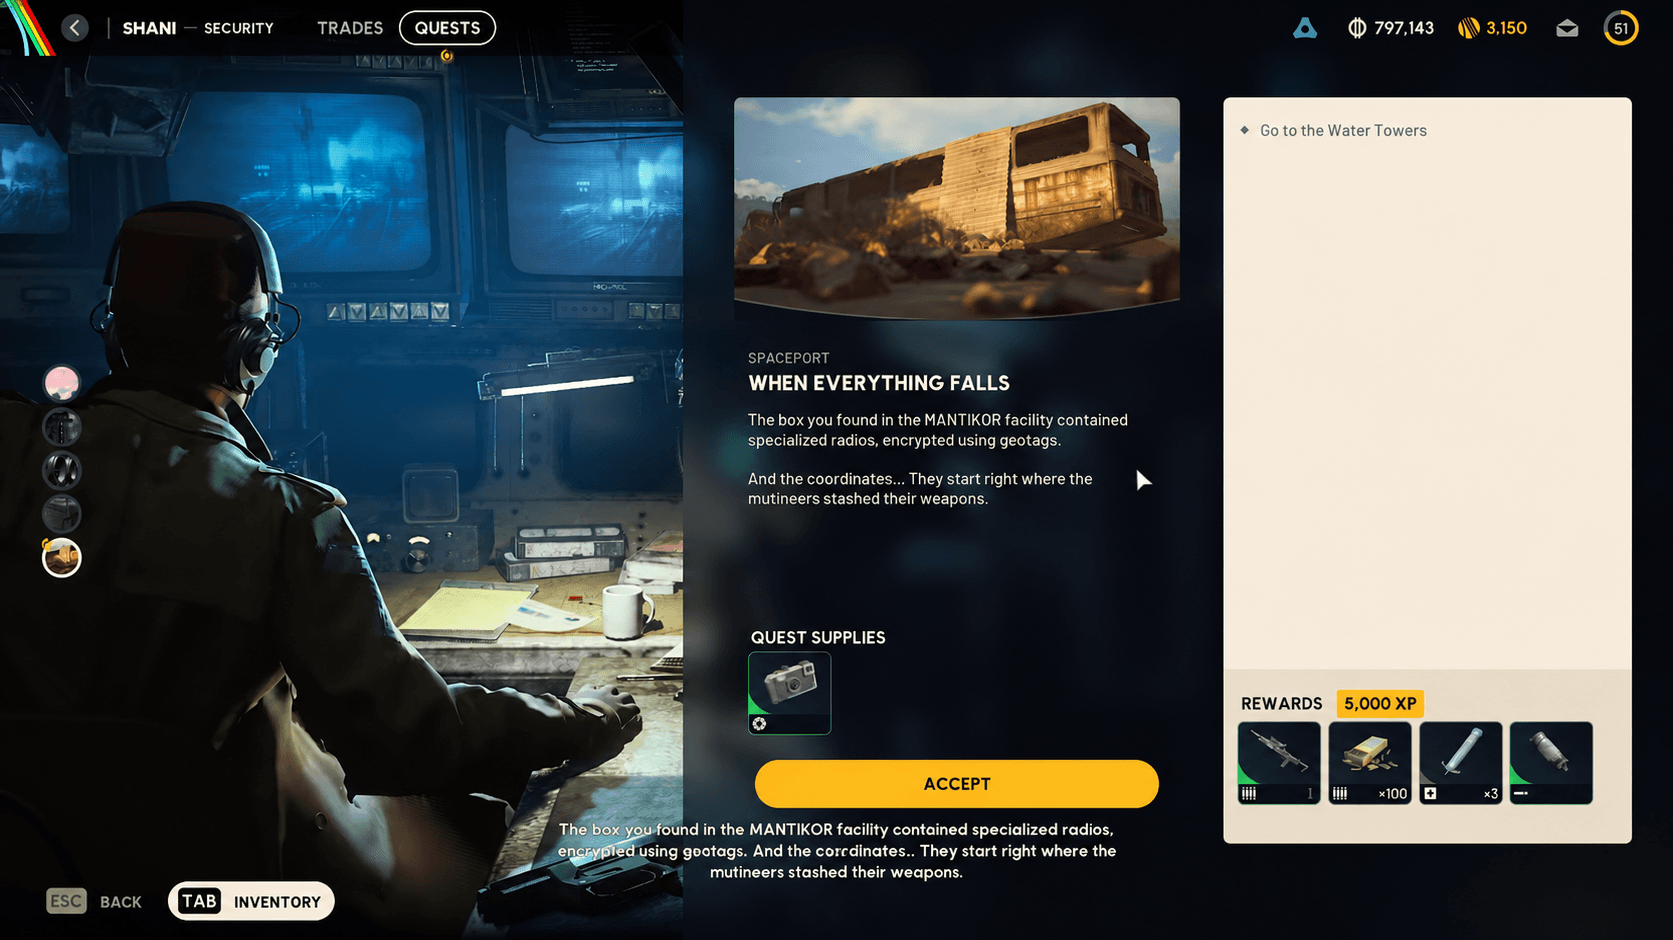
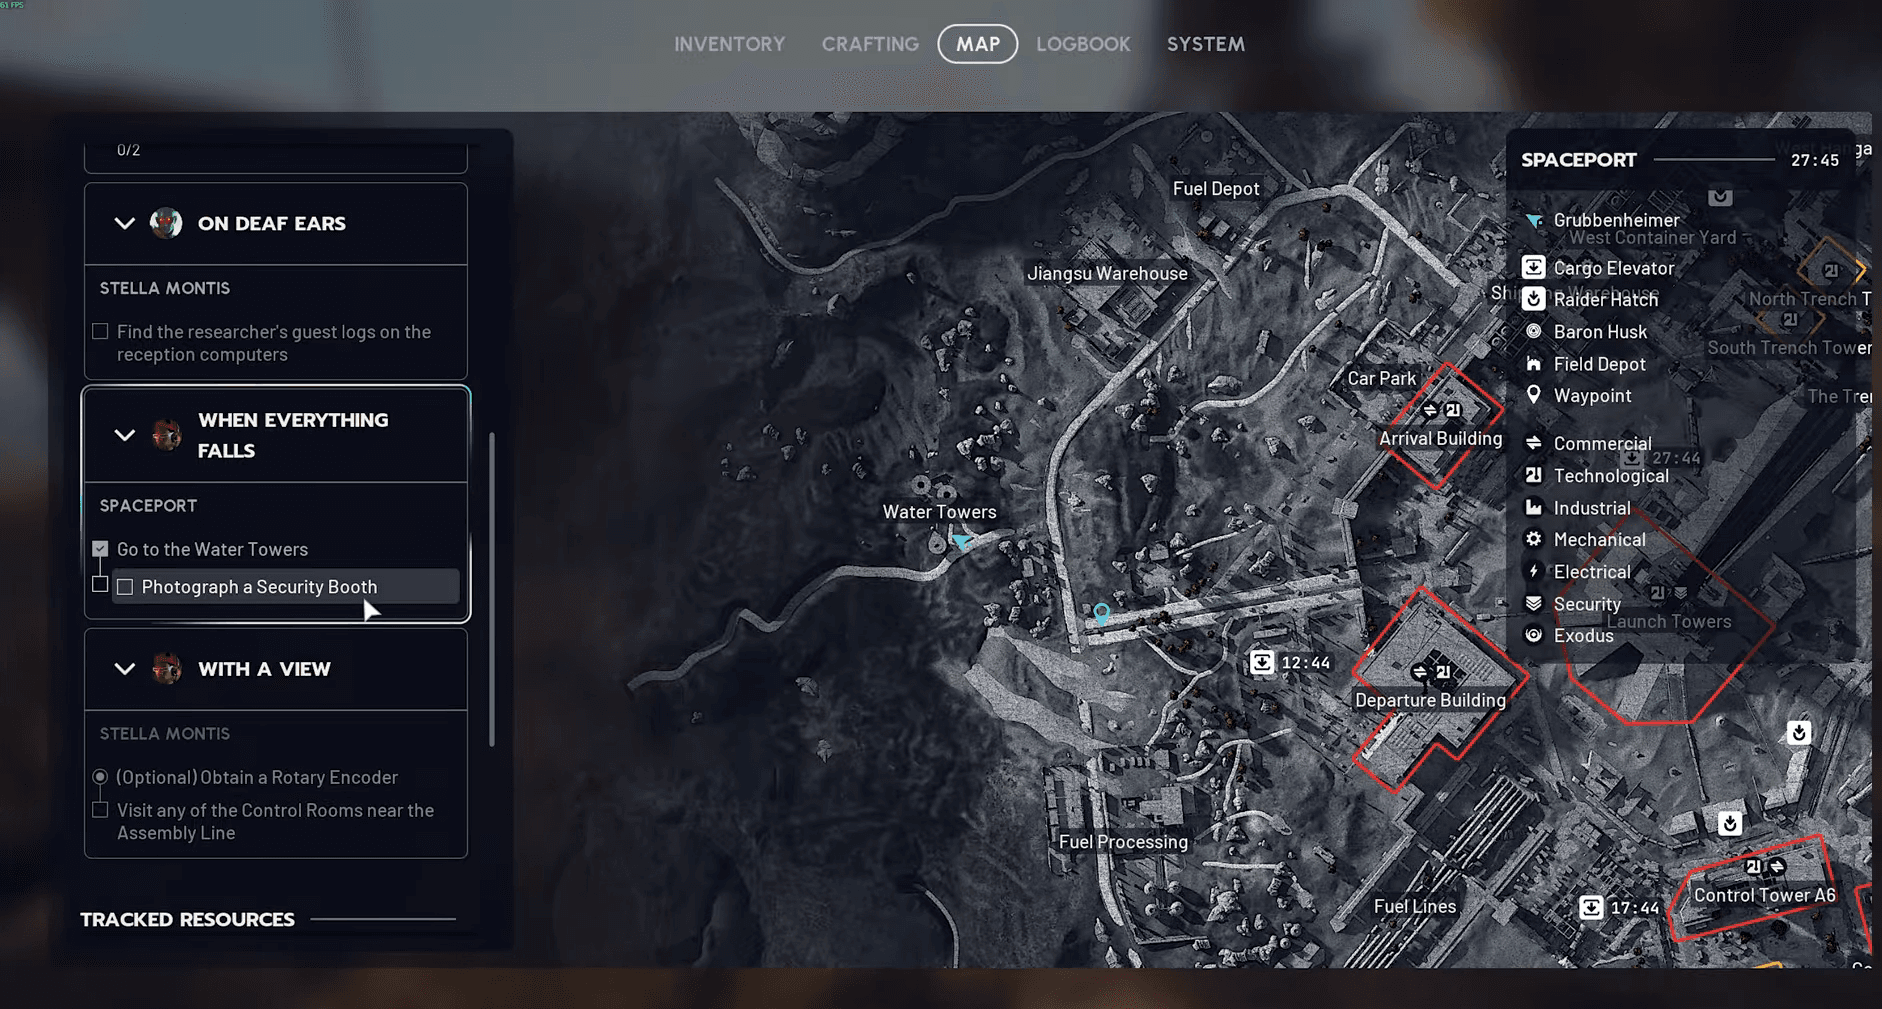
Drop into the Spaceport map and head to the Water Towers POI on the northwestern side of the map, southwest of the Jiangsu Warehouse. Arriving at the Water Towers triggers the next wave of objectives, which all revolve around photographing specific locations as you work your way east and south toward the Launch Towers.
You don't need to climb the towers themselves. Find a position on the road that gives you a clear sightline and snap the photo from there.
ARC Raiders Guide: How to Complete When Everything Falls Quest
From the Water Towers, head southeast along the road. A security booth sits a short distance down from the towers. Pull out your camera and photograph it to check off this objective.
Continue down the same road. You'll pass a cluster of reinforced buses parked along the highway. Any one of them counts, so snap a photo of the nearest one and move on.
From the reinforced buses, look east. A breach in the perimeter walls is visible from here. Take the photo without needing to walk through the breach itself.
Head northeast to the Arrival Building. The security room entrance is on the northwestern side of the building exterior. The door is locked, so you need to breach it before entering.
Once inside, photograph the security room. The objective registers from inside the room, so get the camera out as soon as you're through the door.
Exit the Arrival Building through the front (western side) and climb the fixed ladder onto the roof. Walk forward until the Launch Towers come into view. Port A sits at the base of the tower structure and can be photographed from the Arrival Building rooftop without entering the towers.
This is one of the easier shots in the quest since you're photographing a large structure from a distance.
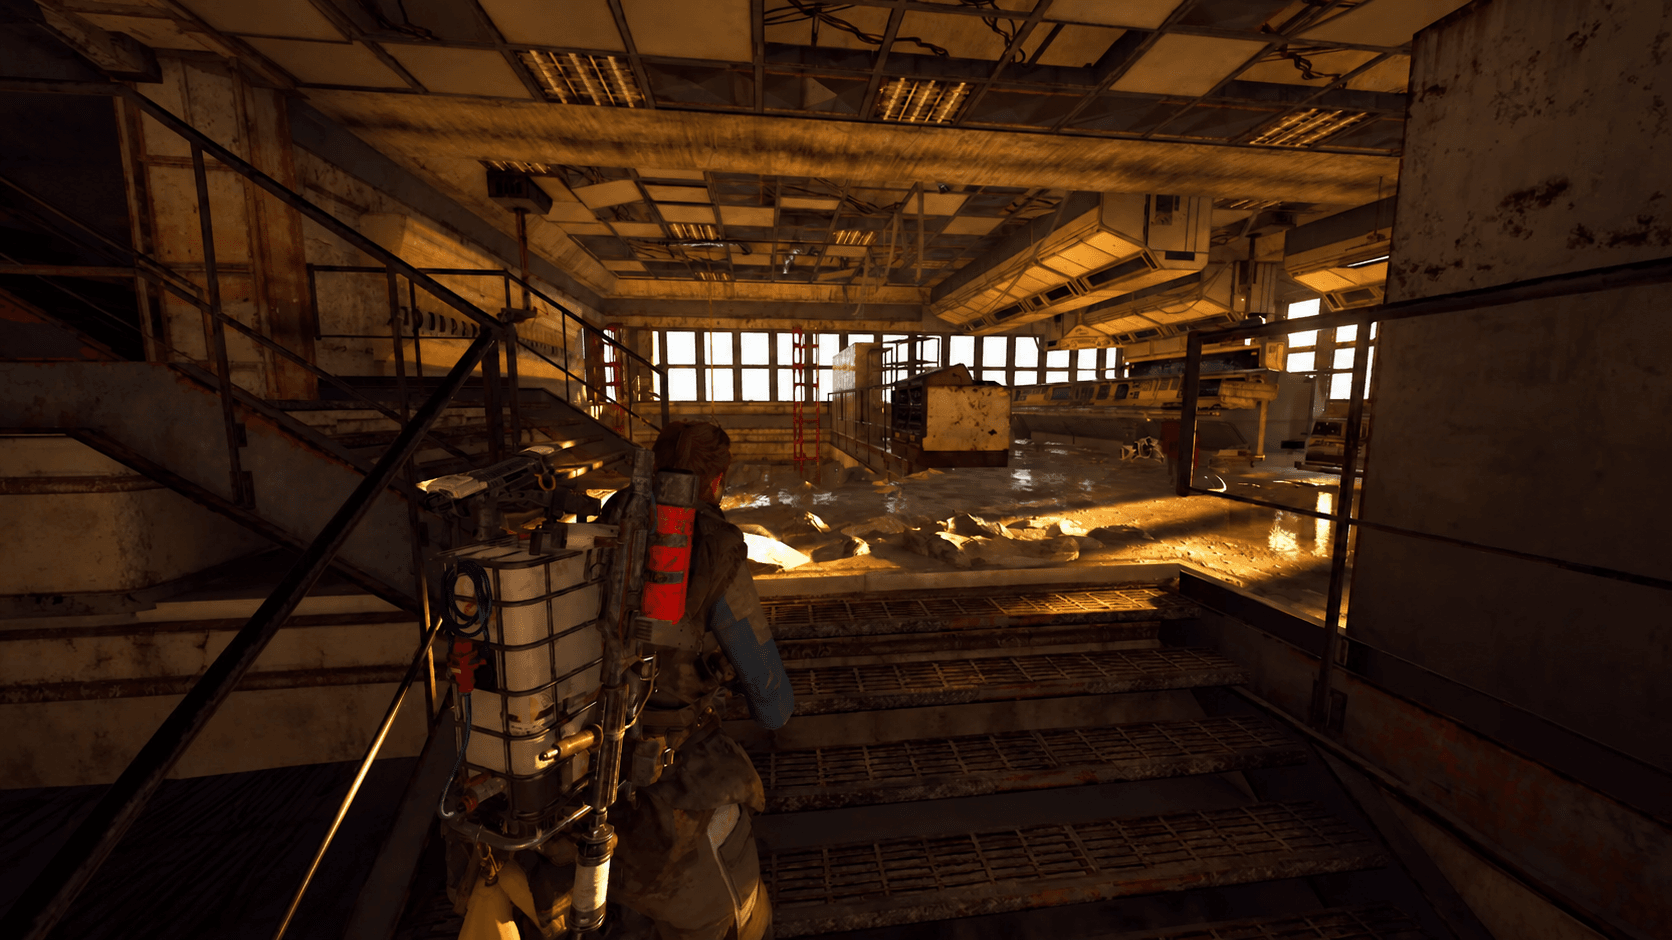
Enter the Launch Towers through one of the side doors and take a zipline up to the control room level. Photograph the control room to complete this objective.
The control room is a well-known loot spot and a common ambush location. Have your weapon ready before riding the zipline up, and swap to the camera only once you've confirmed the room is clear.
ARC Raiders Guide: How to Complete When Everything Falls Quest
Climb the staircase from the control room all the way to the very top of the Launch Towers. Photograph the launch platform from anywhere at the summit to complete the quest. Watch your footing near the edges.
With the final photo taken, return to Speranza to collect your rewards.
Completing this quest earns you a solid set of items and a meaningful XP payout.
| Reward | Quantity | Type |
|---|---|---|
| Stiletto I | 1 | Weapon |
| Light Ammo | 100 | Ammunition |
| Adrenaline Shot | 3 | Quick Use |
| Silencer I | 1 | Modification |
| XP | 5,000 | Experience |
The Stiletto I paired with the Silencer I is a genuinely useful combination for quieter playstyles, and 100 Light Ammo gives you a head start on running it. The 3 Adrenaline Shots are always handy in an extraction shooter where escaping with your loot matters as much as finding it.
This quest ends the current chain, so there are no follow-up missions unlocked after completing it. If you want more to do, check out the complete ARC Raiders quest list for every available mission and reward, or browse the full ARC Raiders guides collection for walkthroughs covering quests like Home to Roost and other Spaceport objectives.