Search games, articles, guides...CtrlK
Sign InGet Started
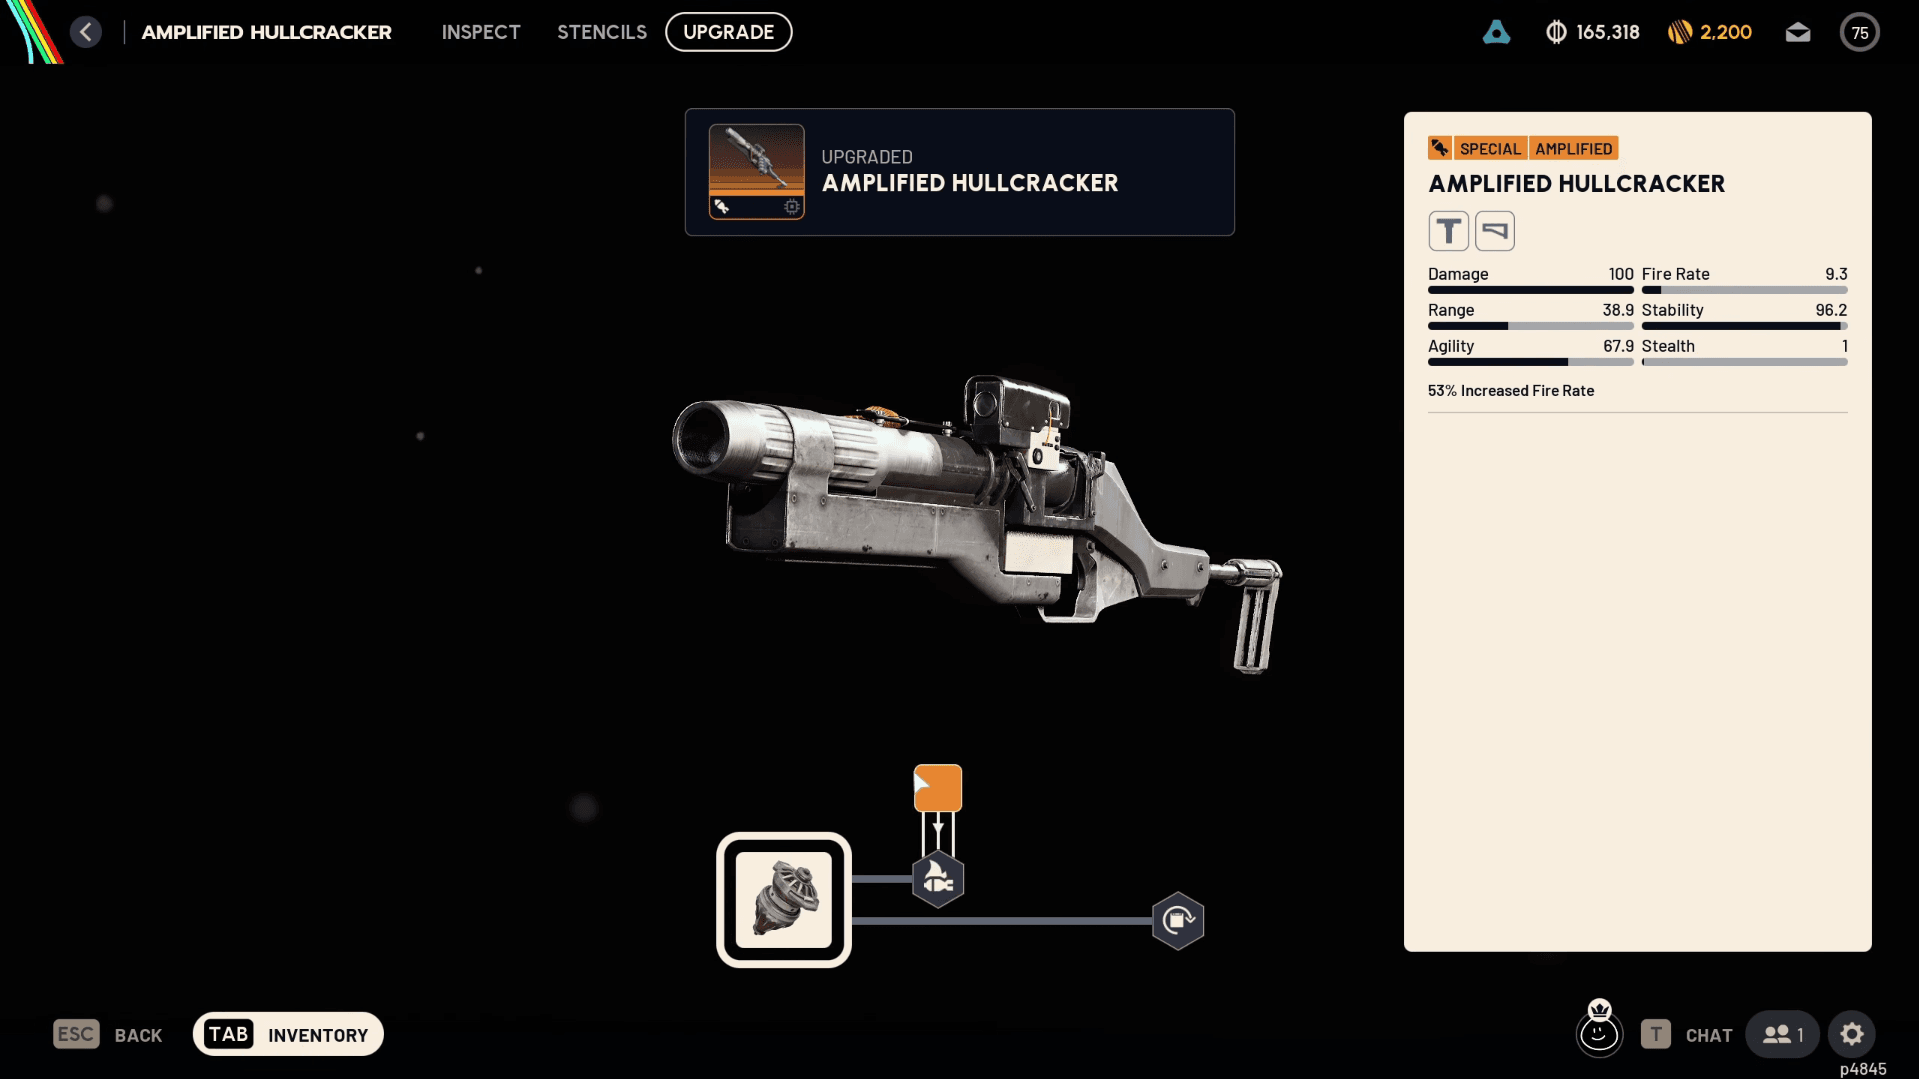
Master every Weapon Amplification in ARC Raiders: how to unlock them, where to farm modules, and which paths are worth building first.

Written by Larc
Content Writer
See more GAMES.GG guides on Google
Add us as a preferred source and our guides show up first in your results.
ARC Raiders Guide: How to Get Grappling Hook Blueprint
Find the Uncommon Grappling Hook Blueprint in ARC Raiders and craft it at a Level 1 Utility Station with this complete guide.
ARC Raiders Guide: How to Complete Bait, Fetch, Blast Quest
Destroy a Bully in Pendola Pass, recover the Bully Fragmenter, and deliver it to Apollo for 10,000 XP and a Wolfpack.
ARC Raiders Guide: How to Complete When Everything Falls Quest
Complete every photo objective in ARC Raiders' When Everything Falls quest with this step-by-step Spaceport walkthrough.
The Frozen Trail update turned ARC Raiders into a different game at the top end. Weapon Amplification is the reason why. It pushes guns to a fifth quality tier, and instead of handing you flat stat bumps, it gives each weapon its own branching upgrade tree with choices that genuinely change how the gun handles. A Rattler that holds 64 rounds. A Renegade with a sniper scope. A Burletta that fires full-auto. None of that existed before this update, and all of it is now sitting at the end of a grind worth doing.
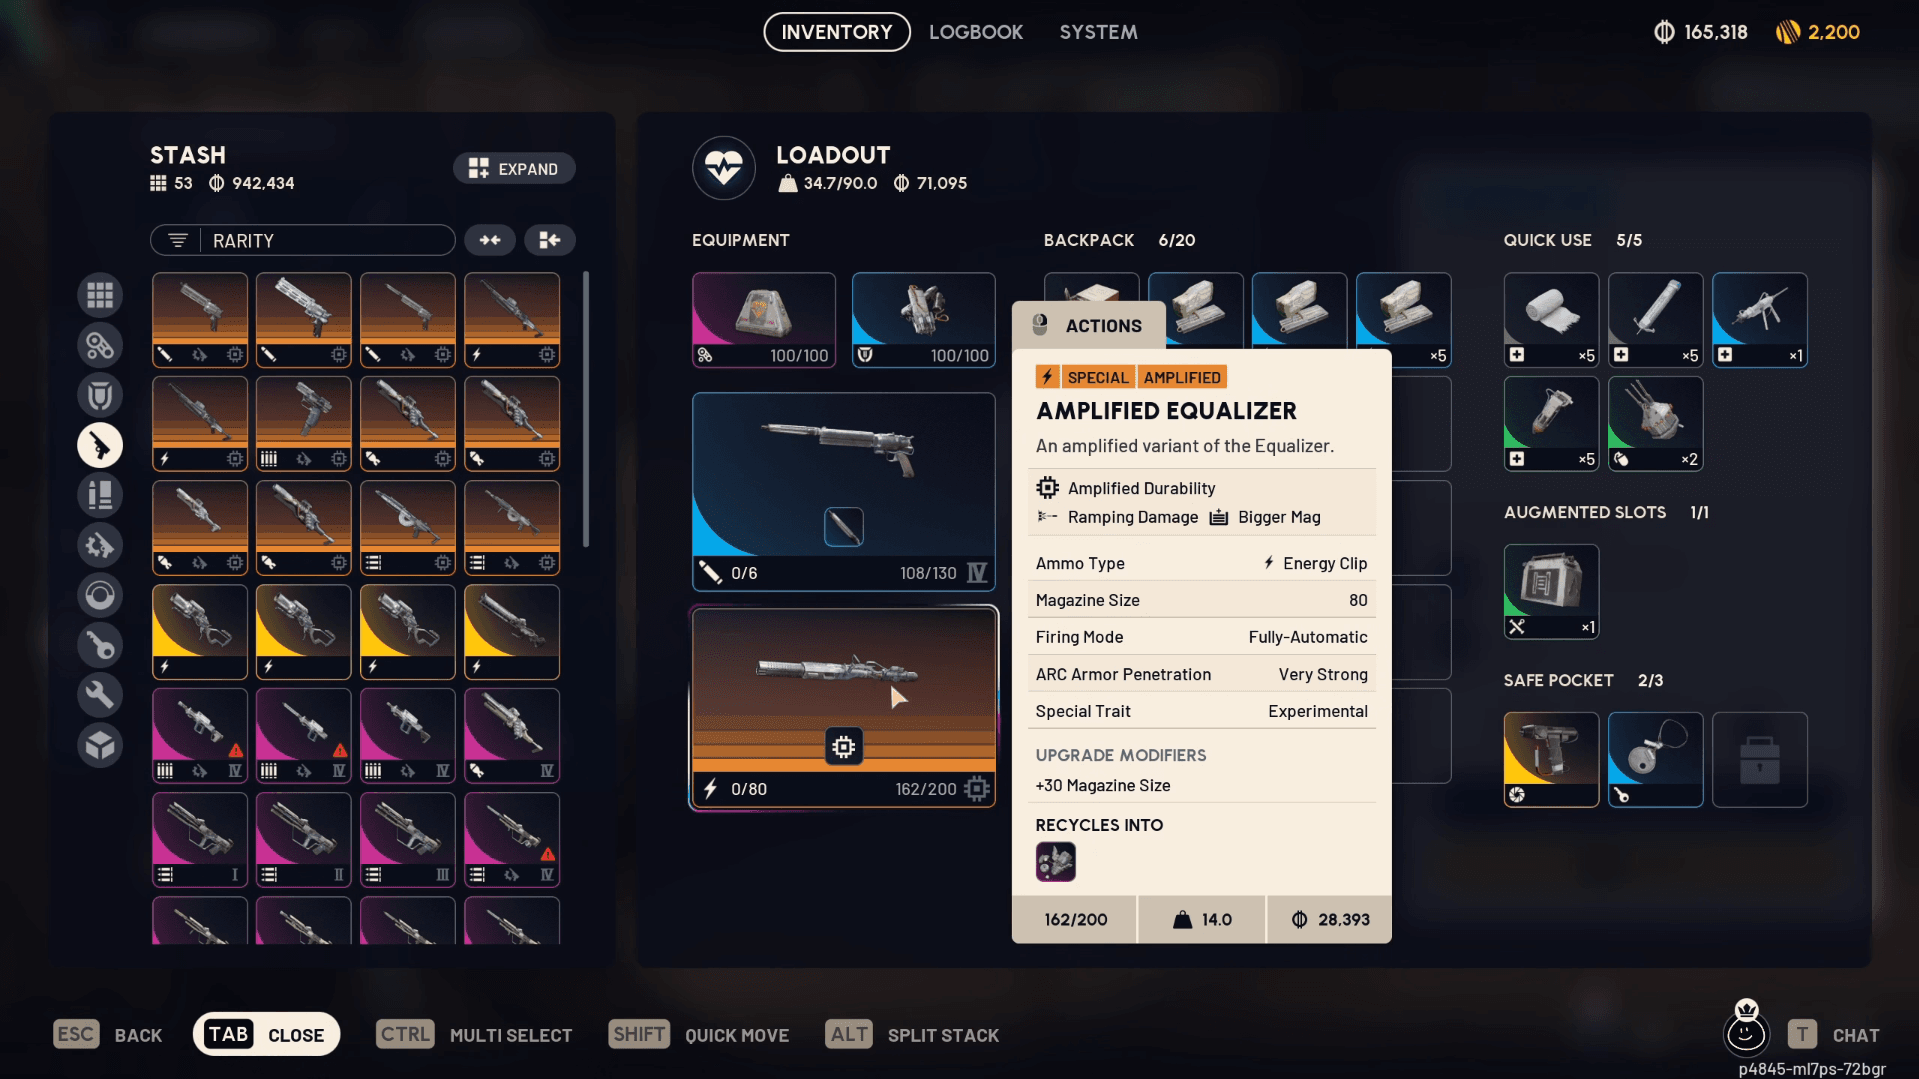
Weapon Amplification is the fifth upgrade tier for guns in ARC Raiders. Where tiers one through four are mostly linear stat improvements, Amplification hands each weapon its own perk tree with one to three branching pathways. Some paths improve what the gun already does well. Others rebuild it from scratch. A few repurpose it entirely for a different role.
Every Amplification tree has at least two chains to choose from. Some chains are exclusive, meaning picking one permanently locks out the other. There is no respec. Once you commit to a path, that choice is part of the weapon forever. The gun even gets a new model to reflect the change, so an amplified Rattler looks visibly different from a standard one.
ARC Raiders Guide: All Weapon Amplifications
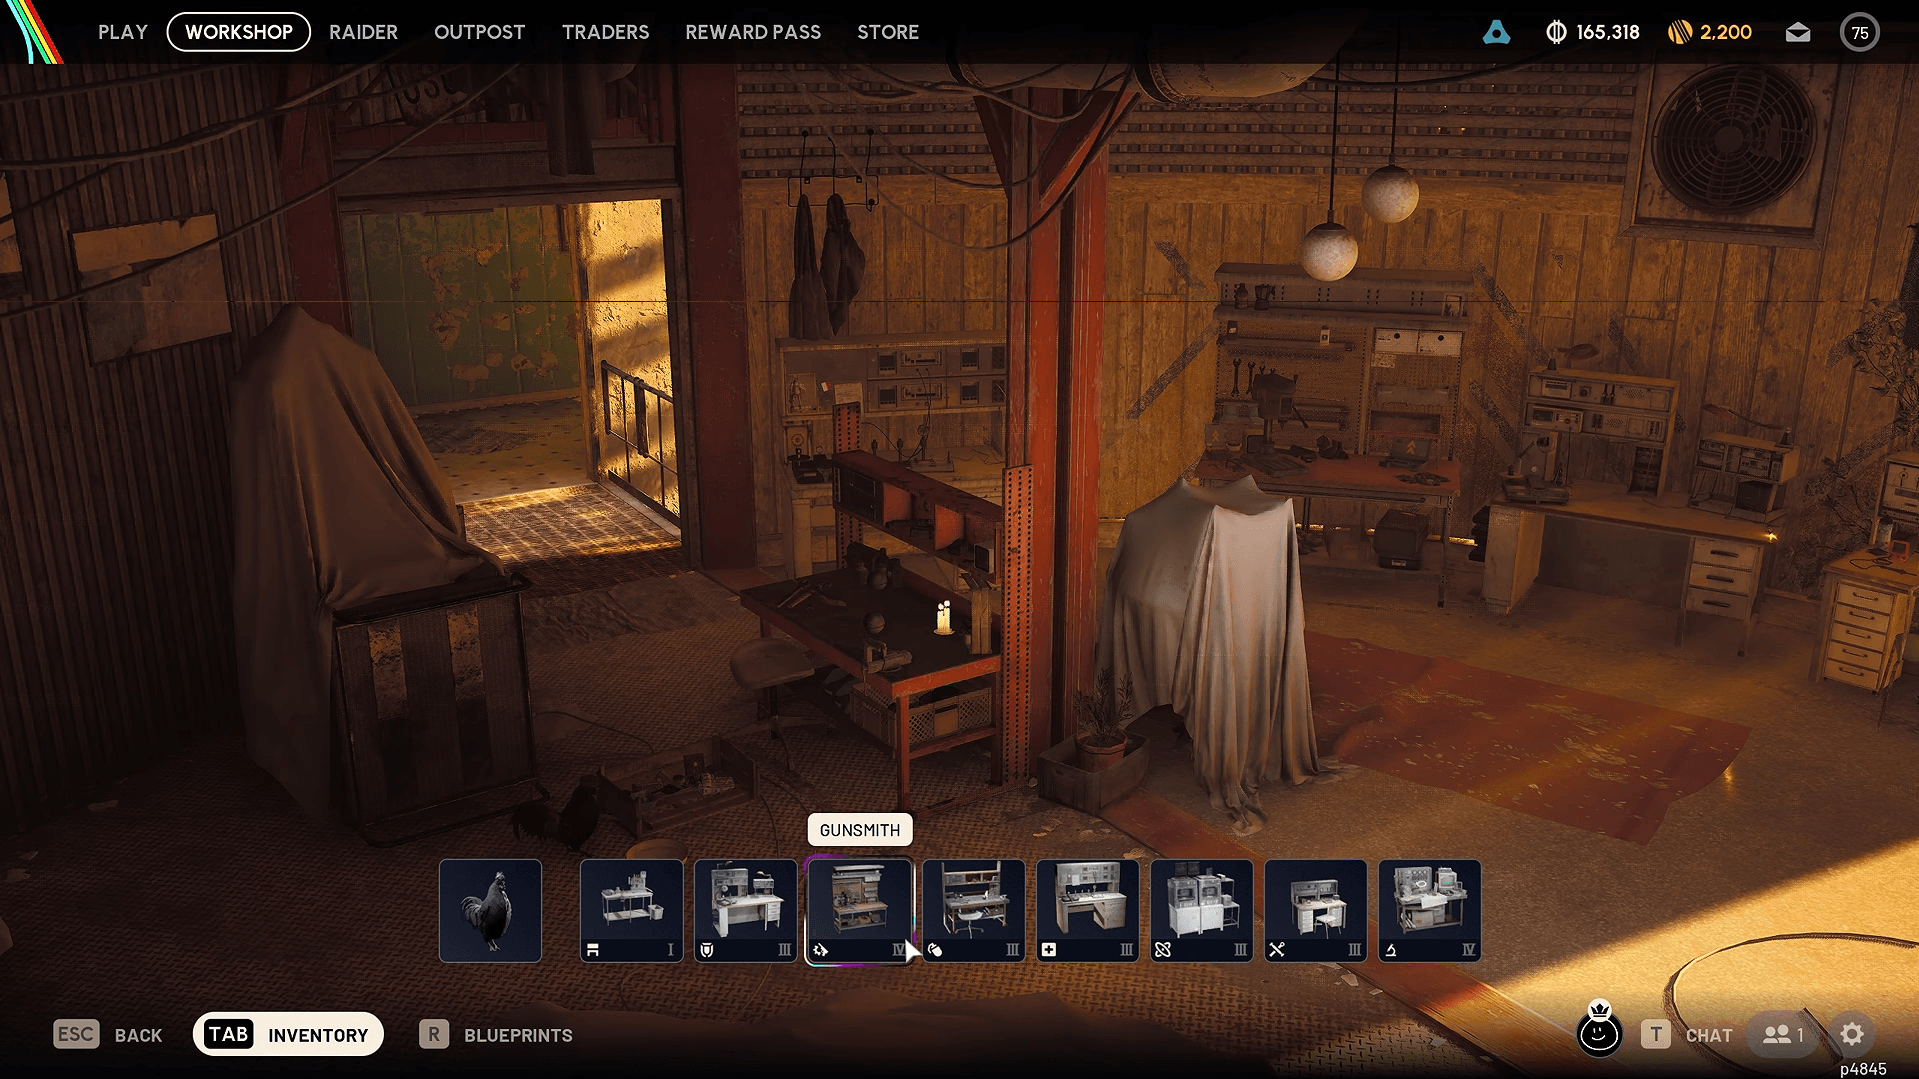
The short answer is that you need a level 4 Gunsmith and a level 4 Research Station inside your Outpost. Getting there takes a while, so here is the full path.
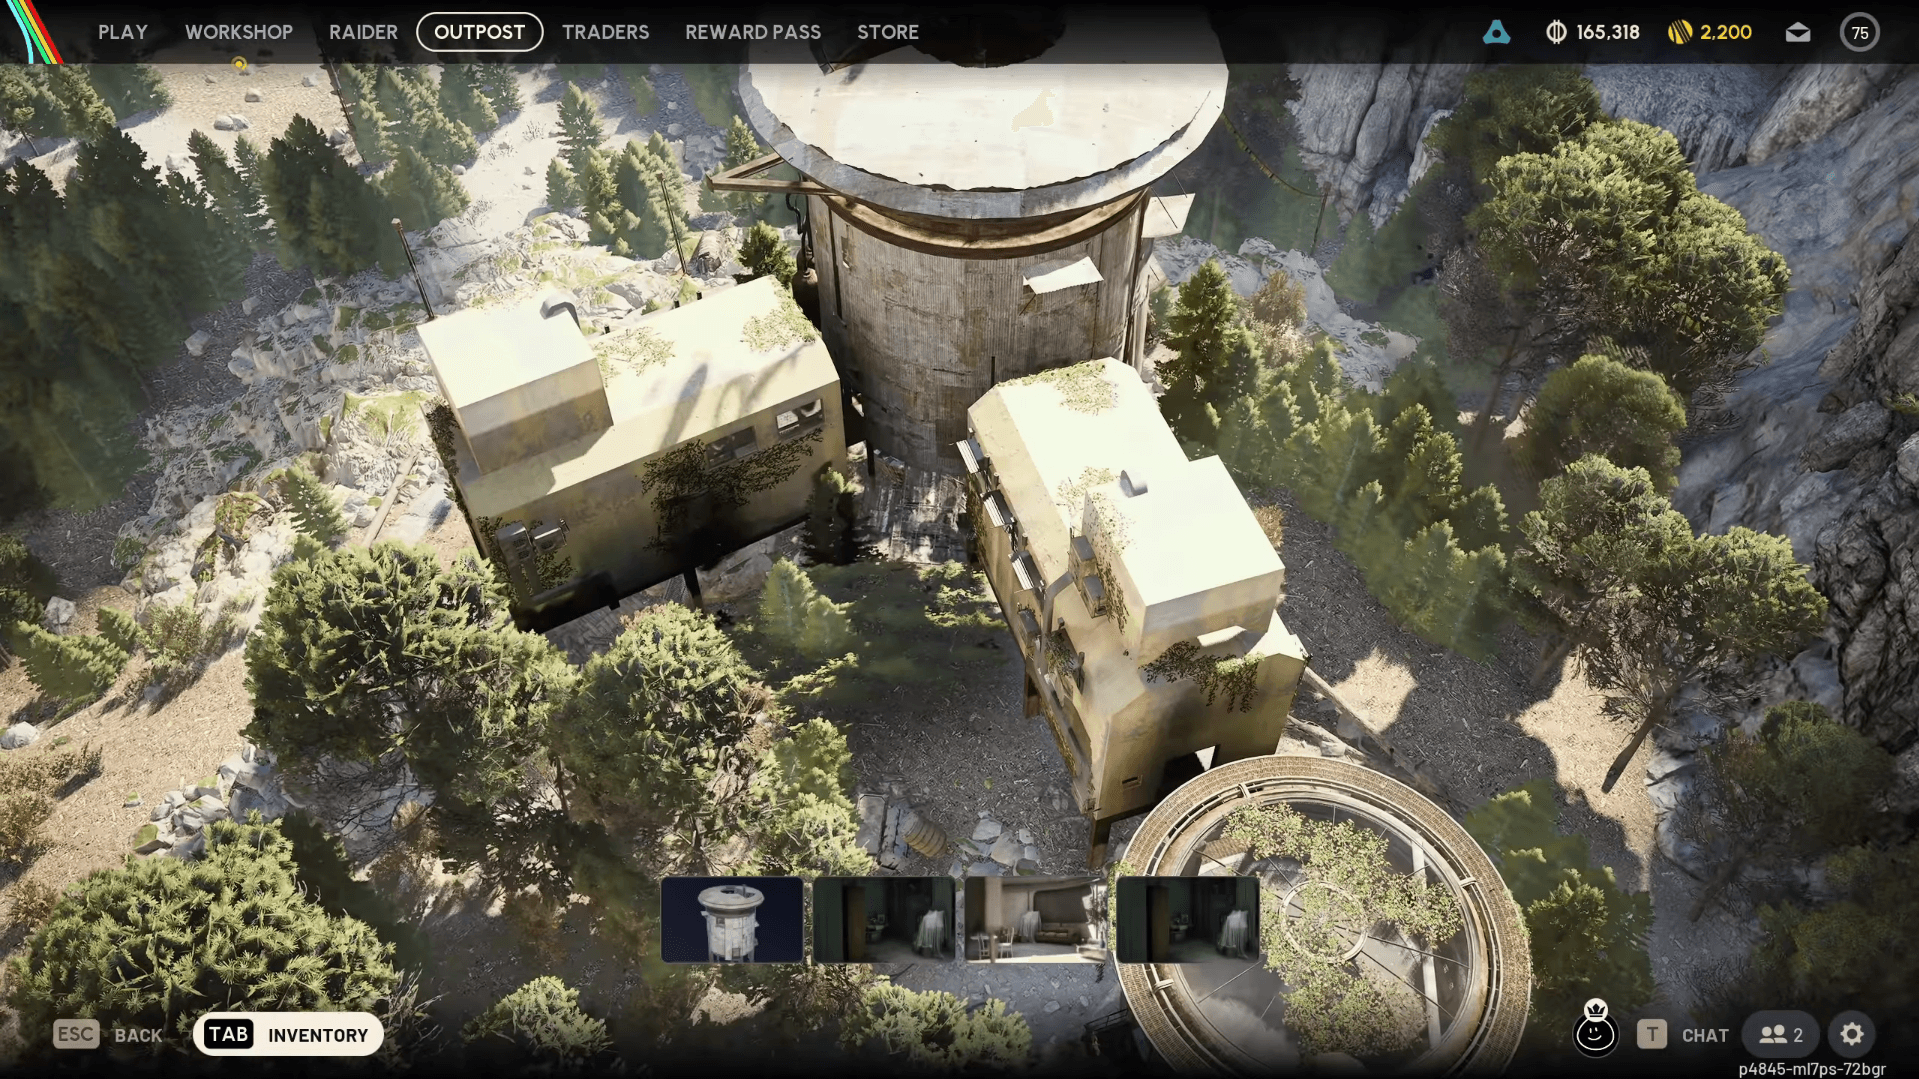
The Outpost is a three-stage construction project found in the Outpost tab of the main menu. You will need a camera at some point during the process. Shani sells one, you can craft one at the Workbench, or you can find one in raid.
ARC Raiders Guide: All Weapon Amplifications
Each room you add counts as one Outpost level. You start at level 1 with the main room and need to reach level 4 before the Gunsmith and Research Station can be upgraded to their fourth tier.
| Expansion | What it unlocks | Key materials |
|---|---|---|
| Level 1 to 2 | Research Station II, new room | 3 Steel Cable, 20 Sheet Metal, 3 Cable Strippers |
| Level 2 to 3 | New room | 3 Epoxy Buckets, 35 Planks, 3 Hand Drills |
| Level 3 to 4 | Gunsmith IV and Research Station IV, new room | 40 Sheet Metal, 3 Laser Levels, 3 Insulation Rolls |
Steel Cable, Epoxy Buckets, Hand Drills, Laser Levels, and Insulation Rolls have been found loose at the Freight Terminal on Pendola Pass, particularly inside the passenger train cars and on the Commissary Supermarket shelves.
The Gunsmith goes from III to IV with 3 Radial Presses, 3 Magnetic Accelerators, and 1 Emperor Modulator. The Emperor Modulator is a legendary material that drops only inside the Fallen Emperor on Pendola Pass, which means you need to get inside it first.
Getting the Emperor Gateway Conduit:
Those red lasers are not subtle. Expect other Raiders to show up.
ARC Raiders Guide: All Weapon Amplifications
The Amplify option does not appear on weapons below tier IV. The weapon must already be at its fourth quality level before you can push it further.
Open the Gunsmith's Weapon Upgrades tab, select the gun, and press Amplify. You need one Amplification Module matching the weapon's rarity:
Amplifying also fully repairs the gun. All module marks drop at the same rate, so a Mk. V is no rarer than a Mk. I.
Right-click the amplified weapon to open its tree. Some nodes only need materials and can be applied immediately. Others require Amplified Research at a level 4 Research Station first, and some also have a usage objective attached, such as dealing 100 damage with the weapon, before the node unlocks.
Research points come from studying items at the Research Station. A Frigate Diagnostic Node (legendary) gives 1,000 points, an ARC Data Module (epic) gives 200, and common items like Battered Paperbacks give smaller amounts.
Modules drop from two locations only: the Frigate and inside the Fallen Emperor on Pendola Pass. There is no difference in drop rate between Mk. I and Mk. V, so there is no point trying to target a specific tier.
Each module weighs 0.5 and sells for 7,000. Move any module you find straight to your safe pocket. One module survived a knockout on the Frigate's deck because the player had already pocketed it.
The farming loop in short: run the Redirection event on Pendola Pass for Emperor Payloads (which carry Pneumatic Actuators, Pressure Regulators, and couplers for the Emperor key), use the key to enter the Emperor for modules and Modulators, and board the Frigate for modules and Diagnostic Nodes for research points.
Fifteen weapons can be amplified at launch. Embark has stated the list will grow. Below is every known upgrade path across all of them.
| Amplification | Effect |
|---|---|
| Anvil Splitter | Each bullet splits into 4 weaker projectiles |
| X-Rounds | Explosive bullets that deal more damage to Raiders and ARC armor |
These two are mutually exclusive. The Anvil Splitter replaces what used to be a Tech Mod, so the amplified Anvil loses its Tech Mod slot.
| Amplification | Effect |
|---|---|
| Bigger Mag | Larger magazine than standard |
| Charged Burst | Hold to charge; longer charge fires more projectiles on release |
| Increased Burst | Refined version of Charged Burst, requires Charged Burst first |
| Incendiary Rounds | +5 burn damage per second, +2 seconds on existing burns |
| Amplification | Effect |
|---|---|
| Bigger Mag | Larger magazine than standard |
| Semi-Auto | Changes Bettina to semi-automatic fire |
| X-Rounds | Explosive bullets; requires Semi-Auto first |
| Amplification | Effect |
|---|---|
| Burst Fire (Exclusive) | Fires in a burst, +2 projectiles per burst |
| Increased Burst | +2 more projectiles per burst, +3 magazine; requires Burst Fire |
| Full-Auto (Exclusive) | Fully automatic, 60% increased fire rate, -2 base damage, 60% reduced headshot multiplier, heavy recoil and dispersion penalties |
| Sprint Shooting | Fire comfortably while sprinting |
Burst Fire and Full-Auto are mutually exclusive. Picking either locks out the other.
| Amplification | Effect |
|---|---|
| Carbine Conversion | Better stability and accuracy, less agility |
| Incendiary Rounds | +5 burn damage per second, +2 seconds on existing burns |
| Sprint Shooting | Fire while sprinting; cannot be combined with Carbine Conversion |
| Amplification | Effect |
|---|---|
| Bigger Mag | Larger magazine than standard |
| Anti-Weak Point | More damage to ARC weak spots, less to ARC outer armor |
| Ramping Damage | Damage builds while the beam stays on target; cannot be combined with Anti-Weak Point |
| Amplification | Effect |
|---|---|
| Incendiary Rounds (Exclusive) | +5 burn damage per second, +2 seconds on existing burns; blocks all other chains |
| Semi-Auto | +150% fire rate, -20% headshot multiplier, +40% per-shot dispersion |
| Sprint Shooting | Fire while sprinting |
| Tracker Rounds (Exclusive) | Reveals hit targets for 5 seconds; max 2 amplifications total |
| Amplification | Effect |
|---|---|
| Mag Reload | Reloads the full magazine at once instead of one shell at a time |
| Incendiary Grenades | +5 burn damage per second, +2 seconds on existing burns |
| Amplification | Effect |
|---|---|
| More Reload | Loads more rounds per reload step |
| Slug Rounds | Fires one high-damage projectile instead of buckshot, +5 burn damage per second |
| Amplification | Effect |
|---|---|
| Bigger Mag | Larger magazine than standard |
| Scoped | Adds a scope |
| Straight Bolt | Cycle the bolt while ADS is active |
| Amplification | Effect |
|---|---|
| Full-Auto | Adds fully automatic fire |
| Anti-Shield | Breaks shields faster |
| X-Rounds | Explosive bullets; exclusive, cannot be combined |
| Amplification | Effect |
|---|---|
| Anti-Weak Point | More damage to ARC weak spots, less to ARC outer armor |
| Straight Bolt | Cycle the bolt while ADS is active |
| Tracker Rounds | Reveals hit targets for 5 seconds |
| Amplification | Effect |
|---|---|
| High Velocity | Faster projectile speed |
| Incendiary Grenades | +5 burn damage per second, +2 seconds on existing burns |
| Sprint Shooting | Fire while sprinting |
| Amplification | Effect |
|---|---|
| More Reload | +2 bullets loaded per reload step |
| Drum Mag | +40 magazine size (64 rounds total), +50% vertical and horizontal recoil, +30% max shot dispersion, 10% slower ADS; requires More Reload |
| Incendiary Rounds | +5 burn damage per second, +2 seconds on existing burns; exclusive |
| Amplification | Effect |
|---|---|
| More Reload | +1 bullet loaded per reload step |
| Scoped | Adds a sniper scope; the amplified Renegade loses its magazine slot |
After testing the four weapons that got extended preview playtime, these are the clearest picks.
The Rattler's biggest weakness has always been its small magazine. Drum Mag fixes it outright, pushing capacity to 64 rounds of medium ammo. Because More Reload comes first and loads 4 bullets per reload step, the reload is slower than a standard mag but not as punishing as players feared. With a Kinetic Converter and the right stock, grip, and barrel combination, it becomes a close-range laser.
The Incendiary Rounds path is worth considering for PvE. Players who used it during early access called it one of the strongest weapons in the update against ARC, even with the standard 24-round magazine.
The clearest consensus pick for long-range play. A scoped Renegade clears flying ARC from rooftops before they get close, and on Pendola Pass it wins most long-range poke fights. The trade-offs are real: it loses its extended magazine slot, hip fire feels loose, and anything inside about 30 meters is awkward. In a third-person shooter, a scoped weapon also costs you peek-shot efficiency against players in cover. Go in knowing the weaknesses and it performs.
Full-Auto is the flashier option and it genuinely feels like a different weapon, but the numbers do not favor it. Reduced base damage, a 60% headshot multiplier penalty, and heavy recoil mean it takes nearly a full magazine to drop a player in blue-tier shields. Several players who used it argued it ends up with less DPS than a standard Bobcat, with fewer attachment slots to compensate.
Burst Fire has essentially no downside. A 3-round burst becomes a 5-round burst with +3 magazine via Increased Burst, and the accuracy holds. For most players, Burst Fire is the smarter investment.
A full squad running amplified Hairpins with Semi-Auto and Sprint Shooting was a genuine threat at close to medium range during preview sessions. Semi-Auto removes the slide rack between shots at the cost of some headshot damage and spread. Sprint Shooting turns it into a run-and-gun pistol. Tracker Rounds is the support alternative if you prefer the scouting role, revealing targets for 5 seconds after a hit.
For a broader look at how amplified weapons fit into the meta, check the ARC Raiders weapon tier list to see where each gun ranks before and after amplification.
Not every gun in the roster has an amplification tree. At launch, the Bobcat, Tempest, and Vulcano have no amplification option. The two new weapons added with Frozen Trail, the Stiletto and the Bantam, also cannot be amplified at launch.
The Stiletto is a semi-automatic light-ammo battle rifle with high accuracy, good handling, and low initial recoil that builds into bloom under rapid fire. It holds 10 rounds and fits best at 20 to 30 meters. The Bantam is a short-barrel revolver firing heavy ammo from an 8-round cylinder with strong ARC armor penetration. No attachment slots, poor accuracy at range, but inside 10 meters it can chew through all three shield types in one cylinder if every shot lands.
Both are aimed at the early game. Neither replaces an amplified weapon, but neither is meant to.
Amplified weapons have 200 max durability against 130 for a standard tier IV gun. They still burn through it fast. One early-access raid of PvP and ARC combat cost over 30 durability on a single weapon.
When you loot an amplified weapon from another player, it arrives at 10 to 11 durability. That is enough for roughly one fight. The durability system is clearly designed to prevent players from skipping the grind by picking up dead Raiders' gear.
Repairs require Amplified Fragments, obtained by recycling an amplified weapon, an old Anvil Splitter mod, or a spare Amplification Module (which gives 7 Fragments). The Field Repair skill restores up to 30% durability during a raid and is the cheapest insurance for keeping an amplified gun functional between extracts.
The cost is real. Reaching a single amplified weapon requires the Outpost, three expansions, Gunsmith IV, an Emperor key, an Amplification Module, 5,000 research points for some nodes, and a stack of rare ARC materials. You can lose the gun in one bad raid, and the person who loots it gets a 10-durability husk.
The counterpoint is that this is the endgame content the game needed. It gives players with full stashes a reason to board the Frigate and enter the Emperor. The buffs on the strongest paths are significant enough that they should be expensive and rare.
If you are a few hundred hours in with resources to burn, amplification is worth pursuing now. If you are newer, a tier IV Renegade or Rattler will serve you fine while you work toward the Outpost at your own pace. The Frozen Trail update overview covers everything else that arrived alongside amplification, and the full ARC Raiders guides collection has dedicated breakdowns for the Anvil blueprint, enemy weak spots, and more to help you prepare before you invest in your first amplified gun.