
Search games, articles, guides...CtrlK
Sign InGet Started
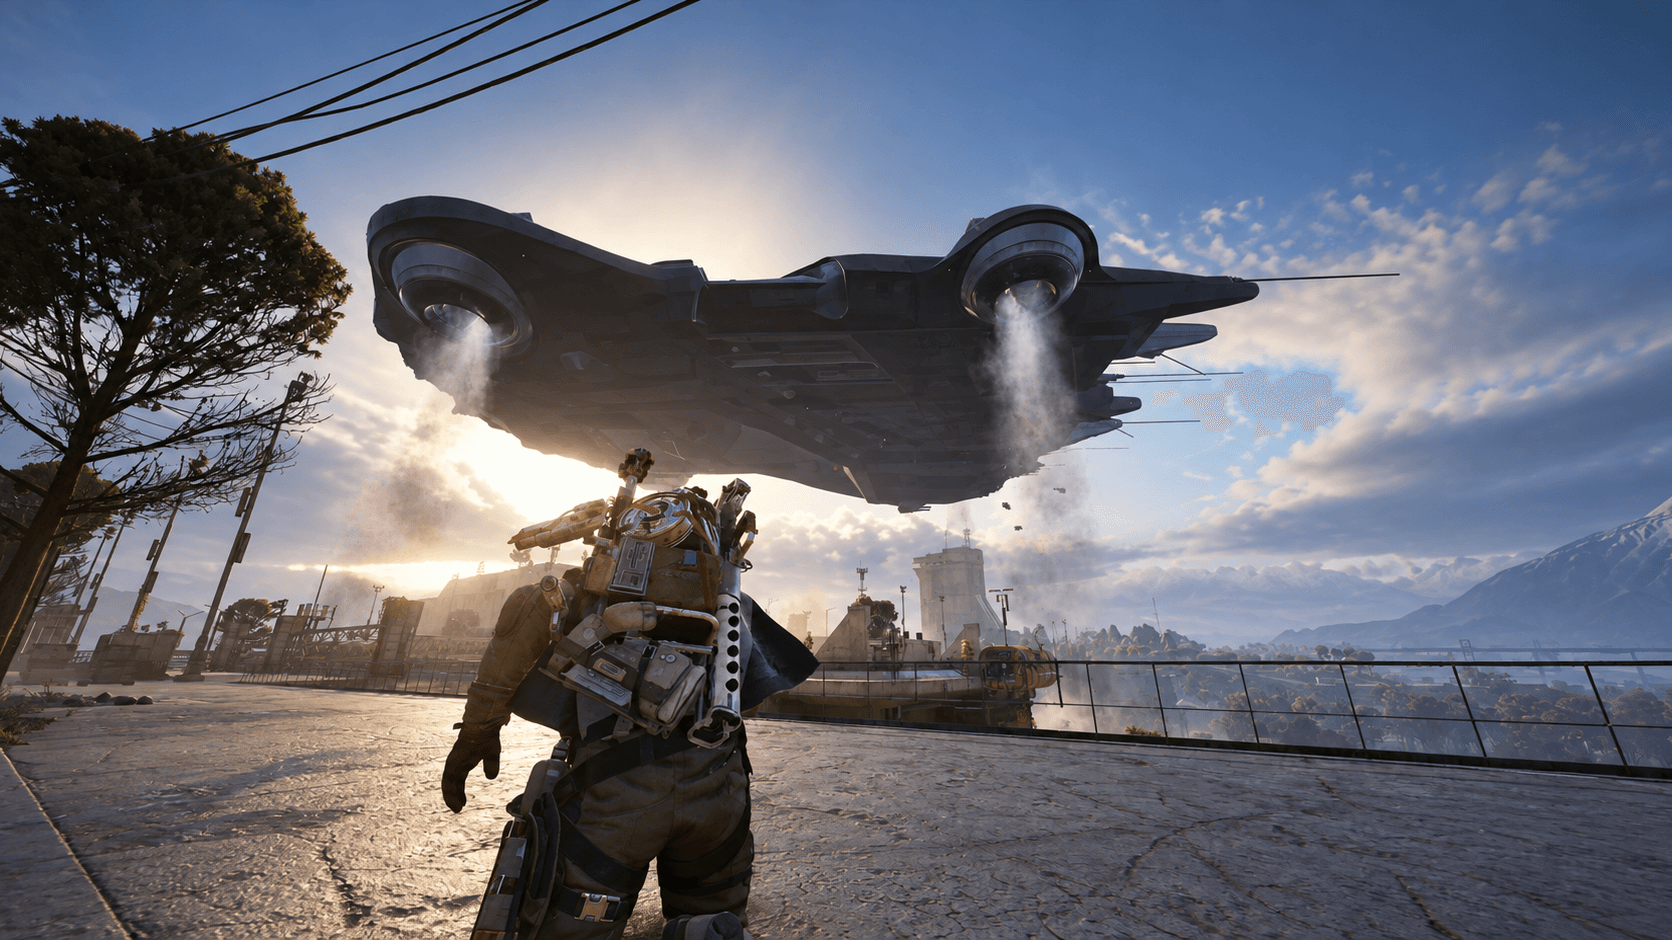
Board the ARC Frigate, destroy Power Cores, survive Hydra turrets, and escape with rare loot using this complete Frozen Trail guide.
See more GAMES.GG stories on Google
Enjoyed this guide?
Add GAMES.GG as a preferred source and Google will show you more of our guides and news when you search.
updated
October 8th 2026
posted
October 8th 2026
The ARC Frigate is the biggest, most demanding encounter in ARC Raiders right now. Introduced with the Frozen Trail 2.0 update, it's a massive airborne ship that descends over multiple maps, and your job is to board it, tear apart its reactor, loot everything not bolted down, and get out alive. This is not a boss fight you shoot from the ground. You ride up to it, navigate its interior, and deal with everything it throws at you.
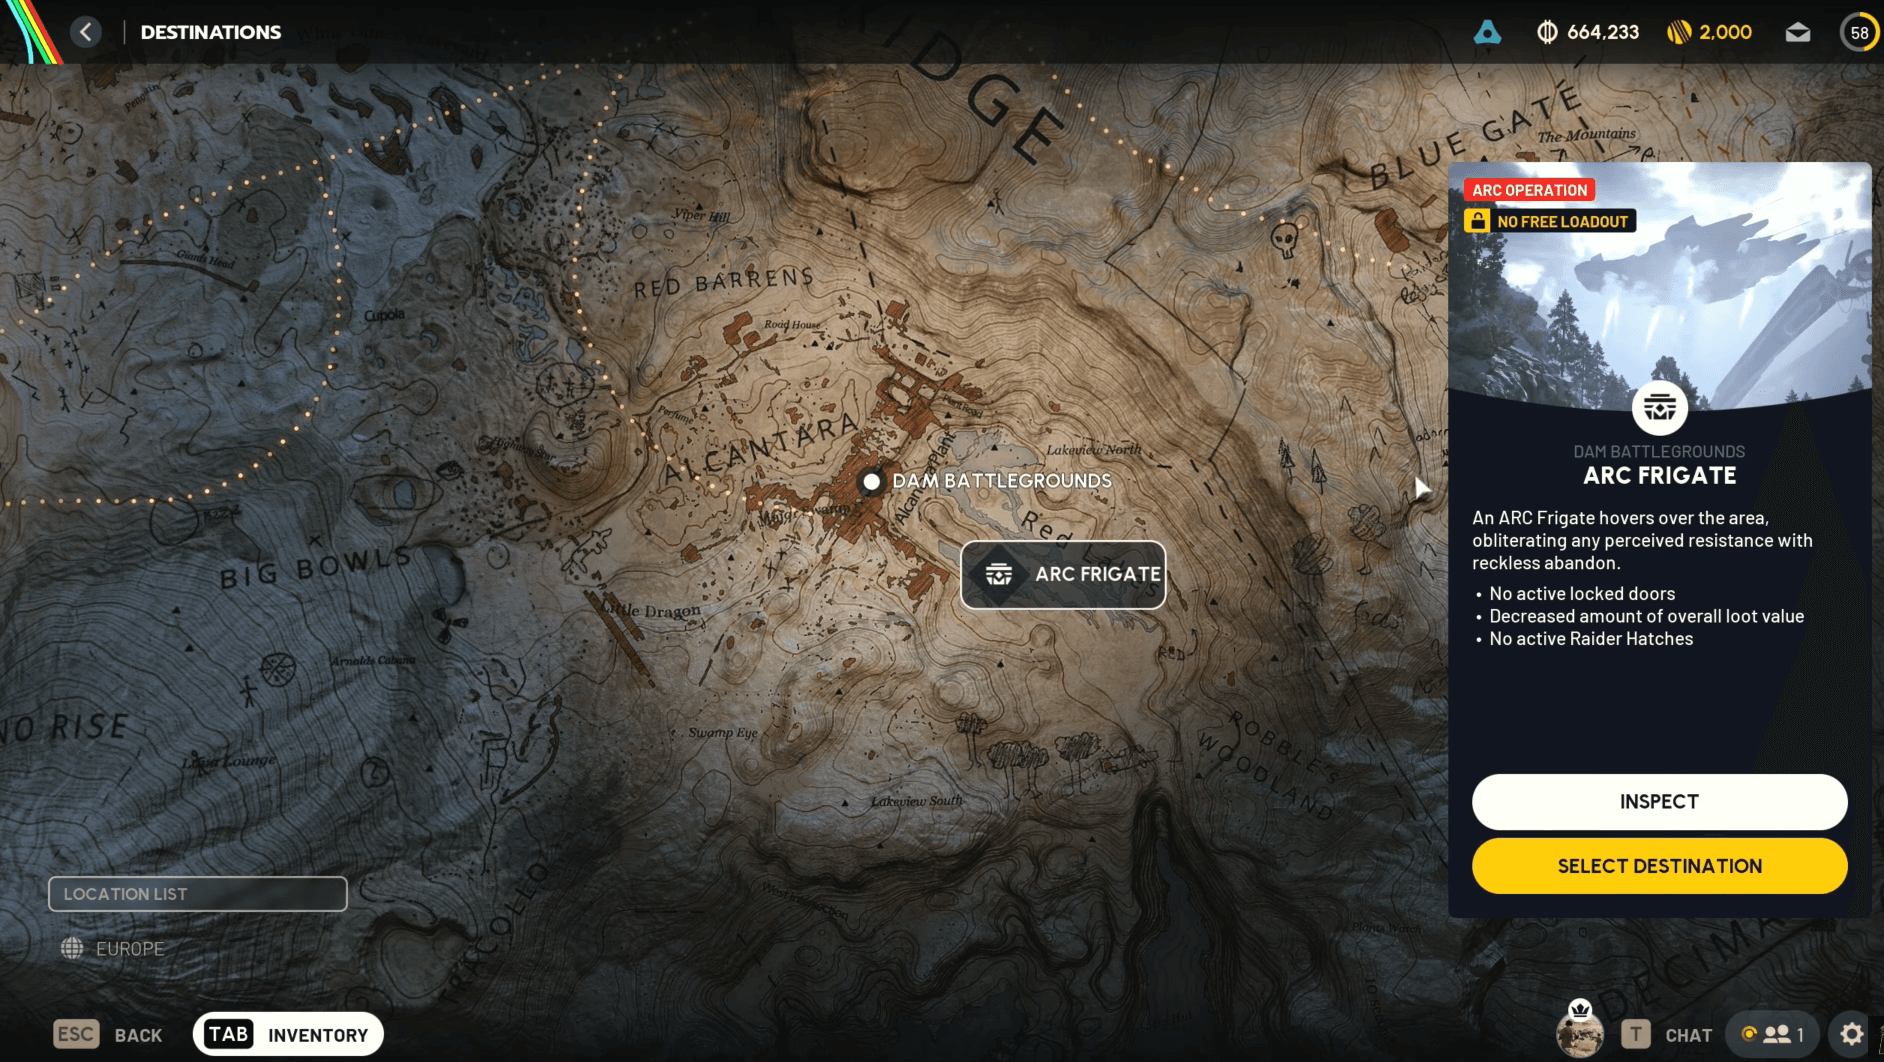
The ARC Frigate is a map condition, not a static boss. It rotates across six outdoor maps: Dam Battlegrounds, Buried City, Spaceport, The Blue Gate, Riven Tides, and Pendola Pass. When the condition is active, the ship appears early in the round, hovers over the map, and starts deploying smaller Reclaimer drones toward the surface to collect materials.
The Frigate carries two linked quests from Celeste: Boarding the Frigate and Disrupting the Frigate. The first is the entry-level objective. The second is a full sabotage run that requires destroying three Power Cores, eliminating multiple ARC defenders, and looting the ship's cargo hold.
Before you drop in, check the official map-condition schedule for your server region. The Frigate is not available on every map at all times, and Free Loadouts are disabled during this condition. Come prepared with your own gear.
ARC Raiders Frigate Guide: How to Board, Sabotage & Escape
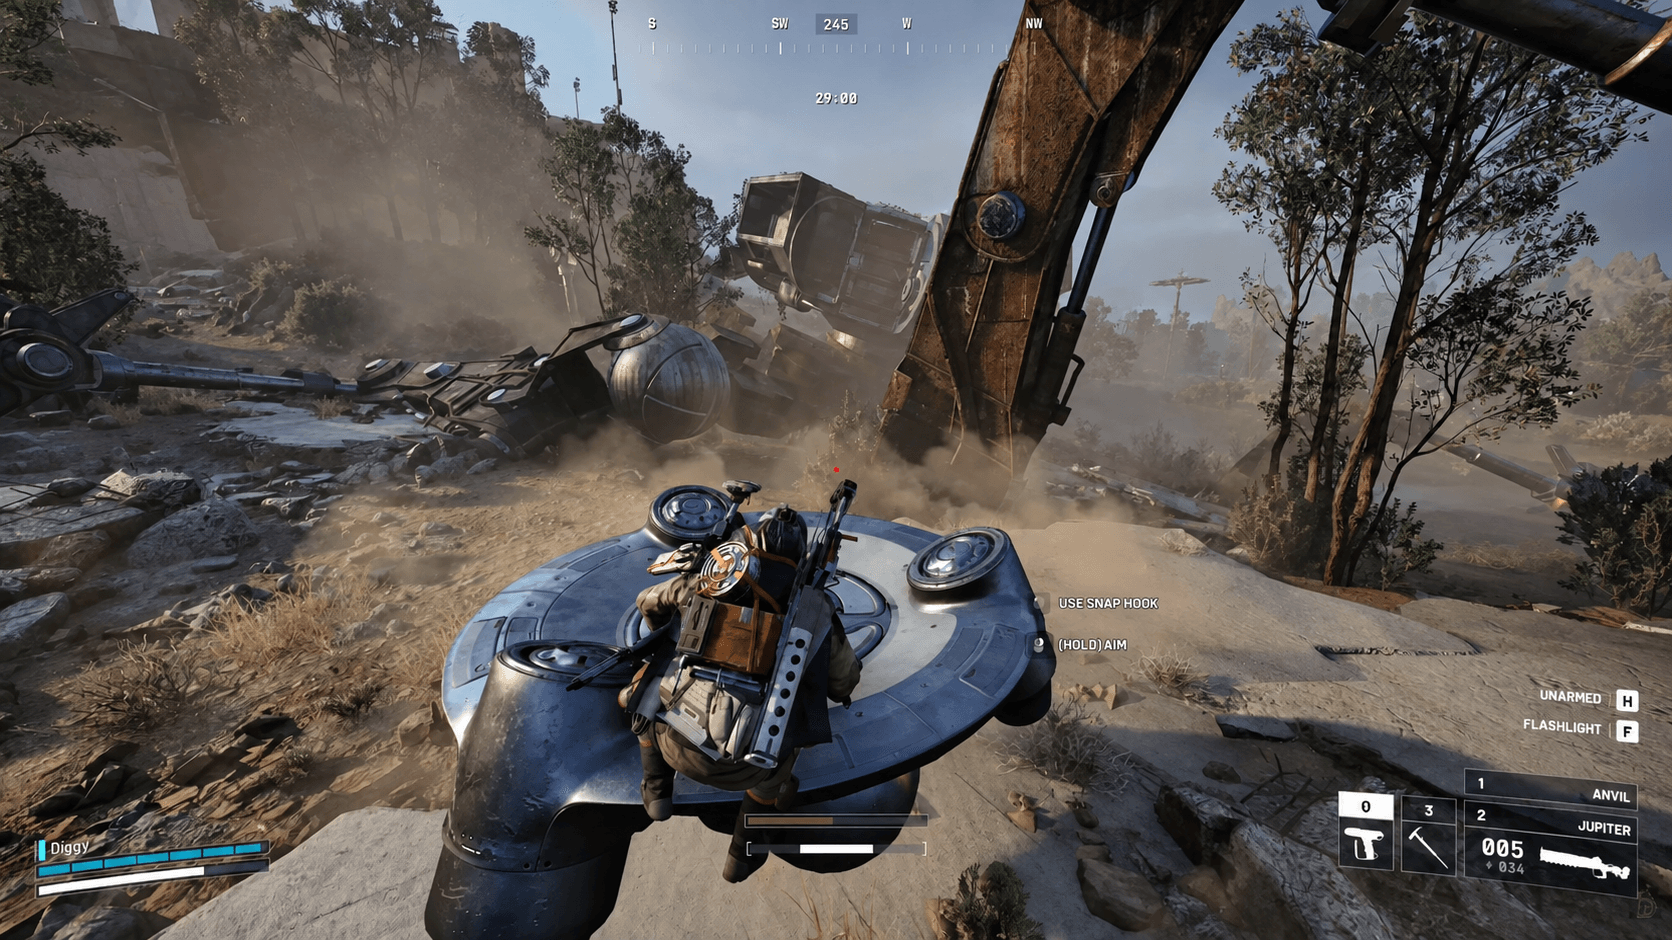
Boarding the Frigate comes down to one mechanic: the Reclaimer drones. These are circular ARC machines that descend from the ship to the surface and then return. They are your elevator.
Here's the full boarding sequence:
ARC Raiders Frigate Guide: How to Board, Sabotage & Escape
Celeste's first Frigate quest has four objectives:
| Objective | Requirement |
|---|---|
| Find a way onto the Frigate | Disrupt a Reclaimer and climb aboard |
| Damage a Hydra | Deal 100 damage to a Hydra turret |
| Damage a Vaporizer | Deal 100 damage to a Vaporizer |
| Damage a Rocketeer | Deal 100 damage to a Rocketeer |
You do not need the killing blow on any of these enemies. 100 damage each is the threshold, which makes this quest considerably more forgiving than it sounds. Rocketeers are large flying ARC that fire rockets. Vaporizers fire lasers. Hydra is a stationary multi-gun turret with three independently moving sections.
All three enemy types appear on the Frigate's upper deck, so boarding the ship and pushing toward the top is the most direct path to finishing all four objectives in one run. Completing this quest unlocks the follow-up Disrupting the Frigate mission.
The follow-up quest goes much deeper into the ship. The full objective list:
| Objective | Requirement |
|---|---|
| Destroy Power Cores | Destroy 3 Power Cores on top of the Frigate |
| Access Cargo | Find a way into the Frigate's cargo section |
| Loot Cargo | Loot the Frigate's cargo |
| Destroy Hydras | Destroy 3 Hydra turrets |
| Destroy Rocketeers | Destroy 2 Rocketeers |
| Destroy Vaporizers | Destroy 2 Vaporizers |
The quest reportedly supplies a Powered Descender when you accept it, which is useful for the descent after you're done. The listed reward is a Hullcracker I, though verify this against the live quest panel since community data on rewards can shift.
ARC Raiders Frigate Guide: How to Board, Sabotage & Escape
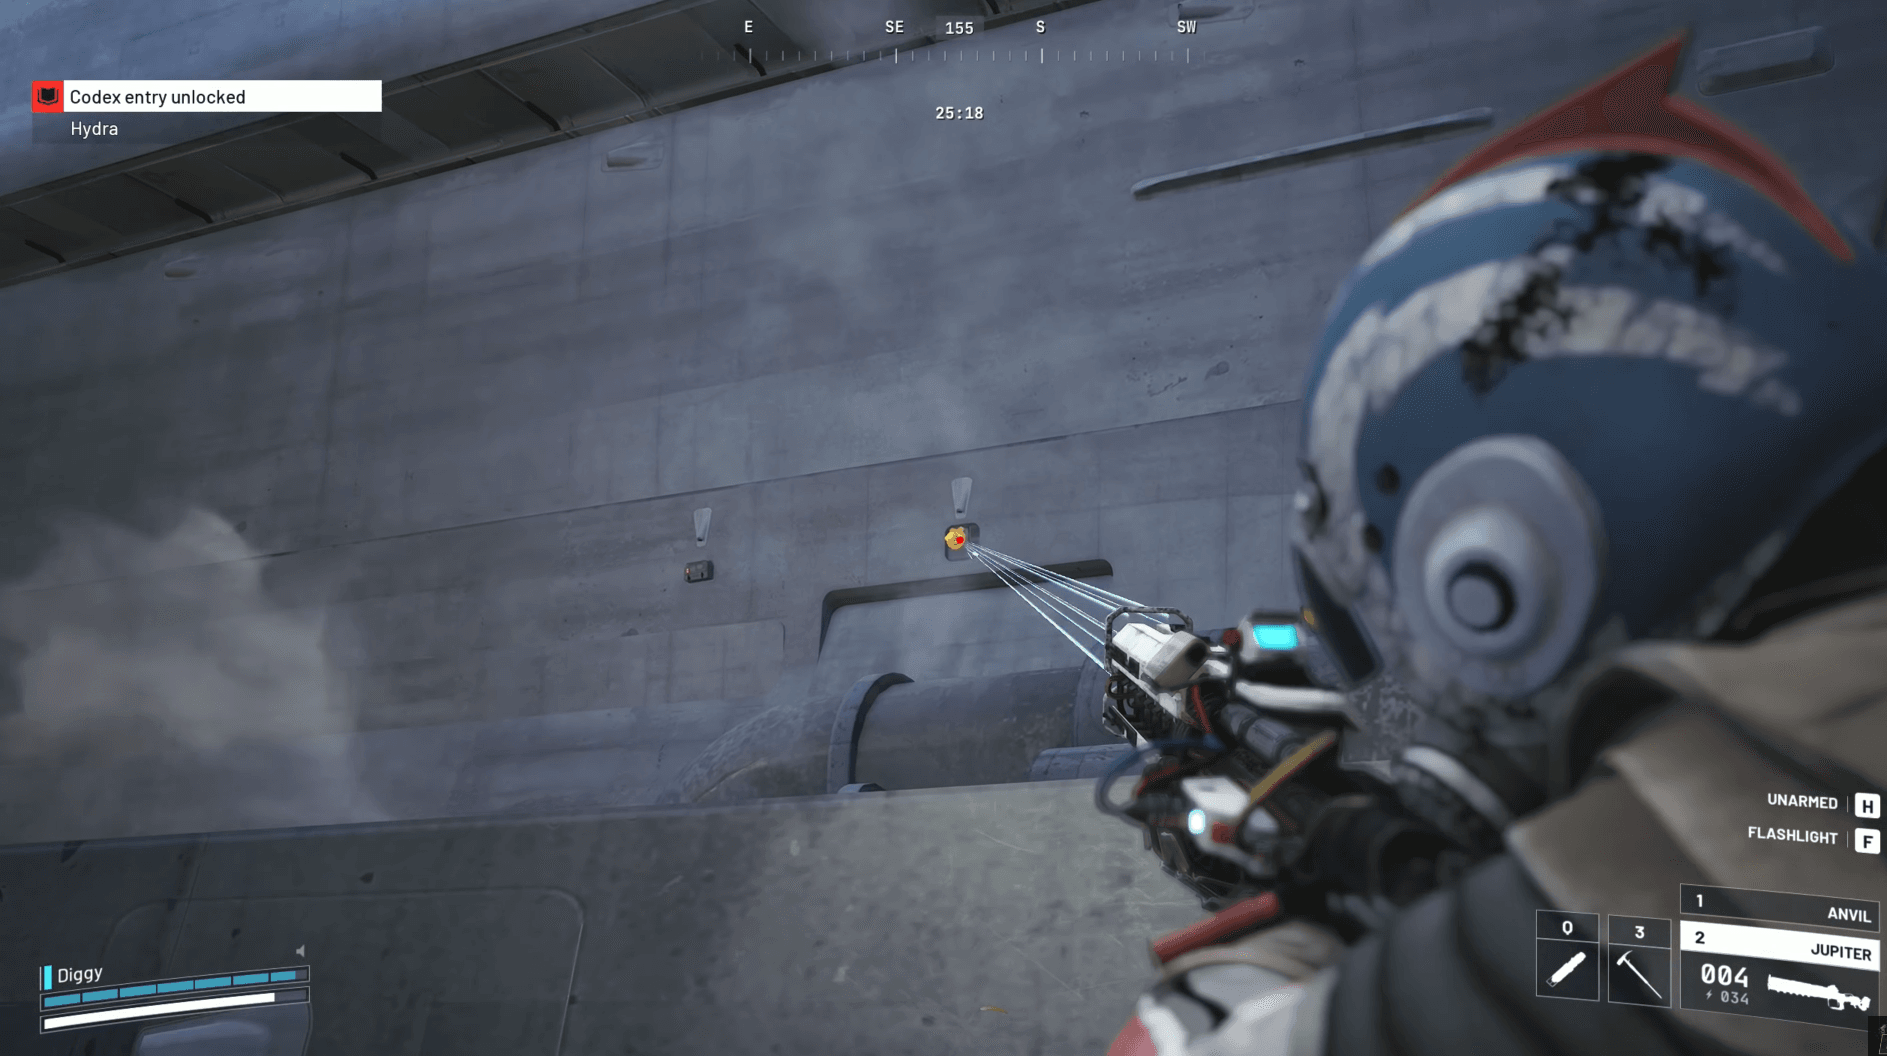
Once aboard, the ship is not a straight corridor. There are multiple routes along both sides of the hull, interior passages, and upper deck areas to work through. The key traversal mechanic involves yellow nodes positioned near movable platforms. Shoot them to activate mechanisms that deploy platforms and open new sections of the vessel.
A Grappling Hook can skip some of these platform interactions by letting you reach elevated areas directly, but it will not bypass the quest objectives themselves.
The central reactor interaction requires three Raiders to activate three nearby controls simultaneously, which raises the large central Power Core into a vulnerable position. Once exposed, target the glowing orange sections to damage and destroy it. Two additional smaller Power Cores are positioned on the left and right sides of the upper structure.
This is the part of the encounter that makes solo play genuinely difficult. You can board the Frigate alone and complete the first quest, but the three-player reactor interaction is a real barrier to finishing the full sabotage run solo.
The Hydra is a stationary turret made of three stacked, independently moving sections. It appears on the Frigate's upper deck and also protects the fallen Emperor on Pendola Pass. Multiple Hydras can be active around the Frigate at the same time, so clearing one does not clear the area.
Practical Hydra survival tips:
For a deeper breakdown of ARC enemy behaviors and weak points, the ARC Raiders complete combat guide covers every enemy type in detail.
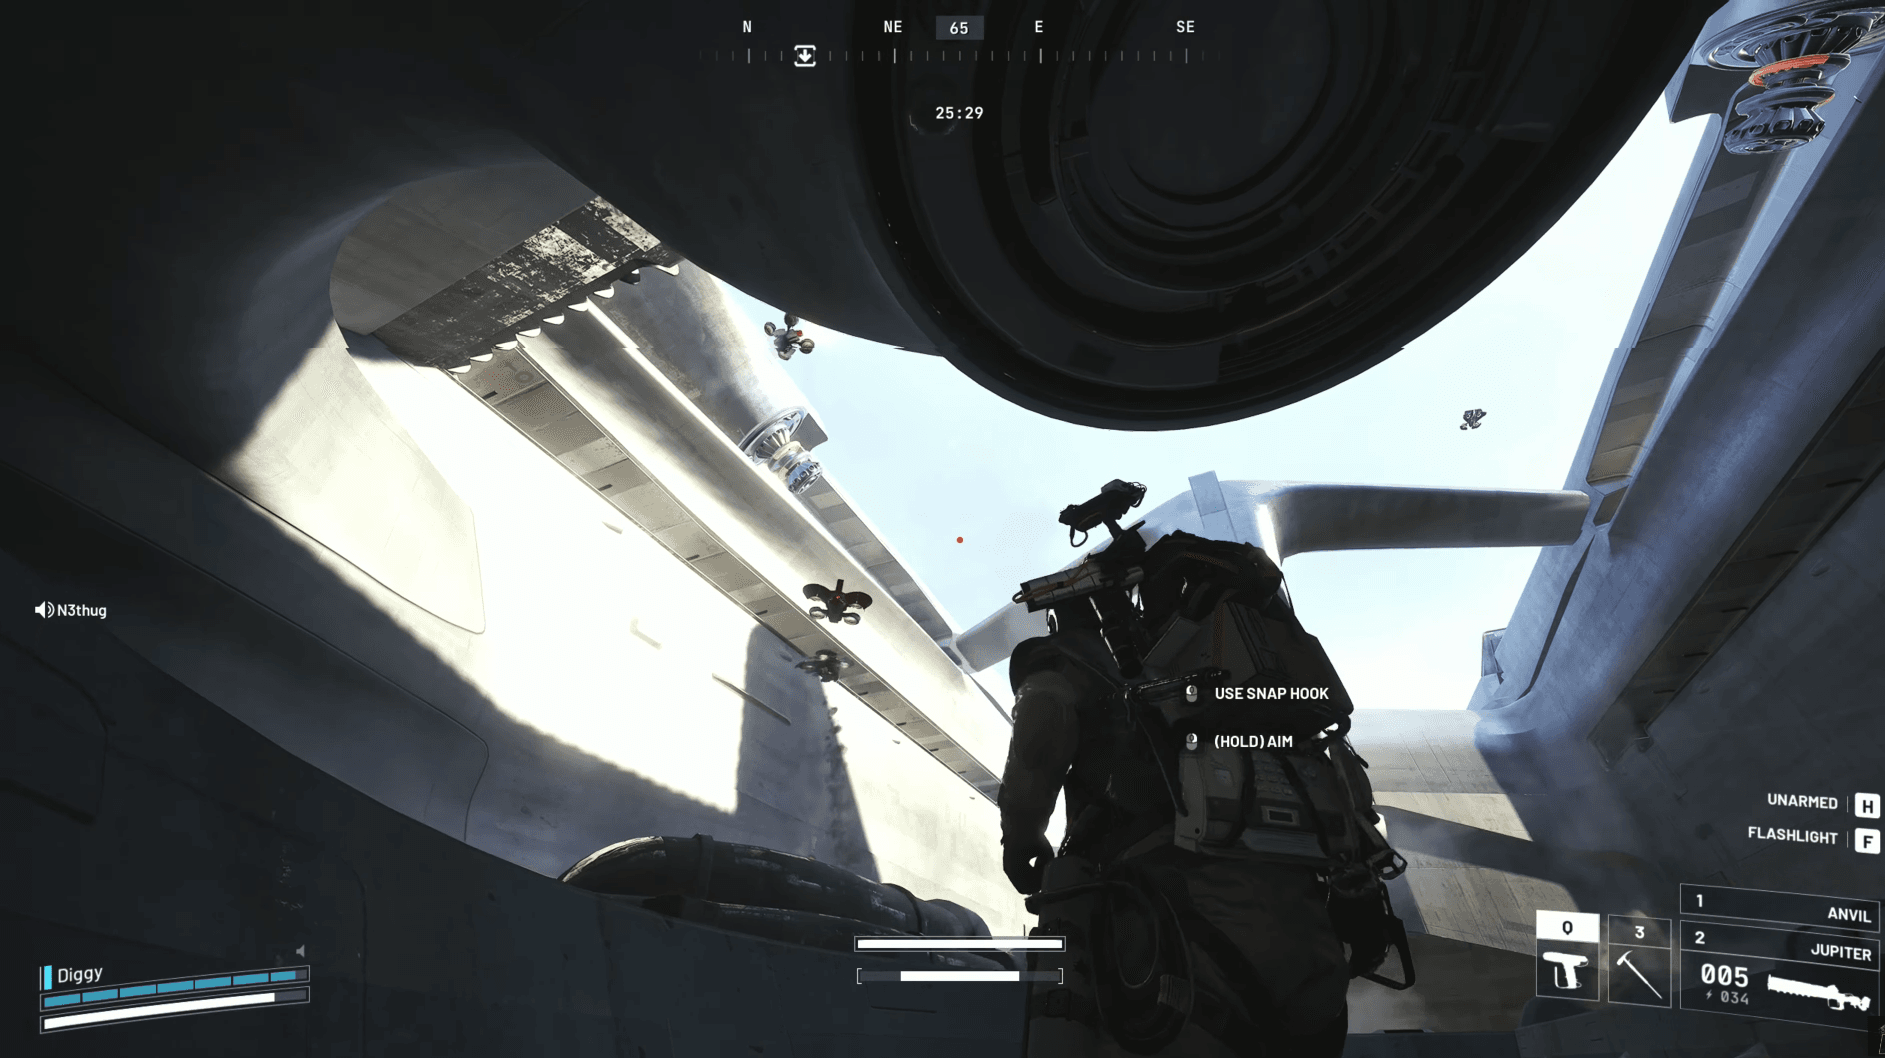
ARC Raiders Frigate Guide: How to Board, Sabotage & Escape
The Frigate is a PvPvE encounter with no Free Loadout option. Plan your kit before deploying.
| Equipment | Recommendation | Reason |
|---|---|---|
| Main weapon | Reliable close-to-mid-range gun | Handles rival Raiders and smaller ARC in tight interior spaces |
| ARC weapon | Hullcracker or equivalent | Armor damage buff in 2.0 makes it strong against Hydra and defenders |
| Shield | Heavy Shield if your build supports it | Movement penalty dropped from 15% to 10% in 2.0; durability decay reduced from 0.20 to 0.15 |
| Traversal | Grappling Hook or Snap Hook | Reaching Reclaimers and upper platforms is much easier with one |
| Descent | Powered Descender | Slows controlled drops on the way back down; does not make every fall safe |
| Utility | Barricades, grenades, Defibrillators | Cover exposed routes, chip ARC, and recover teammates |
| Healing | Multiple healing and shield items | Long fights against multiple heavy ARC drain resources fast |
| Ammo | Large reserve for your weapons | Three Hydras, multiple Rocketeers, and Vaporizers consume ammunition quickly |
The Powered Descender deserves special mention. Getting up is only half the problem. The Frigate sits high above the ground, and a careless jump from the upper deck is a fast way to lose everything you just looted.
The Frigate is one of the primary sources of Amplification Modules in Frozen Trail 2.0. These come in five Mark levels (Mark I through Mark V) and are used to upgrade weapons to entirely new tiers at the Research Workstation. The fallen Emperor on Pendola Pass is the other confirmed source.
| Item | Status |
|---|---|
| Amplification Modules (Mark I-V) | Developer-confirmed reward source |
| Frigate Inductor | Listed as Legendary material for Research Station Level 4 upgrade; exact drop location unverified |
| Frigate Diagnostic Node | Reported in launch-day gameplay; exact purpose not yet established |
| Rare ARC Technology | Confirmed as part of the Frigate reward pool |
| Frigate Cargo loot | Objective in the Disrupting the Frigate quest |
| Breachable containers | Found throughout the hull and upper structures |
The Frigate Inductor is worth holding onto if you find one. Community item data lists it as a Legendary Topside material required to upgrade the Research Station to Level 4, which is the highest tier of weapon amplification. Do not sell it reflexively.
Loot containers appear across the hull, interior passages, and upper structures. The most valuable cargo areas likely require puzzle progress to access, but there are accessible containers throughout the ship worth grabbing even on an incomplete run.
Getting down is genuinely dangerous. The ship is far above the ground, and jumping from the upper deck without equipment is not a reliable plan.
Escape options:
Raider Hatches are disabled during the ARC Frigate map condition. Do not plan your extraction around using a Hatch Key.
A complete Frigate-specific escape route from every section of the ship has not been fully documented yet. Prioritize known paths over improvised jumps, and avoid the Cargo drop edge due to the instant-elimination bug.
Solo boarding is possible. The Reclaimer disruption mechanic does not require a squad, and the first Celeste quest only asks you to reach the ship and deal 100 damage to three enemy types.
Solo completion of the full sabotage run is a different question. The central reactor interaction requires three players operating nearby controls simultaneously. Until players find an alternative method, that interaction is a hard wall for solo Raiders.
| Team Size | Strengths | Limitations |
|---|---|---|
| Solo | Quiet movement, easier to avoid PvP, viable for the first quest | No backup in ARC fights; three-player reactor interaction blocks full completion |
| Duo | Can split combat and cover roles | Still one player short for the documented reactor interaction |
| Trio | Can handle reactor controls and divide combat duties | Higher supply costs; still vulnerable to other Raider groups |
For the Boarding the Frigate quest, solo is a reasonable approach with the right supplies. For the full Disrupting the Frigate run, bring a coordinated squad.
The Frigate is excluded from the October 13-20, 2026 PvE matchmaking test. Embark specifically lists the ARC Frigate alongside Hidden Bunker, Locked Gate, and Night Raid as conditions that remain PvPvE-only during that window. The encounter depends too heavily on player interaction to function as a pure PvE activity.
For everything else you need to tackle in ARC Raiders alongside the Frigate, the full ARC Raiders quest list and mission guide covers Celeste's complete quest chain with rewards and strategies. For a broader look at every guide available, the ARC Raiders strategy guides collection has you covered.
