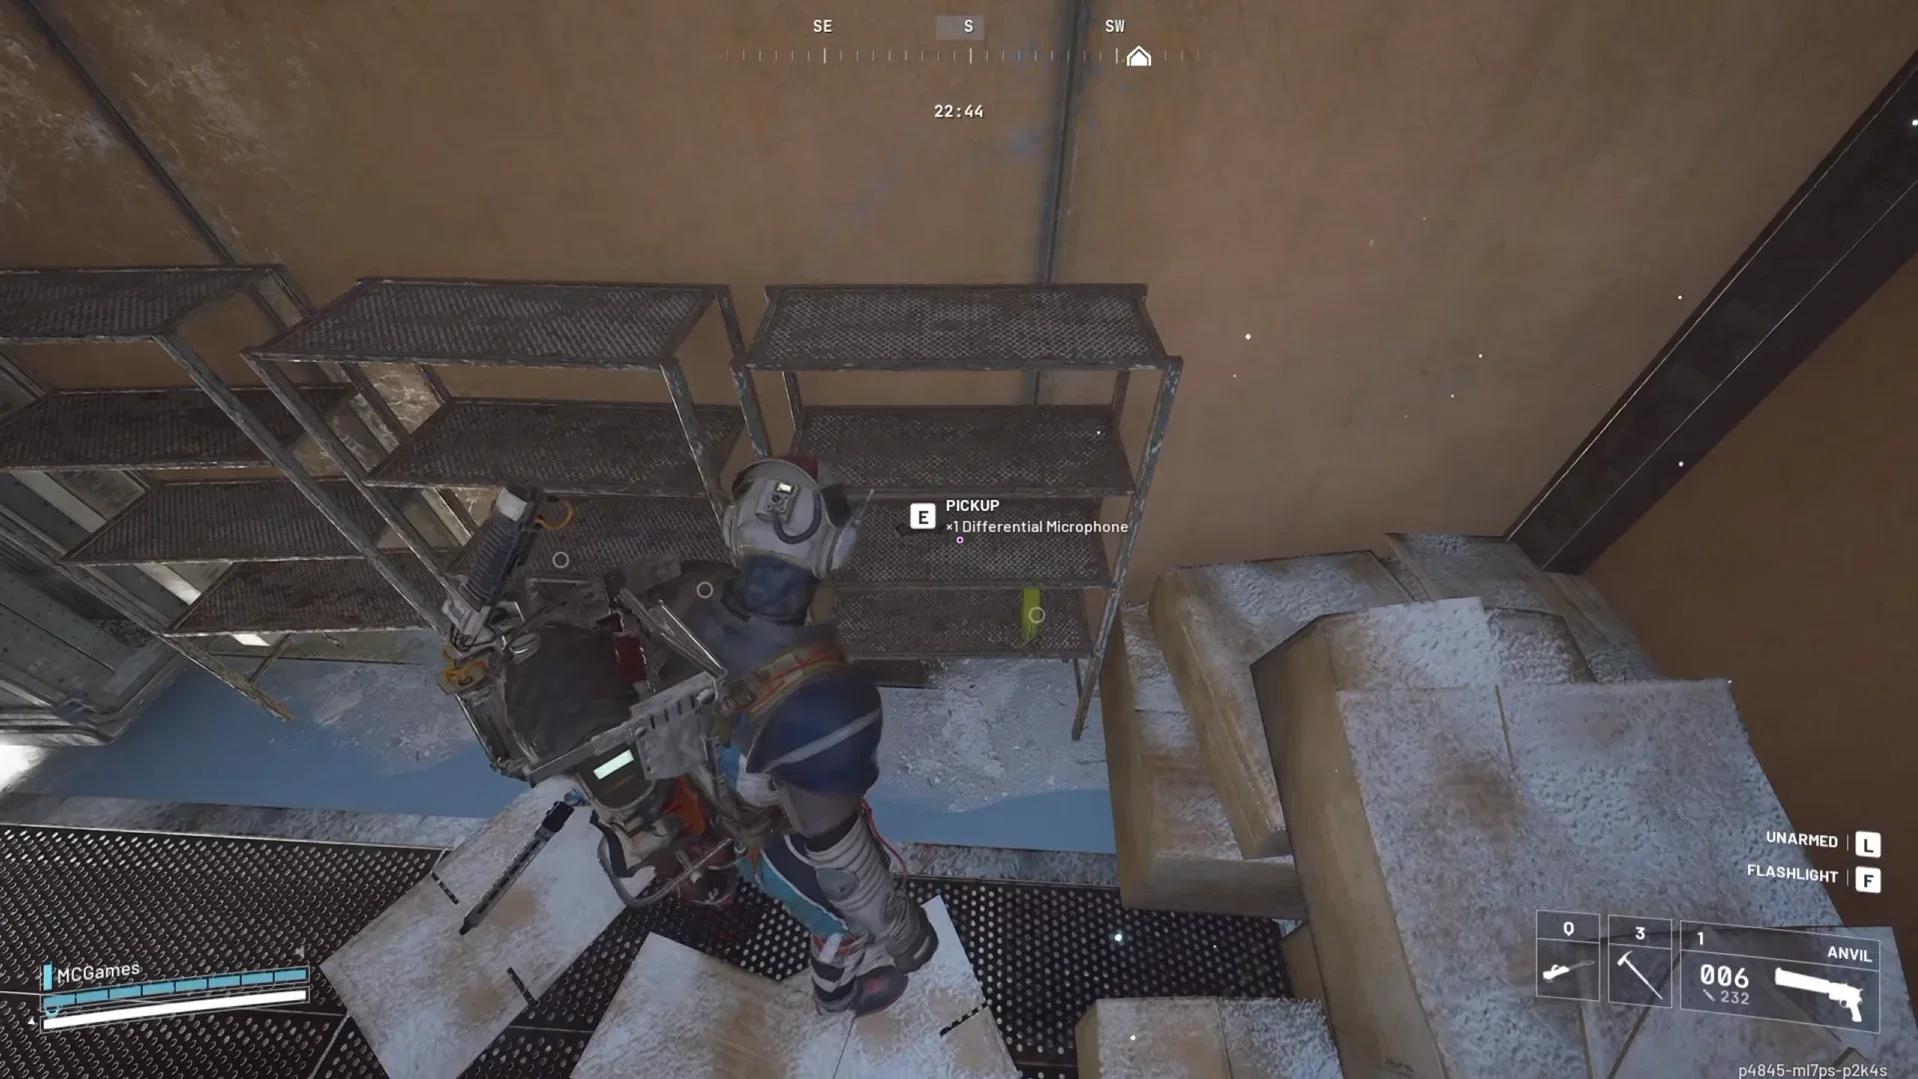

Find the Differential Microphone on Pendola Pass in ARC Raiders, starting with the kitchen at Cielo Sereno Observatory.
This Rare recyclable appears as loose loot and inside containers, so you do not need to kill an ARC enemy to get one. Its main progression use is a Research Station upgrade. A focused room search is a sensible starting point, but the map’s changing loot zones can make the supermarket or station worth checking first, depending on your raid.
Differential Microphone locations on Pendola Pass
Differential Microphones belong to the Technological and Electrical loot pools. Search both open surfaces and containers. A building’s main loot label is not a complete checklist of what can appear inside, which is why commercial locations such as Almatera Station and Commissary Supermarket are useful targets too.
Unlike Cooling Fan farming routes in ARC Raiders, which include Buried City’s Space Travel building, this search is restricted to Pendola Pass. Switching to an older map will not help you finish it.
| Location | Search approach | When to choose it |
|---|---|---|
| Cielo Sereno Observatory | Target the kitchen and nearby upstairs rooms | You want a focused room-by-room search |
| Commissary Supermarket | Sweep shop shelves and counter areas | You want to inspect many loose-loot surfaces |
| Almatera Station | Search the upper-floor shelf room and parked passenger cars | You want a clear indoor route with a train-car backup |
| Freight Terminal | Check loose loot and searchable containers | It fits your route or has a favorable loot zone |
| Railyard | Inspect the parked trains | You spawn nearby or pass through during the raid |
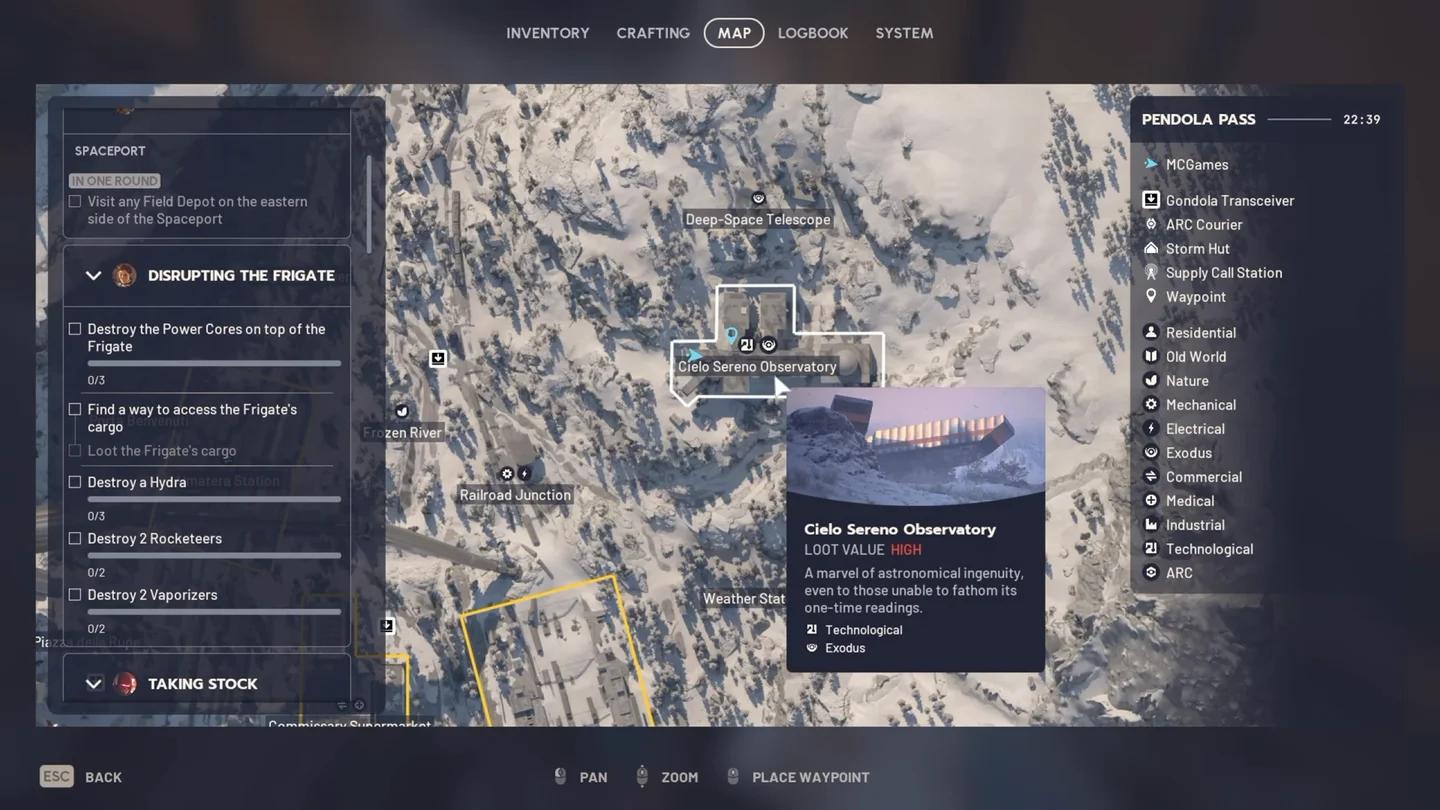
Choose your Pendola Pass stop

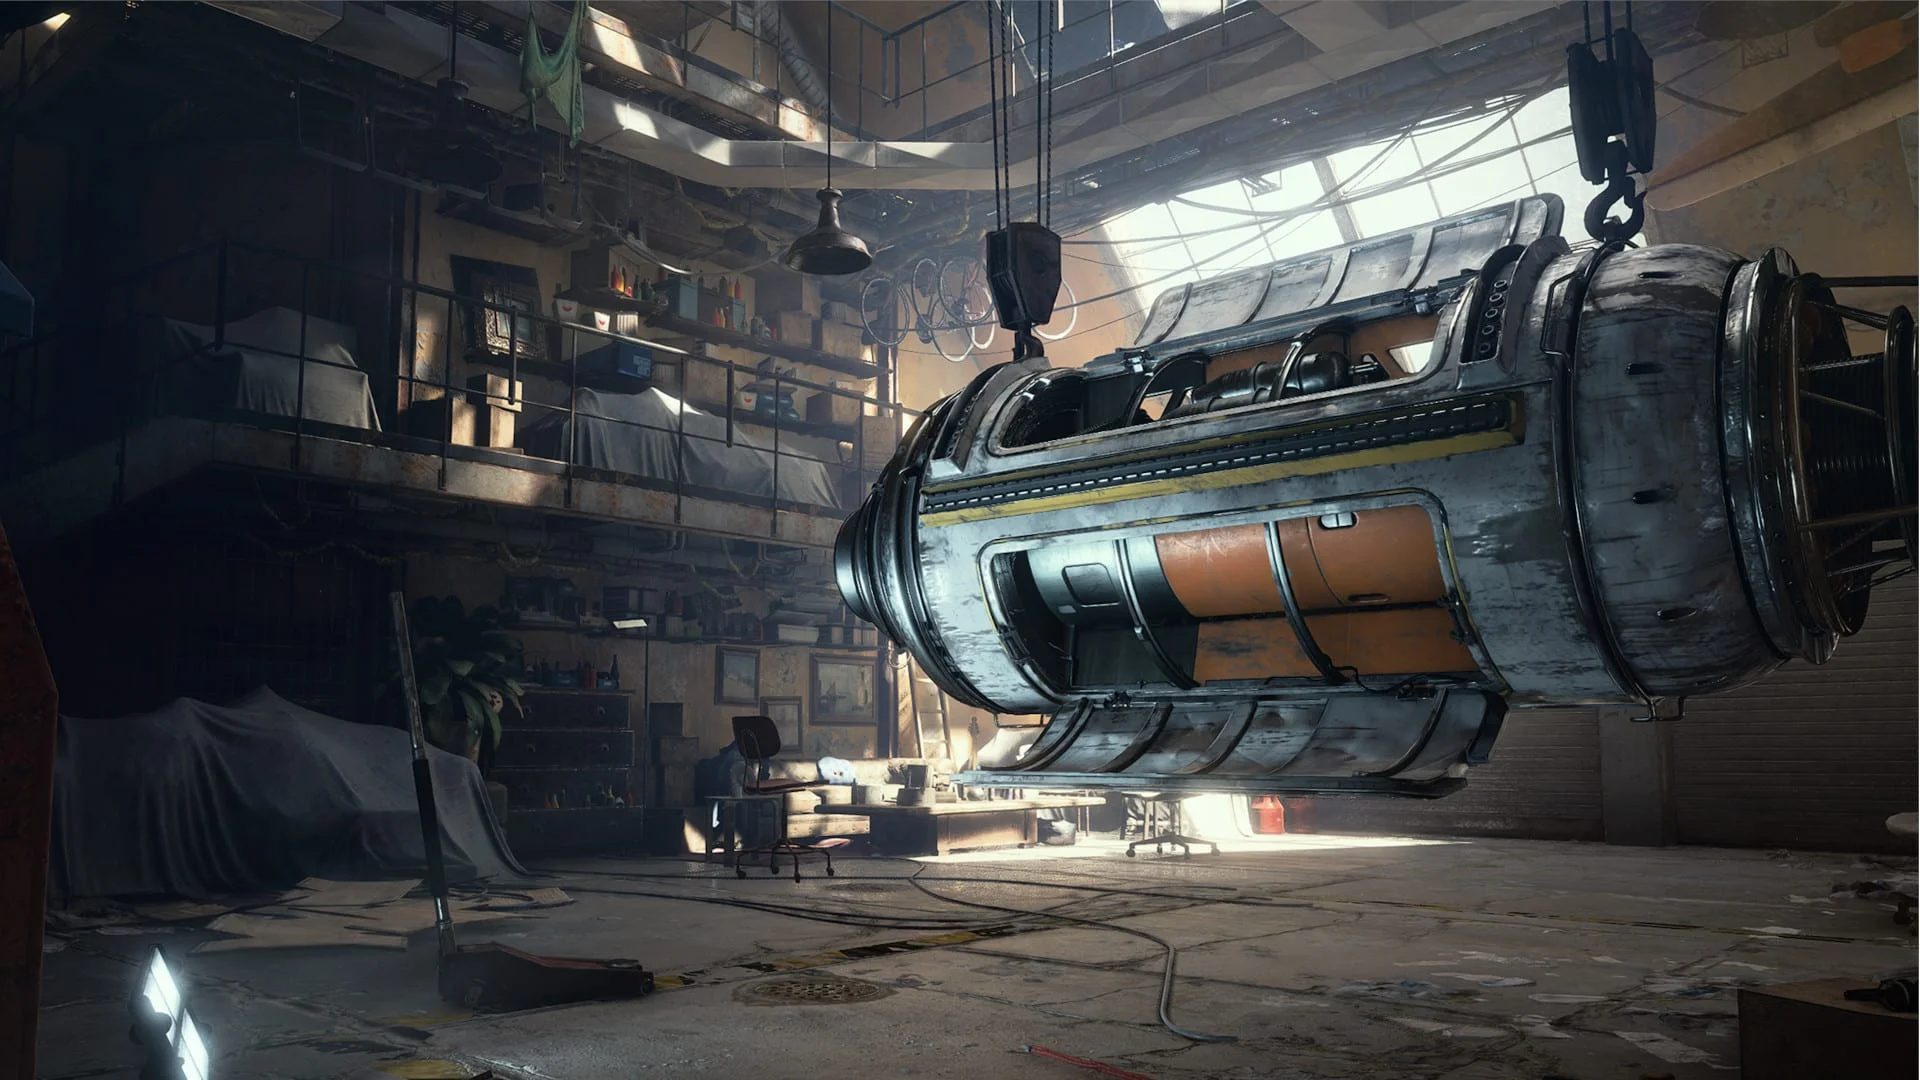
Use the raid’s loot zones to choose a stop
Pendola Pass uses Dynamic Loot Zones, so an area’s loot value can change between raids while its underlying loot types remain the same. Check the map before committing to a long crossing.
Yellow areas marked Loot value: Medium roll better loot. Red areas marked Loot value: High roll more and better loot. Neither marker guarantees a Differential Microphone, because eligible spots can produce other items.
Use the colors to adjust your plan:
- Favor a nearby recommended location when it has an improved loot zone.
- Keep a second location in mind if your first building is empty or already searched.
- Recheck the map on the next raid instead of assuming yesterday’s route has the same loot value.
How to search Cielo Sereno Observatory
The Observatory kitchen is a useful first target because it gives you a specific room to reach and clear. Look for the kitchen and eating area on the building’s upper-left side, recognizable by its counter, drawers, lockers, and sofas.
Reach the upstairs rooms
A Grappling Hook or Snap Hook can get you directly to the room and bypass the main stair approach. Bring one if you have it available, but neither gadget is required to search the building.
Without a mobility gadget, use the main stairs and continue up the next flight toward the second-floor rooms. The stair approach can put you near a Shredder and other ARC, so check the route before climbing into a fight.
Follow this search order once you reach the kitchen:
- Inspect the kitchen counter. Check exposed items before moving through the room.
- Open the drawers. Do not assume the counter’s contents represent everything in the kitchen.
- Search the eating area. Look across tables, chairs, and other surfaces for loose loot.
- Clear the nearby upstairs rooms. Inspect desks, filing cabinets, drawers, and boxes along the walls.
- Check the smaller building outside if the main rooms leave you empty-handed and you can continue safely.
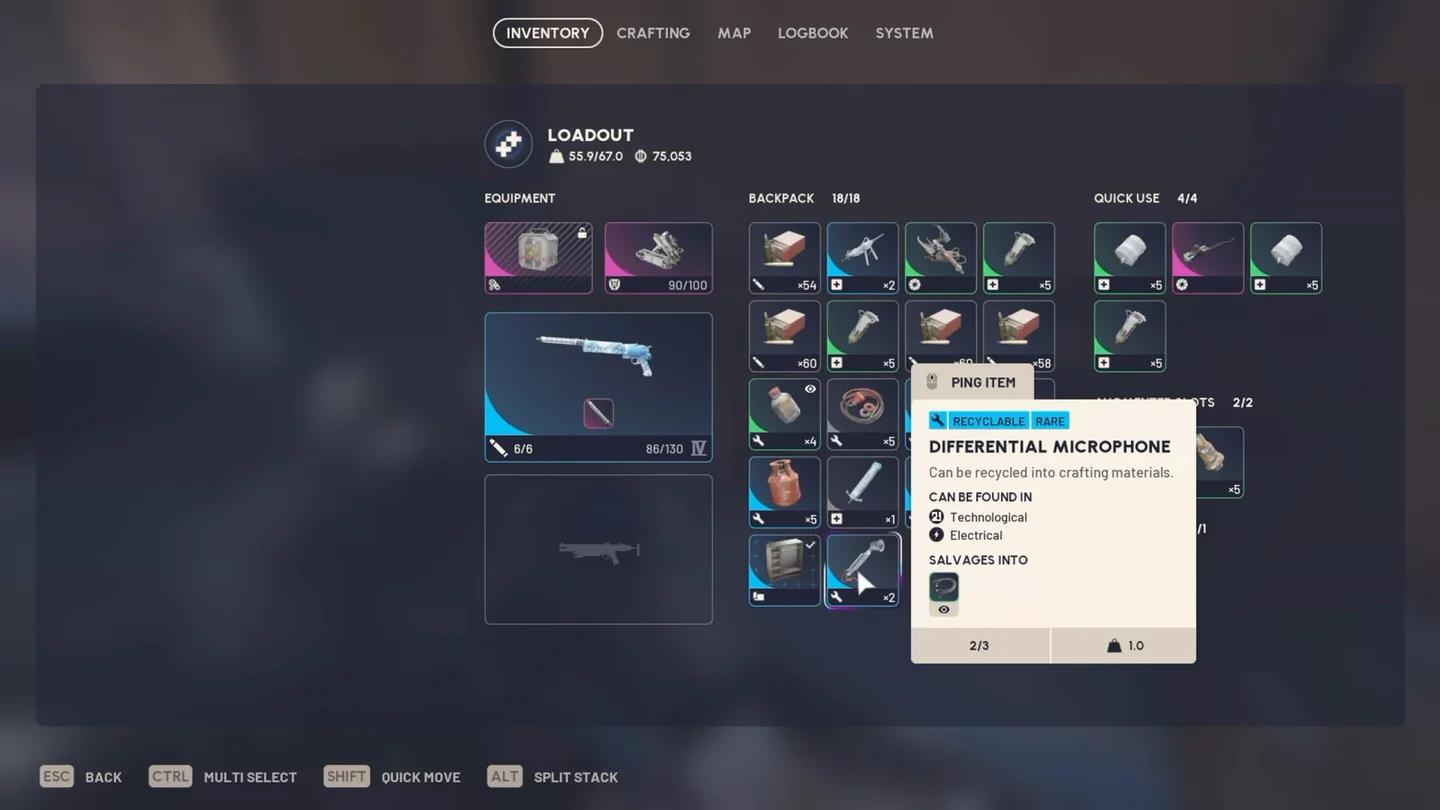
Search the kitchen surfaces
An opened container does not mean the whole room is empty. Loose items can remain on surfaces, and a previous visitor may have taken different materials. Give the kitchen a visual sweep before leaving a building that looks looted.
If you are also completing Ruins and Reverberations in ARC Raiders, the Observatory visit can cover its Spotter Relay and wire-welding objectives alongside your microphone search.
How to search the station, supermarket, and trains
Use these locations as alternatives, not as a mandatory full-map circuit. Your spawn, the current loot zones, and what you have already secured should determine whether another stop is worth the trip.
Almatera Station shelf room
Enter Almatera Station through the main entrance and take the escalators to the second floor. The room full of metal shelves sits at the top. Walk each row and inspect the shelves individually, including the lower levels.
The downstairs counters offer another quick check before you leave. Parked passenger cars beneath the station also provide microphone spawn surfaces, including tables and seats.
Commissary Supermarket shelves
At Commissary Supermarket, work through the shop shelving and look behind the counters. Check low shelves as well as surfaces at eye level. Differential Microphones can lie out in the open, so searching only cupboards and boxes misses part of the loot.
Calculators and Thermal Shakers can appear in the same kinds of spots as microphones. Keep any you still need for progression, but inspect each pickup’s name instead of treating every small device as interchangeable.
Freight Terminal and Railyard checks
Freight Terminal is another microphone search area, particularly when its loot zone makes it an appealing stop. Sweep accessible surfaces and containers instead of expecting one fixed pickup point.
At the Railyard, move through the parked trains and inspect tables, seats, shelves, and luggage. Walking an aisle while looking down lets you check passenger bays without overlooking loose items between container searches.
How to secure and use your Differential Microphones
Equip an Augment with a safe pocket before deploying if you want protection for the pickup. Move a microphone into that pocket when you find it. Safe-pocket items stay with you if you die, even when you lose the rest of your loadout.
Each microphone weighs 0.5 kg and stacks to 3, making a full stack 1.5 kg. Once you have secured what you came for, head toward extraction instead of adding distant stops solely to chase another possible spawn. After returning, unload your materials before queuing again.
Research Station Level 3 requirements
Once you have established your Outpost and reached Research Station Level 2, the next station upgrade requires the following materials:
| Material | Required quantity |
|---|---|
| Differential Microphone | 3 |
| Exodus Technical Handbook | 3 |
| Bully Fragmenter | 6 |
Reserve materials for level 3
The microphone stack is only part of the upgrade. Check your handbook and fragmenter totals before planning another microphone-only raid. Bully Fragmenters come from the Bully ARC, so collecting the station’s full requirements involves more than searching shelves.
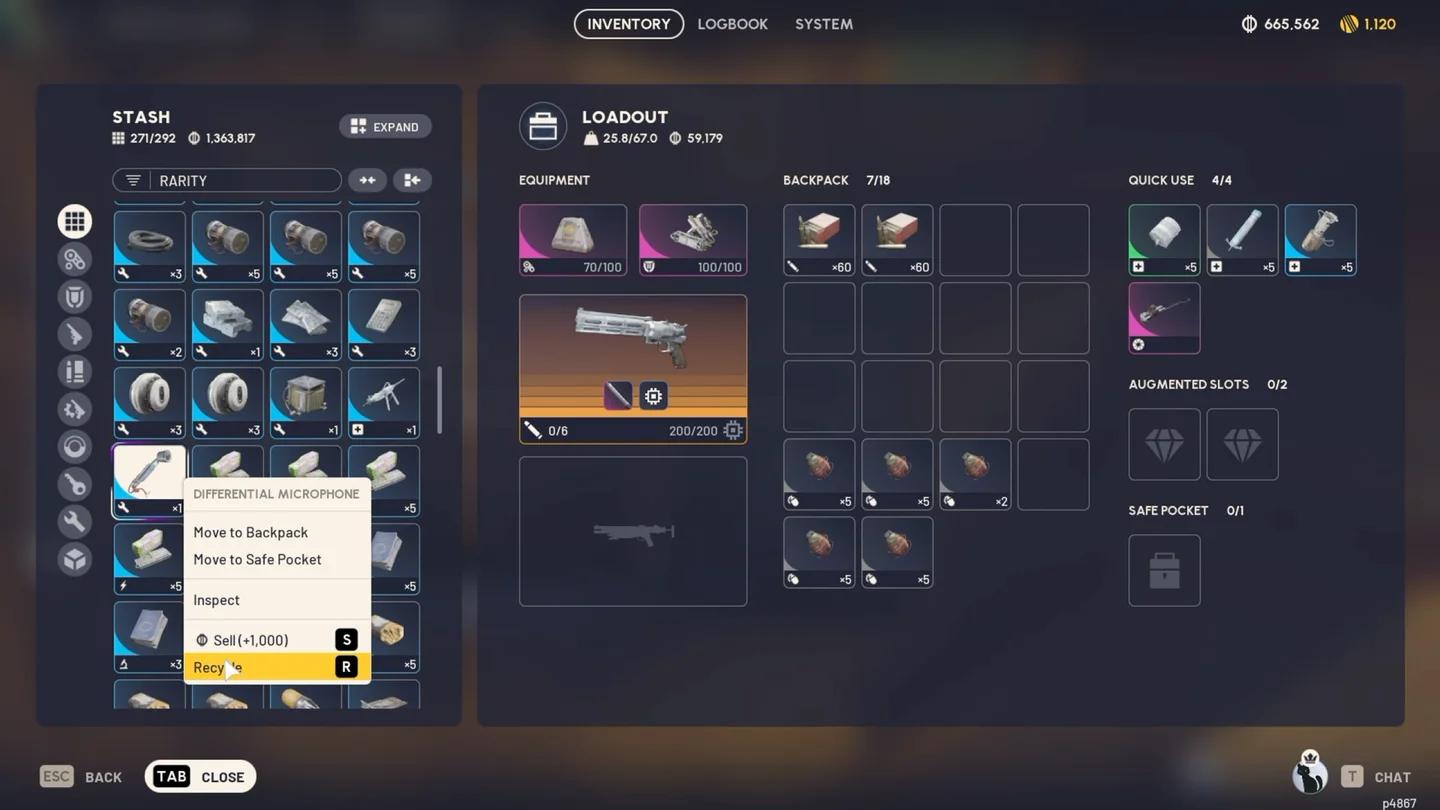
Sell or recycle spare microphones?
After covering the station requirement, choose what to do with extras based on the resources you need.
| Option | Return per Differential Microphone | Choose it when |
|---|---|---|
| Sell | 1,000 Raider Coins | You want coins and do not need its recycled parts |
| Recycle | 1 Speaker Component and 2 Wires | You need those crafting materials |
Before selling or recycling a spare, check the Research Station’s upgrade screen and your stash together. Keep the required materials separate from disposable loot, then turn any genuine surplus into coins or parts.