
Search games, articles, guides...CtrlK
Sign InGet Started
Complete walkthrough of every encounter and mechanic in the Pit of Heresy dungeon, updated for the Monument of Triumph patch.
Written by Tim Deutschman
Content Creator
See more GAMES.GG guides on Google
Add us as a preferred source and our guides show up first in your results.

Destiny 2: Refurbished A499 God Rolls and How To Get
Discover the best Refurbished A499 god rolls for PvE and PvP in Destiny 2, plus how to farm this unique Heavy Kinetic Sniper Rifle.
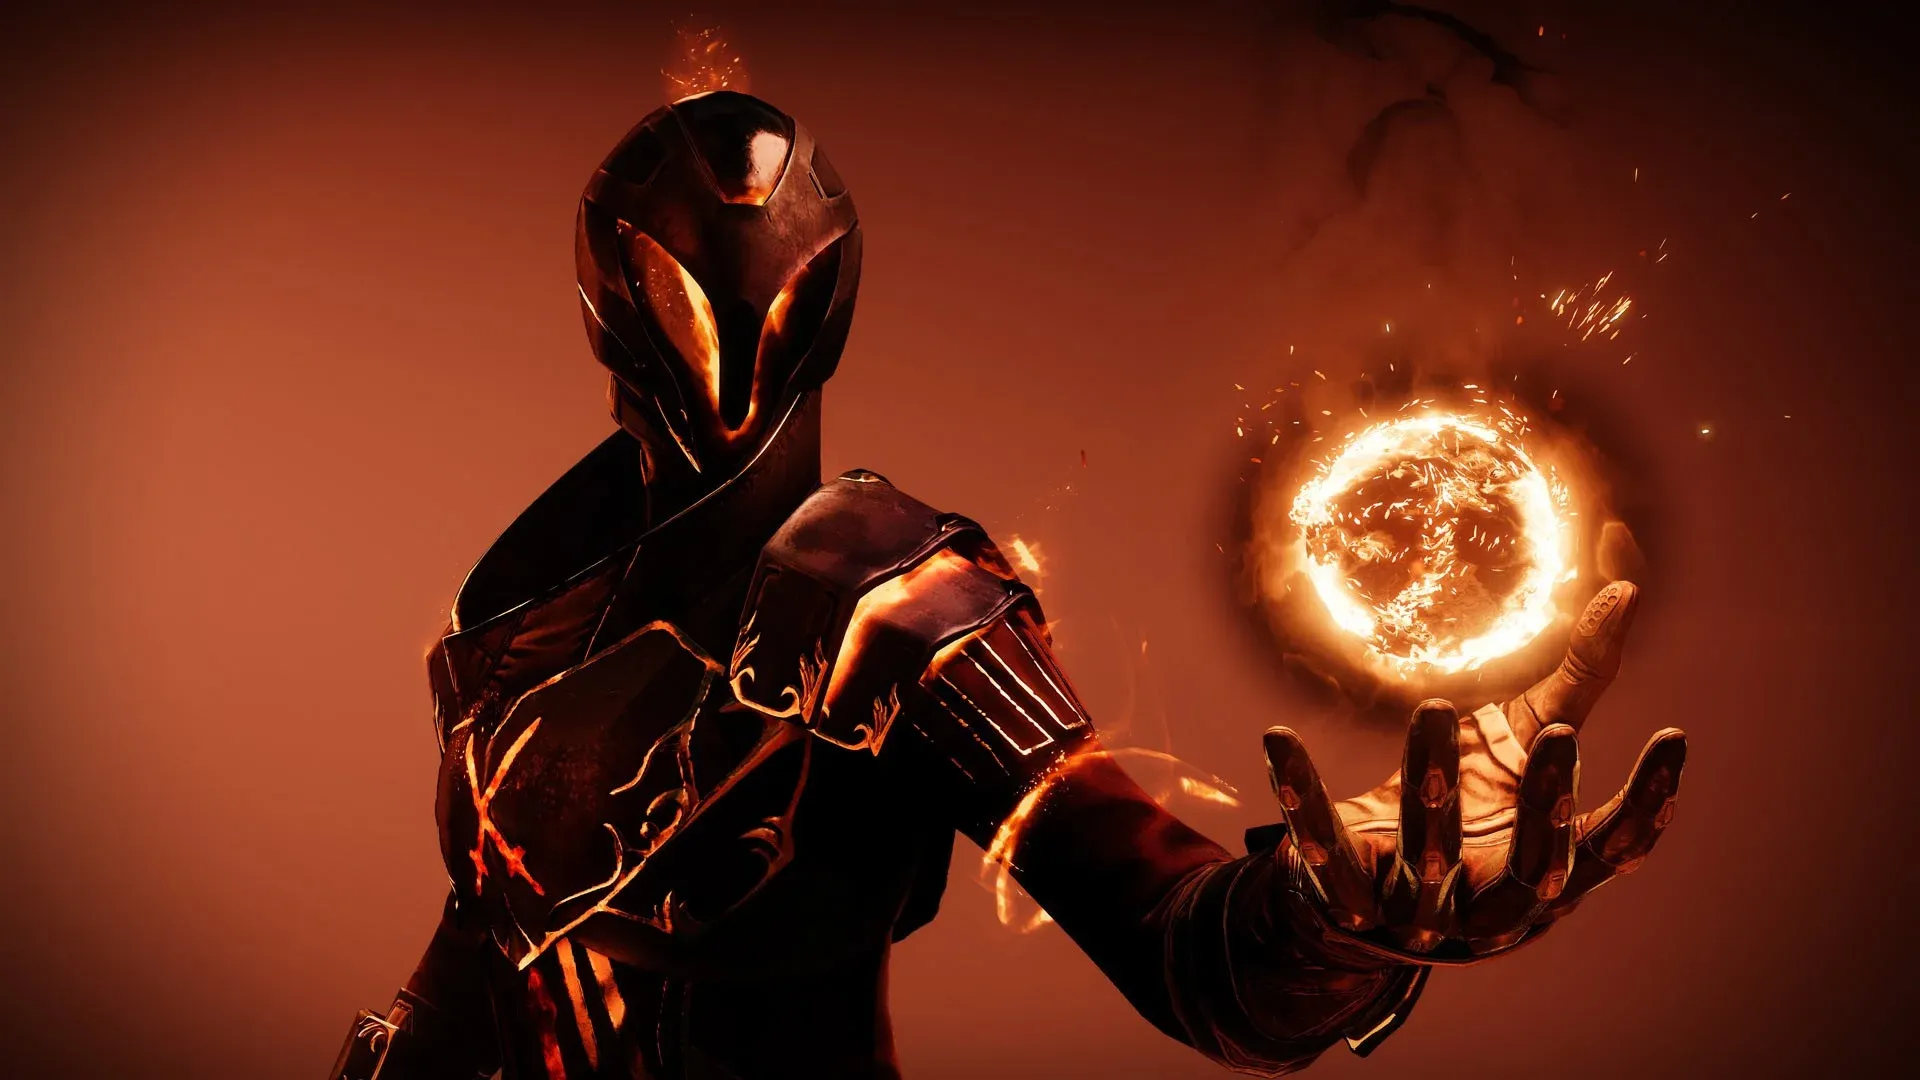
Destiny 2: Monument of Triumph Solar Titan Build Guide
Master the Solar Titan in Destiny 2's Monument of Triumph with Throwing Hammer combos, Melas Panoplia synergies, and top weapon picks.

Destiny 2: Monument of Triumph Prismatic Warlock Build Guide
Summon an army of elemental turrets and Threadlings with the ultimate Prismatic Warlock buddy build in Destiny 2.
The Destiny 2 Monument of Triumph update has given loot overhauls to many of Destiny 2's older dungeon activities. One of these is the Pit of Heresy, introduced during the Shadowkeep expansion. Pit of Heresy drops powerful weapons and a brand new set of armor. This guide provides a full overview of every encounter and mechanic found in the dungeon.
The first encounter is the Necropolis. Looking down off the cliff at the start, players will see a number of towers with Hive runes floating above them.
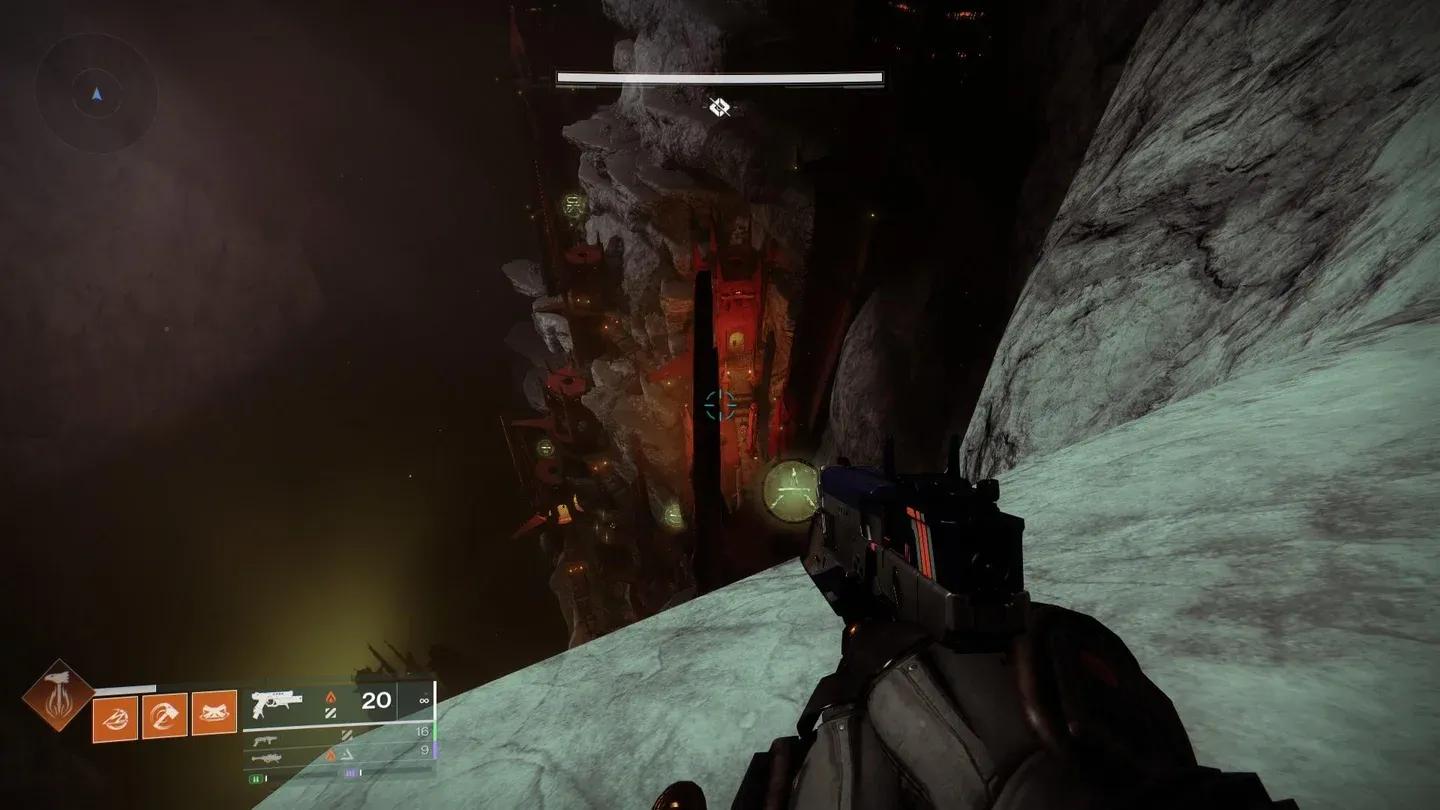
Jump down to the nearest tower and kill all of the enemies outside. The doors into the towers remain closed until the Pit Keeper enemy outside is killed. Once inside, an Accursed Swordbearer will spawn.
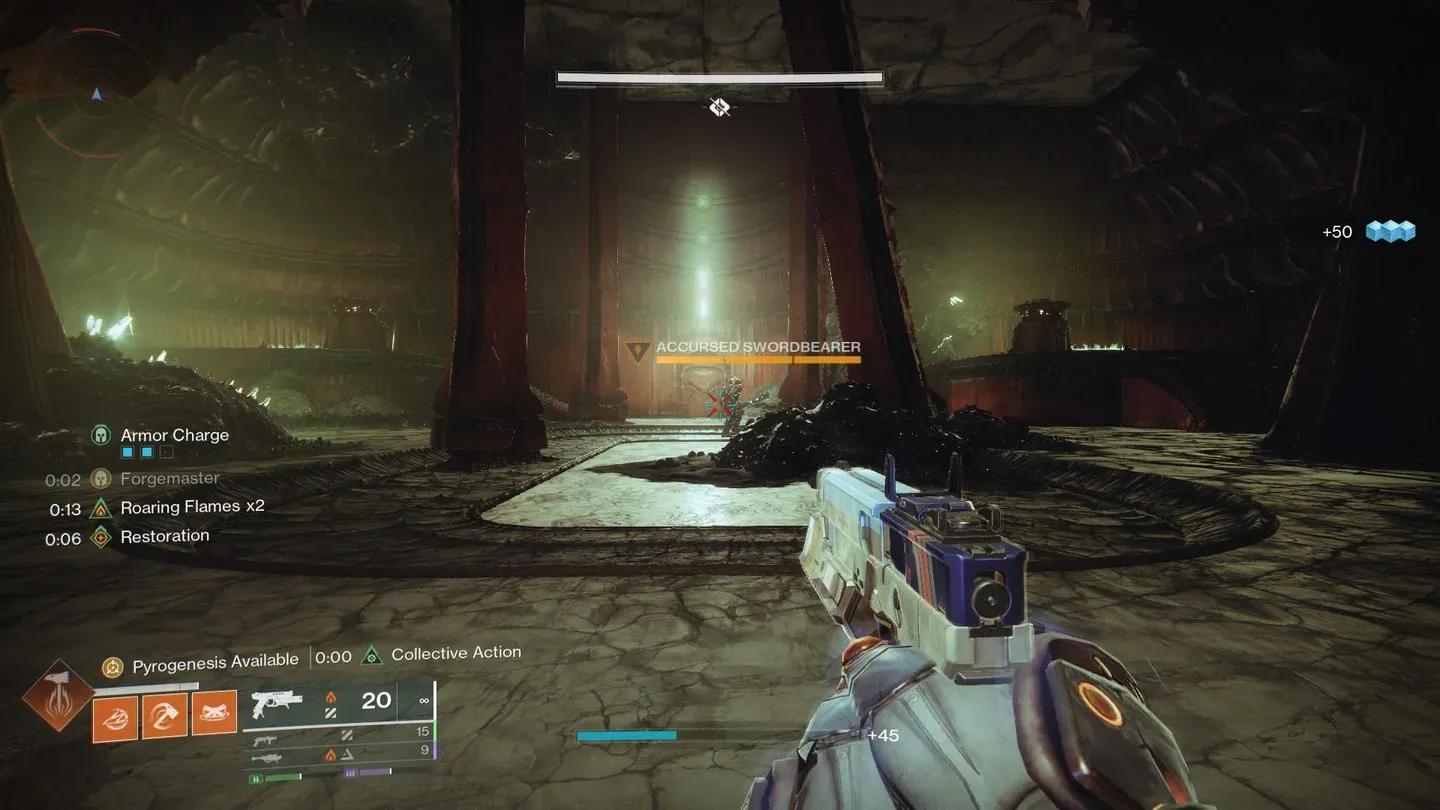
Killing the Swordbearer drops a Hive sword. Pick it up and look at the runes displayed between the two tall pillars at the back of the room , three runes will be shown.
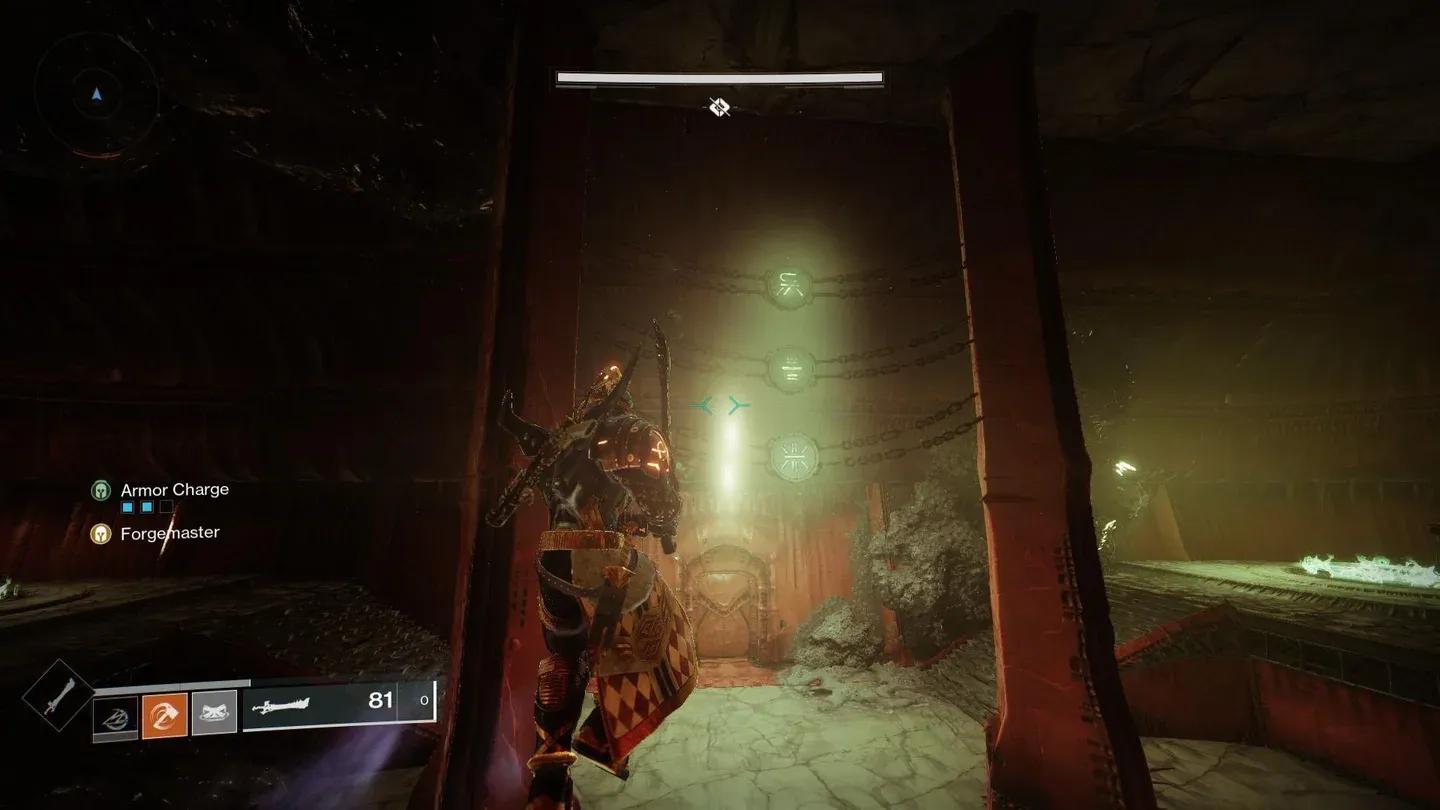
These three runes correspond to three of the towers across the Necropolis. Each tower contains a mini boss that is immune to all damage except that dealt by specific abilities of the Hive sword.
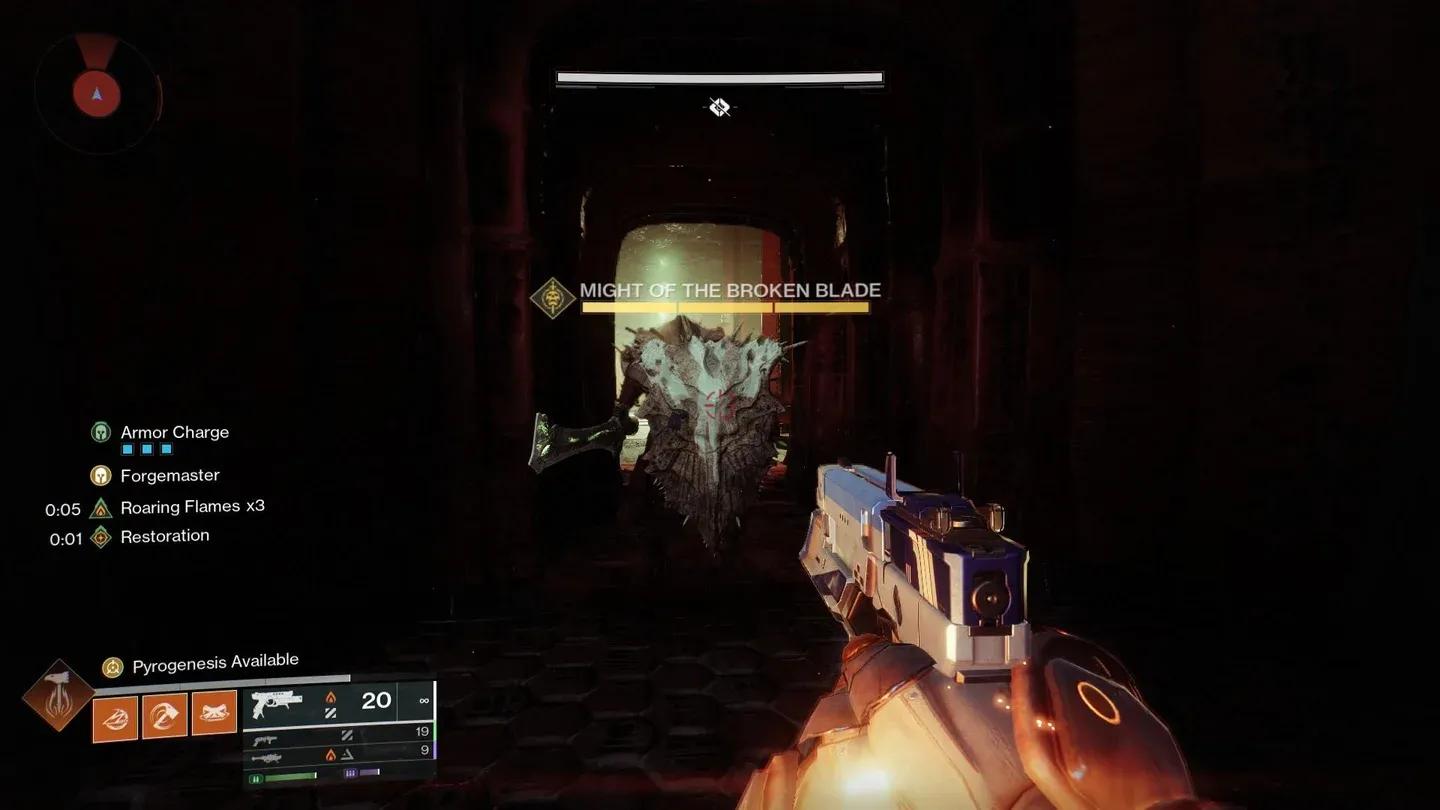
The tower corresponding to the top rune contains a Hive Knight called Might of the Broken Blade. This mini boss only takes damage from the Hive sword's regular swing attack and its Super ability.
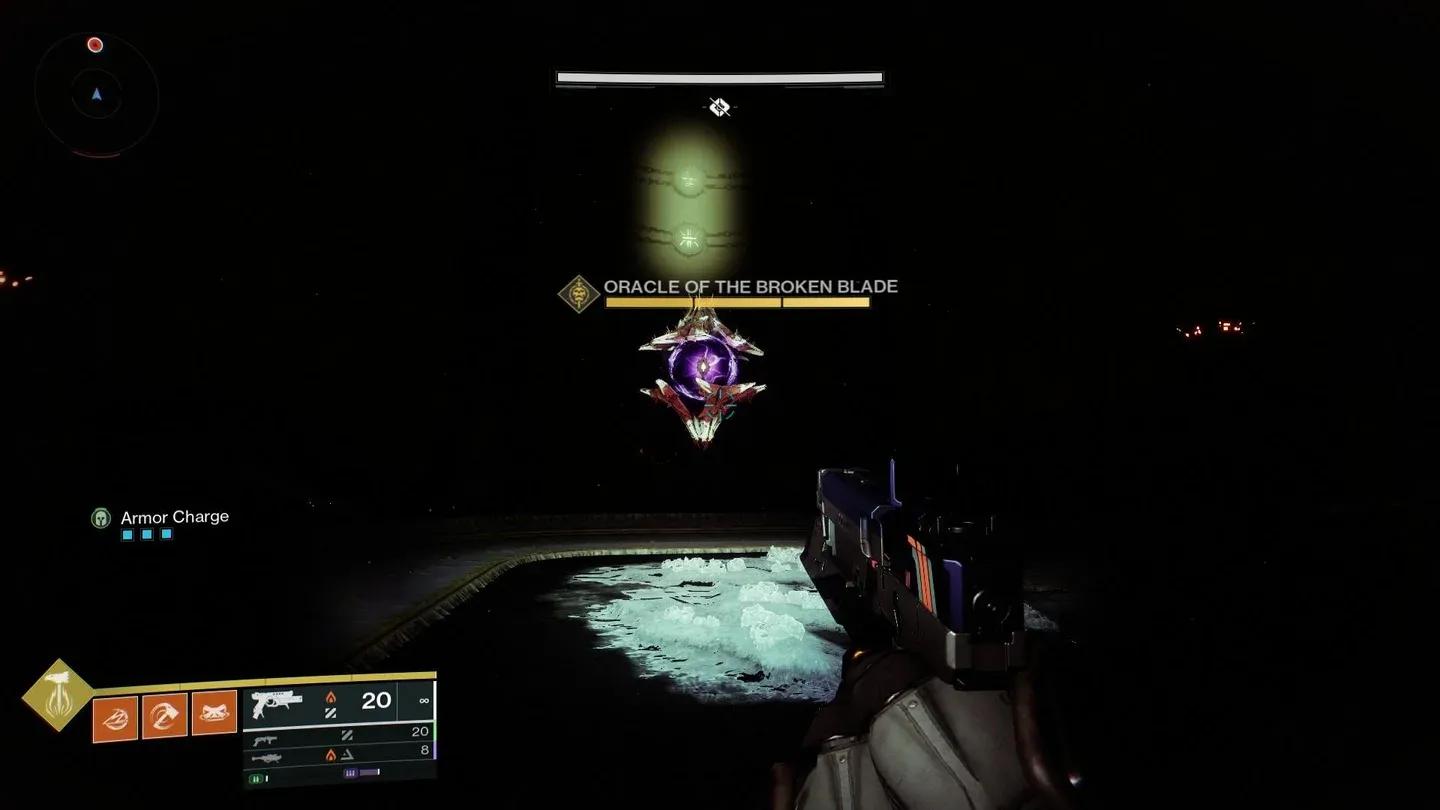
The second rune's tower contains a Hive Shrieker called Oracle of the Broken Blade.
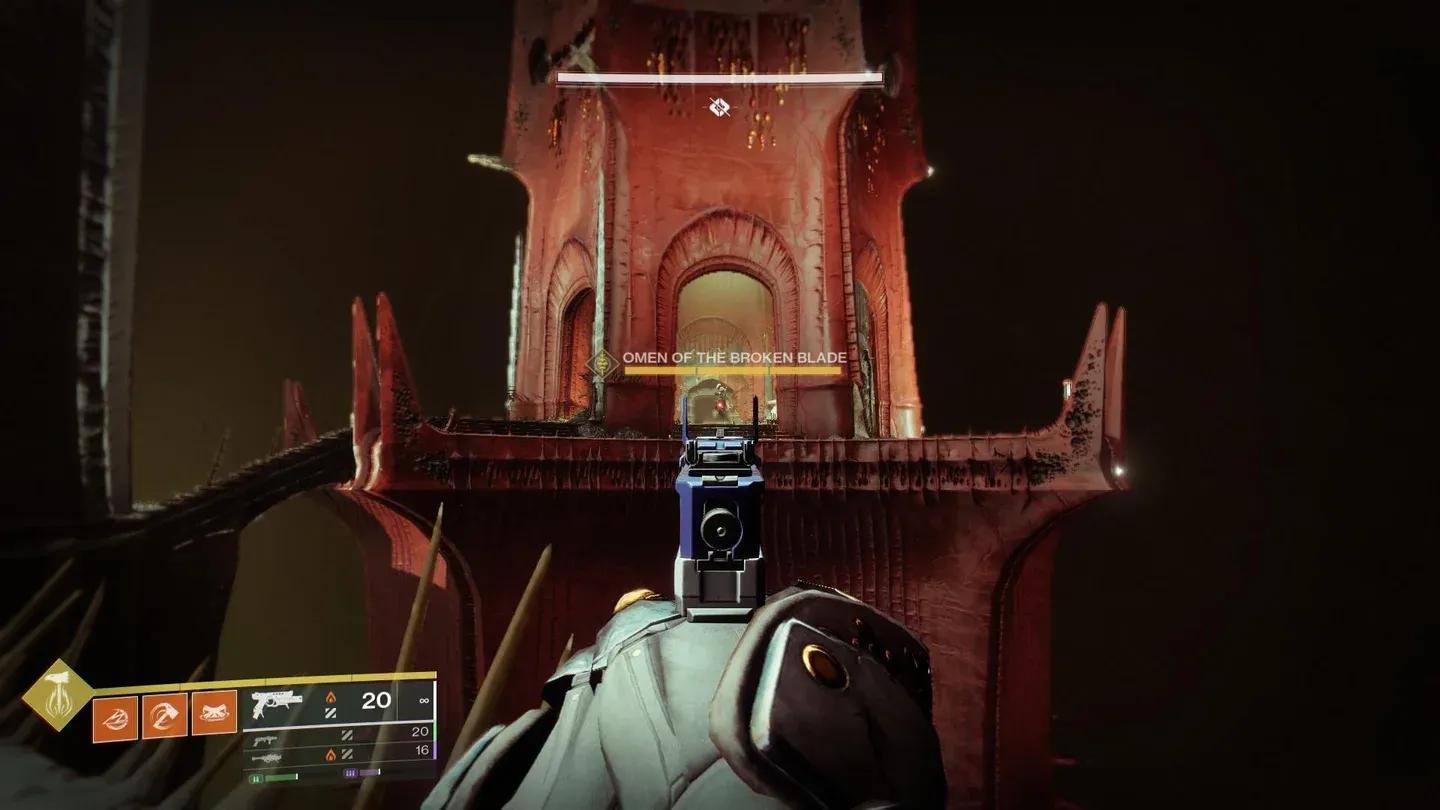
The third rune's tower contains a group of Hive Wizards, one of which is the mini boss Omen of the Broken Blade.
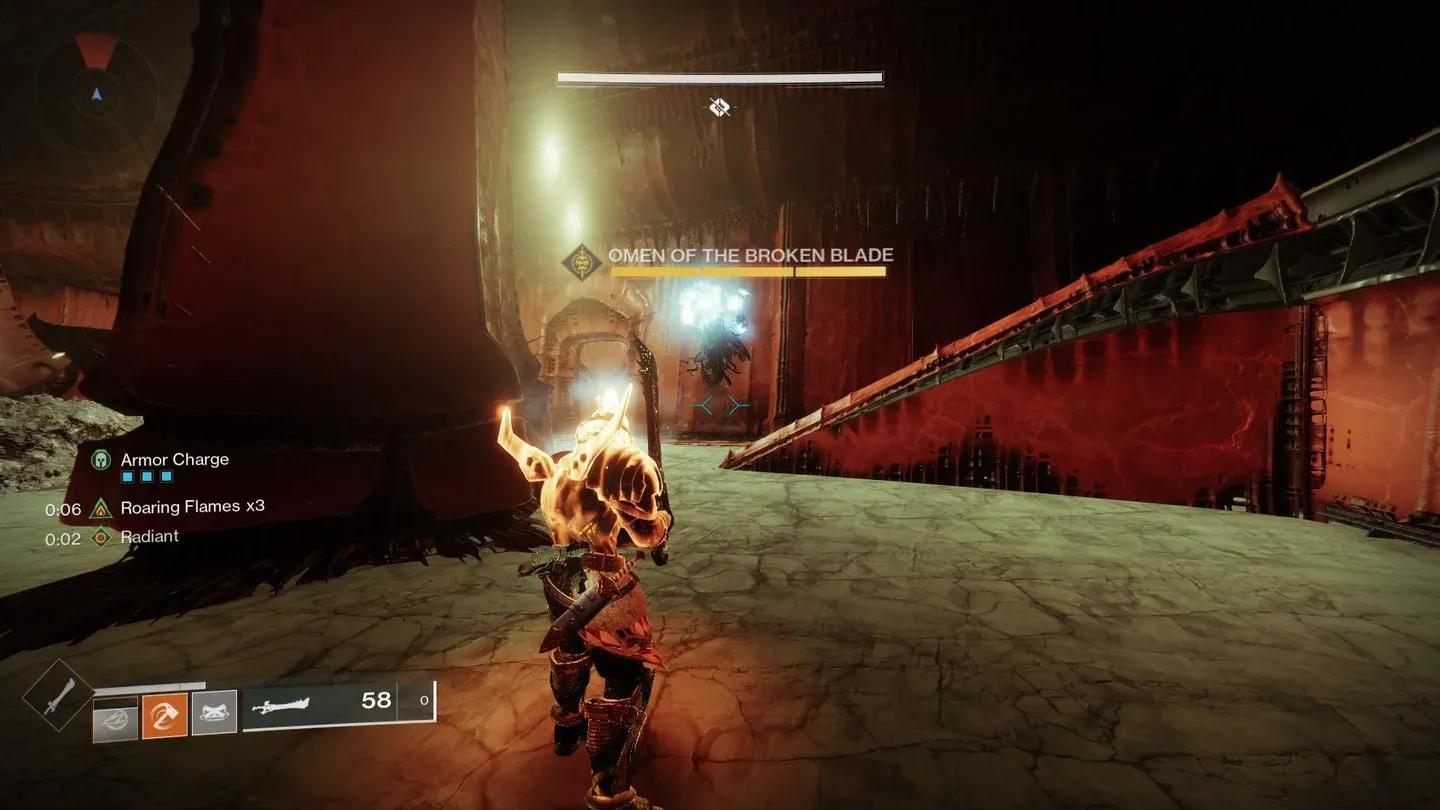
After defeating all three mini bosses, one of the towers will shoot a pillar of green light into the sky. Head to that tower, kill the enemies outside to open it, and proceed through to find a chest and the end of the Necropolis encounter.
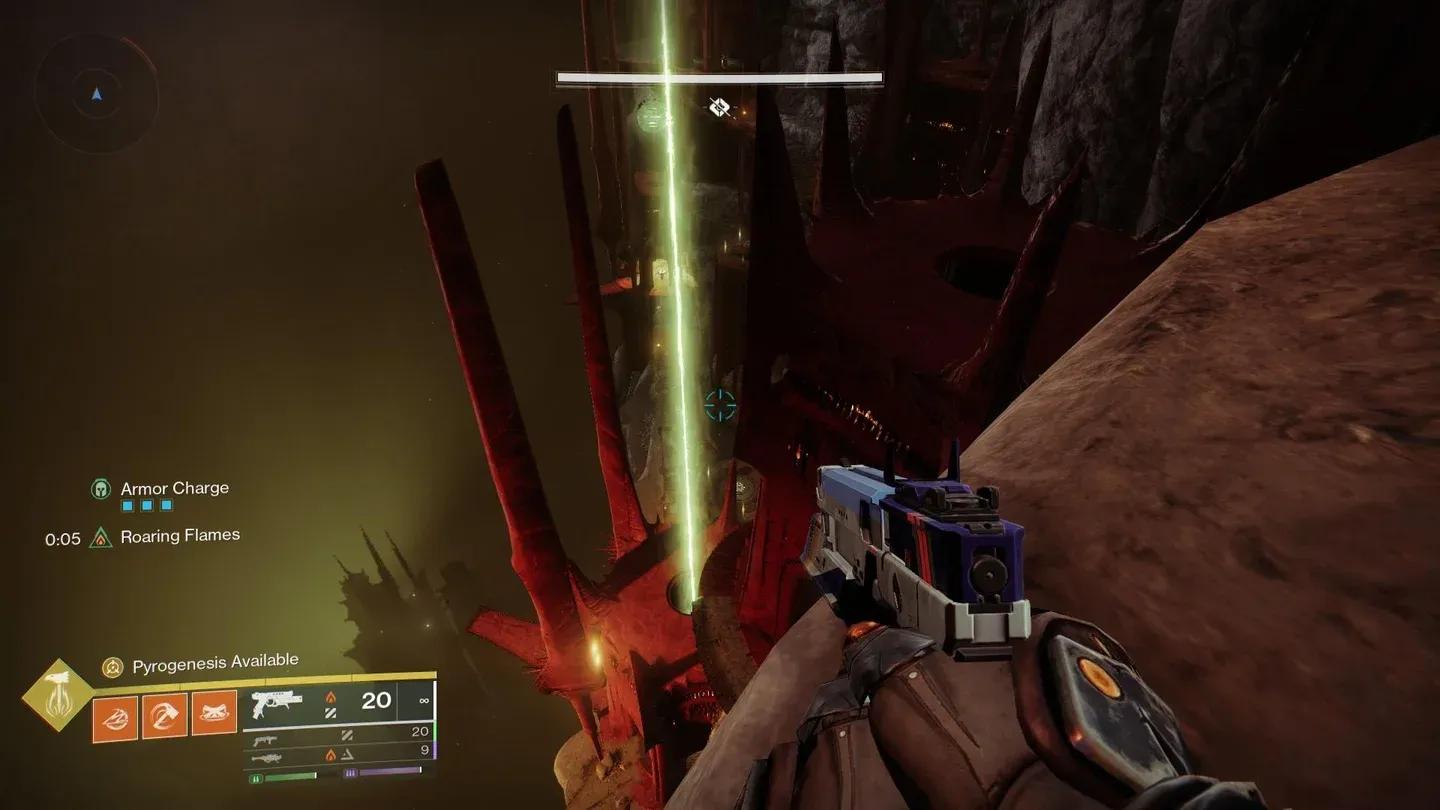
Leaving the Necropolis, players will find a wall of doors. It may seem like one of these leads deeper into the dungeon, but that is not the case. Instead, look for a hole between the doors with green light coming out of it and go through there.
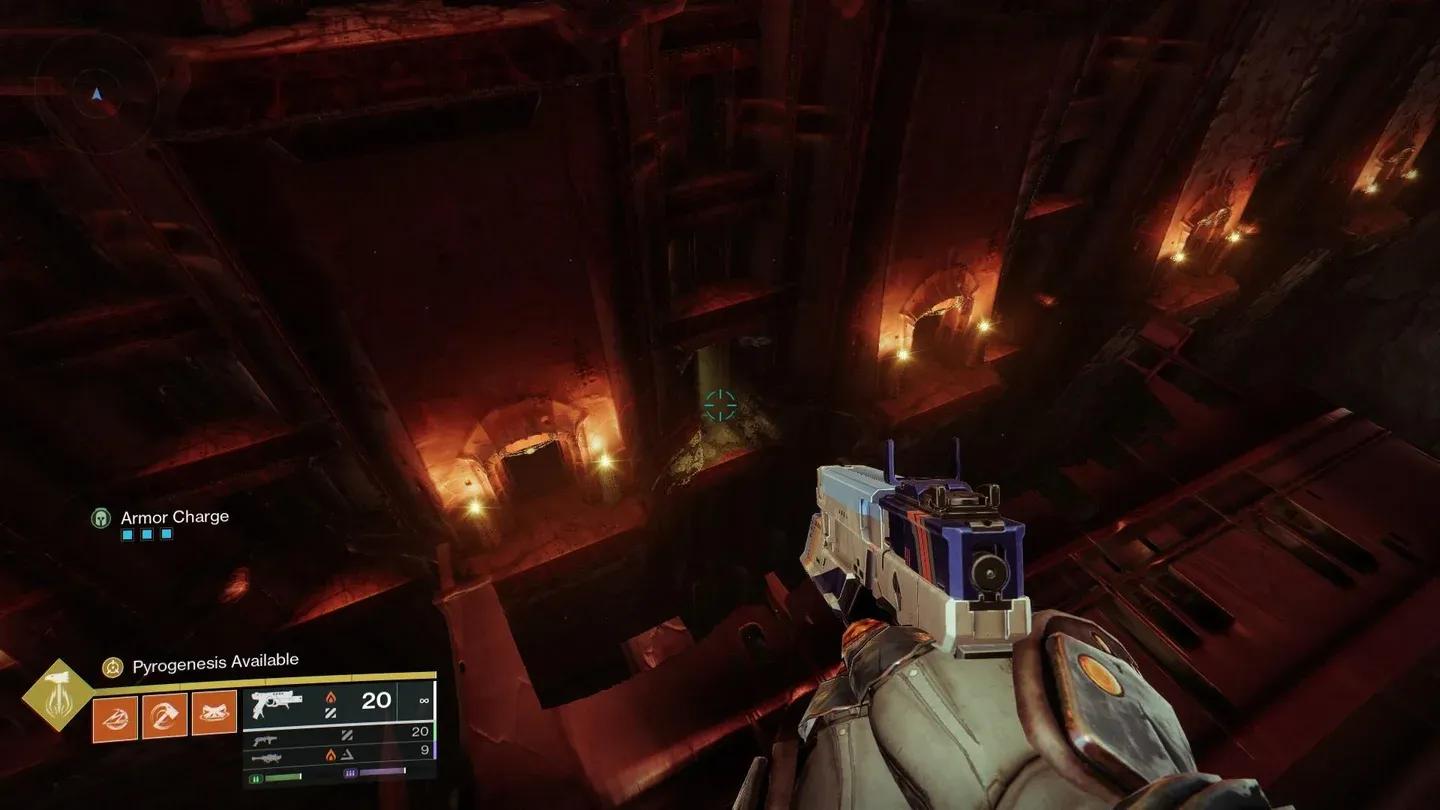
Continuing through the tunnel leads to the Tunnels of Despair, at the end of which are three massive doors blocked by Hive magic.
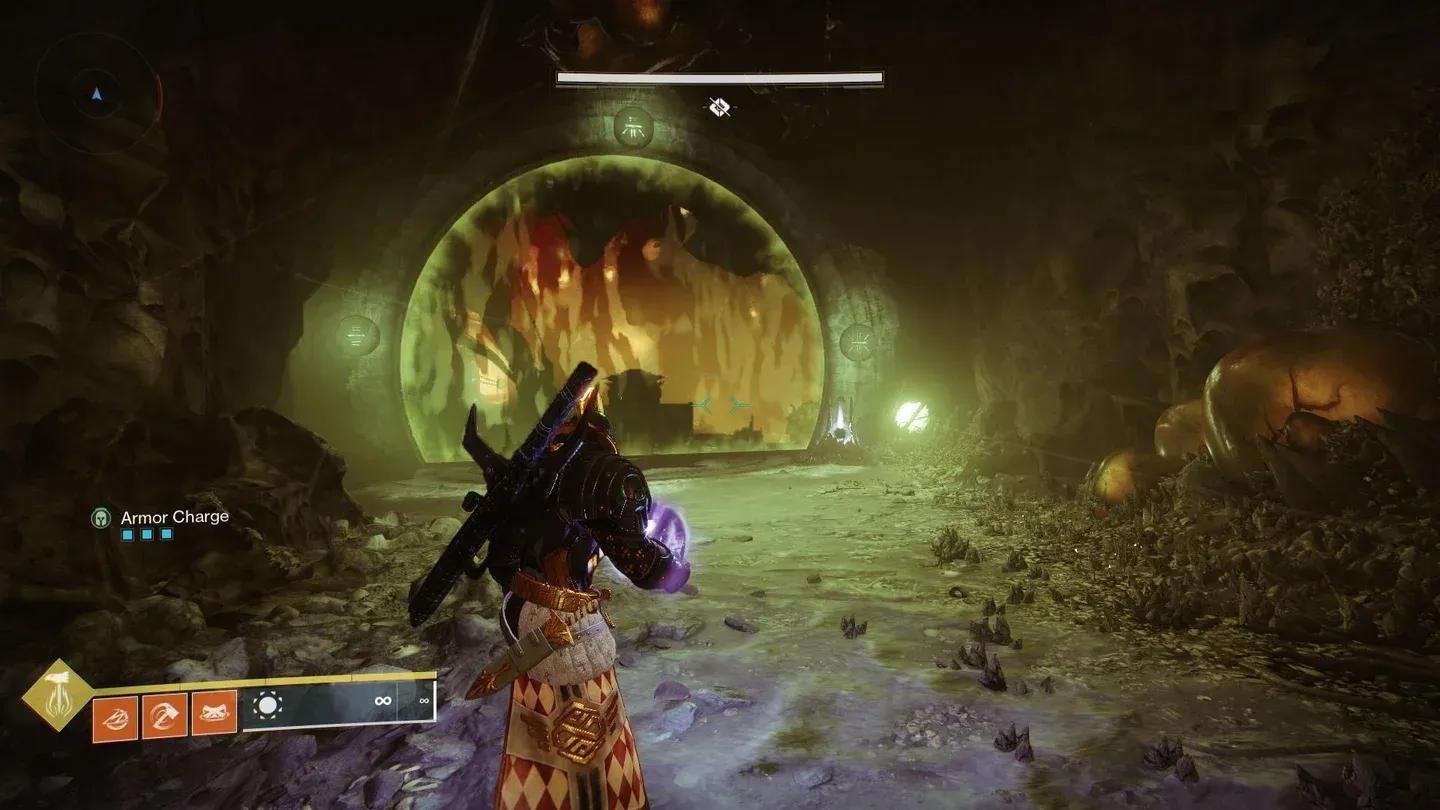
To open these doors, Void Charges must be delivered to each one. The primary obstacle is the Harrowing Pariahs , invincible Ogres that wander the tunnels and deal massive damage.
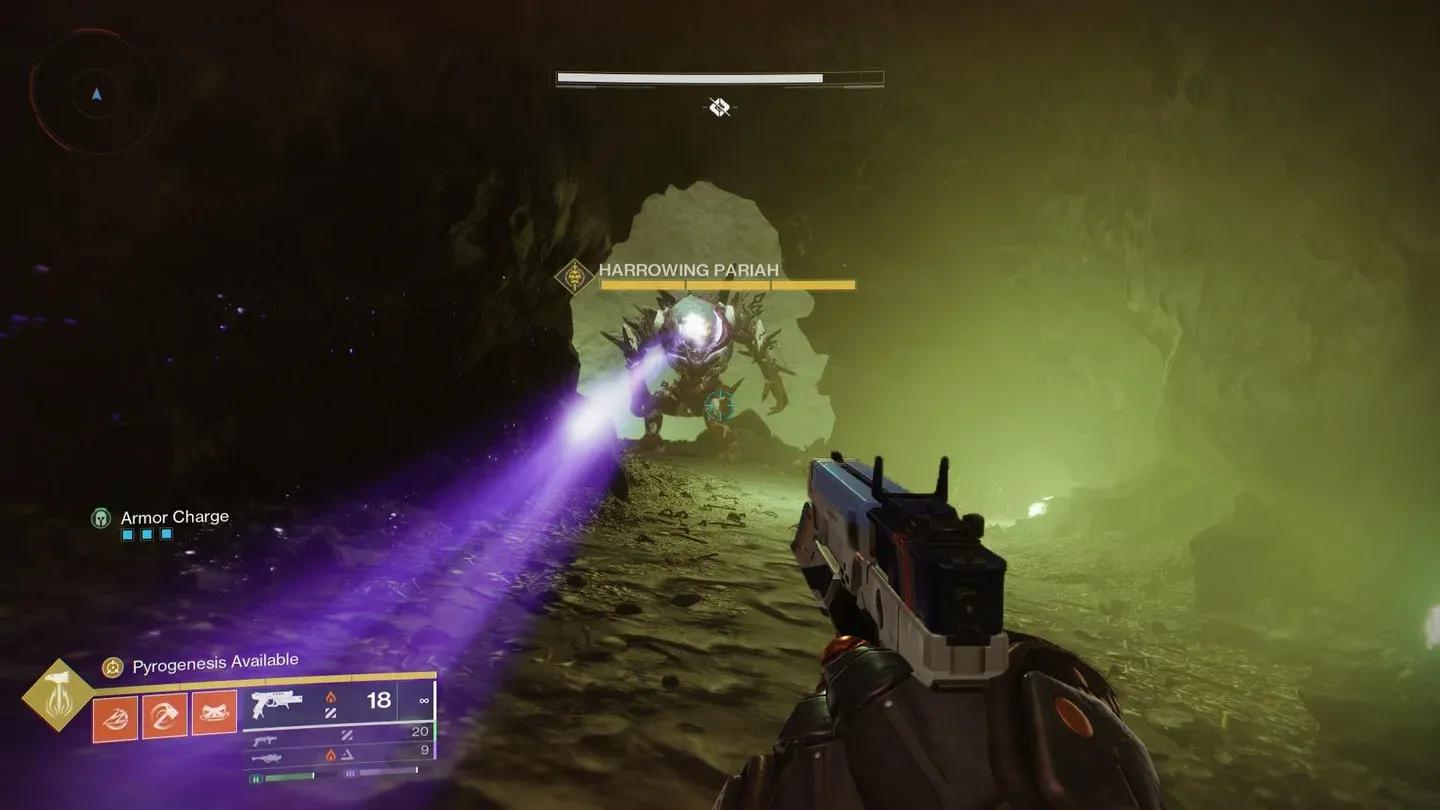
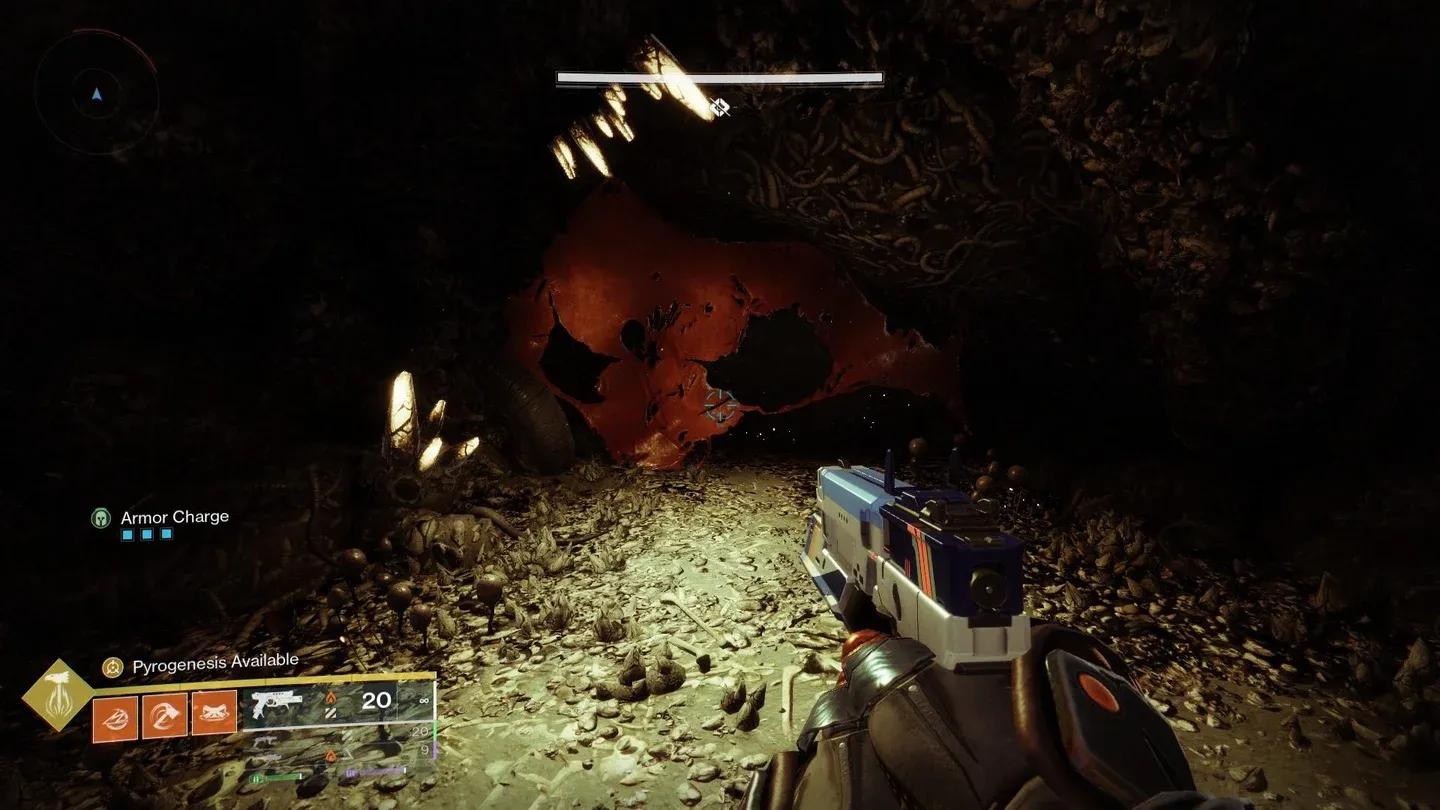
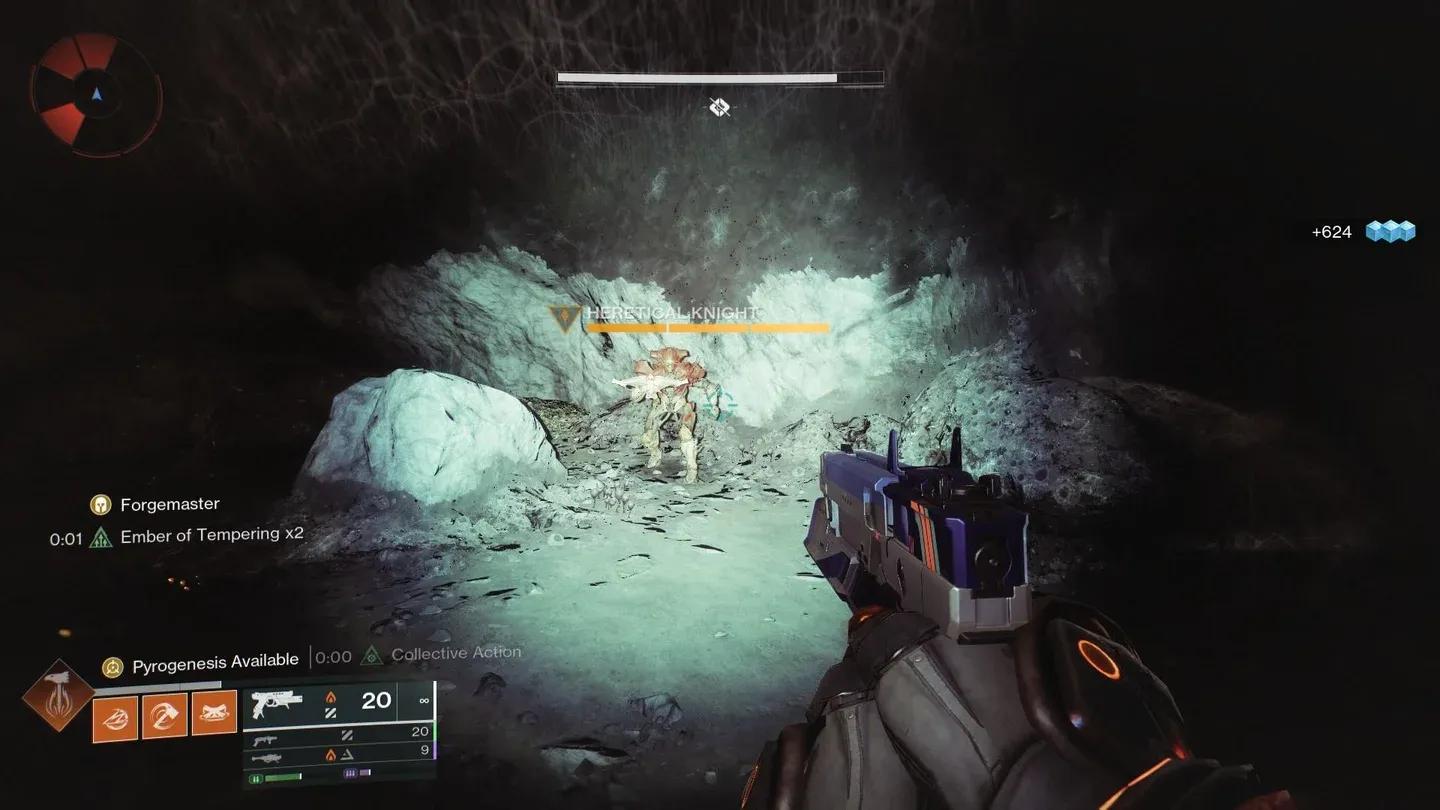
Inside these caves are Heretical Knights, which carry the Void Charges needed to open the doors.
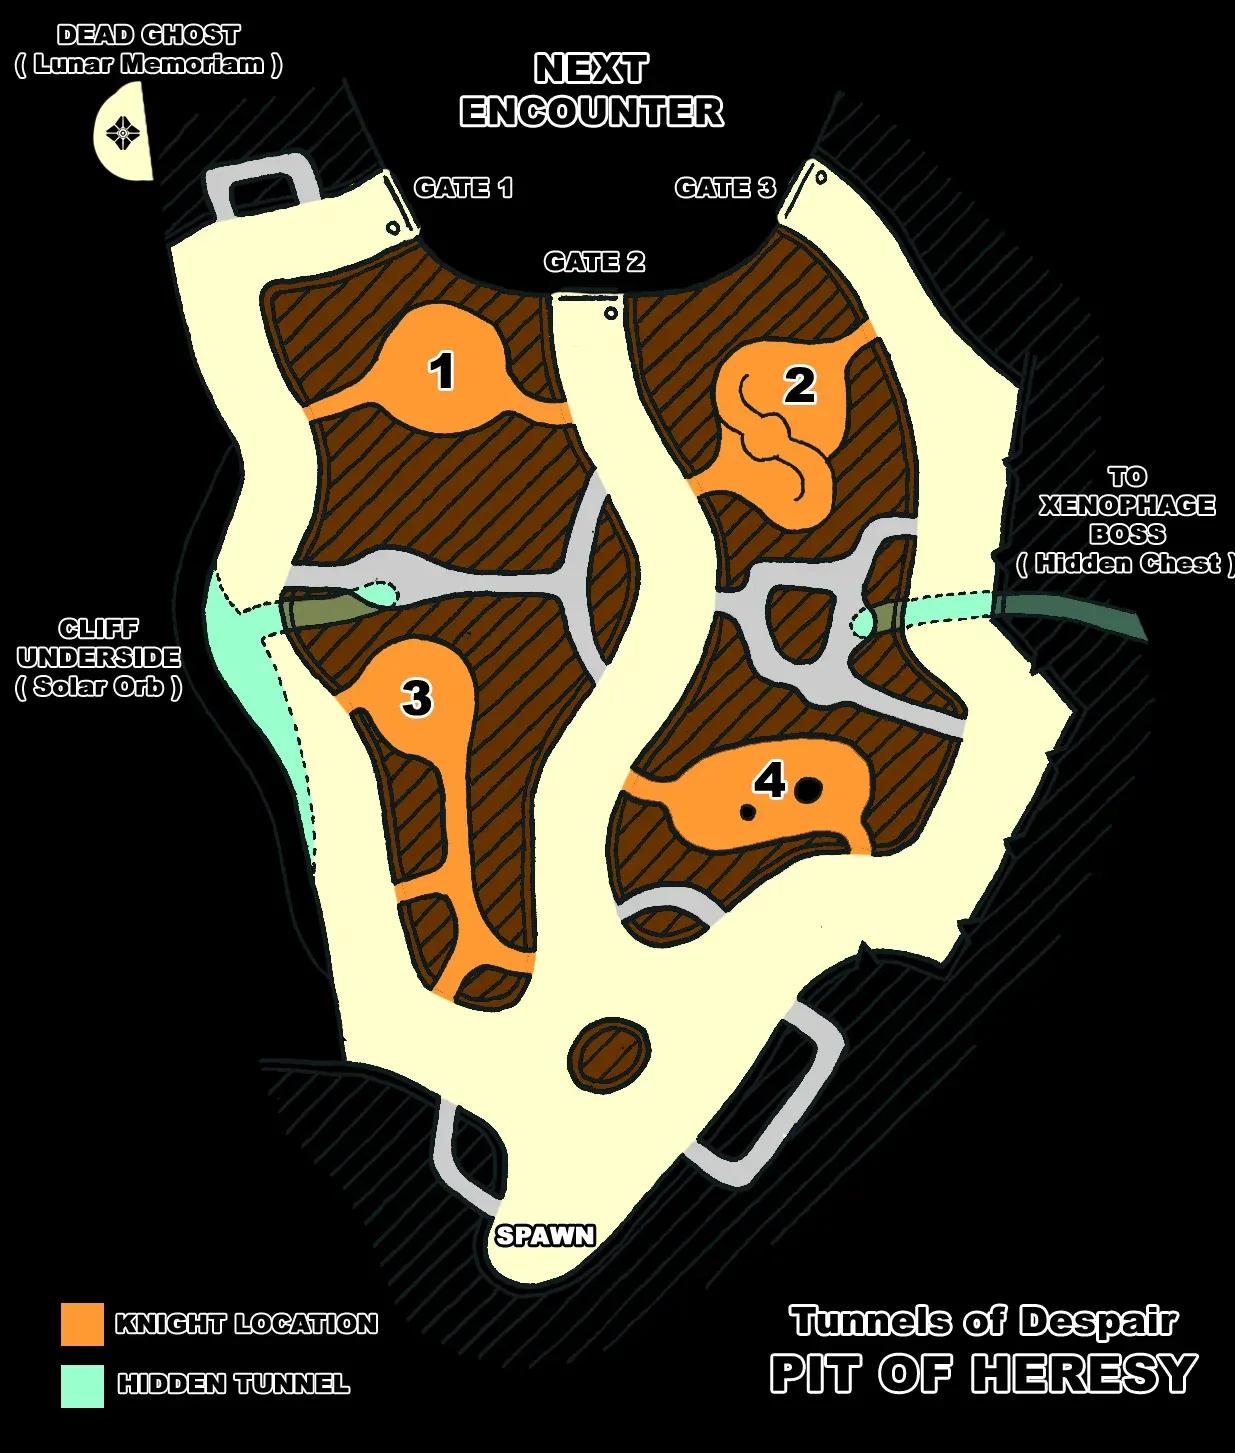
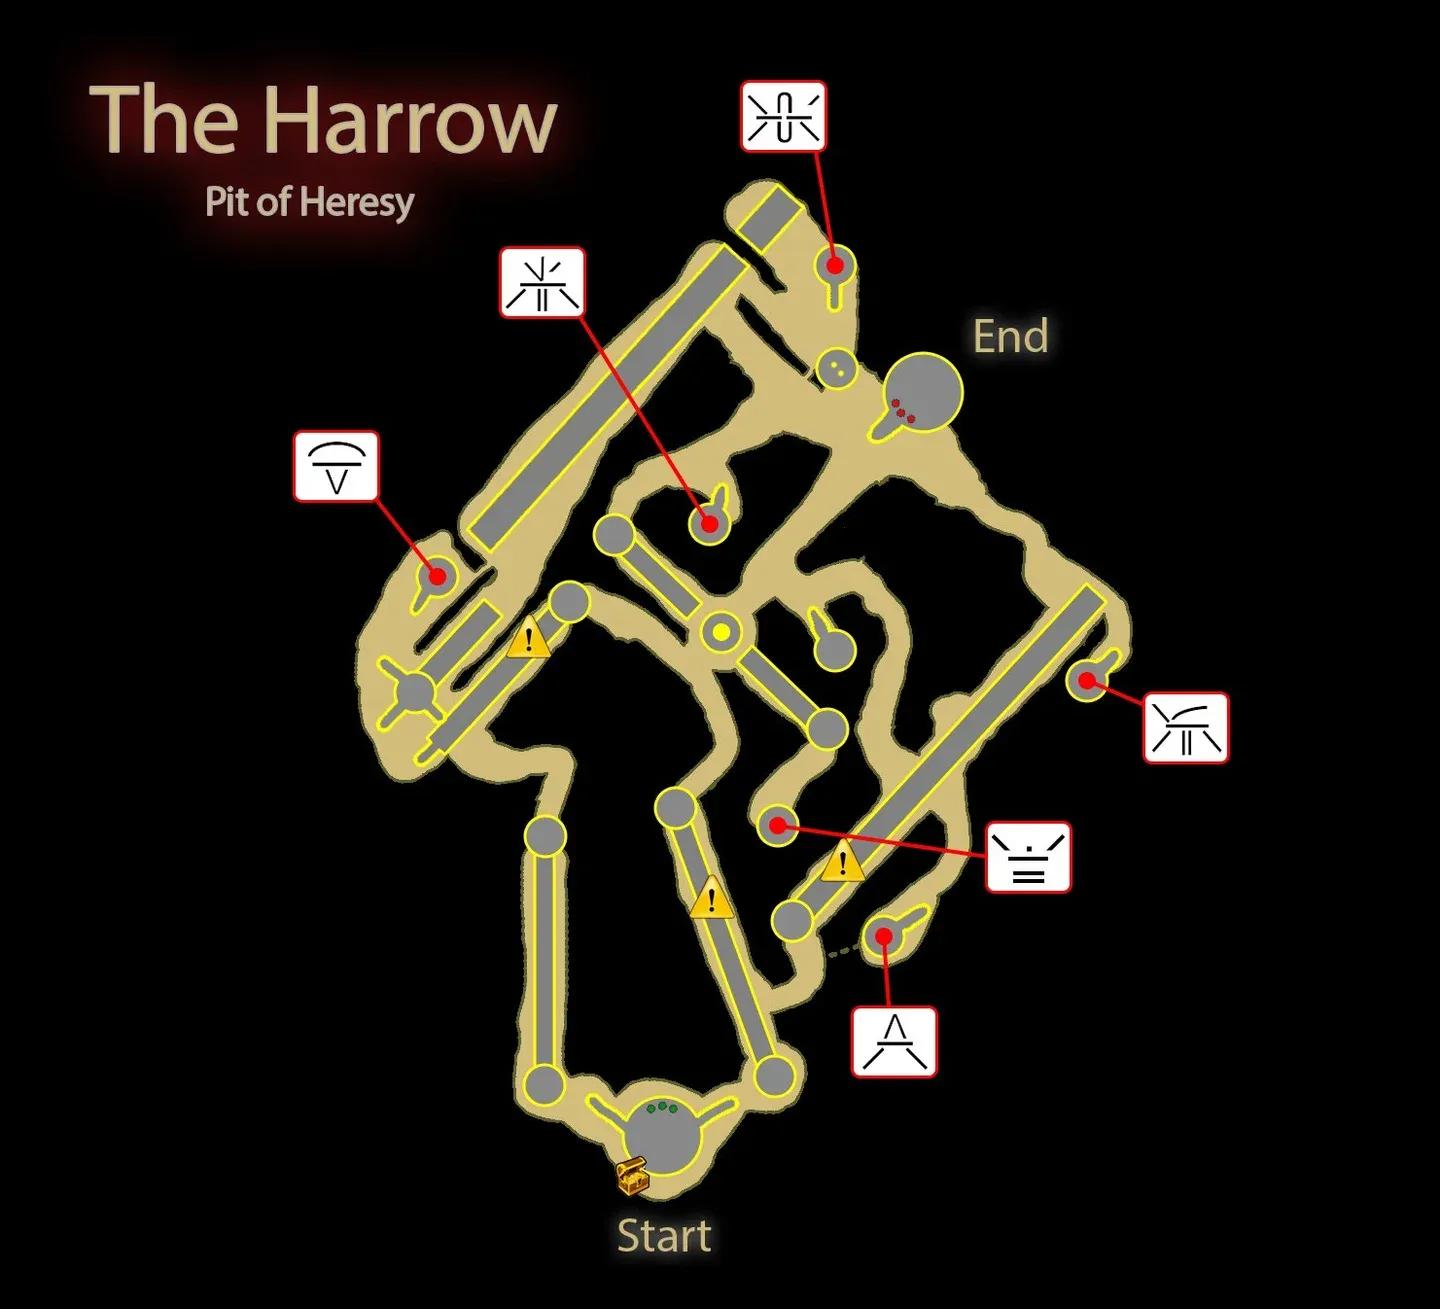
The tunnels can be disorienting. Use the map below to help navigate.
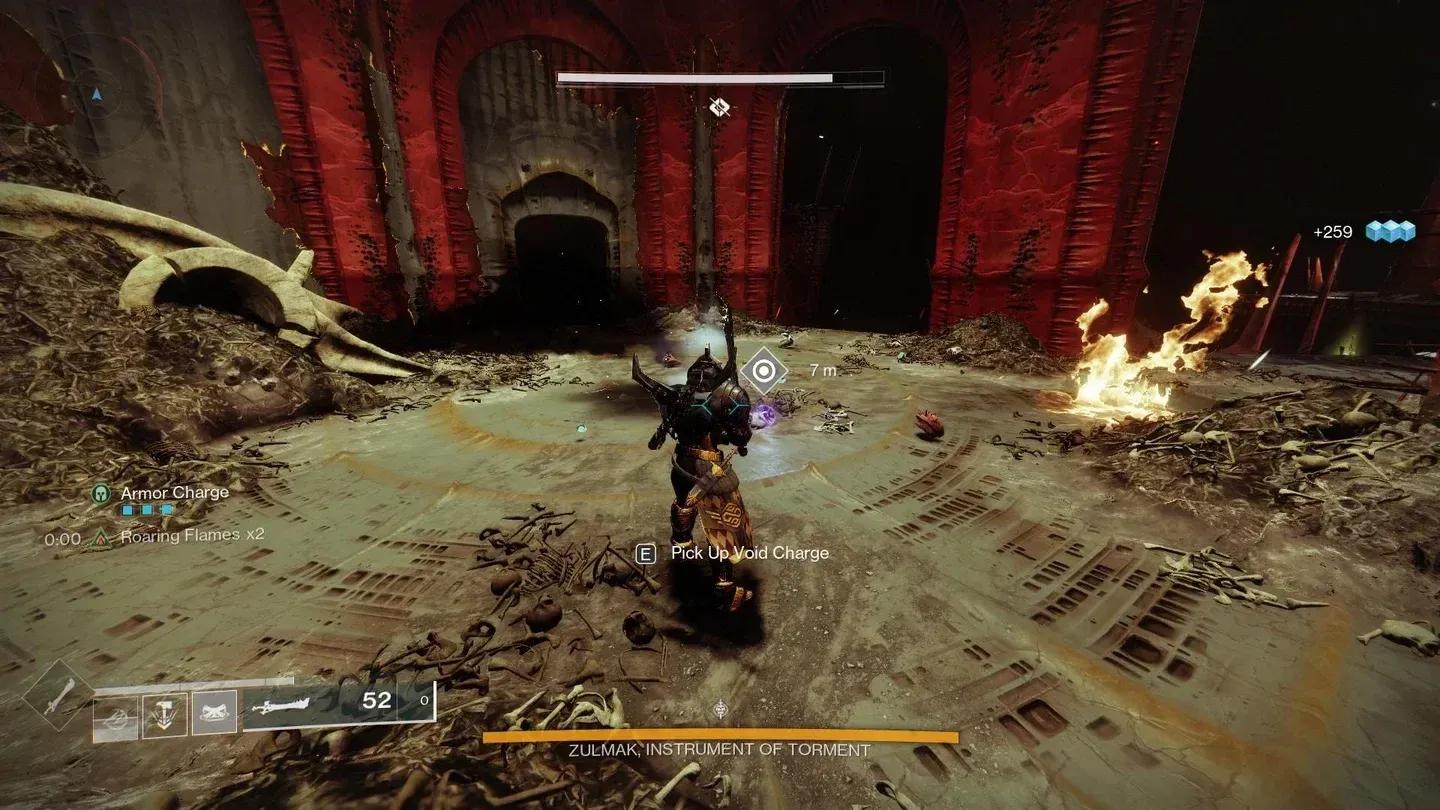
Through the doors at the end of the Tunnels of Despair is the Chamber of Suffering. The goal is to clear the six Hive runes from the pillars at the back of the room by dunking Void Charges.
Void Charges are carried by Heretical Knights who enter the room through the doors leading into the Chamber.
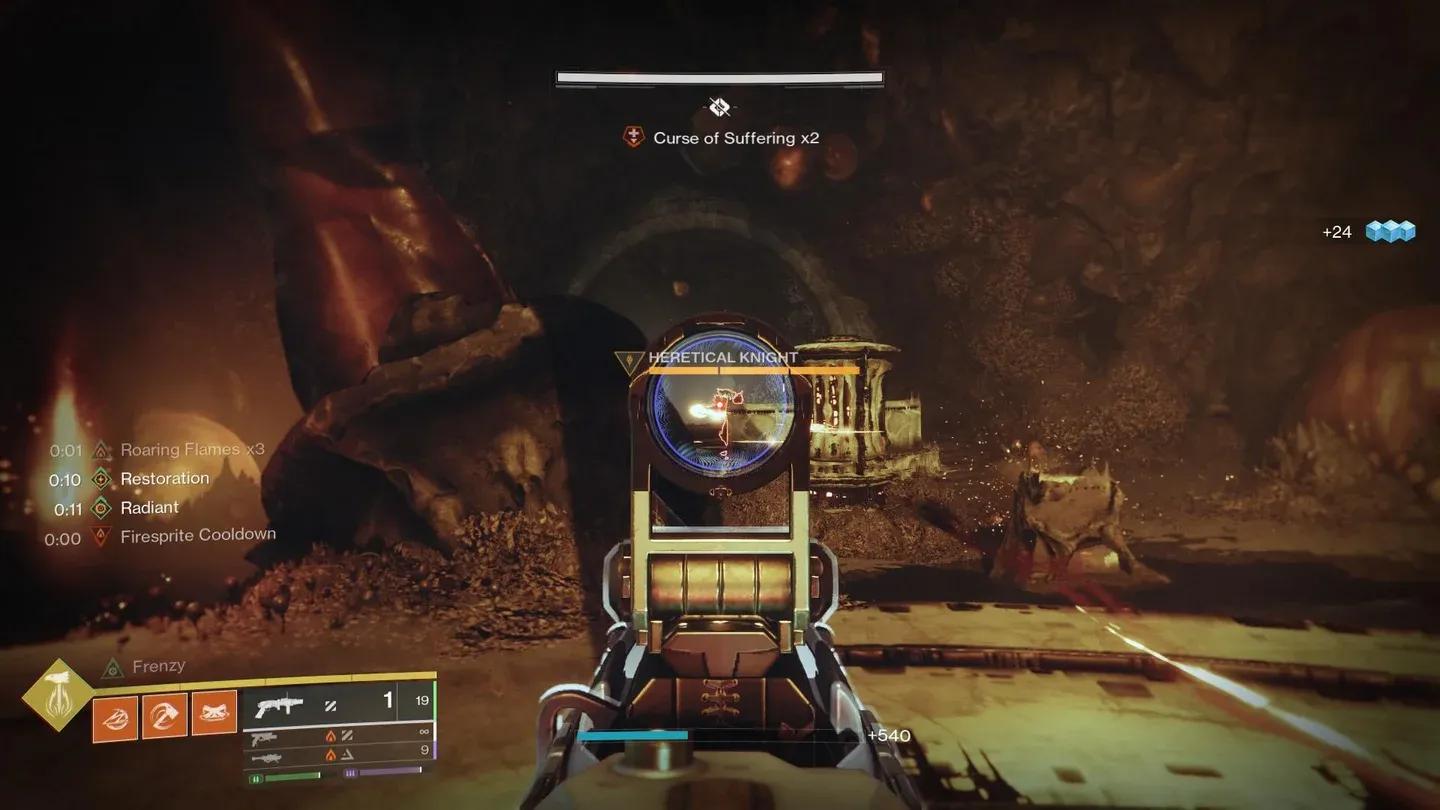
Watch the entrances for incoming Knights, kill them, and bring the Void Charge back to the pillars to dunk.
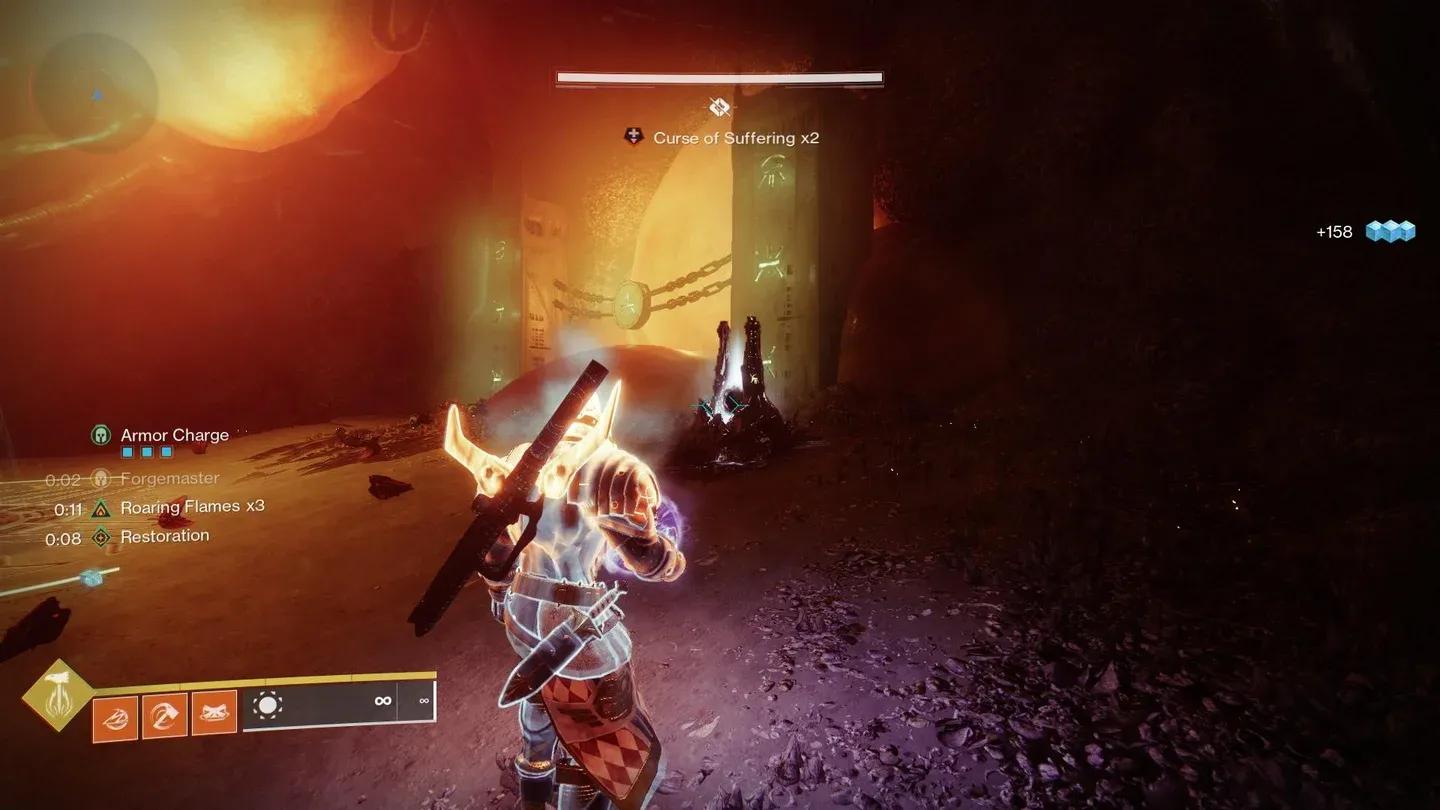
Two mechanics require constant attention throughout this encounter.
Just in front of the pillars is a Hive Totem with a plate beneath it. If no one is standing on the plate, the totem grows and begins to glow red, eventually wiping the entire fireteam.
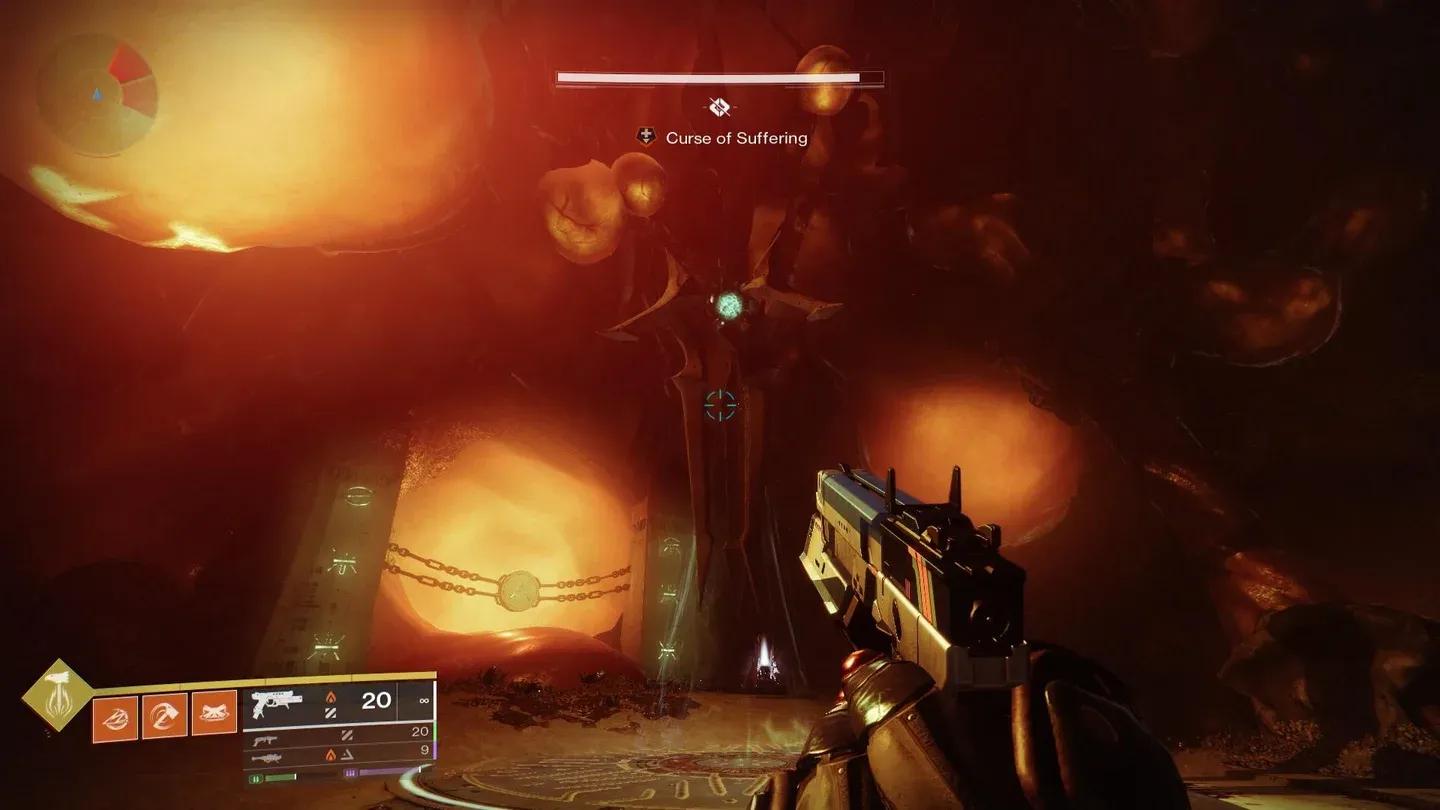
The Curse of Suffering debuff appears at the top of the screen and stacks up to ten over time. Each stack increases the damage taken from enemies. Dunking a Void Charge reduces the debuff to one stack for the player who dunks it.
To manage this effectively across the whole fireteam, rotate who is hunting Heretical Knights and who is standing on the totem plate. This ensures everyone dunks Void Charges at regular intervals and keeps incoming damage low.
Once Void Charges have been dunked six times, the chain between the pillars will break and the encounter ends.
After shooting the giant orange bubble in the Chamber of Suffering, go through the tunnel and drop down into The Harrow. The main challenge here is navigation and platforming.
At the bottom of the drop, three Hive runes will be displayed.
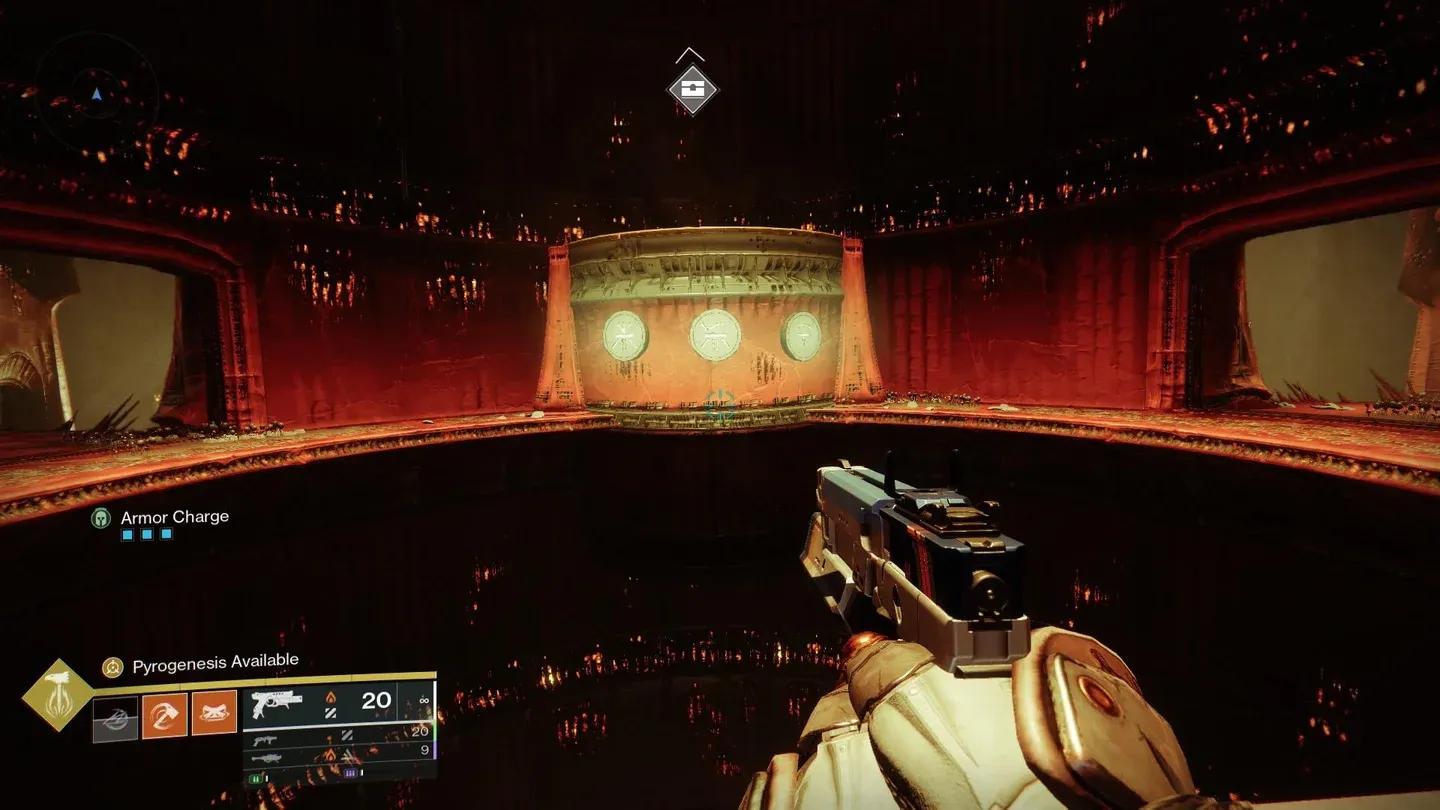
Each rune corresponds to one of six spots within the Harrow. At the matching spots, a Hive Wizard called Malevolent Ritualist will be present.
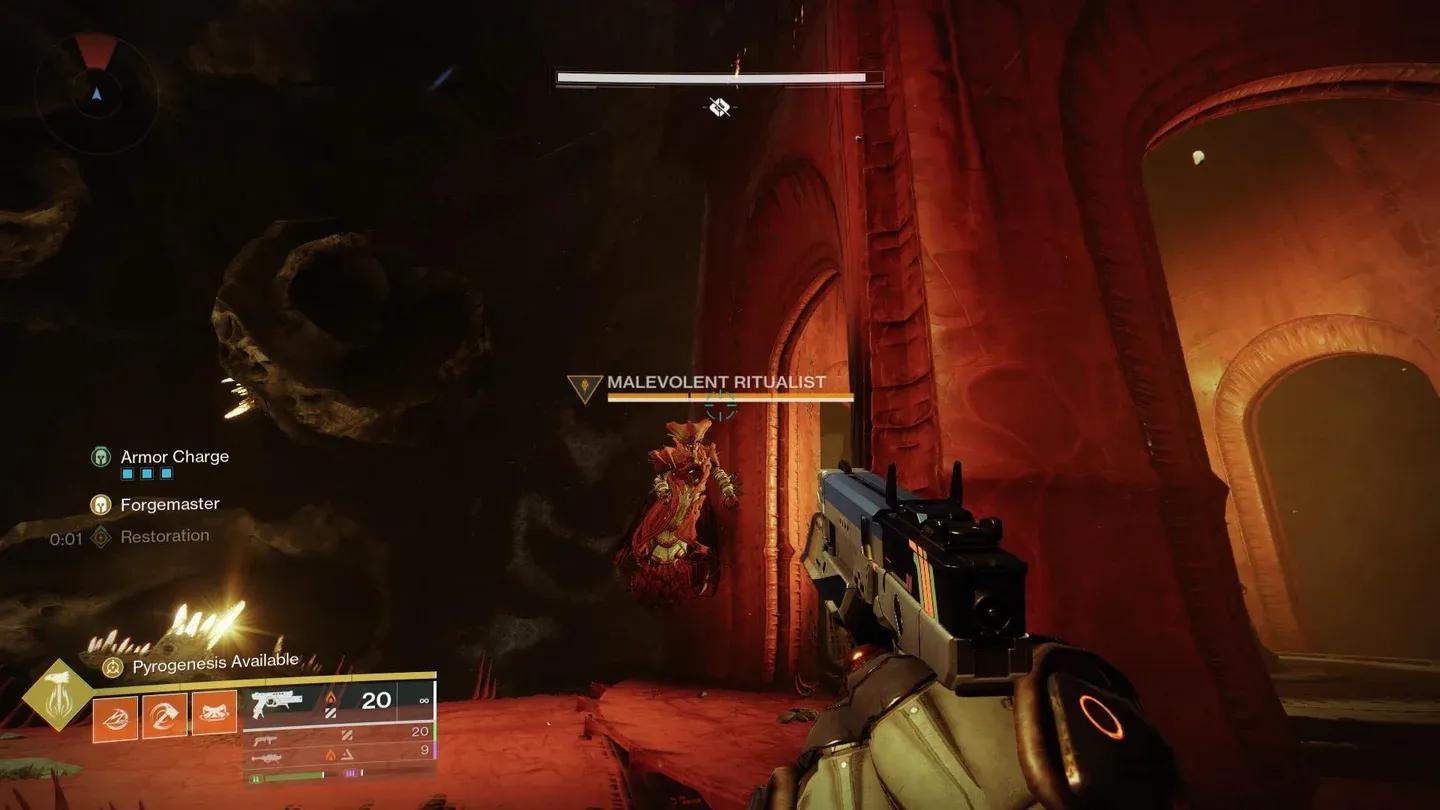
Killing all three Malevolent Ritualists unlocks the door at the end of the room, leading to the boss encounter. Use the map below to locate them more easily.
Zulmak, Instrument of Torment is the final encounter of the dungeon and combines mechanics from all previous encounters.
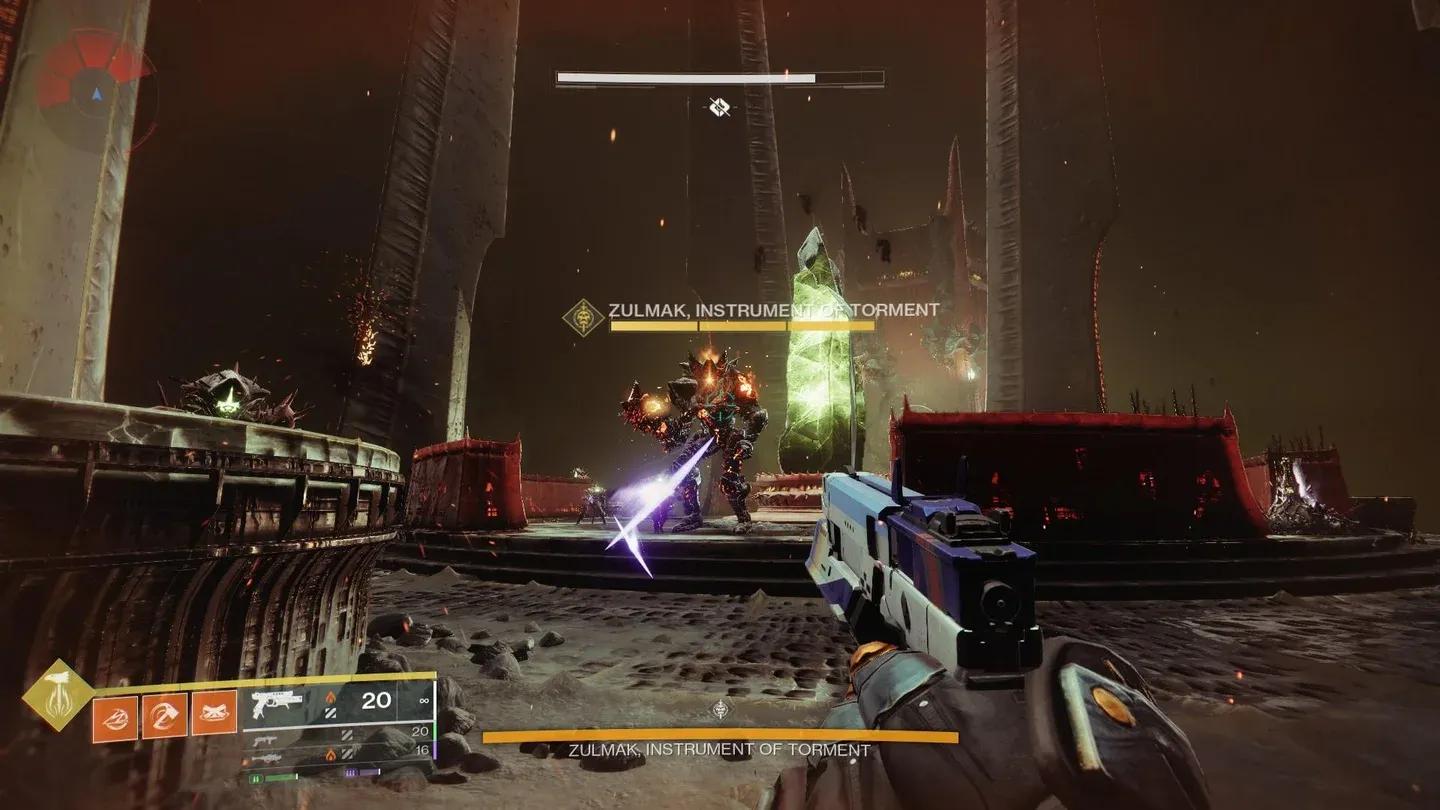
The fight arena features a large circle in the middle with a giant crystal inside, and three towers on the outer edge. Each tower contains one of the mini bosses from the Necropolis: Might of the Broken Blade, Oracle of the Broken Blade, and Omen of the Broken Blade.
Three Accursed Swordbearers spawn just outside the ring at the start of the fight, and continue to spawn throughout until the damage phase begins.
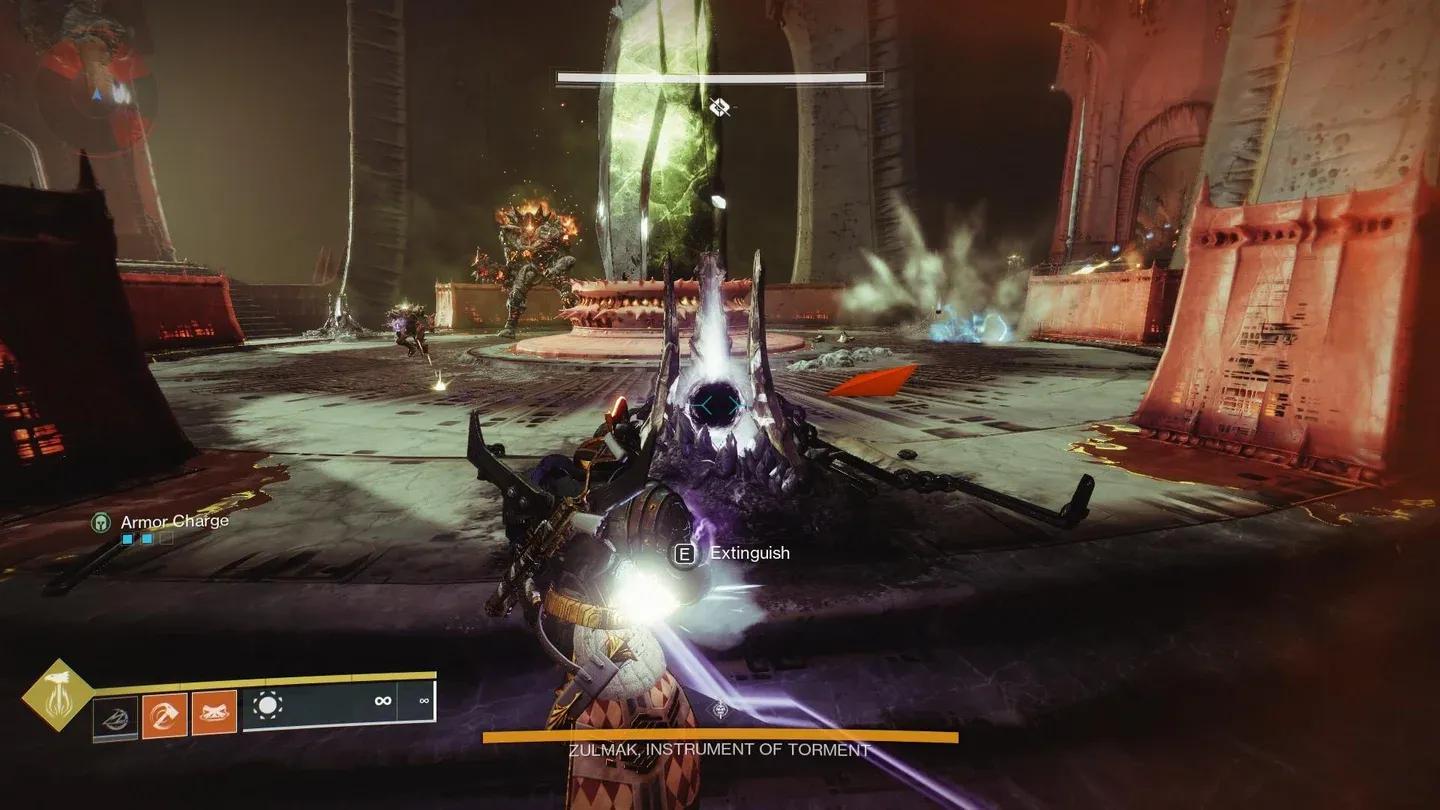
Once all three Void Charges are deposited, Zulmak's circle begins to glow green , the damage phase has started.
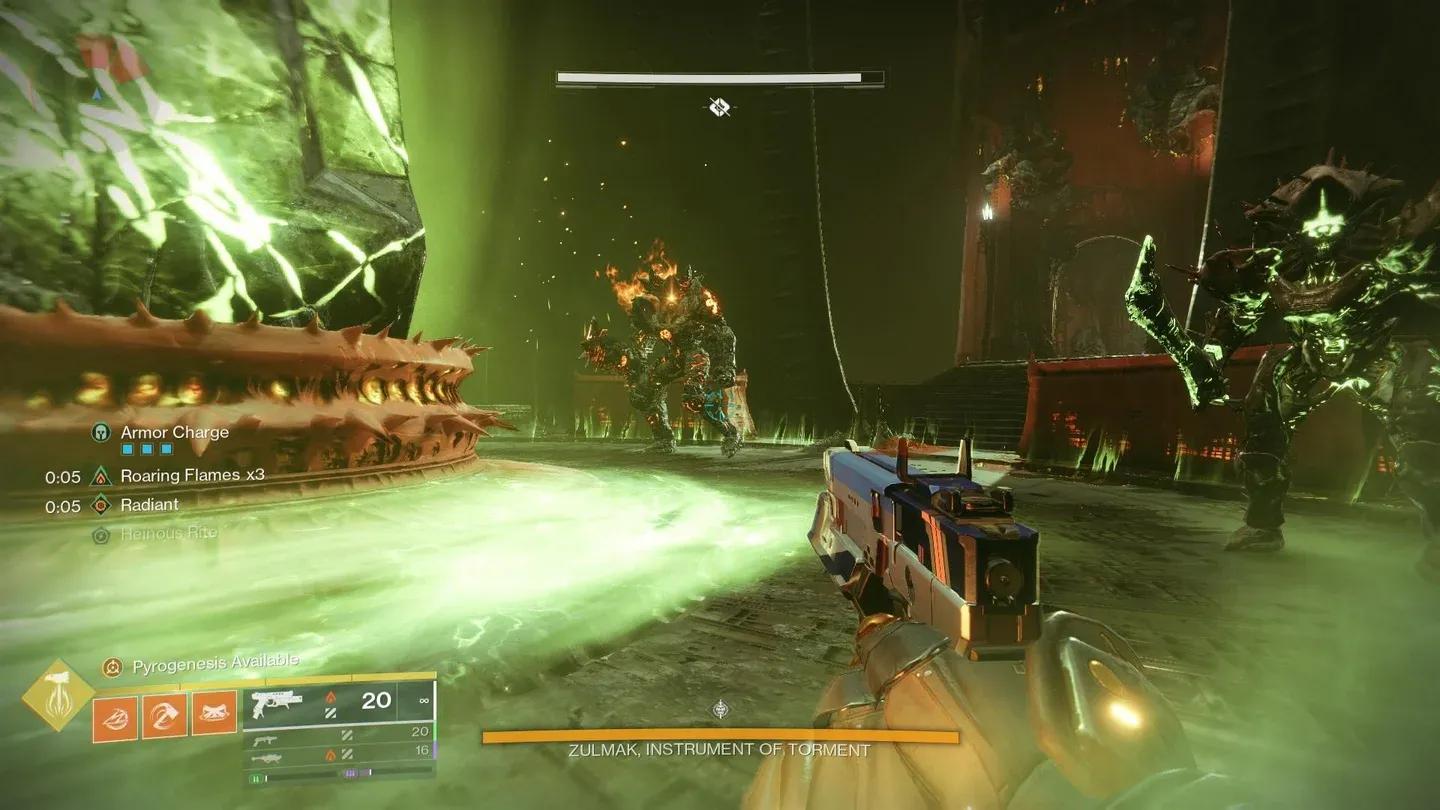
Guardians must stand inside the green circle to deal damage to Zulmak. Watch out for two key threats during this phase:
After some time, the crystal at the center of the room begins to glow orange and Zulmak kneels , this signals the end of the damage phase.
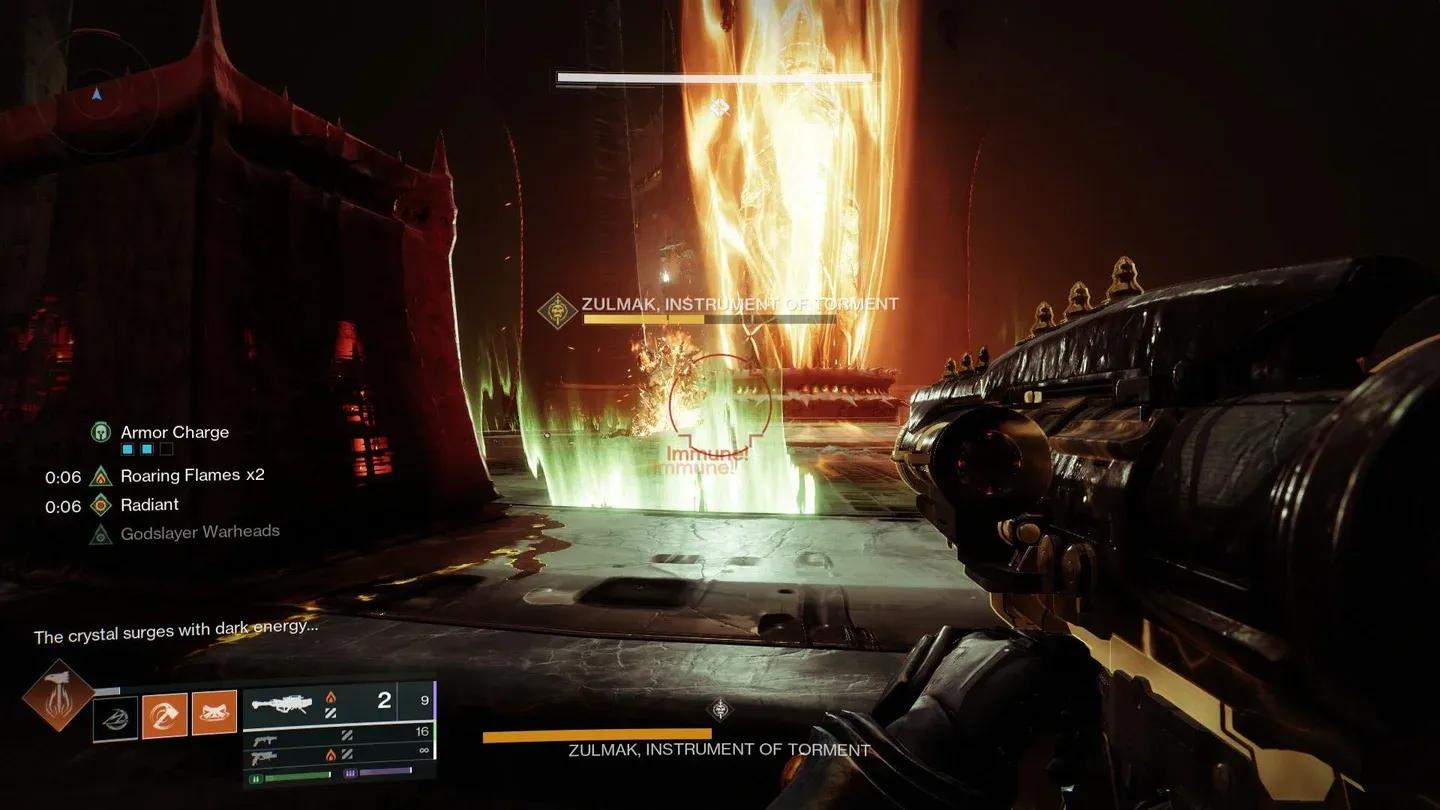
Repeat the Void Charge collection and damage phases until Zulmak is defeated. Once he dies, the dungeon is complete.
Congratulations on completing the Pit of Heresy dungeon! Looking for other activities to do? Check out the guide for how to get Cull's Shadow. If you're looking for a powerful build to take into the dungeon, have a look at the Void Titan build guide.

