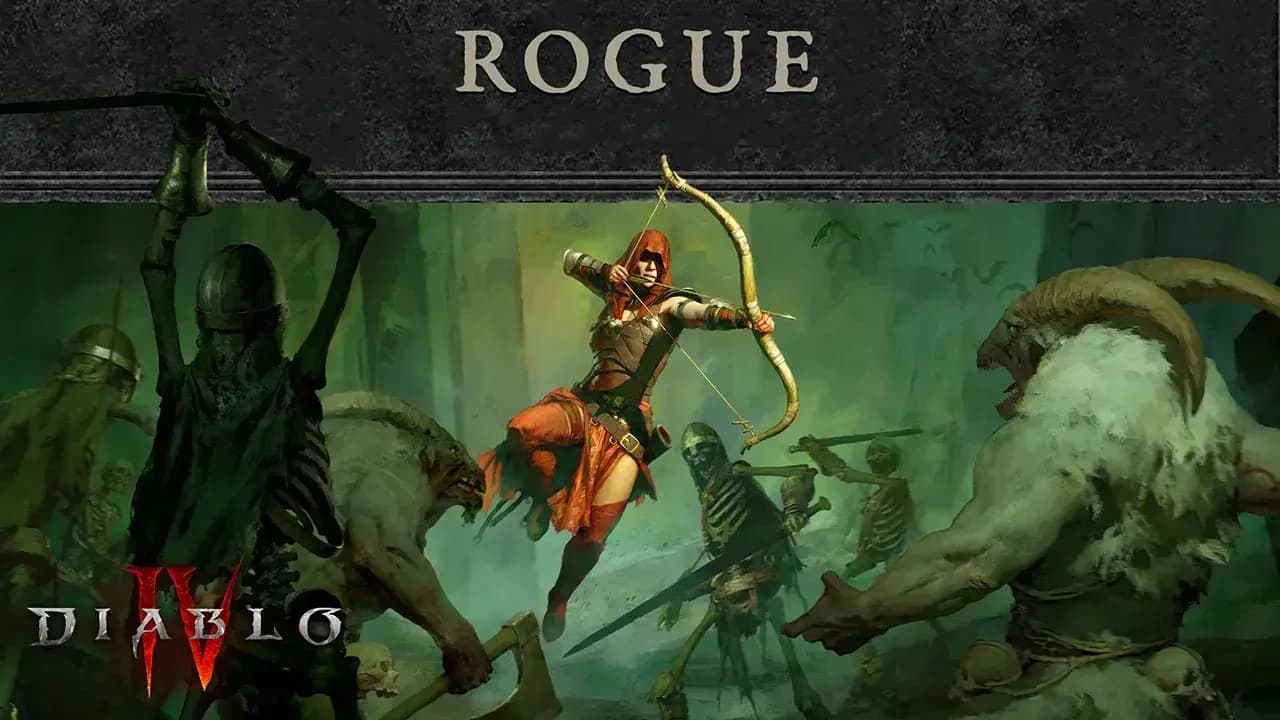

The best Diablo IV Rogue build for a flexible endgame start is Dance of Knives: it has no mandatory stat breakpoints and supports ranged farming or melee bossing. Heartseeker offers another accessible route, while Death Trap and Cold Rain of Arrows need specific Energy and cooldown targets before their repeat-cast setups work.
This guide covers Season 15, Hell's Legacy, and assumes a level 70 Rogue with Torment 1 unlocked. Start with the build your equipment can support, then collect the pieces for your preferred farming or pushing setup.
Which Rogue build should you choose?
Dance of Knives and Heartseeker are the practical starting recommendations because their starter setups do not require the finished equipment packages. Death Trap and Cold Rain of Arrows are upgrade projects: missing their required stats interrupts the mechanic that keeps their ultimate skills available.
| Rogue build | Best for | Why choose it? | Main requirement or drawback |
|---|---|---|---|
| Dance of Knives | Mobile progression and farming | No mandatory stat breakpoints; ranged and melee variants | Poison damage takes time, and advanced setups consume substantial Energy |
| Heartseeker | Accessible ranged gameplay | Can start without Shard of Verathiel | Spin variant requires manual Heartseeker weaving |
| Death Trap | Large-area damage with rapid repositioning | Beastfall Boots and Preparation enable repeated ultimate casts | Strict Energy, cooldown, and skill-rank requirements |
| Cold Rain of Arrows | Repeated ranged ultimate attacks | Strong area coverage and enemy gathering | Requires 300 Maximum Energy and a 20-second ultimate cooldown |
| Cold Penetrating Shot | Ranged speedfarming with clones | Eaglehorn enables returning projectiles and repeat hits | Positioning and Energy sustain matter |
For a previous-season comparison, the Season 14 class and build tier list covers that earlier meta. The setup recommendations below are for Season 15.


How do you build Dance of Knives?
Dance of Knives is the strongest starting recommendation here because you can improve its damage without first solving an ultimate-reset breakpoint. Use Star Shards for ranged coverage and Fan of Knives for the dedicated melee bossing approach.
Prioritize the imbuement package
Rush the Berú of Spellbound Steel set. It gives the build access to all three imbuements and supports effects including Vulnerable, Weaken, and Buffered Battery. The updated Season 15 endgame setup uses Preparation.
| Priority item or set | What it contributes |
|---|---|
| Berú of Spellbound Steel | Access to multiple imbuements and their supporting effects |
| Etna's Lost Dagger | Damage supported by Poison and the additional imbuement damage types |
| Cowl of the Nameless | Area application of Cold and Shadow Imbuement effects |
| Asheara's Khanjar | Attack Speed and damage that improve Poison Imbuement output |
| Shrouded Gift | Defensive benefits maintained through the stealth rotation |
| Stone of Jordan | Resistance scaling based on your highest resistance; prioritize Poison Resistance |
Balance ranks in Dance of Knives: Star Shards and Poison Imbuement without sacrificing total ranks. A charm granting 3 ranks still beats one granting 2 ranks, even if the smaller upgrade would make the two skills match.
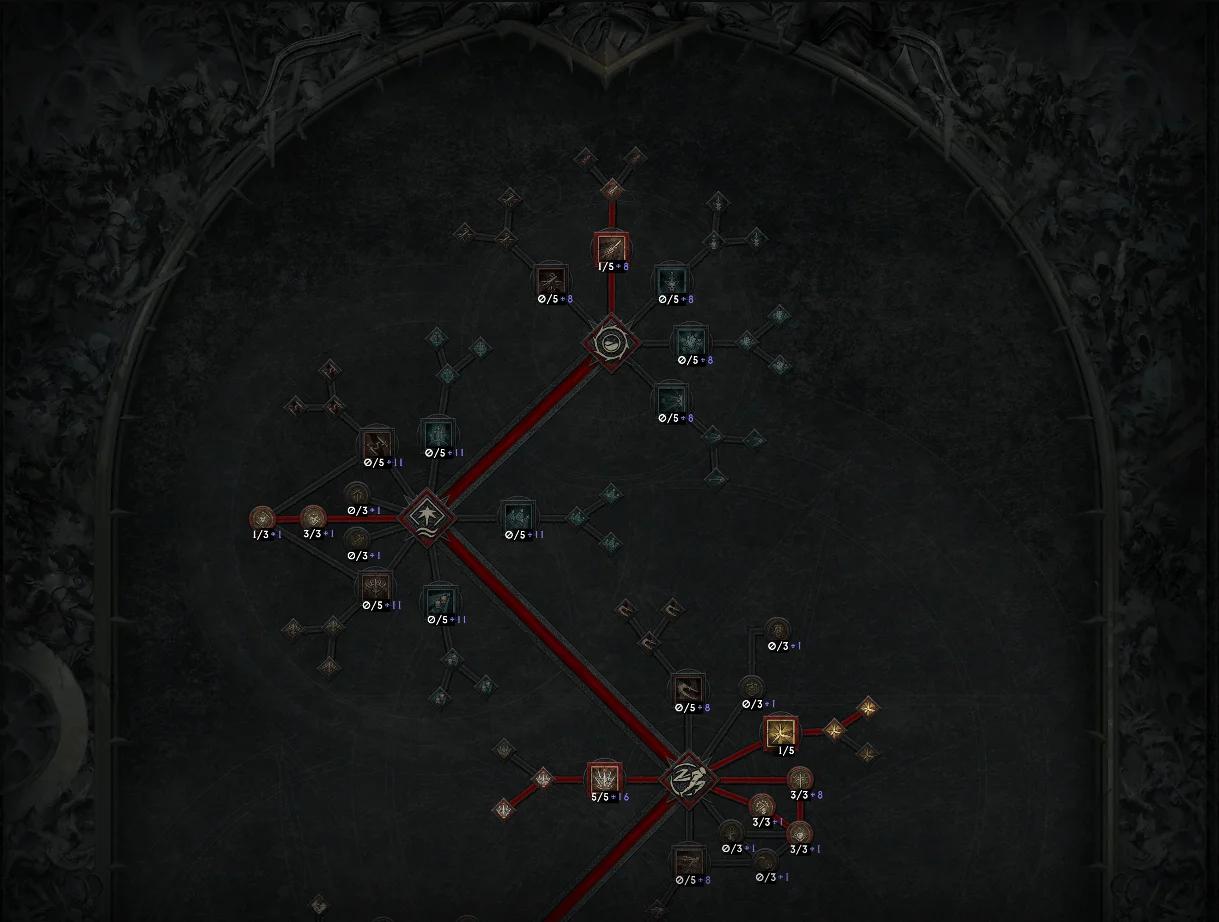
Dance of Knives skill choices
Follow the endgame rotation
Select the relevant upgrades in the Skill Tree, then use this priority:
- Activate Dark Shroud and Shadow Clone.
- Start channeling Dance of Knives.
- Cast Poison Imbuement while spinning.
- Alternate Smoke Grenade: Silhouette and Concealment to maintain the stealth-related damage and defensive effects.
Bac + Que supplies a barrier, while Yax + Vex adds ranks to Dance of Knives and Poison Imbuement. If you dislike maintaining Shrouded Gift, a Legendary item with Aspect of Debilitating Toxins or Aspect of Disobedience is an alternative.
How does Heartseeker work in Season 15?
Choose Heartseeker if you prefer ranged basic attacks and a gradual equipment transition. Start with Physical Heartseeker while collecting items such as Etna's Lost Dagger; Insight is useful early, and Shard of Verathiel is not required to begin.
Build around Narrow Eye and manual arrows
The five-piece Phoba of the Narrow Eye set casts Heartseeker for free when you tap Dance of Knives and automatically generates Dark Shroud stacks. Paingorger's Gauntlets, preferably used as a charm, provides much of the damage and area coverage because Dance of Knives applies its mark while you spin.
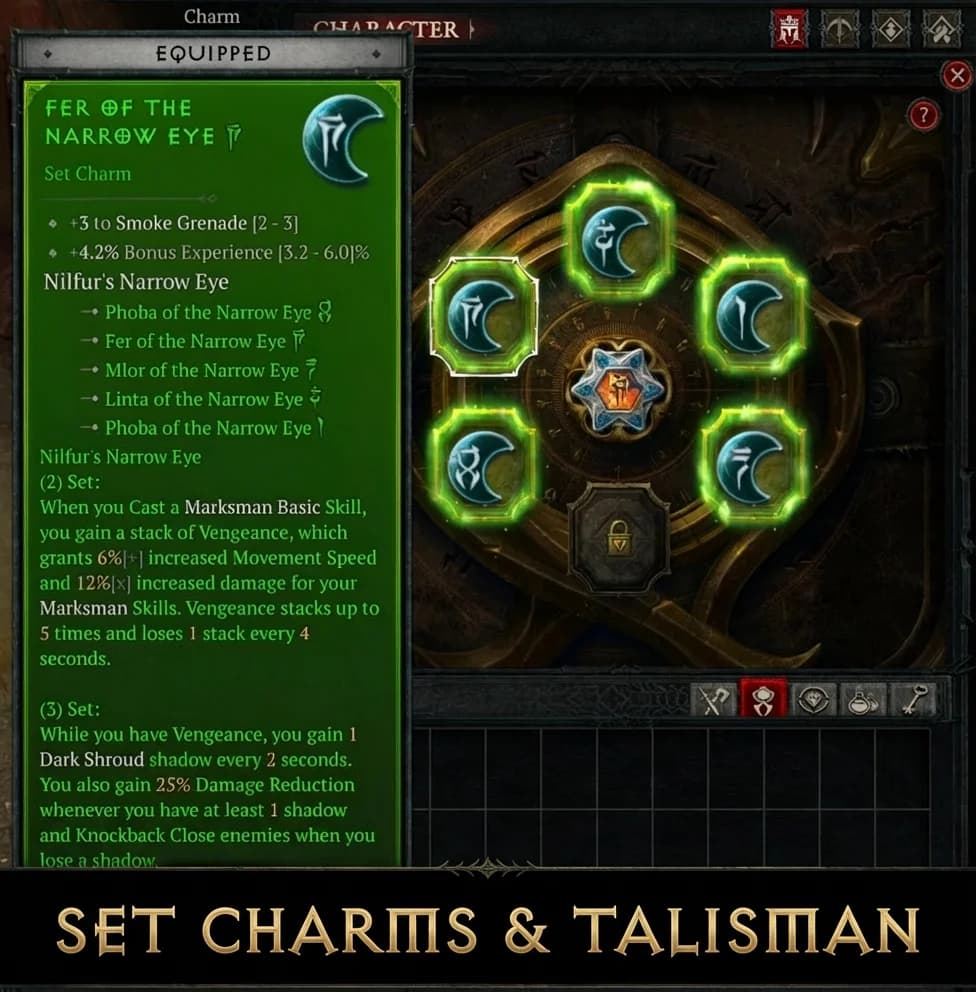
Narrow Eye enables arrow weaving
Your rotation needs more than holding Dance of Knives:
- Keep Cold Imbuement active.
- Use Dash and Concealment to build Ferocity.
- Weave manual Heartseeker attacks between spins to build Vengeance and trigger more arrows.
- Against bosses, aim for roughly 2 manual Heartseeker casts per second.
Target 25% Cooldown Reduction for permanent Cold Imbuement uptime with the appropriate skill ranks. Fewer ranks require more Cooldown Reduction. Once Shard of Verathiel makes Heartseeker spend Energy, add resource tempering on a ring and at least one Lucky Hit resource-restore roll on jewelry.
For lair boss farming, keep a spare amulet with Aspect of the Expectant. Its generic multiplier works without waiting for stagger, unlike Aspect of Frozen Memories.
When should you switch to Death Trap?
Switch to Death Trap when your equipment supports the entire reset loop. Beastfall Boots makes the ultimate spend Energy, Preparation converts that spending into cooldown reduction, and Aspect of Aftermath restores the Energy needed for the next cast.
Meet the standard endgame requirements
| Requirement | Standard Death Trap target |
|---|---|
| Maximum Energy | 225 |
| Death Trap cooldown | Below 15 seconds |
| Aftermath sustain outside the amulet slot | 40 Death Trap ranks with a minimum roll, or 25 with a maximum roll |
| Aftermath sustain on an amulet | 27 Death Trap ranks with a minimum roll, or 17 with a maximum roll |
| Trap activation | Trap Arm Time Reduction on gloves and the Spring-Loaded Paragon node |
At 225 Maximum Energy, Beastfall Boots enables three Preparation triggers in one attack. Misericorde and Eyes in the Dark help supply Cooldown Reduction, while Scoundrel's Leathers and charm pieces contribute Death Trap ranks.
Maintain Concealment between casts
Activate Dark Shroud, then use Concealment for the Sightless set bonus and Smoke Grenade for its critical-strike support. Cast Death Trap repeatedly, and use Cold Imbuement with Shadow Step for movement.
Phoba of the Sightless resets Concealment after each ultimate cast. Wait until your Unstoppable expires before refreshing Concealment rather than immediately spending every reset.
The Melted Heart of Selig variant uses a different defensive setup: it triples Maximum Energy and targets a Death Trap cooldown below 35 seconds. Its low-life design requires no bonus Maximum Life, with 473 life being the minimum described for this setup. Do not apply ordinary Maximum Life gearing advice to that variant.
What does Cold Rain of Arrows need?
Choose Cold Rain of Arrows once you can reach 300 Maximum Energy and a 20-second Rain of Arrows cooldown. The cooldown target corresponds to 61% Cooldown Reduction. Beastfall Boots is mandatory for the intended Preparation reset loop.
Solve recovery before adding damage
For the endgame setup, a maximum-roll Aspect of Aftermath on an amulet needs 23 Rain of Arrows ranks to recover 300 Energy. Spirit helps reach the requirements through skill ranks, Attack Speed, and Maximum Resource.
Maintain Cold Imbuement and Dark Shroud, use Concealment for critical-strike support and Ferocity, and repeat Rain of Arrows. The five-piece Sightless set increases damage and gives Concealment its side nodes.
The low-effort Insight version has a separate gearing target: 35 Rain of Arrows ranks to keep Aftermath on a ring. Before reaching that target, exchange the positions of Ferocious Aspect and Aspect of Aftermath. Keep Aftermath placement tied to the variant you are actually using.
Is Cold Penetrating Shot worth building?
Cold Penetrating Shot is worth choosing for mobile ranged farming if you enjoy aiming projectiles through packs. Eaglehorn is the defining upgrade: its arrows bounce off walls and return even without a wall, allowing you to line up two hits on the same target.
Support Eaglehorn with resources and clones
Prioritize Nightstalker's Aspect, Aspect of Frozen Memories, and Aspect of Imitated Imbuement. Tibault's Will helps sustain Energy when you become Unstoppable, while Mot maintains Dark Shroud.
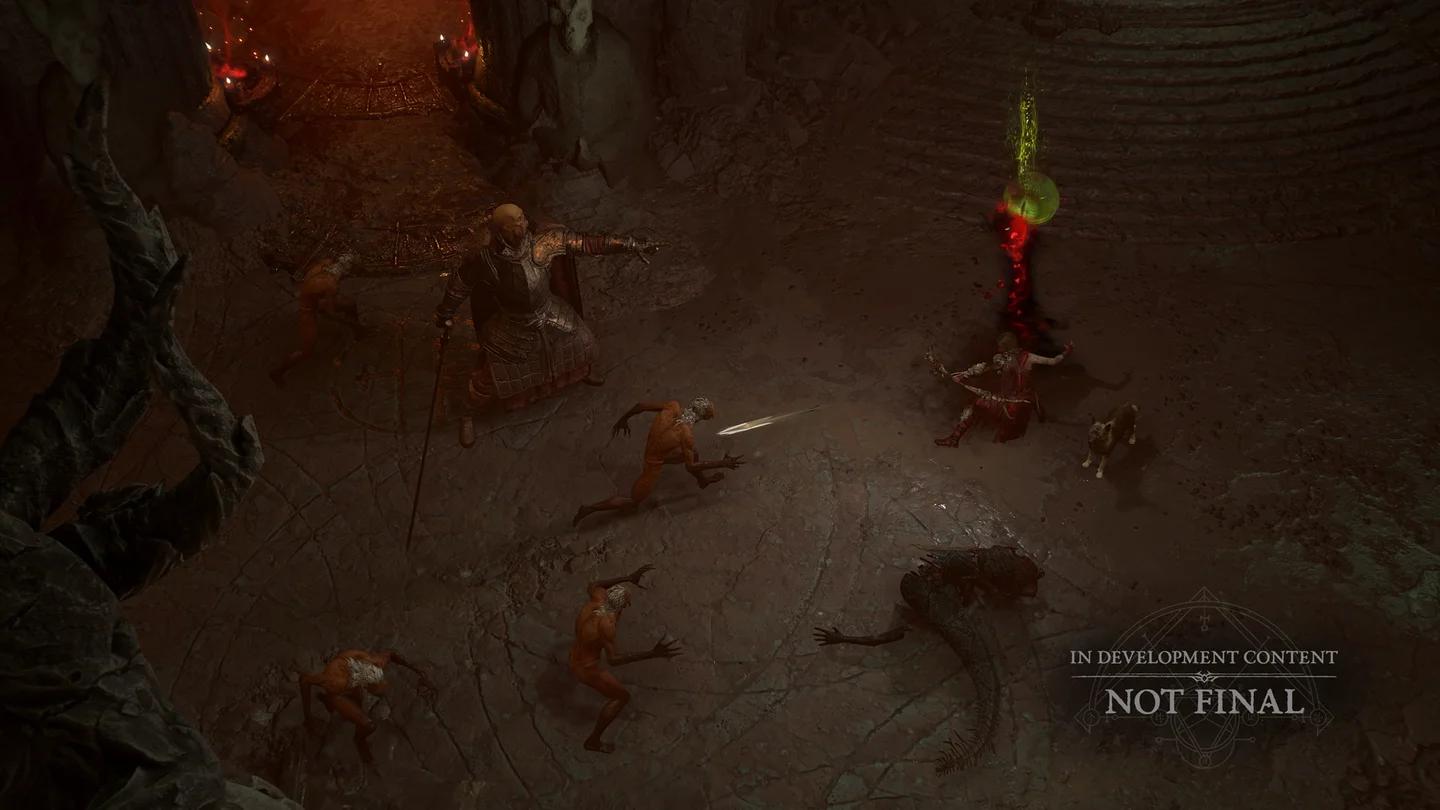
Eaglehorn rewards careful aim
With Condemnation and Combo Points, the rotation is:
- Use Dash to build Ferocity and reach the next pack.
- Activate Shadow Clone and Cold Imbuement.
- Use Smoke Grenade to enter Stealth and support ultimate cooldown reduction through Sightless.
- Cast Forceful Arrow once to generate 3 Combo Points.
- Continue firing Penetrating Shot, rebuilding Combo Points after you lose them by stopping your attacks.
If Energy interrupts your firing, add Resource Generation or Lucky Hit resource-restore tempers to jewelry. Aspect of the Umbral is another temporary resource option.
Which Soul Splinters should you prioritize?
Soul Splinters change with the specific Rogue variant. Use these endgame priorities as a starting point, then check the Season 15 Soul Splinters guide for their effects, drawbacks, and upgrades.
| Endgame setup | Priority order |
|---|---|
| Dance of Knives | Abyssal Splinter of Hellfire, Pain, then the Black Soulstone |
| Heartseeker | Abyssal Splinter of the Black Soulstone, Anguish, then Pain |
| Death Trap | Abyssal Splinter of Pain, Anguish, the Black Soulstone, then the Mother |
| Cold Rain of Arrows | Abyssal Splinter of the Black Soulstone, Pain, Anguish, then Damnation |
For Cold Rain of Arrows, wait until your Splinters are at least Greater quality before replacing a Legendary helm with Leoric's Crown. Heartseeker's advanced Anguish setup also needs Maximum Resource on the helm to remain comfortable.
Common mistakes
- Spinning without manual Heartseeker casts: You lose Vengeance stacking and additional arrows from weaving. Against bosses, maintain roughly 2 manual casts per second.
- Firing Heartseeker into corners: Walls consume its piercing projectiles, hurting both damage and resource recovery.
- Using Enigma Teleport too often on Dance of Knives: It consumes substantial resources. Dark Shroud: Overflow helps sustain the cost.
- Buying more ranks before fixing Death Trap recovery: Skill ranks, Aftermath's roll, and its equipment slot jointly determine whether Energy refills.
- Stacking additive Stun Grenade damage for Death Trap: Opportunist's Aspect and Explosive multipliers work with Explosive Trigger, but additive Stun Grenade damage does not.
Pro tips
- Keep Heartseeker within the set's effective range. Narrow Eye has a maximum range, so excessive distance can sharply reduce damage.
- Upgrade Glyphs through the Pit. For early Dance of Knives and Heartseeker progression, rushing Legendary Paragon nodes is an optional way to gain power before Glyphs become more developed.
- Use defensive mercenaries for Dance of Knives or Death Trap. Hire Raheir for effects including Valiance, Raheir's Aegis, and Bastion, with Aldkin reinforcing through Field of Languish.
- Aim Eaglehorn's return path. Positioning the returning arrow through the target gets more value than firing without considering the second hit.
Frequently asked questions
What is the easiest Rogue build to start endgame with?
Dance of Knives is the recommendation for progression without mandatory stat breakpoints. Heartseeker is another accessible choice because you no longer need Shard of Verathiel to start it.
Can Death Trap work without Mythic items?
Yes. Mythic quality is not required for Death Trap, but the build still needs its Energy, cooldown, and recovery requirements. Item quality does not replace the reset loop.
Should Heartseeker use Shadow Clone?
Shadow Clone is useful in the starter setup, but it does not benefit from the five-piece Phoba of the Narrow Eye set. Drop it when moving beyond that starter version.
Can Cold Rain of Arrows use a crossbow?
Yes. A crossbow attacks more slowly with stronger hits, while a bow attacks faster with weaker hits, producing roughly comparable damage per second. For help with other classes and equipment systems, browse the Diablo IV strategy guides.