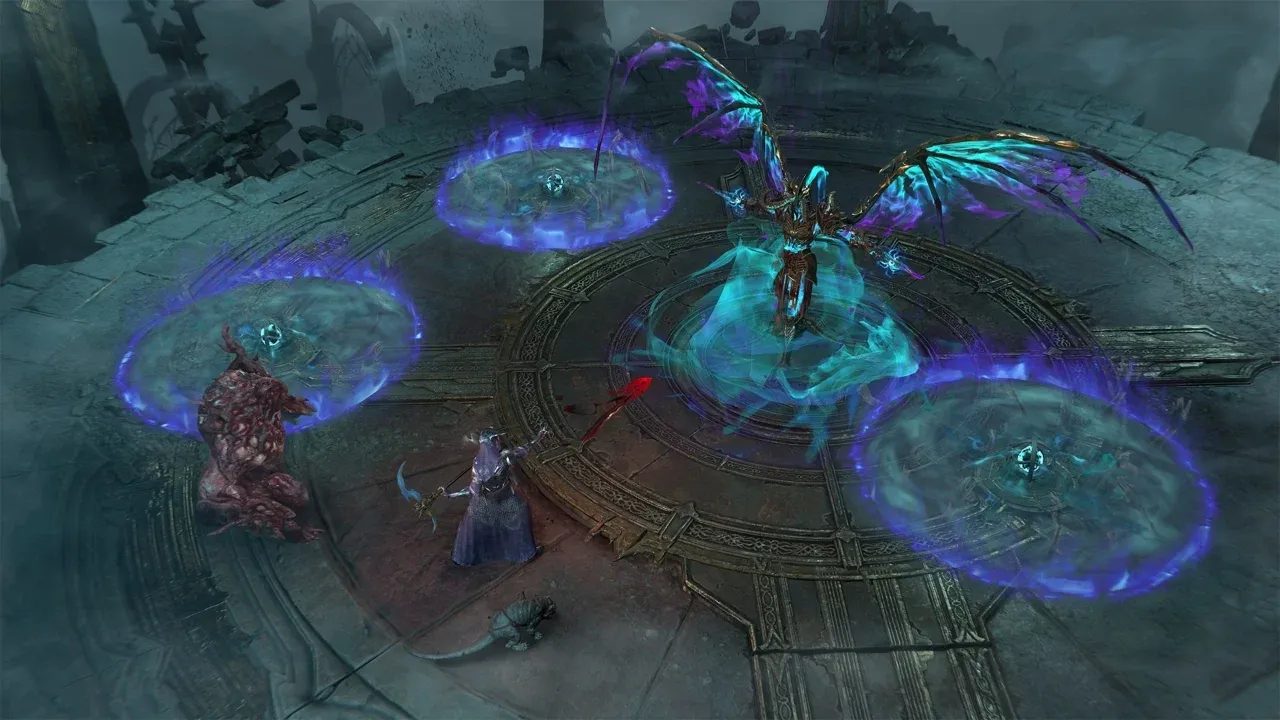

Use Blessed Hammer with Disciple's Halo and the Disciple Oath for a mobile Diablo IV Paladin leveling build that needs no specific Uniques.
The orbiting hammers give you strong area damage while moving, making this the straightforward recommendation for levels 1-70. Divine Lance is the alternative if you prefer rapid melee attacks, although keeping its resource supply running takes more attention.
This guide covers Season 15, Hell's Legacy, with patch 3.2.3 as its version reference. The relevant patch 3.2.1 buffs increased Disciple Oath damage from 80% to 100% and Divine Lance damage from 90% to 110%.
Which Paladin leveling build should you use?
Blessed Hammer is the better starting recommendation because Disciple's Halo makes its hammers follow you, and the setup works without required Uniques. Its main compromise is ordinary single-target damage rather than exceptional boss damage.
| Build | Oath | Main advantage | Main drawback | Best for |
|---|---|---|---|---|
| Blessed Hammer | Disciple | Mobile area damage without required Uniques | Single-target damage is only okay | A straightforward first Paladin |
| Divine Lance | Zealot | Built-in dash and rapid, repeated hits | Demanding resource upkeep and limited coverage | Players who prefer active melee combat |
Both builds can carry you through leveling. Divine Lance also has a direct route into its endgame version once you acquire its supporting equipment.
For historical build comparisons, the Season 14 classes and builds tier list covers the previous season. The setup below uses Season 15 recommendations.
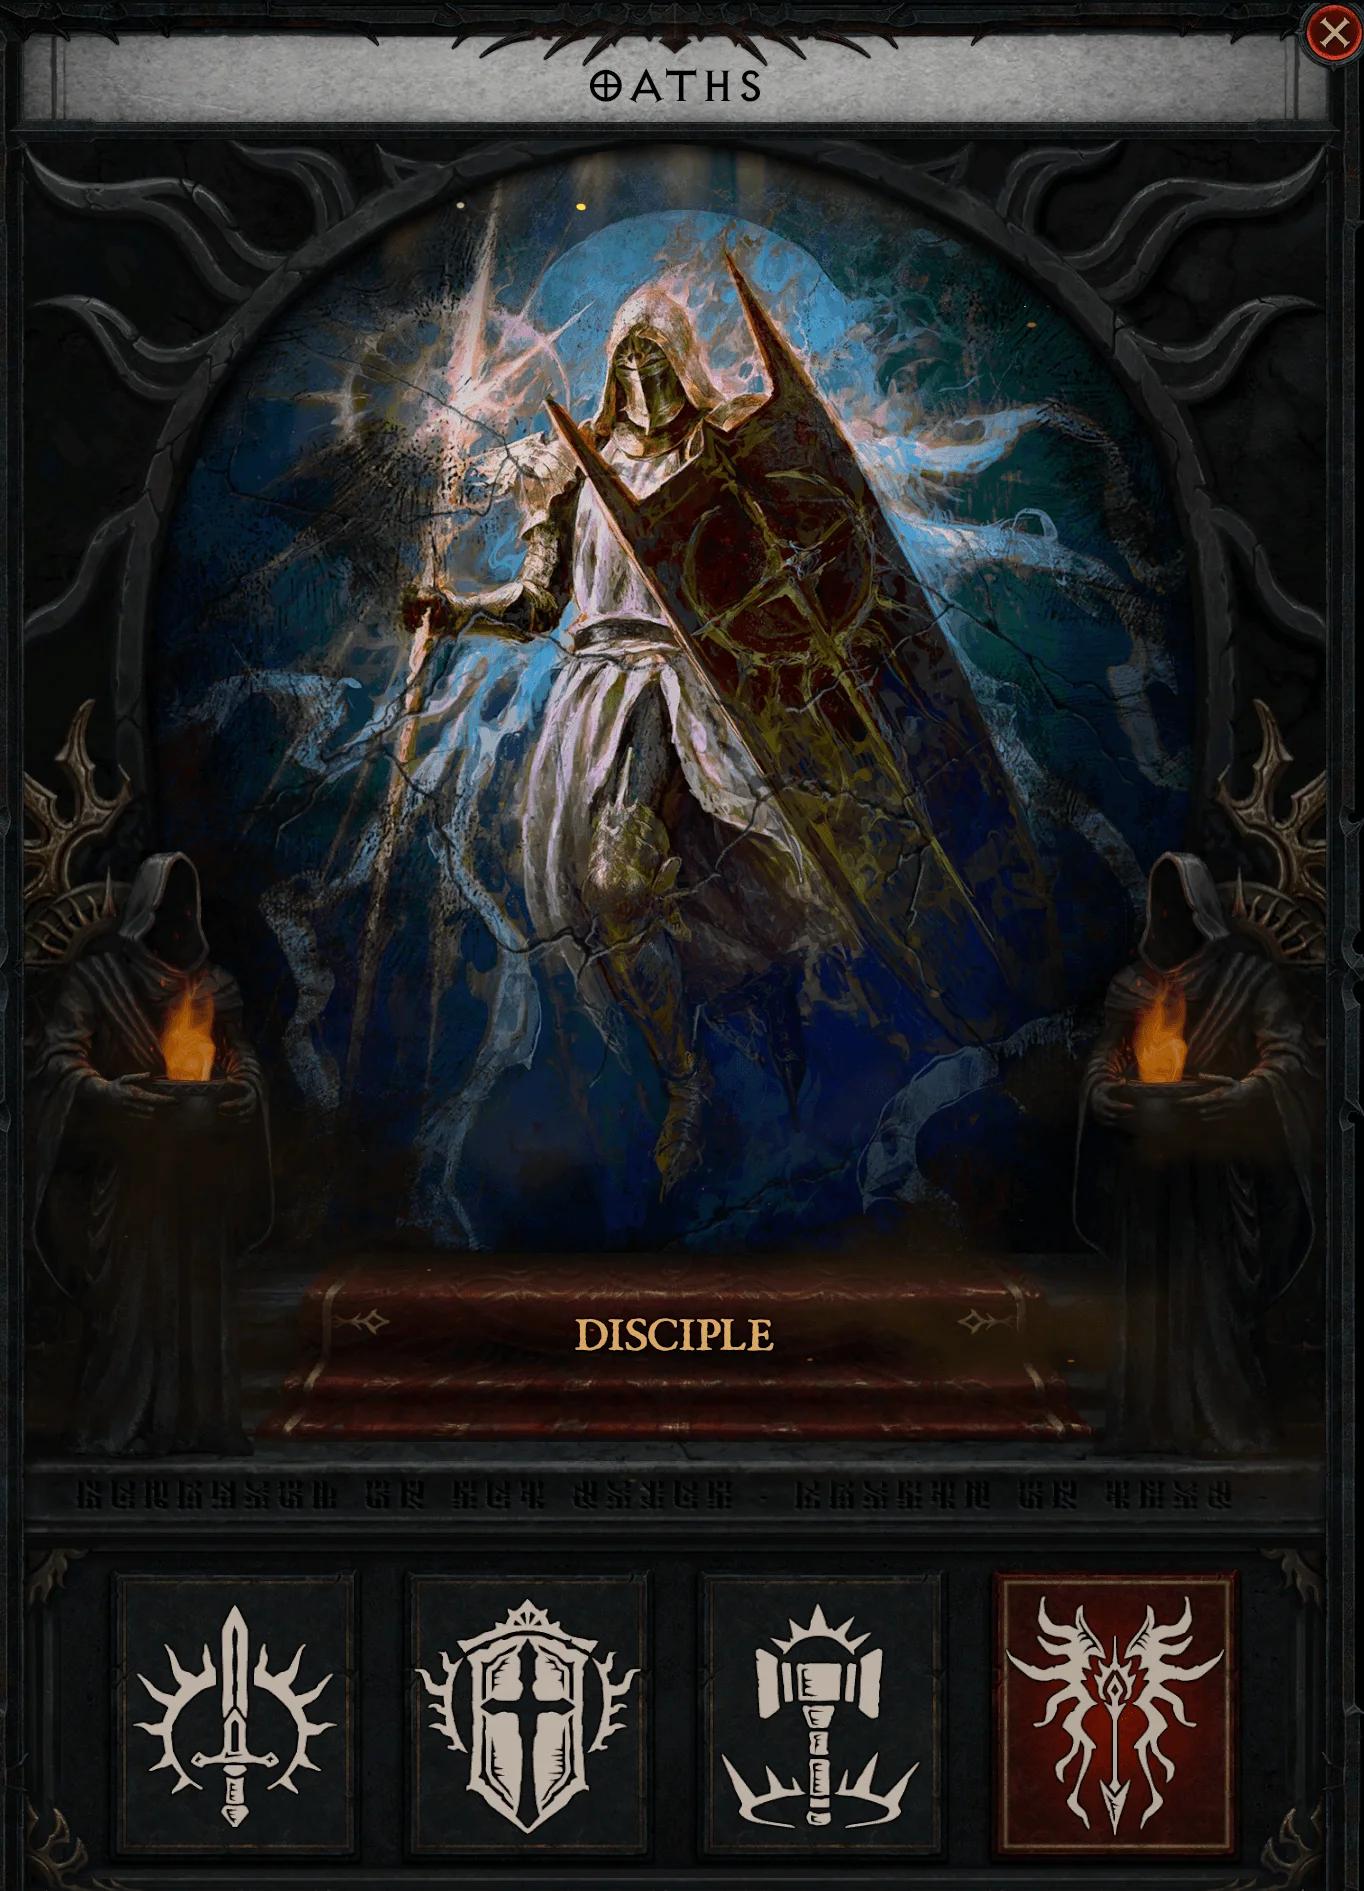
Choose Disciple for hammer leveling

How do you set up Blessed Hammer?
Choose Disciple and Disciple's Halo
Select Disciple Oath at level 15. Casting a Disciple skill with a cooldown grants Arbiter form for 4.5 seconds, during which your Disciple skills deal 100% increased damage.
Choose Disciple's Halo for Blessed Hammer so the hammers orbit you. All Skill Variants finish unlocking at level 24, making that an important checkpoint for completing the build's core interactions.
Build this six-skill bar
Add these skills as they become available. This version uses Holy Bolt for Faith generation and Fanaticism Aura for offensive support.
| Skill | Purpose | How to use it |
|---|---|---|
| Blessed Hammer | Main damage | Cast repeatedly while moving through enemies |
| Holy Bolt | Faith generation | Refill your resource; it also applies Vulnerable after level 14 |
| Condemn | Disciple activation and enemy debuffs | Hit multiple enemies; Gather the Guilty adds Vulnerable and cooldown reduction |
| Falling Star | Mobility and Disciple activation | Reposition, apply Vulnerable, and enter Arbiter form |
| Defiance Aura | Crowd-control escape | Activate when crowd controlled to gain Unstoppable |
| Fanaticism Aura | Attack Speed and Critical Strike Chance | Use Rite of Humility for Vulnerable and Weaken |
Follow a simple combat loop
- Use Holy Bolt when you need Faith.
- Cast Falling Star or Condemn to activate Disciple and enter Arbiter form.
- Activate Fanaticism Aura once you have Rite of Humility for its debuffs.
- Spend Faith on Blessed Hammer while moving with your orbiting hammers.
- Use your Disciple cooldowns throughout the fight to maintain Arbiter uptime, and activate Defiance Aura when crowd controlled.
Arbiter uptime matters because it supports both your Oath's damage bonus and several useful Legendary Aspects. Blessed Hammer supplies your repeated damage between those cooldown casts.
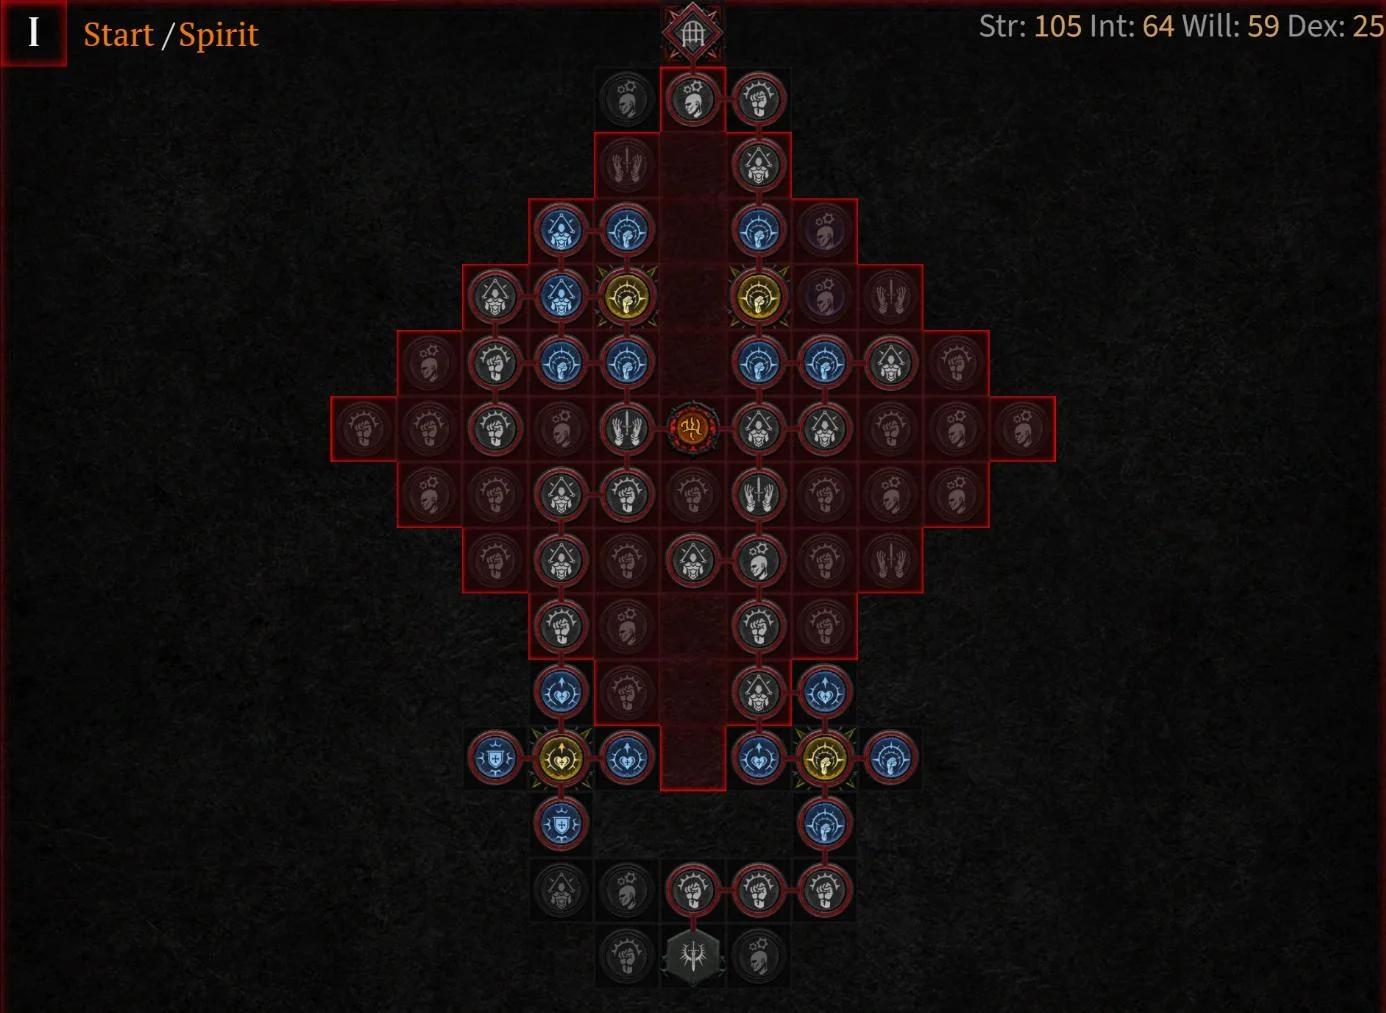
Make Blessed Hammer orbit you
When should you choose Divine Lance instead?
Choose Divine Lance if you prefer repeatedly dashing into enemies rather than moving with orbiting hammers. Take Zealous Joust, which converts the skill into a Physical-damage Zealot skill and adds a small cone attack.
Pair it with Zealot Oath. Consecutive attacks build the setup's damage, so fill your resource bar before committing to repeated Divine Lance casts.
Your leveling skill bar is:
- Divine Lance: Your main multi-hit attack.
- Advance: Generates resources and provides mobility when you run dry.
- Rally: Restores resources and increases Movement Speed.
- Fanaticism Aura: Supplies Attack Speed and Critical Strike Chance.
- Defiance Aura: Provides defensive support and Unstoppable.
- Consecration: Adds healing, increases damage taken by enemies inside it, and applies Weaken.
Replace Consecration with Falling Star if survival is comfortable and you want more mobility. Keep Rally active regularly so Advance does not interrupt your main attack more than necessary.
For later progression, Light's Rebuke is the core Divine Lance Unique. Aspect of the Zealot's Covenant is another important target because it grants an extra Fervor stack alongside its damage benefit.
Which gear and Aspects should you prioritize?
Upgrade useful stats, then temper
For Blessed Hammer, prioritize Movement Speed and damage while keeping enough defense to survive comfortably. For Divine Lance, weapon damage deserves particular attention because it forms the base for your damage calculations.
| Equipment | Useful Blessed Hammer stats | Tempering direction |
|---|---|---|
| Helm | Cooldown Reduction, Strength, Maximum Life | Arbiter Duration |
| Chest and pants | Strength, Maximum Life, Armor, resistances | Arbiter Duration |
| Gloves | Attack Speed, Cooldown Reduction, Critical Strike Chance, Core Skill ranks | Damage |
| Boots | Movement Speed, Maximum Life, resistances | Movement Speed |
| Amulet | Strength, Cooldown Reduction, Attack Speed, Movement Speed | Movement Speed |
| Weapon | Strength, Maximum Life, Critical Strike Damage, Damage | Damage |
Tempering requires the appropriate manuals. Until you find your preferred options, use available bonuses that help your current build rather than leaving every item untouched.
Press Shift to compare items. Check relevant affixes as well as item power, especially when replacing equipment that already has useful tempers or an important Aspect.
Look for these Blessed Hammer Aspects
You can imprint Legendary Aspects at the Occultist. These are useful targets rather than requirements before you start leveling:
- Aspect of Lagera's Sovereignty: Increases Disciple skill damage by 40-60%, supporting the build's main skill category.
- Aspect of Ascension: Builds damage stacks when you cast skills that grant Arbiter form. Leaving Arbiter removes every stack, rewarding consistent form uptime.
- Aspect of Angelic Masterwork: Increases All Resistance while in Arbiter form, helping your defenses during combat.
- Aspect of Holy Punishment: Increases Holy and Fire damage by 40-60%, supporting Blessed Hammer's Holy damage.
For Blessed Hammer's ordinary gems, use Rubies in weapons for Holy damage and armor for Strength. Diamonds in jewelry add resistance to all elements.
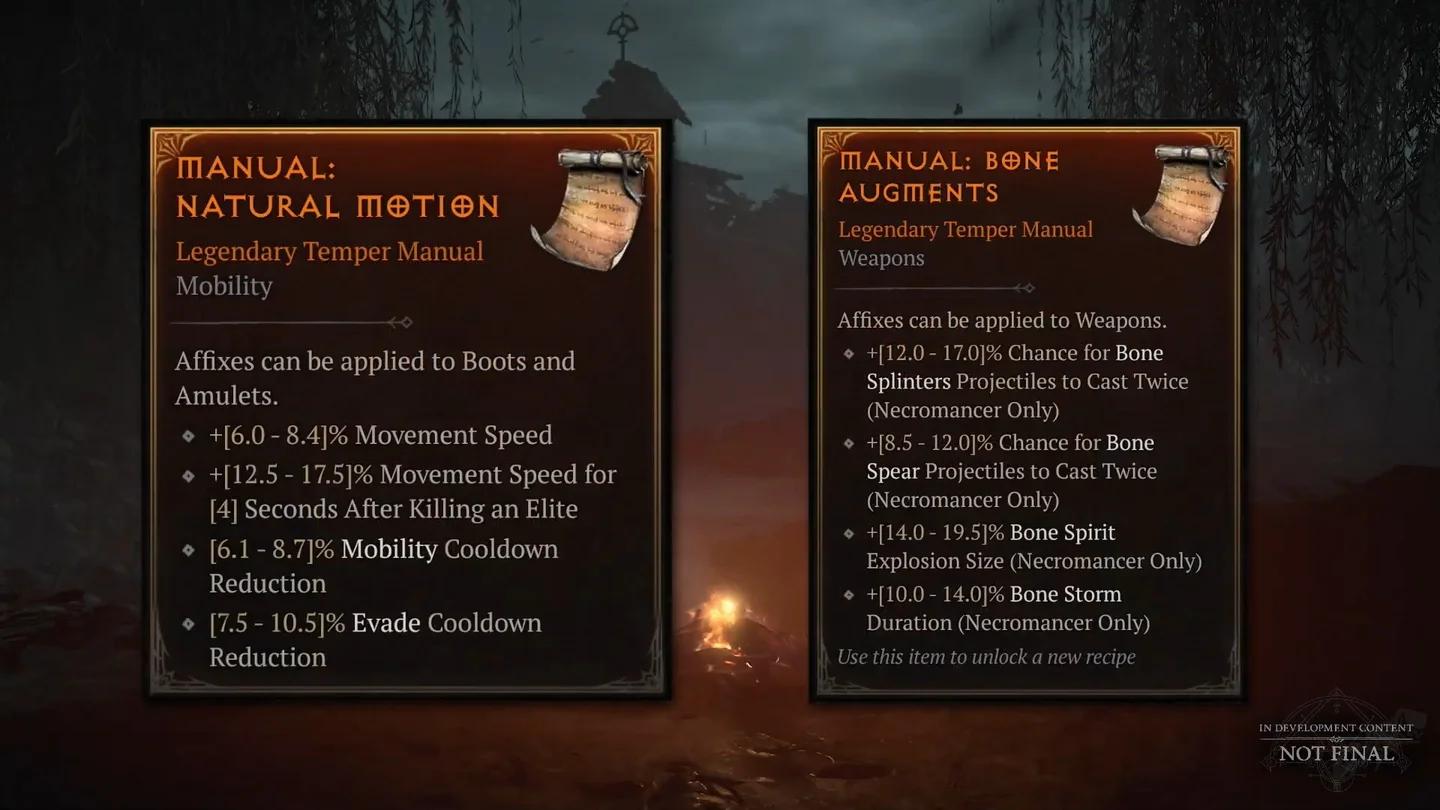
Improve early Paladin equipment
Which Splinters, runes, and Mercenaries help?
Pick Splinters for the build you are actually playing
Season 15 Soul Splinters provide powerful benefits with drawbacks. Resource costs and Movement Speed penalties deserve attention during leveling.
| Splinter | Benefit | Drawback or consideration |
|---|---|---|
| Splinter of Anguish | +35% Critical Strike Chance and Attack Speed | Primary Resource Costs increase by 30% |
| Splinter of the Black Soulstone | Kills grant stacking damage bonuses | Those stacks also increase damage taken |
| Splinter of Pain | 40% Damage Reduction | You lose 30% Movement Speed |
| Splinter of the Mother | Provides consistent Vulnerable for Divine Lance leveling | Periodic stuns can be removed with Defiance Aura |
Splinter of Pain is a defensive option, but its Movement Speed penalty works against fast leveling. For Divine Lance, a Diamond can replace Splinter of the Mother if its stuns become irritating.
Use runes you can support
A Runeword combines one Ritual Rune and one Invocation Rune in an item with two sockets. You can equip up to two Runewords.
For Blessed Hammer, Gar supplies stacking Critical Strike Chance up to 10%, while Thul invokes Frost Nova for Freeze and Vulnerable. Moni and Cir are leveling Ritual options to pair with them.
For Divine Lance, Cir + Ceh summons Wolves that freeze enemies, while Moni + Qua adds Movement Speed. These support its close-range combat and movement between packs.
Assign Mercenaries by setup
Hire Raheir for solo play once Mercenaries are unlocked through Vessel of Hatred. His defensive support and Inspiration benefit both leveling options.
For Blessed Hammer, use Varyana with Bloodthirst as reinforcement. For Divine Lance, Aldkin's Field of Languish supplies additional damage reduction.
Where should you level, and when can you enter Torment 1?
Complete the Lord of Hatred campaign if you have not already done so, because it unlocks War Plans and the full campaign skip for future characters. Normal difficulty keeps that campaign progression moving quickly.
For seasonal characters with the campaign requirements handled:
- Begin the Seasonal Questline when available to progress Season Rank and seasonal perks.
- Work through War Plans activities, including Helltides, the Pit, and Kurast Undercity.
- Use Hard difficulty or higher while enemies still die quickly. Reduce difficulty if the extra resistance noticeably slows your clears.
- Clear Strongholds around level 60 for their substantial experience rewards.
- Refresh your tempers and imprints as stronger equipment becomes available approaching level 70.
If you continue with Divine Lance, start leveling Feverous, Resplendence, Spirit, Chip, and Exploit, in that order. Glyphs begin with a radius of 3 and reach a radius of 5 at Glyph level 50.
If you switch to a different Paladin setup, use equipment guidance specific to that build. The Argent Veil acquisition guide covers that separate item target.
Common mistakes
- Casting Blessed Hammer without maintaining Disciple: Losing Arbiter form removes your form-dependent benefits, including Aspect of Ascension stacks.
- Spending Divine Lance resources in isolated casts: Its consecutive-attack bonuses reward sustained bursts after filling your resource bar.
- Raising difficulty while clear speed collapses: A higher experience multiplier is less useful when each fight takes substantially longer.
Pro tips
- Use Consecration for difficult Divine Lance fights: Its healing and damage support are more useful than extra travel speed when you need to stand your ground.
- Adjust defenses before forcing harder content: Maximum Life, Armor, and resistances are sensible replacements for offensive rolls if your Paladin keeps dying.
- Spend leveling materials on useful upgrades: Early tempers and imprints can improve the journey to 70 instead of sitting unused.
Frequently asked questions
Does Blessed Hammer need a Unique to level?
No. Blessed Hammer with Disciple's Halo works without required Uniques, which is its main advantage as a starting Paladin build.
Which Oath should you choose at level 15?
Choose Disciple for this Blessed Hammer setup. Choose Zealot for Divine Lance with Zealous Joust.
What should you do after reaching level 70?
Complete Pit Tier 10 to unlock Torment 1, update your equipment, and commit to an endgame setup. Find your next build and progression walkthrough in the Diablo IV guide collection.