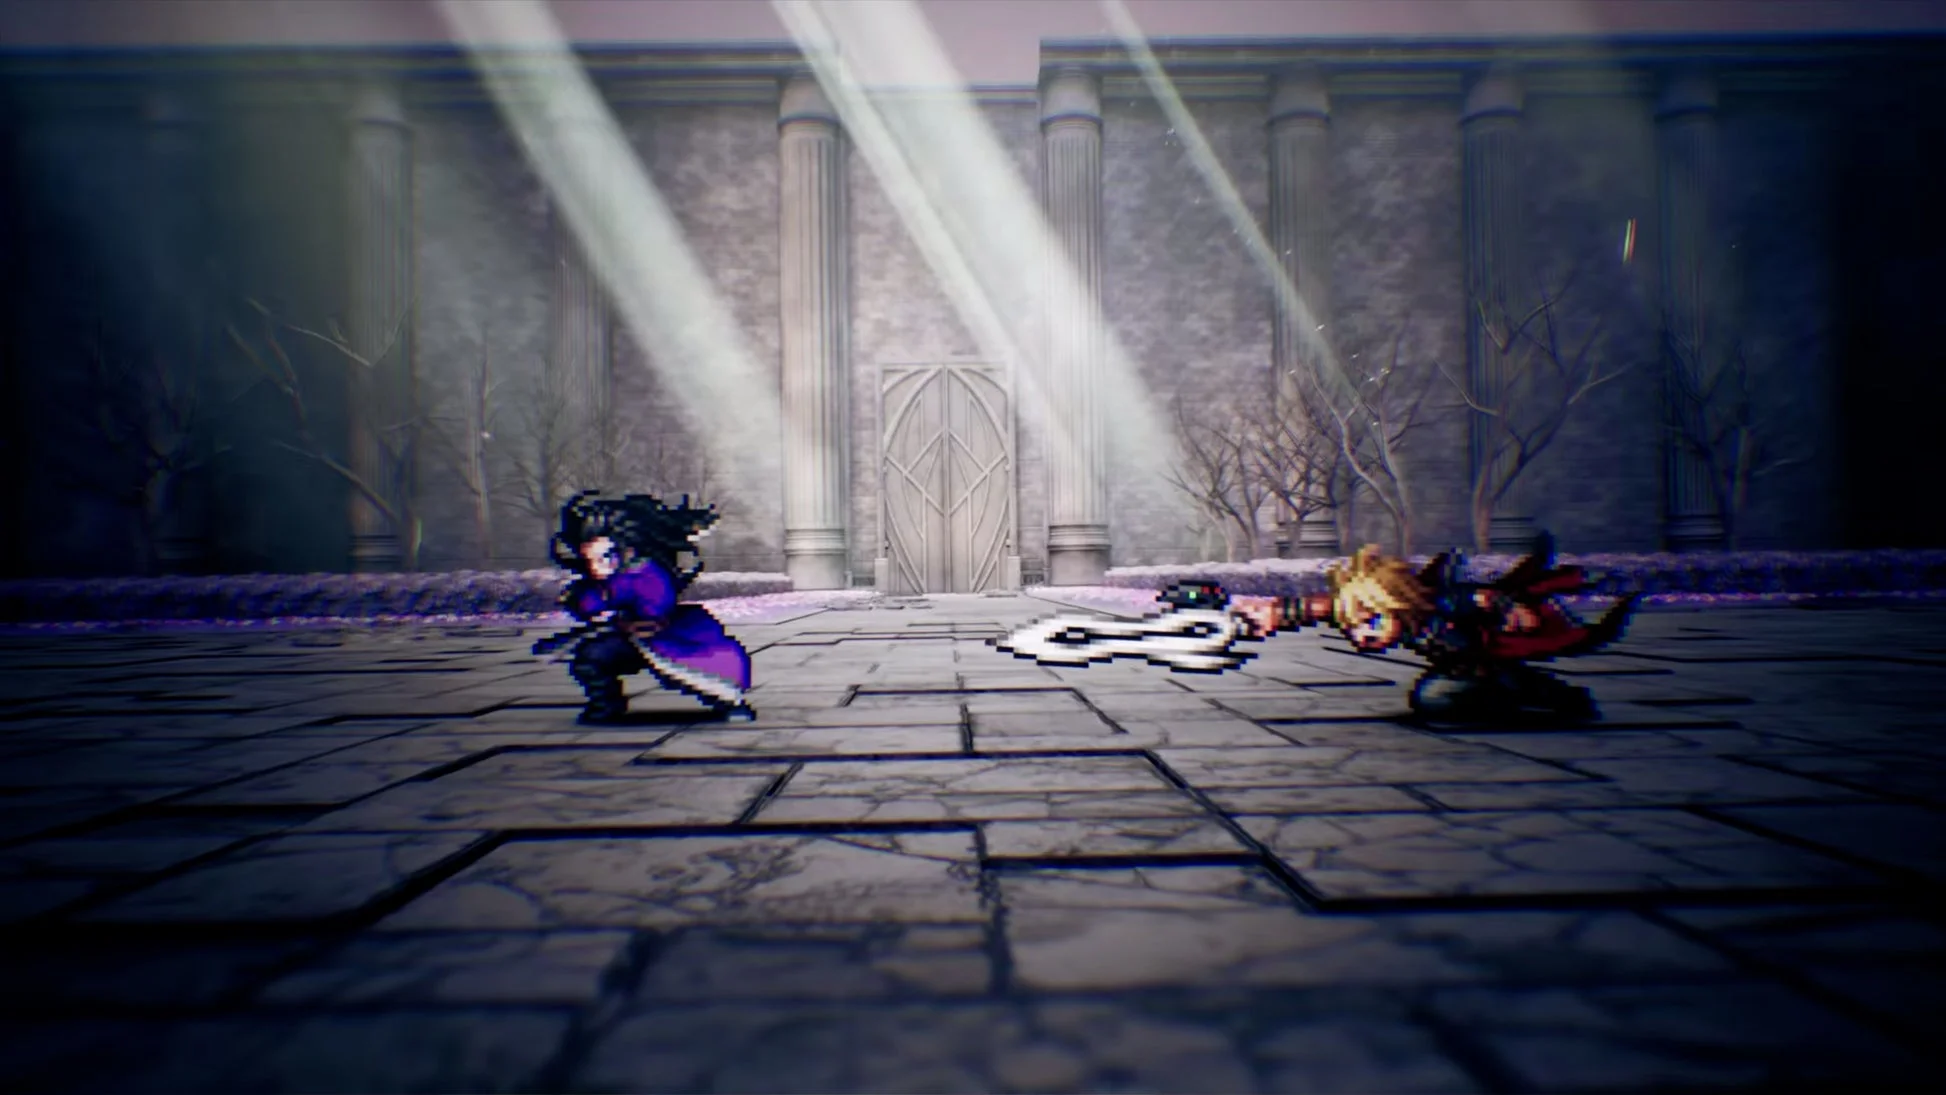
Visions are the backbone of every build in FINAL FANTASY RESONANCE, and with 26 of them spread across eight playable characters, the decision of what to equip can feel genuinely paralyzing. The good news: most characters have one Vision that slots in almost perfectly for the majority of the game, with a clear backup for the fights that demand something different. This guide covers the strongest pairing for every character, what to prioritize when upgrading, and which Visions are worth leveling on everyone regardless of role.

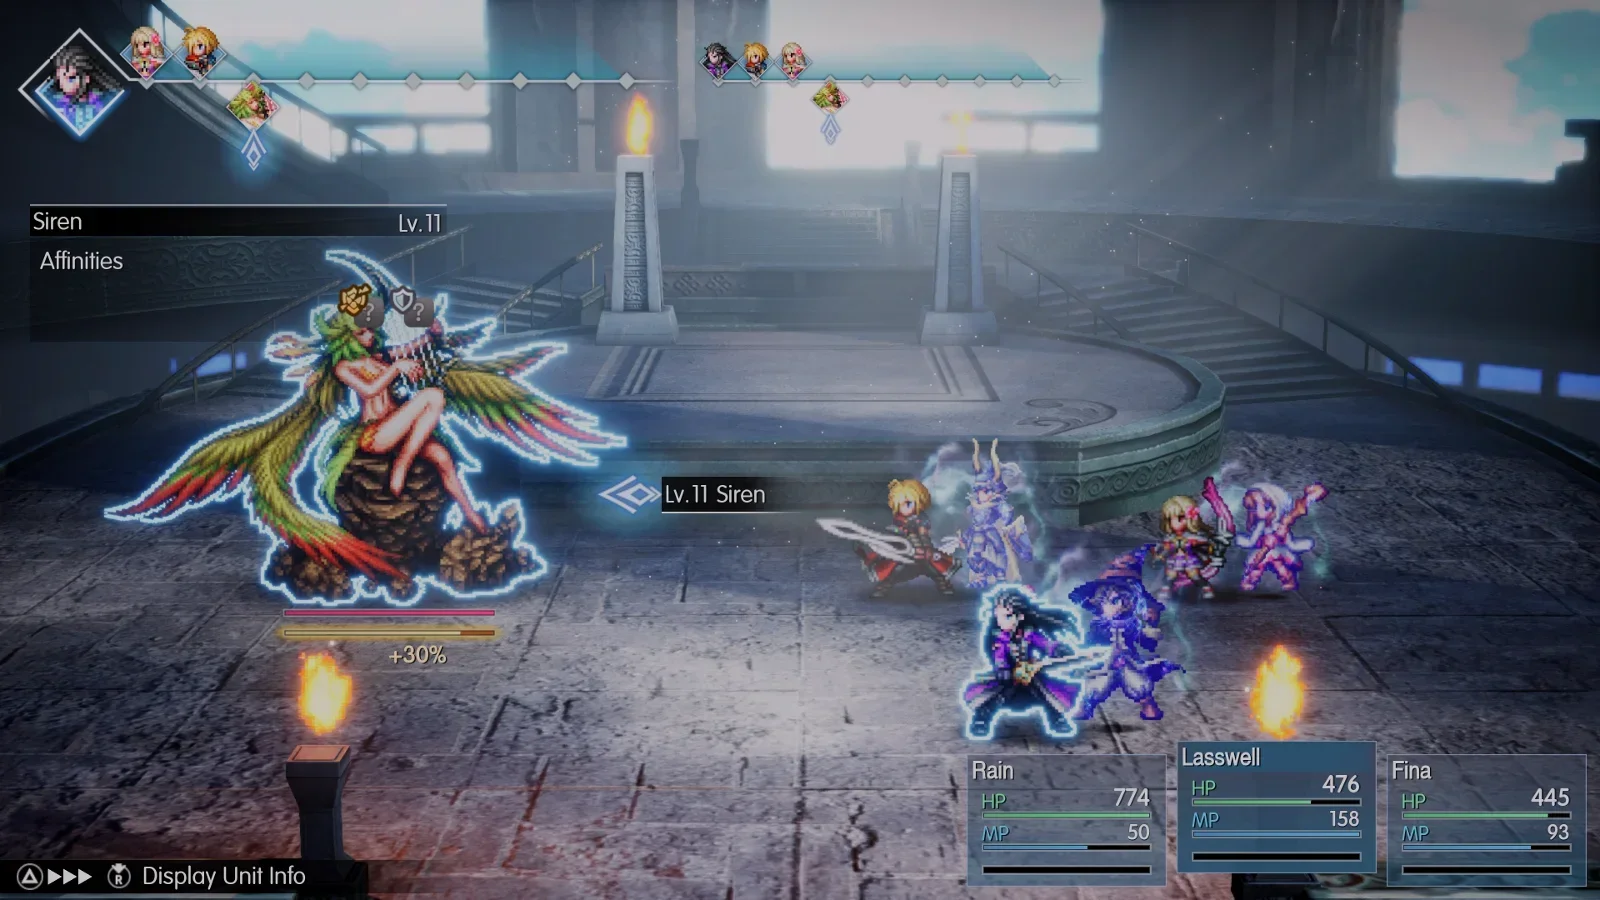
Rain's Vision equip screen
What makes a Vision worth equipping?
Every Vision does two things: it gives the equipped character access to a set of active skills during battle, and it accumulates Mastery bonuses that can persist even after you swap to a different Vision (subject to your AP cap). That second part matters a lot. Some Visions have mediocre active skills but a single Mastery ability so strong that you want to grind them on every character before moving on. Tronn and Terra both fall into this category.
When evaluating a Vision, the question to ask is: does this improve what this character already does, or does it paper over a gap? The best pairings almost always do the former.

Best Visions at a glance
| Character | Primary Vision | Best Alternative |
|---|---|---|
| Rain | Warrior of Light | Wilhelm |
| Lasswell | Firion | Cloud |
| Fina | Ayaka | Leah |
| Lid | Tidus | Clive |
| Jake | Aileen | Amelia |
| Nichol | Tronn | Onion Knight |
| Sakura | Terra | Shantotto |
| Archwitch Fina | Victoria | Tronn |
Best Visions for each character
Rain: Warrior of Light (or Wilhelm)
Rain has the highest base HP and Strength in the starting trio, which makes him a natural tank. Warrior of Light leans directly into that. The Multi-Cover Mastery ability, unlocked at Mastery Rank 3, lets Rain absorb incoming hits on behalf of the entire party, which is invaluable against bosses that hit hard before you can Stagger them. WoL also brings Protect, Cure, and spellblade skills covering Light, Lightning, and Earth, so Rain contributes elemental pressure even while absorbing damage.
For tougher encounters in the later chapters, Wilhelm is worth swapping in. His Guard skill reduces damage taken by 75% until the next turn, and combining Guard with WoL's Multi-Cover Mastery (carried over from previous leveling) and Firion's Arms Akimbo lets Rain tank and act offensively in the same turn. Wilhelm becomes available after completing the O General! My General! subquest in Chapter 5.
Lasswell: Firion (or Cloud early on)
Lasswell has the highest base Speed of the three starting characters, and his role is breaking Stagger gauges open for the rest of the party to exploit. Firion fits this perfectly. His Fulminating Strike increases Stagger Power by 50% for three turns, his base kit adds a 30% Stagger Power bonus, and the Weaponsmaster Resonance fills the Limit Burst gauge by 20% on top of dealing physical Light damage. Firion's Sanctum is northwest of the starting beach in Olderion, accessible in Chapter 3.
Before Firion is available, Cloud is the strongest option. Available from Chapter 1 in the Grandport region, Cloud's "Restore MP on Critical Hit" Mastery pairs especially well with Lasswell's natural critical hit rate, keeping him in the fight without constant MP management. Cloud's surge spellblade skills also deal solid Stagger damage, and Braver hits hard enough to carry you through the early chapters comfortably.

Firion's Stagger skills on Lasswell
Fina: Ayaka (or Leah before Chapter 7)
Fina has the highest base MP and Spirit in the party, so she's a natural healer and support anchor. Ayaka is the late-game answer to everything Fina needs: Cure, Esuna, Dispel, Purify, Raise, and eventually Reraise and Esunaga at Awakening 3. Her Angelic Embrace Resonance restores HP, removes debuffs, and clears status ailments (except KO) for the whole party in one action. Ayaka is unlocked by completing The Admirable Apprentice subquest in the Town of Sian during Chapter 7.
Until then, Leah covers the gap well. You get Leah automatically during Chapter 1 in Mitra, and her Healing Wind Resonance restores HP to all allies while applying Regen. If you want to run Fina as a magic attacker instead of a dedicated healer, Terra works here too, but that's a role better suited to Sakura unless your party composition demands it.
Lid: Tidus (or Clive for physical builds)
Lid scales with both physical and magic damage, which gives her flexibility, but her Mechabo skills shine brightest in a physical attacker role. Tidus supports that with a 20% Physical Attack bonus, a 20% Stagger Power bonus, Water and Wind elemental coverage, and Spiral Cut, which applies Brave for consecutive damage boosts. His Sanctum is at the western tip of the Olderion continent in Chapter 3.
The combination of Tidus with Firion's Arms Akimbo Mastery on Lid is particularly effective. Arms Akimbo lets Lid act twice per turn, and pairing that with Mechabo's Overclock creates burst windows that can wipe out tougher enemies before they get a second action.
For a more aggressive physical build, Clive provides Fire and Wind physical attacks and is available from the Sanctum of Clive in Grandshelt once the airship is unlocked.
Jake: Aileen (or Amelia for Saboteur builds)
Jake has the highest Strength in the entire playable roster, and his gun-based kit runs on Wind and Lightning. Aileen fills in the elemental gaps with Earth and Ice damage, adds a 30% Stagger Power bonus, and her Crust Driver skill inflicts Deprotect on Stagger, making enemies more vulnerable to Jake's follow-up physical hits. Unlock Aileen by completing the Forger of Wills subquest in Dilmagia after getting the airship in Chapter 5.
Tidus works as an early alternative before Aileen is available, letting Jake act first and stack Luck quickly with First Strike. Sephiroth's passive abilities also deserve a mention here: a 40% critical rate increase is substantial for a character built around raw physical output.
Nichol: Tronn (or Onion Knight)
Nichol has the highest Speed among all playable characters, which makes his Formation buffs land before enemies can act. Tronn lets him contribute offensively between buff turns with Fire, Ice, and Lightning spells, a 30% Stagger Power bonus, and the Hibernal Fury Resonance, which hits random enemies five times with Ice magic. Tronn is handed to you automatically in Chapter 1 alongside Leah, so there's no unlock requirement.
More importantly, Tronn's Half MP Cost Mastery ability is one of the best passives in the game. At max level, it halves the MP cost of all skills for the equipped character. This is worth grinding on every character who uses MP-heavy skills, including Fina and Sakura.
Nichol's Limit Burst, Mirroring Prism, lets the entire team act twice in one turn. Aileen's Observe and Charge LB and LB Charge Opener abilities help fill his gauge faster, making him even more dangerous if you want to optimize around Limit Burst frequency.
Sakura: Terra (or Shantotto)
Sakura has the highest Magic stat in the party, making her the natural magic damage dealer. Terra takes that further with Fire, Ice, and Water coverage, a magic attack passive buff, and Tenebrous Rites, a Mastery ability that increases magic damage against enemies suffering from any debuff, including reduced attack power or speed. That last part is key: Tenebrous Rites works on bosses resilient to status effects, as long as any debuff is applied. Terra's Sanctum is southwest of Felicitas in Chapter 1.
At Awakening 3, Terra unlocks Breaking the Limit, which allows characters to deal more than 9,999 damage per hit. This becomes mandatory in the late game, so leveling Terra on Sakura early (and ideally on your other characters too) is one of the highest-value investments in the game.
Shantotto is the alternative when you need non-elemental coverage. Her Dark Rites Mastery increases magic power based on how much HP the character has lost, and Area Effect Adept removes the damage penalty when targeting multiple enemies simultaneously. Shantotto's Sanctum is east of Mozul Station in Zoldaad, available in Chapter 4.
Archwitch Fina: Victoria (or Tronn)
Archwitch Fina (also called Dark Fina) focuses on magical damage and debuffing. Victoria extends her toolkit with Ice, Wind, and Dark spells alongside Silence and Berserk for status disruption. Her Mana Overload Mastery boosts magic attacks by 35% as long as the character's MP stays at 75% or higher, which rewards careful resource management. Her Agony Resonance deals Dark damage to all enemies and can inflict Poison and Blind. Unlock Victoria by completing the Victoria Revivified subquest in Mysidia during Chapter 5.
Pairing Archwitch Fina's debuffs with Zidane's Aggravation passive (available as a Mastery) makes damage against debuffed enemies 1.6x stronger. That combination can trivialize regular encounters. For fights requiring faster Stagger buildup, swap to Tronn for broader elemental coverage and the 30% Stagger Power bonus.
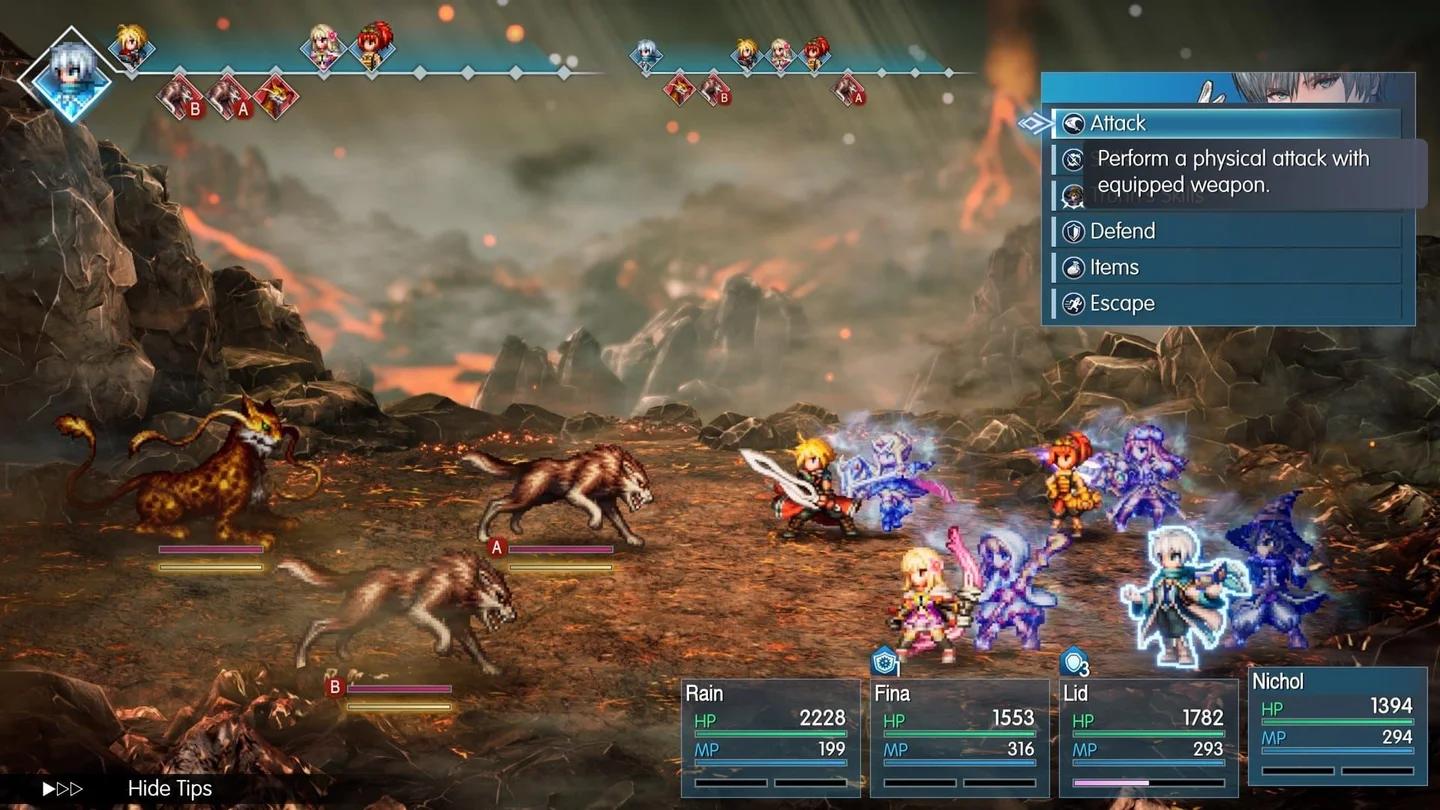
Victoria's dark magic on Archwitch Fina
Which Visions should you upgrade first?
Magicite is limited early on, so the upgrade order matters. Here's a sensible priority sequence:
- Tronn (Chapter 1) - Half MP Cost Mastery benefits every magic user in the party.
- Leah (Chapter 1) - Keep Fina's healing reliable before Ayaka is available.
- Warrior of Light (Chapter 1) - Work toward Multi-Cover for Rain's tank role.
- Cloud or Firion - Invest in one physical Breaker for Lasswell's Stagger pressure.
- Terra (Chapter 1) - Breaking the Limit Mastery is mandatory for late-game damage output.
- Ayaka (Chapter 7) - Once unlocked, upgrade her healing and revival abilities immediately.
The strongest long-term approach is to master several complementary Visions across your roster rather than dumping everything into one. Mastery bonuses that carry over when you switch Visions make every hour spent leveling a secondary option worthwhile, especially heading into the post-game content.
How to unlock and awaken Visions
Most Visions come from Sanctums of Light scattered across the world map, while a handful require completing specific subquests. Leah and Tronn are given to you automatically during Chapter 1 in Mitra.
Awakening a Vision requires:
- Awakening 1: Magicite Shard
- Awakening 2: Magicite
- Awakening 3: Magicite Cryst
Active skills from a Vision are only usable while that Vision is equipped. Mastery bonuses, however, persist after switching, up to the character's AP limit. Mastery progression is tracked separately for each character and Vision combination, so the same Vision equipped on Rain and Lasswell needs to be leveled independently on each.
Reaching Mastery Rank 9 unlocks the ability to equip that Vision's full Mastery collection in a single slot, provided you have enough AP to support it.
For more strategies and build options across the full roster, the FINAL FANTASY RESONANCE guides collection covers everything from boss weaknesses to Legendary Arms locations. If you're still deciding whether this JRPG is worth your time, the game page has everything you need to know before committing.