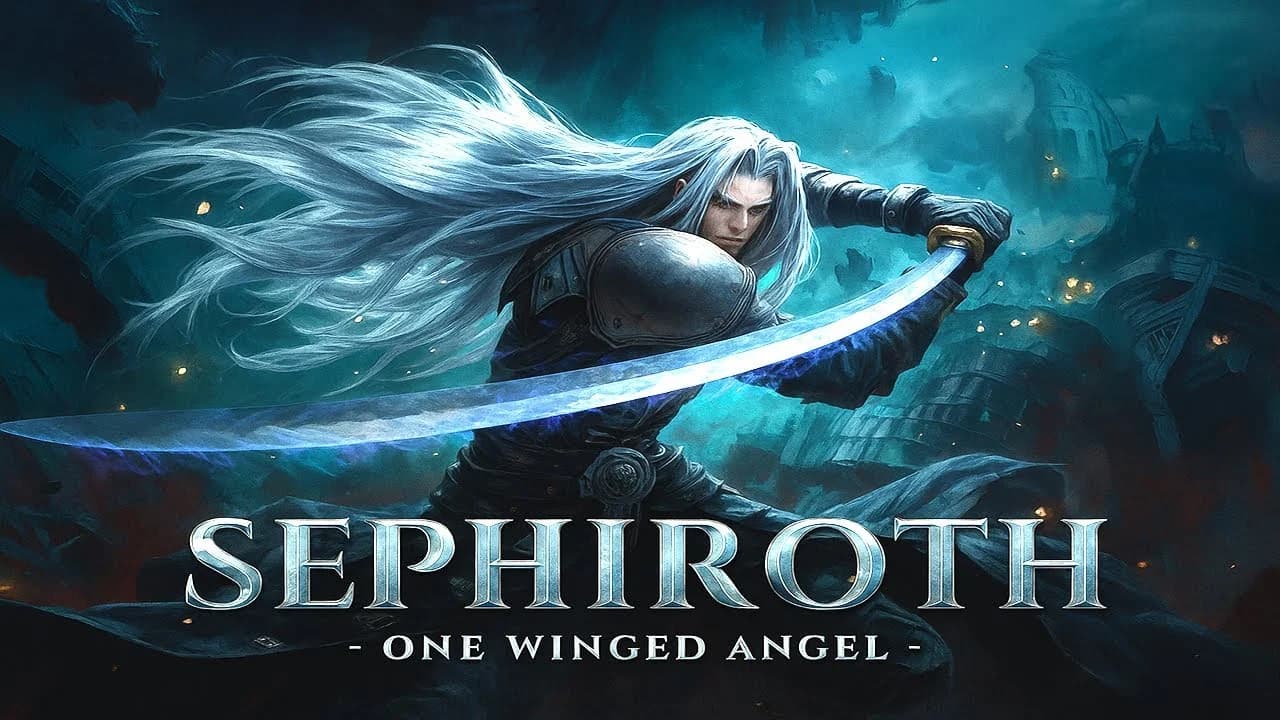

Sephiroth is not sitting in a Sanctum of Light waiting for you to answer a personality quiz. He has 250,000 HP, three distinct phases, and a countdown timer that ends the fight if you play it slow. Unlock him and you get arguably the strongest damage Vision in FINAL FANTASY RESONANCE. Miss him and you're leaving the best DPS in the game on the table.
Where is Sephiroth's Vision?
How to find Whirlpool Hollow
Once the airship is yours, fly over the ocean north of Grandshelt, specifically the waters north of the bridge leading into the desert. Between the two northern landmasses, just northeast of the Village of Kol, you'll spot a whirlpool. Hover directly over it and the prompt for Whirlpool Hollow appears. You enter straight from the airship without landing.
Inside, it looks identical to every other Vision sanctum. Walk to the crystal and the game will warn you that a challenge awaits before you can claim the Vision. If you're not prepared, back out and read the rest of this guide first.


How to prepare for the Sephiroth boss fight
The mistake most players make here is walking in right after getting the airship, thinking level 45 is manageable. Sephiroth's AOE attacks will shred an underprepared party. If his area spells are hitting for more than half your party's max HP, come back later. Level 60 or above makes the fight significantly more forgiving.
Here's the party setup that handles all three phases reliably:
- Rain as your tank, equipped with the Warrior of Light Vision for dark damage immunity and access to the Multi-Cover skill.
- A dedicated healer with Firion's Arms Akimbo mastery (unlocked at mastery level 9). Arms Akimbo lets you take two actions in one turn, so your healer can cast party-wide heals and raise fallen members in the same round.
- Lid, who has access to Mechamog Scan (unlocked through the Mechabo side quests). This ability permanently implants a random elemental weakness on Sephiroth that persists through all three phases, including phase transitions where he normally rotates resistances.
- Nichol works well for mass buff application. His Formation buffs synergize with the Rain strategy explained below.
- Equip Terra's "Breaking the Limit" mastery bonus on your primary attacker. This raises the damage cap from 9,999 to 99,999, which matters a lot in the DPS-check final phase.
For Espers, stick with non-elemental options like Odin or Bahamut. Sephiroth rotates elemental resistances in phase two, so elemental Espers risk hitting his absorb. Avoid Carbuncle in phase two as the buffs it applies will trigger Sephiroth's Nihilistic Solitude response.
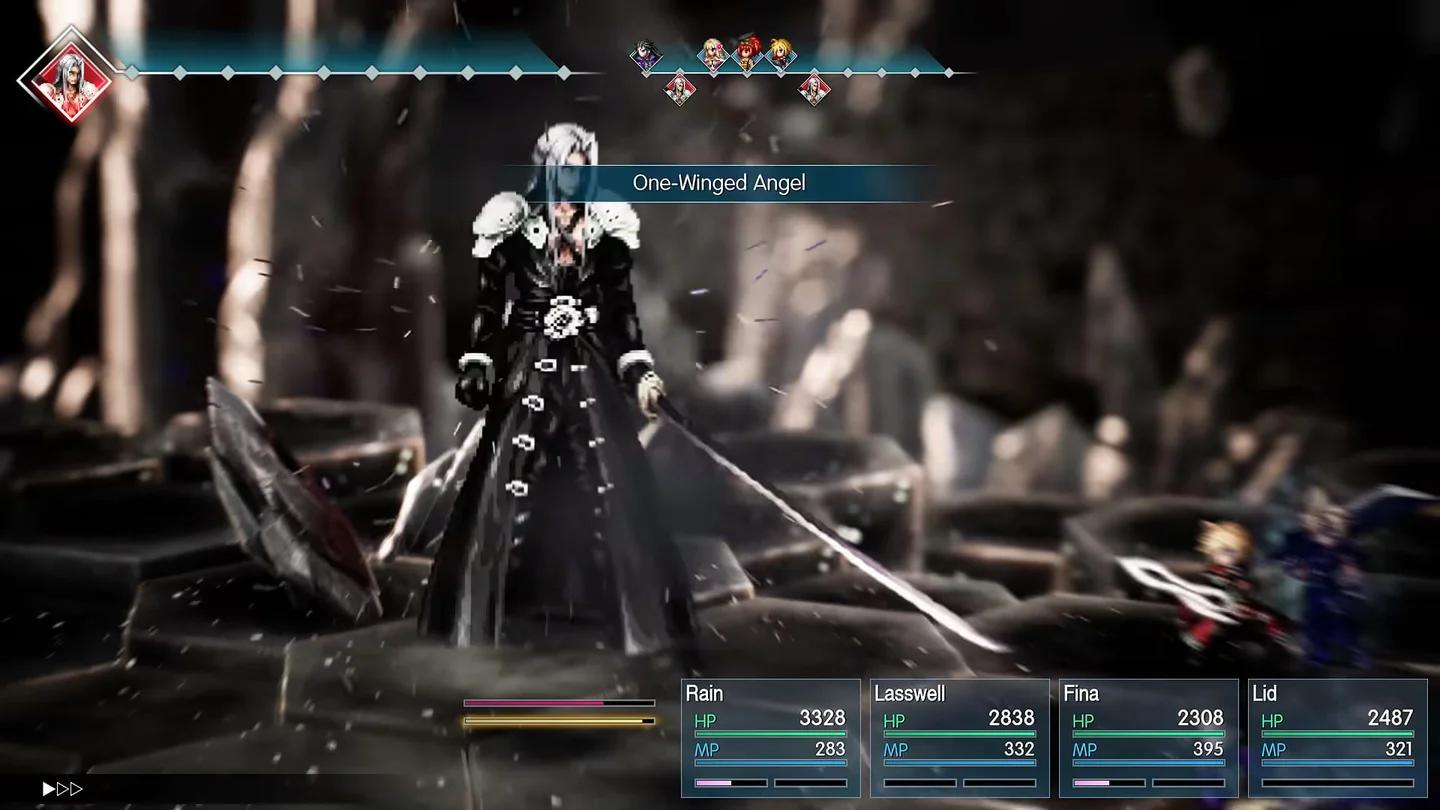
Mechamog Scan adds a weakness
How to beat Sephiroth: all three phases explained
Sephiroth has a single health bar totaling 250,000 HP. Phase transitions happen at the 200,000 HP and 50,000 HP thresholds. He does not have separate bars for each phase.
Phase 1: Masamune in Waiting (250,000 to 200,000 HP)
The opening phase is deceptively punishing. Sephiroth has elevated magic defense and will use Masamune in Waiting early, which makes him block and counter every physical attack. Your physical damage dealers are essentially locked out until you break this stance.
You need elemental magic during this phase, but his magic defense keeps damage numbers low. This is exactly where Lid's Mechamog Scan pays off. Hitting an elemental weakness pressures Sephiroth, which makes him more aggressive but also easier to stagger. Without Lid, you're grinding through 50,000 HP with reduced damage and no physical options.
Once his HP drops to 200,000, he becomes immune to all damage temporarily. He will then cast One-Winged Angel to signal the phase transition.
Phase 2: One-Winged Angel (200,000 to 50,000 HP)
This is the longest and most demanding phase. Immediately after casting One-Winged Angel, Sephiroth follows up with Heartless Angel, which drops every party member's HP to 1. The counter to this is having Rain use Multi-Cover beforehand. With Multi-Cover active, Rain absorbs all of Heartless Angel's damage alone, leaving the rest of your party at full health while Rain sits at 1 HP. Heal Rain immediately.
After Heartless Angel, Sephiroth charges with a random element and becomes resistant to everything except the opposing element. He absorbs the element he charged with, so attacking with that element does nothing. Your options are:
- Hit the opposing weakness.
- Use light element skills.
- Use non-elemental attacks (though these trigger AOE magic counters from Sephiroth).
If you gave Sephiroth a weakness via Mechamog Scan, that weakness remains active even through his elemental infusion phase. Use Libra after each elemental shift to track his current weakness if you're not relying on Lid's implanted weakness.
The other threat in this phase is Nihilistic Solitude. If your party accumulates too many buffs, Sephiroth casts this skill, which deals dark damage and strips all buffs simultaneously. With Rain using the Warrior of Light Vision, he's immune to dark damage and can redirect Nihilistic Solitude entirely through Multi-Cover, saving your party's buff stack. This also forces Sephiroth to keep repeating Nihilistic Solitude rather than using heavier attacks like Graviga, which cuts everyone's HP in half.
Periodically throughout phase two, Sephiroth also uses Graviga and various AOE elemental attacks. Keep your healer active every round.
Phase 3: Divine Proclamation (50,000 HP to 0)
The final phase is a straight DPS check. Sephiroth casts Divine Proclamation, which places a meteor countdown on his buff bar. When the counter hits zero, the fight ends in a wipe. He also casts Heartless Angel one more time during the transition, so have Rain's Multi-Cover ready.
In phase 3, Sephiroth gains a definitive weakness to light and begins absorbing dark element attacks. Cut all dark damage from your rotation immediately. Hit him with your strongest light and non-dark abilities and keep pressure constant. Fina's Holy ability is a strong option here since it deals light damage and contributes meaningfully to the damage check.
Do not slow down to overheal. Rain's Multi-Cover keeps the party safe enough to stay aggressive. Push through the remaining 50,000 HP before the meteor lands.
Sephiroth Vision abilities and masteries
Sephiroth is worth every attempt. His kit covers physical, dark physical, and magic damage types across multiple elements, and his passive abilities push damage numbers higher than most other Visions in the game. His Resonance ability, True Octaslash, deals non-elemental physical damage to all enemies in eight separate hits. When combined with the Ultimate Aggression mastery bonus (mastery rank 5), every one of those eight hits is a guaranteed critical strike. Stack Terra's Breaking the Limit mastery bonus on top and each of those crits can reach the 99,999 damage cap.
For a full picture of how Sephiroth compares to other Visions, the Final Fantasy Resonance Visions tier list breaks down every option across all party roles.
Sephiroth's skills by star level
| Star level | Skill | Effect |
|---|---|---|
| 0-star | Boundless Void | Non-elemental physical damage + Paralysis |
| 0-star | Dark Surge | Dark physical damage (Spellblade Skill) |
| 0-star | Physical Attack +30% | Passive: +30% physical damage |
| 0-star | Jenova Cells | Raises STR, STA, and MAG; scales with spirit up to 25% |
| 1-star | Darkra Surge | Dark physical damage (Spellblade Skill) |
| 1-star | Firaga | Fire magic damage |
| 1-star | Blizzaga | Ice magic damage |
| 1-star | Thundaga | Lightning magic damage |
| 1-star | Magic Attack +30% | Passive: +30% magic damage |
| 1-star | Auto-Bravery | Passive: constant Bravery status |
| 2-star | Purging Blade | Dark physical damage + Deprotect + Deshell |
| 2-star | Darkga Surge | Dark physical damage (Spellblade Skill) |
| 2-star | Curaga | Restores a large amount of HP |
| 2-star | Critical Hit Rate +20% | Passive: +20% crit rate |
| 2-star | Legendary SOLDIER | Applies higher of physical/magic attack when attacking; higher of physical/magic defense when defending |
| 3-star | Meteor | Non-elemental magic damage to random enemies, 4 hits |
| 3-star | One-Winged Angel | Restores 5% max HP and 3% max MP per turn; raises Jenova Cells attribute cap to 35% |
Sephiroth's mastery bonuses
| Mastery rank | Bonus | Effect | AP cost |
|---|---|---|---|
| 1 | Perfect Serenity | +50% damage on standard attacks and battle skills | 20 |
| 2 | HP+30 | Passive stat increase | — |
| 3 | Critical Hit Rate +20% | +20% crit rate | 40 |
| 4 | AP+8 | Passive resource increase | — |
| 5 | Ultimate Aggression | Guarantees crits on Limit Bursts and Resonances | 30 |
| 6 | Strength+15 | Passive stat increase | — |
| 7 | Moiety's Mirror | Reduce damage taken and counterattack with one physical + one magic hit when struck | 40 |
| 8 | Magic+15 | Passive stat increase | — |
| 9 | Dark Eater | Absorbs dark damage and restores HP | 50 |
| 9 | AP+8 | Passive resource increase | — |
How does Sephiroth fit into the best team builds?
Sephiroth slots naturally into any party that already runs Archwitch Fina, since both deal dark damage and carry debuff skills. Purging Blade inflicts Deprotect and Deshell, while Archwitch Fina's Queenly Whip applies Debrave and Defaith. Running both in the same turn via Arms Akimbo puts enemies into a permanent four-debuff state, and pairing that with Spirit of Zidane's Insult to Injury and Aggravation abilities scales damage further with each debuff on the target.
Sephiroth's Dual Spellblade interaction is also worth noting. Bartz's transferrable Dual Spellblade ability causes any skill tagged as a Spellblade Skill to activate twice. Sephiroth has three Spellblade Skills across his kit (Dark Surge, Darkra Surge, Darkga Surge), so leveling Bartz early to transfer Dual Spellblade onto Sephiroth doubles those hits. For a deeper look at party compositions around Sephiroth, the best party members and team composition guide covers how each character role fits together.
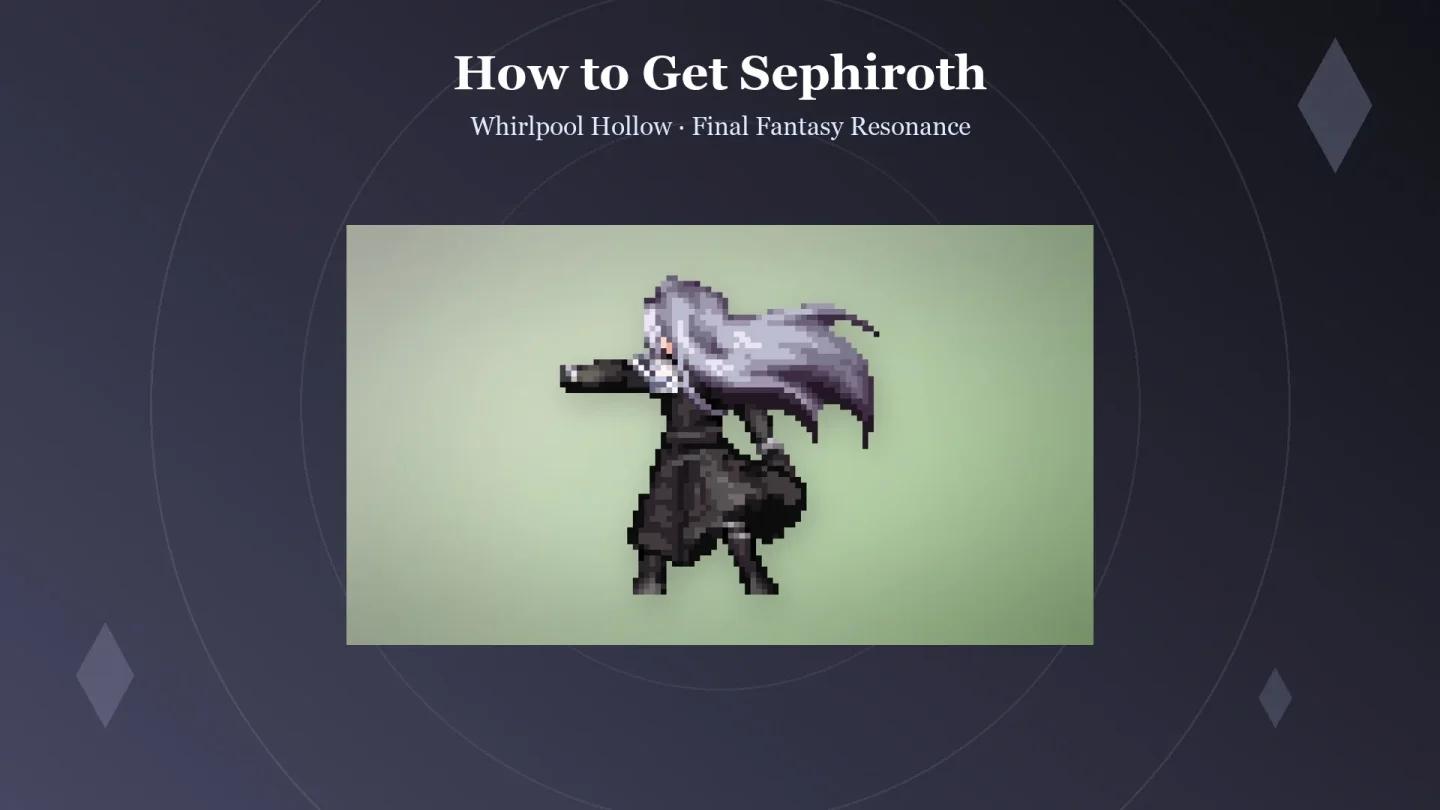
Sephiroth's full skill roster
Common mistakes to avoid
- Attempting the fight immediately at Chapter 5. Sephiroth's listed level of 45 is misleading. His AOE damage scales well beyond what a fresh Chapter 5 party can absorb.
- Skipping Libra in phase 2. Without Libra or Mechamog Scan, you have no way to identify his elemental weakness after each infusion shift.
- Using elemental Espers. Sephiroth's resistance rotation means any elemental Esper risks hitting an absorb. Odin and Bahamut are the safe choices.
- Letting buff stacks pile up without Rain's Multi-Cover active. Nihilistic Solitude strips everything and leaves your party exposed to Graviga on the same turn.
- Attacking with dark element skills in phase 3. Sephiroth absorbs dark in the final phase. Every dark hit heals him.
For more on the broader Vision system and which options are worth prioritizing before you reach Whirlpool Hollow, check out the full FINAL FANTASY RESONANCE guides collection.
FAQ
Can I attempt Sephiroth before Chapter 5? No. Whirlpool Hollow requires the airship, which becomes available at the start of Chapter 5.
What level should I be before fighting Sephiroth? Level 60 or above is the practical target. At level 45 (his listed level), his AOE attacks will likely one-shot or near-one-shot party members without strong defensive setups.
Does Lid's Mechamog Scan weakness survive phase transitions? Yes. The implanted weakness persists through all three phases, including Sephiroth's elemental infusion periods in phase 2. If the infusion element matches the implanted weakness, the weakness remains and is not converted to an absorb.
What happens if the Divine Proclamation countdown reaches zero? Immediate party wipe. The meteor hits and the fight ends. There is no surviving it.
Is Sephiroth the best Vision in the game? For pure damage output, yes. True Octaslash with Ultimate Aggression and Terra's Breaking the Limit mastery bonus produces the highest consistent damage numbers available from any Vision in the current build of the game.