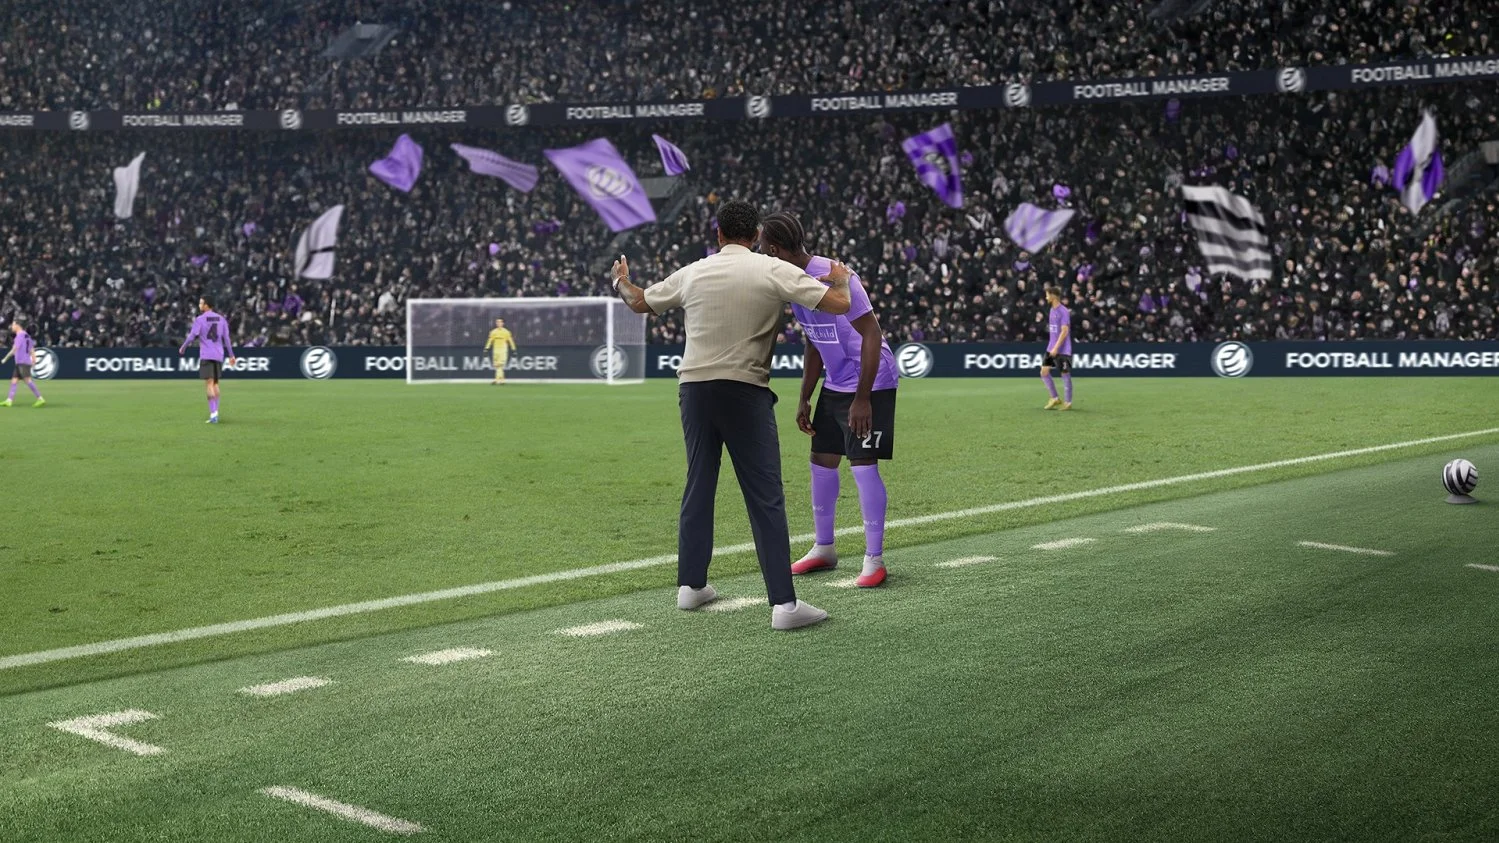

The best Football Manager 27 possession tactic utilizes a short-passing 4-2-3-1 formation, featuring two defensive midfielders, a central creator, and coordinated wide support to maintain control and build attacks.
This possession template suits a squad with a capable number ten and enough wide players to stretch opponents. Treat it as a starting plan: player suitability, nearby passing options, and protection after turnovers determine whether it fits your team. A squad built around a holding midfielder and two central runners may suit a 4-3-3 instead. Judge either setup through the chances it creates and concedes, not through possession alone.
When to use a possession tactic
Use this approach when your defenders can connect the first pass and your midfielders can share progression and defensive cover. If filling those jobs requires several players to work in unsuitable positions, reconsider the formation before adding instructions.
The squad check in this football simulation starts with attributes. Inspect Passing and Decisions in your deeper links, Vision and First Touch in the creator, and Off the Ball and First Touch in the striker. A player's general ability does not establish their suitability for every assignment.
Check the physical demands, too. Repeated wide support and pressing must fit the players' Stamina and workload. A possession identity does not require the most demanding press available.


Choose a formation that fits your squad
The 4-2-3-1 gives a central creator a connection between the deeper pair and the lone striker. It is the starting recommendation here because those relationships are straightforward to identify and review.
Use a different shape when your available players support another arrangement more naturally.
| Formation | Choose it when | Main issue to watch |
|---|---|---|
| 4-2-3-1 | You have a central creator, wide attackers, and two deeper midfielders | The striker can become isolated if the creator cannot receive |
| 4-3-3 | You have a reliable holder, two complementary central midfielders, and wide attackers | Both central midfielders advancing can leave the holder alone |
| 4-3-1-2 diamond | You have strong central midfielders and two strikers but few natural wingers | Full-backs must provide width and sustain the workload |
Do not change formation solely because one match went badly. First identify whether a missing passing connection or an uncovered space can be corrected within the current shape.
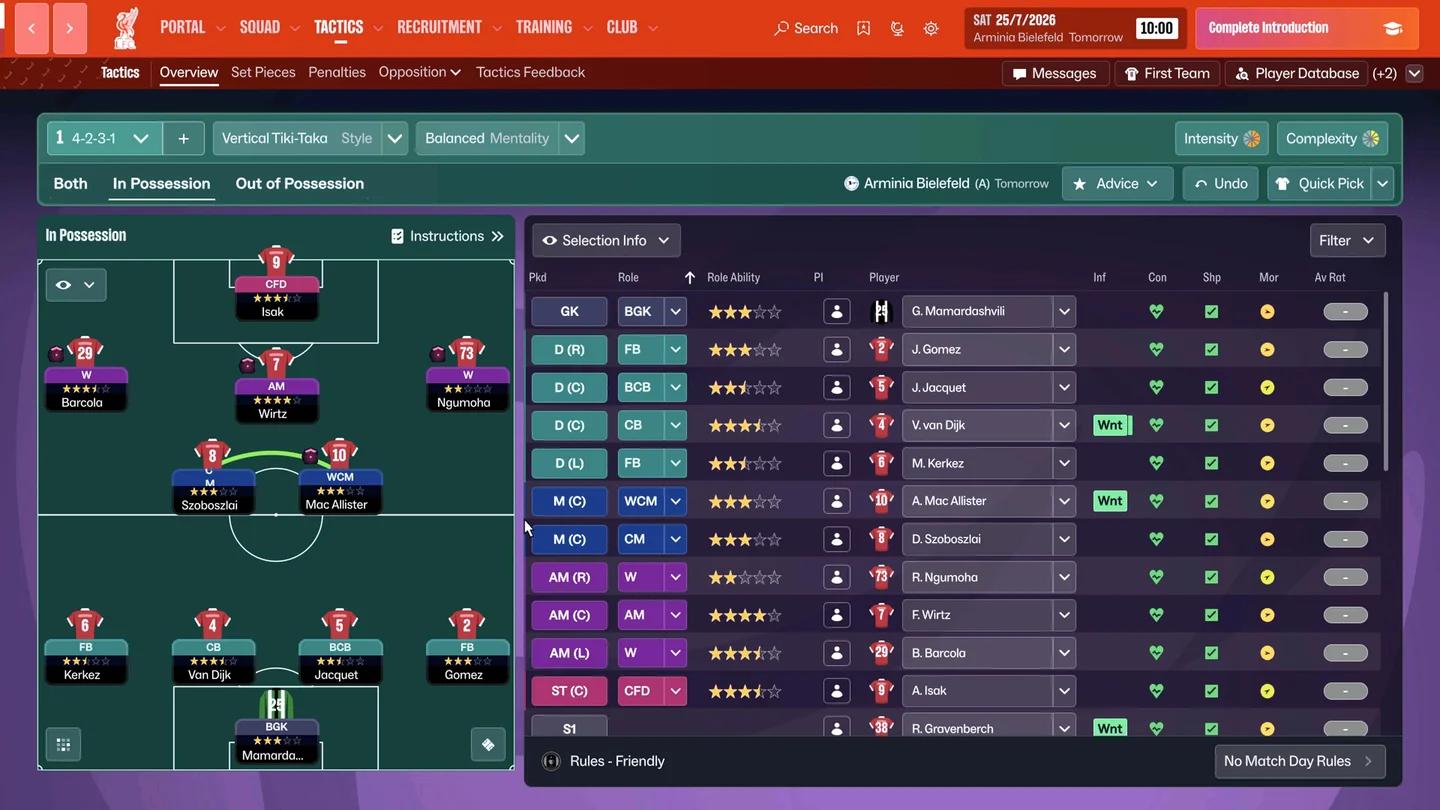
The 4-2-3-1 possession shape
Balance player roles across the team
A complete 4-2-3-1 template
Use the following roles as starting choices. The responsibilities are the priority: if a player needs a different role, preserve the passing connection or defensive cover that their position supplies.
| Position | Starting role | Responsibility in this setup |
|---|---|---|
| Goalkeeper | Sweeper keeper | Offer a safe reset and choose distribution that teammates can receive |
| Left-back | Full-back | Supply the outside option when the left attacker moves inside |
| Two centre-backs | Central defender | Protect the middle and connect the first pass into midfield |
| Right-back | Full-back | Support the right winger without matching every advance on the opposite flank |
| First defensive midfielder | Defensive midfielder | Protect central space and remain available behind the attack |
| Second defensive midfielder | Defensive midfielder | Connect the defensive unit to the creator without leaving the holding partner alone |
| Left attacker | Inside forward | Move into an inside receiving lane, coordinated with the left-back's width |
| Central attacking midfielder | Attacking midfielder | Receive between the lines and connect with the striker |
| Right attacker | Winger | Maintain an outside receiving option on the opposite side |
| Striker | Centre forward | Give the creator a central target and threaten the last line |
Mirror the left-right arrangement if your stronger supporting partnership plays on the other side. The requirement is complementary movement, not a fixed preference for attacking down the left.
Check suitability and understanding
Use Tactical Effectiveness and player reports to separate poor role suitability from a player still learning the intended movement. A new creator-striker partnership may need preparation; a player unsuited to the assignment needs a different role or responsibility.
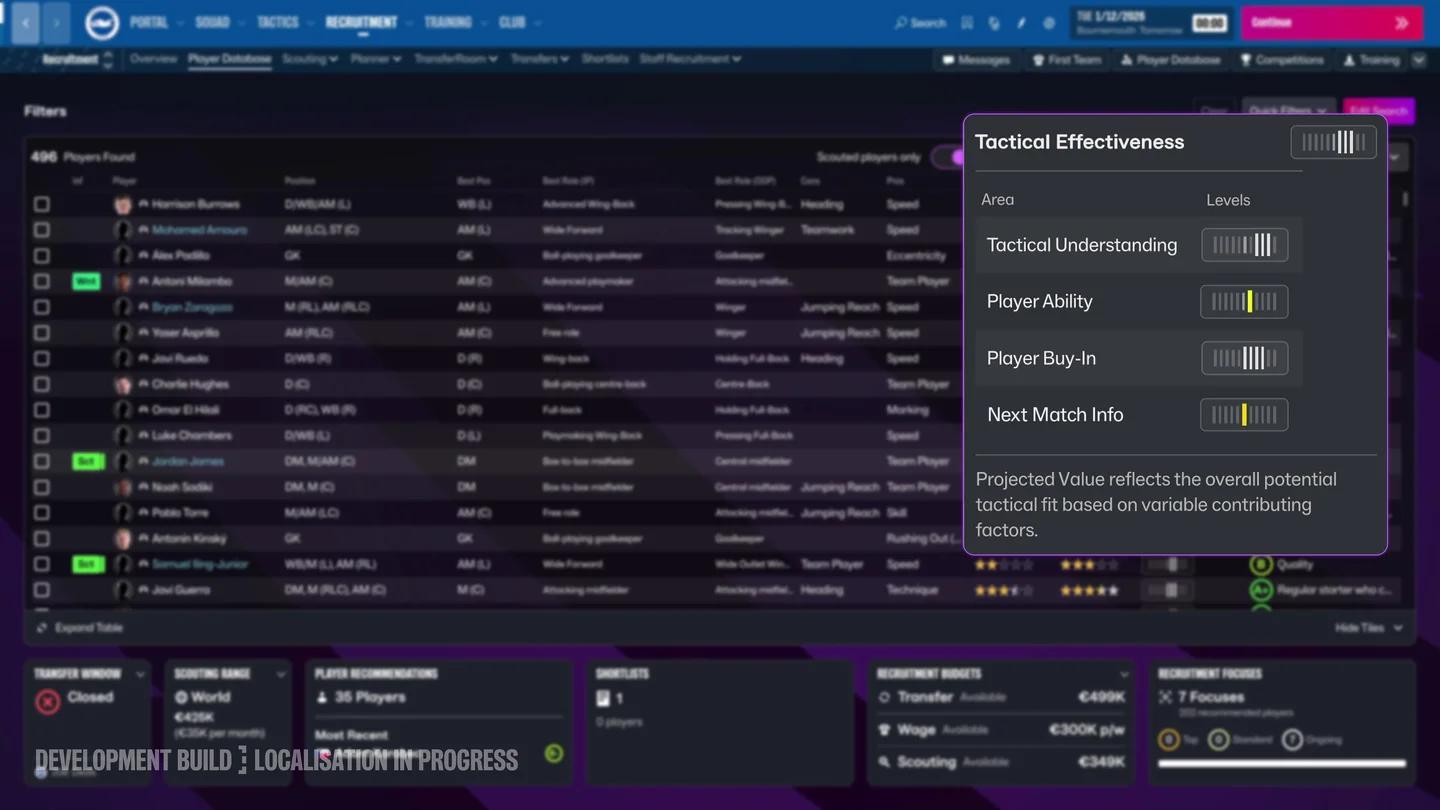
Review role fit and understanding
Build passing options from defence to attack
Set a focused baseline
Start with a Positive mentality and a small group of instructions. This template combines short build-up with a mid block instead of making maximum pressing and defensive height compulsory.
| Area | Starting setup |
|---|---|
| Mentality | Positive |
| Build-up | Shorter passing and Play out of defence |
| After losing possession | Counter-press |
| Defensive approach | Mid block and Standard pressing |
These are starting choices to adapt to your squad, not a promise that every player can carry them out. Check the match behaviour before adding further demands.
Follow the next pass
Watch a build-up passage beyond its first successful pass. A defender finding a midfielder is only useful if that midfielder has another receiving option. Inspect the next supporting player when the ball repeatedly reaches a dead end.
Trace three connections:
- Defence to midfield: check whether a deeper midfielder becomes available for the centre-back.
- Midfield to attack: check whether the central creator can receive or whether a wide alternative is open.
- Creator to striker: check whether the striker's movement gives the creator a usable target.
Use passing analysis to locate those connections, then watch the relevant passages. A completed pass does not establish that the receiver could advance the move.
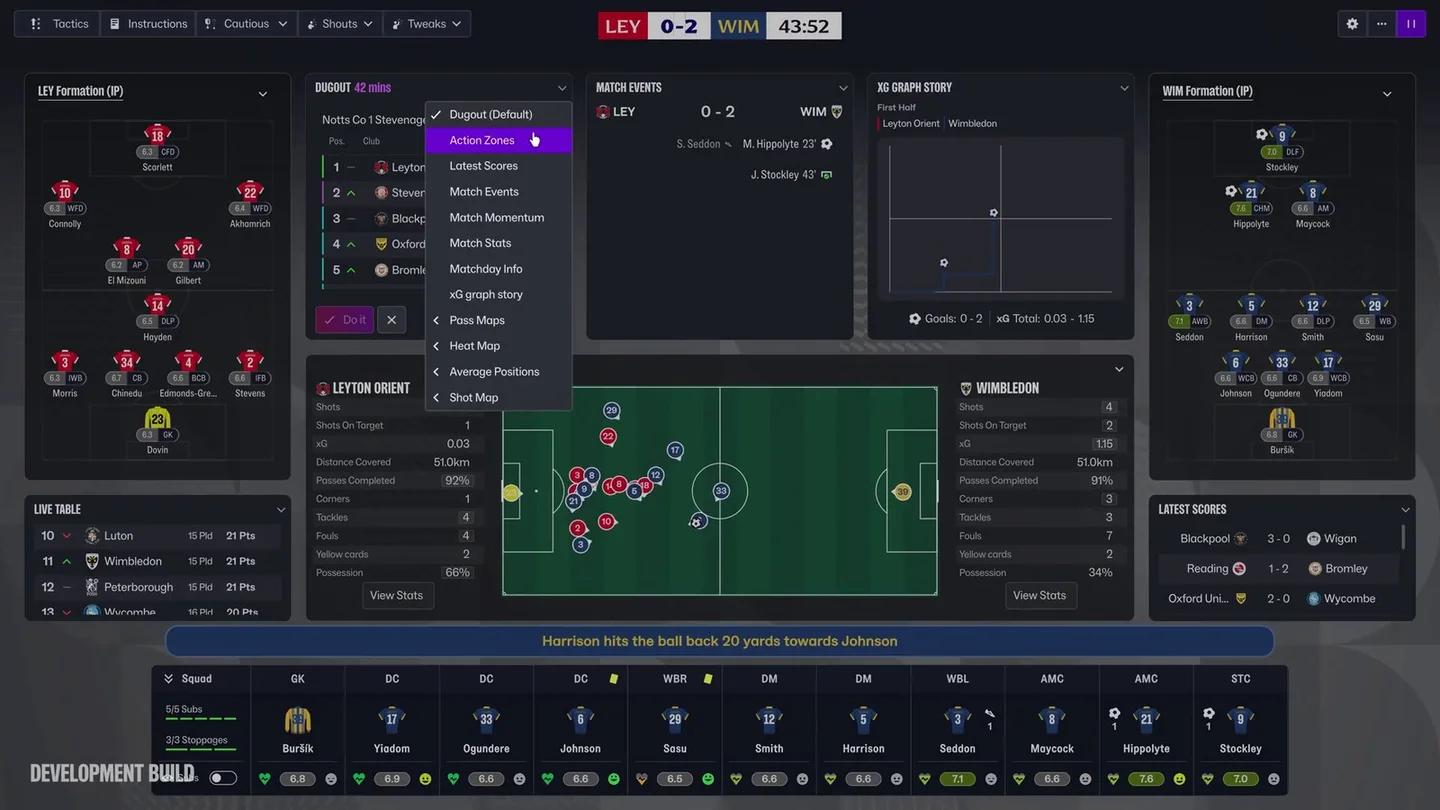
Trace the route through midfield
Protect against counterattacks
The main danger in this 4-2-3-1 is the space outside the deeper midfield pair when both full-backs advance. Watch that space when possession changes, especially on the side supplying attacking width.
If counters repeatedly enter the same channel, keep the nearby full-back deeper or bring the adjacent midfielder closer to the defence. Change the responsibility covering the exposed lane before replacing the entire formation.
Counter-pressing also needs a workload review. If defensive gaps appear late in matches, inspect fatigue, central cover, and substitution options before increasing pressure. Sending more players toward the ball will not replace an absent covering player.
When chasing a goal, add a supporting run with explicit cover. Keep a player available to protect the space the runner leaves.
Adjust the setup when possession creates few chances
High possession with little threat calls for a review of receiving positions and chance origins. Open Key Findings, then inspect the relevant passing or chance-quality evidence before choosing an adjustment.
| Repeated problem | What to inspect | First adjustment to consider |
|---|---|---|
| The creator rarely receives | Whether opponents have closed the central route | Make the wide alternative accessible |
| The striker receives little useful service | The creator-striker connection and nearby support | Adjust the supporting relationship before increasing passing risk |
| A wide attacker receives alone | The nearest full-back or midfielder's supporting position | Restore nearby support before raising tempo |
| The winger and full-back crowd the same lane | Which player is supposed to provide width | Keep an outside outlet while the other player offers a different angle |
An isolated receiver is a support problem to investigate, not an automatic instruction to circulate the ball faster. Conversely, if the team already creates reasonable chances but misses them, higher tempo or more pressing has not automatically become necessary.
Review one change across several matches
Save a named baseline and record the formation, responsibilities, instructions, and game version. Note what should improve after the adjustment and which space could become more vulnerable.
Compare several matches against varied opposition. Account for lineup changes, dismissals, and unusual finishing before judging the setup. Friendly wins against weaker teams do not establish that a change is better for competitive matches.
For a temporary match-day response, inspect what a Tactical Tweak changes and watch the next relevant passages. Remove it when the problem has passed, and keep the revised setup only if the intended improvement outweighs its cost.