
The two hidden puzzles in Fortnite Treasure Hunters are the Frog Statue puzzle at Giant’s Battlefield, south of Lantern Landing, and a loot room behind the waterfall east of Fortune’s Fort. Turn all three frogs toward the central island for two Rare Chests; enter the waterfall cave and emote at its final wall for one Rare Chest. The frogs offer the bigger chest payout, while the waterfall makes a useful stop near Fortune’s Fort. Below are both locations, their solutions, and the rewards worth watching for.
Where are all the hidden puzzles?
There are two hidden puzzles on Crossbone Isle in update 43.00. One requires you to rotate statues around a central pool. The other hides its reward behind a cave passage with two different obstacles, so bringing out your Pickaxe only solves part of it.
| Hidden puzzle | Where to find it | What solves it | Chest reward |
|---|---|---|---|
| Frog Statue puzzle | Giant’s Battlefield, south of Lantern Landing, near the map’s center | Turn all three frogs toward the central island | Two Rare Chests |
| Waterfall loot room | Behind the waterfall east of Fortune’s Fort | Break the first wall, pass through the gap, and emote at the final wall | One Rare Chest |
The Frog Statue puzzle takes longer to complete, but awards twice as many Rare Chests. Choose it for the chest count; keep the waterfall solution handy for matches that bring you near Fortune’s Fort. These locations and steps apply to update 43.00 and may change with later updates.


How do you solve the Frog Statue puzzle?
Head south of Lantern Landing to the pool at Giant’s Battlefield. Three stone frogs stand around its shore, initially looking away from the island in the middle. Your objective is to make every frog face that central island.
Gear up at a One Piece Chest before tackling this puzzle. Use the Pirate Treasure Chest locations guide to plan your opening loot stop, then approach the pool with equipment rather than relying on the puzzle reward to get started.
Rotate all three frogs inward
Each frog can be rotated using the Interact prompt. Work around the shore until all three point toward the island:
- Approach a frog statue and use Interact to turn it.
- A frog in its starting position needs four interactions to face the center.
- Repeat the process at the other two statues.
- Check the direction of every frog before heading to the reward area.
The facing direction is your best check. You want each statue looking toward the central island, rather than stopping after a button count without checking its position.
Collect the reward in the middle
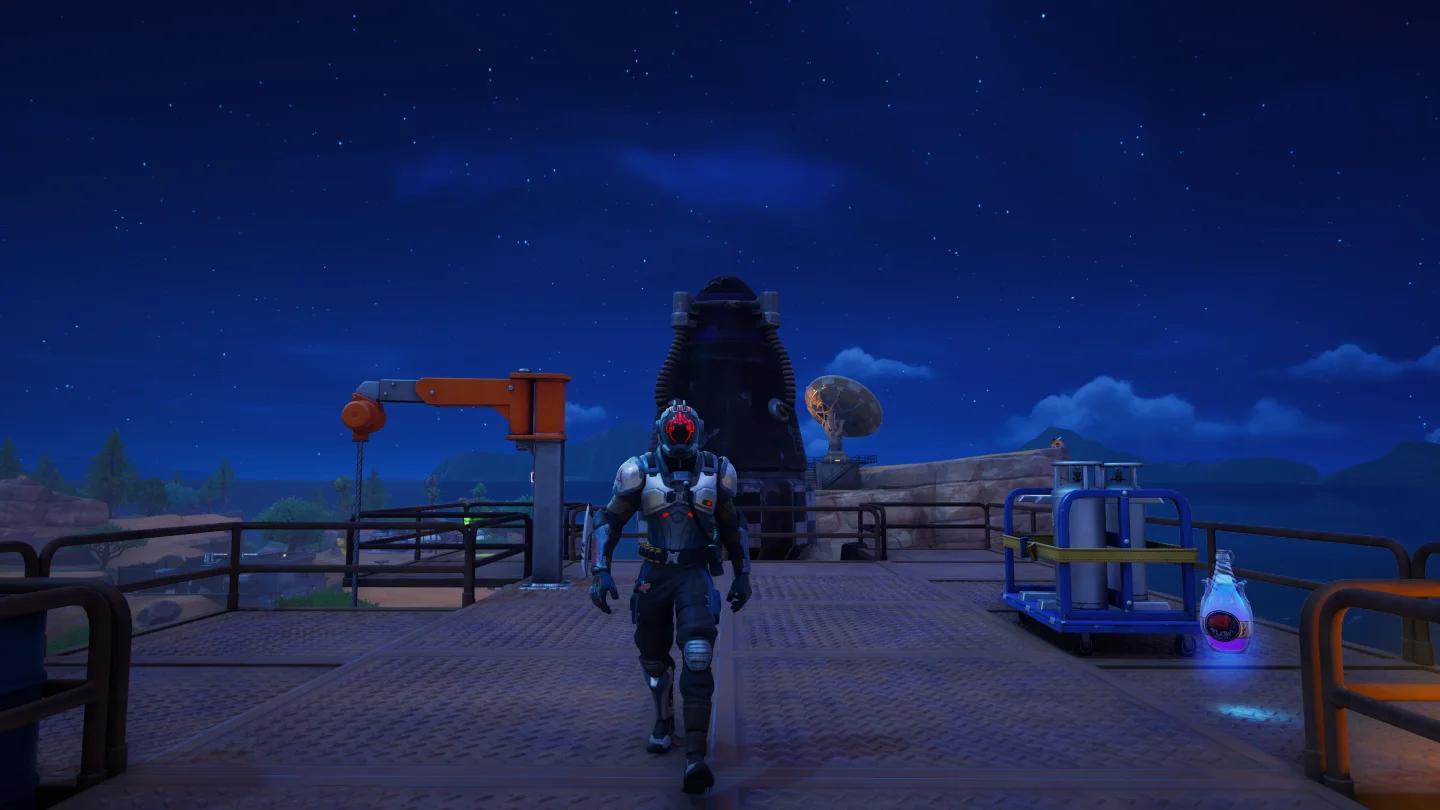
Once all three frogs face inward, a podium appears at the center with two Rare Chests. Leave the shore and head to the central island to open them. The chests appear together there, rather than beside the individual statues.
Claim the central chest reward
The frog puzzle’s appeal is straightforward: completing one set of statue interactions produces two Rare Chests. The contents still depend on the drops, but the chest reward makes Giant’s Battlefield the stronger choice if you are deciding between the two puzzles purely by loot opportunities.
How do you open the Fortune’s Fort waterfall room?
Find the waterfall east of Fortune’s Fort and walk through the water into the cave. The entrance is concealed by the waterfall, but reaching the treasure requires more than finding it. You must break the first wall, fit through a low passage, and use an emote at the final barrier.
Break the first wall and cross the gap
Use your Pickaxe on the first wall inside the cave. Once that barrier is gone, continue through the opening by crouching or sliding.
- Walk through the waterfall to enter the cave.
- Destroy the first interior wall with your Pickaxe.
- Crouch or slide through the gap into the next area.
The low gap is part of the route to Fortune’s Fort’s hidden room. Breaking the wall opens the passage, but you still need to crouch or slide to reach the section containing the final barrier.
Emote at the final wall
Approach the wall at the end of the cave and perform an emote. This triggers the puzzle solution and lets you enter the treasure room beyond it. Open the one Rare Chest inside and collect the loot you need.
The waterfall room contains one Rare Chest, so it has a smaller payout than the frog puzzle. Its value is knowing exactly how to reach that chest when you are already visiting Fortune’s Fort, especially the emote trigger that finishes the route.
What rewards can the hidden puzzle chests give you?
Both hidden puzzles provide Rare Chests with a chance at high-tier weapons or items. Possible Rare Chest finds also include a Pirate Shop Token and a Fortune Sprite, giving these puzzle stops value beyond their immediate weapon drops.
For the broader treasure reward system, check the Pirate Chest loot and rewards guide. The puzzle locations give you specific chests to pursue, while the reward breakdown helps you keep track of the season’s other treasure targets.
Opening both frog chests gives you more opportunities for a useful find than opening the waterfall room’s single chest. That makes Giant’s Battlefield the better reward-first pick, without promising any particular item inside.
Can you solve both hidden puzzles in one match?
Yes, you can complete both hidden puzzles in a single Treasure Hunters match if you move quickly enough. Together, they give you access to three Rare Chests: two at Giant’s Battlefield and one behind Fortune’s Fort’s waterfall. Both puzzles can be tackled again in later matches.
Keep the two completion checks straight: all three frogs must face the central island at Giant’s Battlefield, while the final wall at Fortune’s Fort requires an emote. Knowing those triggers saves you from leaving the frogs unfinished or treating every cave barrier as something to break.
After collecting your puzzle loot, use the Treasure Hunters Sprites and abilities guide to choose your next Sprite collection target.