
Complete the Ancient Scale Cave Seelie trials in Genshin Impact by revealing platforms with Light Crystals and returning all three spirits to their courts. This Version 7.2 puzzle awards four chests, including a central Precious Chest. Each route has a different obstacle: a concealed drop, moving platforms, or a barrier enclosure with an entrance above. Follow the routes below to reach each Seelie and collect the rewards without searching the rest of the cave.
Where to find the Ancient Scale Cave trials
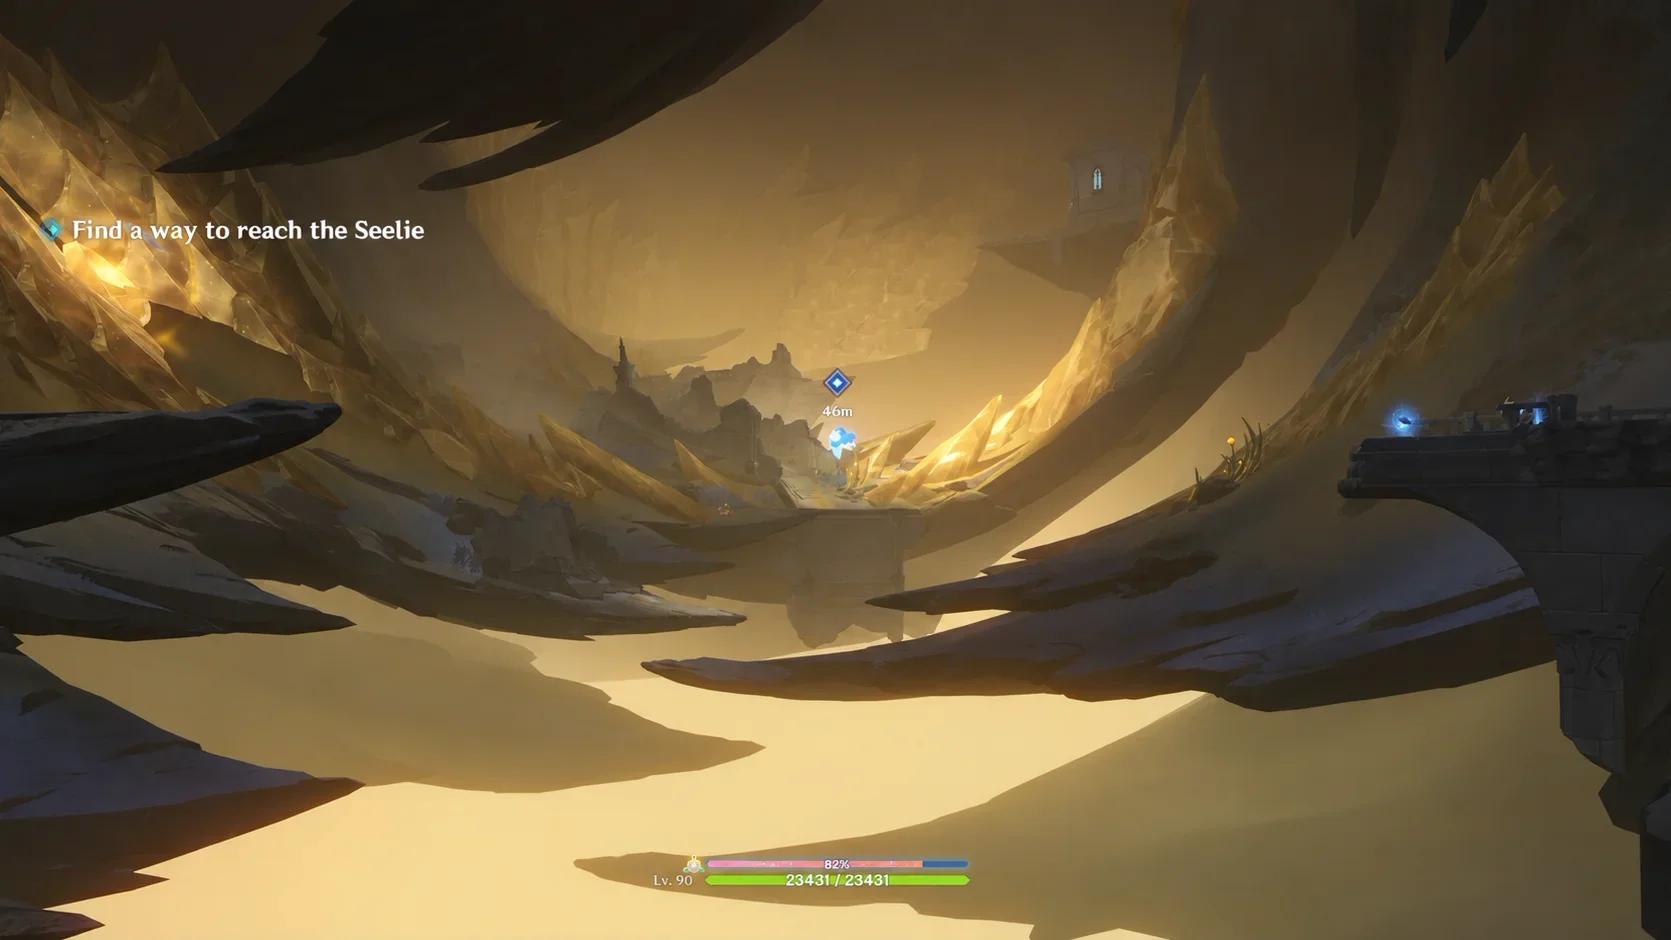
Ancient Scale Cave is an underground area visited during the Snezhnaya World Quest storyline. A Shadow Sphere initially affects the cave, so the easiest approach is to return after completing the associated quest and explore without that obstruction.

Start at the cave waypoint
Travel to the Teleport Waypoint inside Ancient Scale Cave. Nearby, look for a locked Precious Chest surrounded by three empty Seelie courts. This is the starting area for all three routes.
The challenge markers around the chest activate the individual trials. Each challenge leads to one Seelie, and that spirit must return to a court around the central chest. You do not need to search distant parts of the ruins for wandering Seelies.
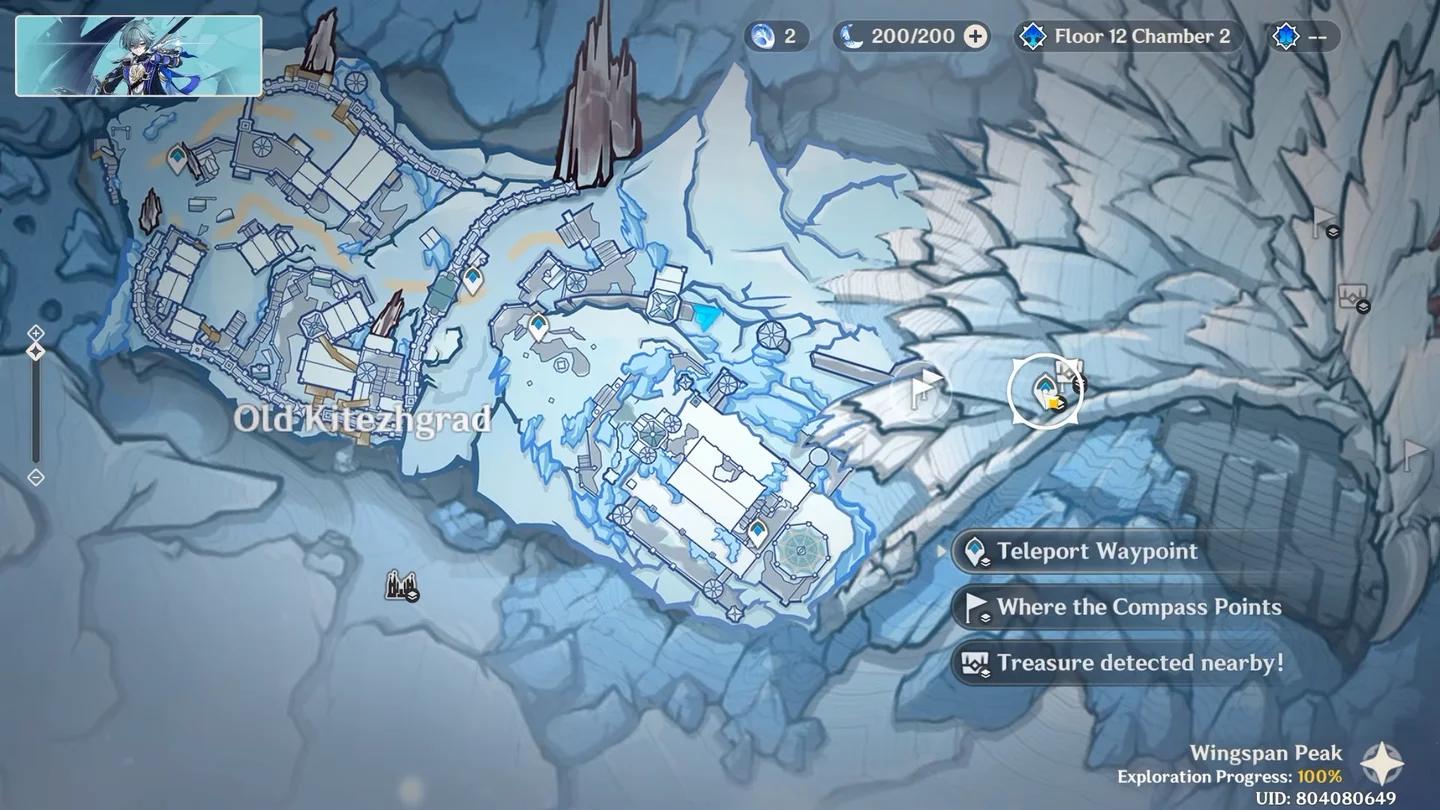
Locate the underground trials
Understand the platform mechanic
Each trial provides a Light Crystal at its start. Collect it to reveal otherwise invisible platforms over the chasm. Identify the next visible landing surface before moving away from the starting platform.
None of these challenges has a time limit. You can stop to inspect a junction, watch a platform complete its movement, or check the route below you without losing time to a countdown.
How to complete the three Seelie trials
First trial: take the left branch and drop down
The first route depends on spotting two changes in direction. You first turn left at a split, then leave the upper path through a gap to reach the Seelie below.
- Activate the first challenge marker and collect its Light Crystal.
- Walk forward across the revealed platforms until the route splits.
- Take the left branch, not the path continuing straight ahead.
- Continue until you reach the upper level, then look for an opening between the platforms.
- Look down through that gap and drop toward the first Seelie.
- Approach the spirit to finish the trial.
The upper level is not your destination. If you keep following platforms at that height, stop and check beneath the route for the opening. The intended finish requires a controlled descent, so line up your landing before stepping off.
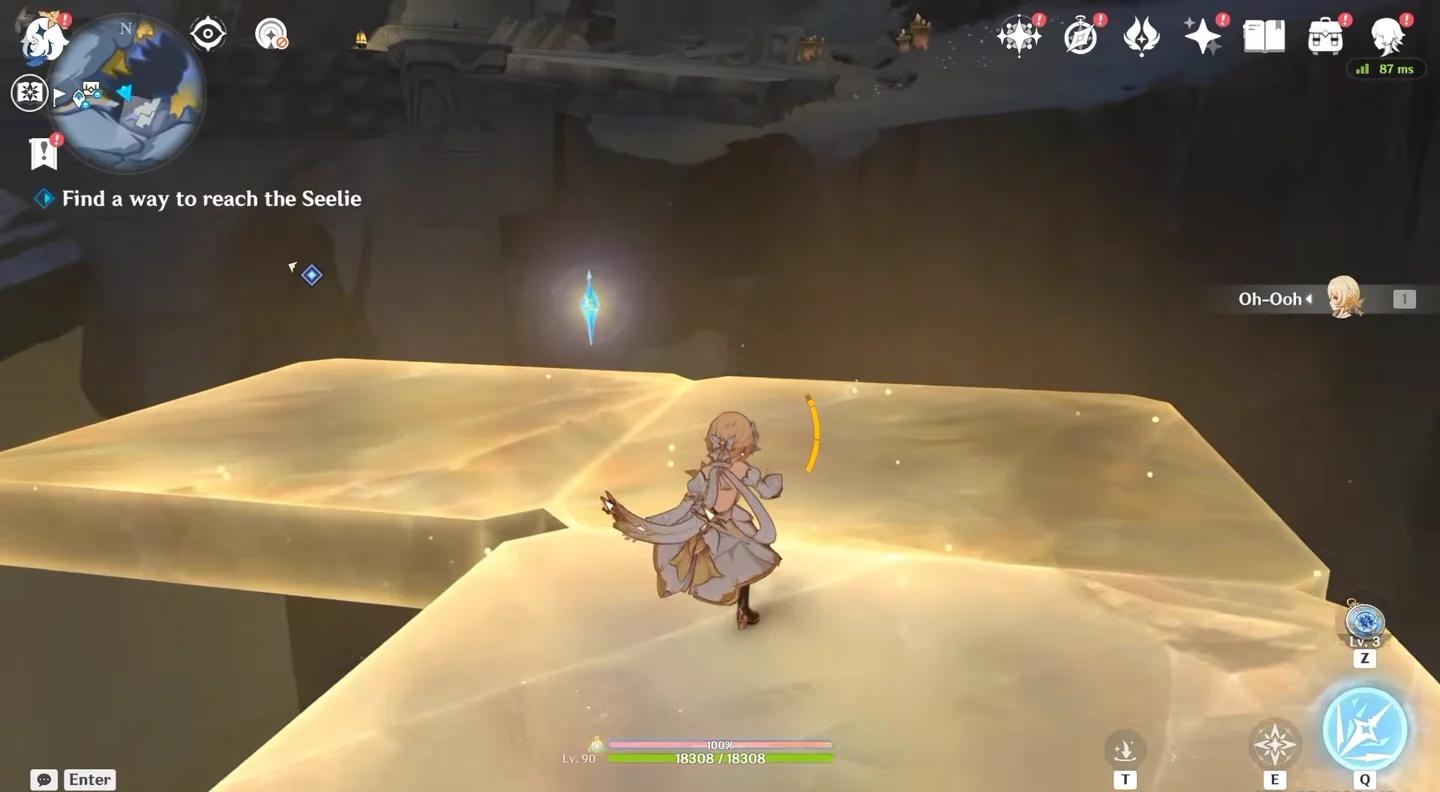
Follow the branch, then descend
Second trial: cross the moving platforms
Return to the central starting area and activate the second challenge marker. Collect its Light Crystal before setting off along the newly revealed route.
This challenge introduces moving platforms. The path itself is straightforward, but the distance to your next landing changes as the platforms travel.
- Follow the illuminated platforms to the first moving section.
- Stop on a secure surface and watch the next platform approach.
- Cross when it comes close enough for a controlled jump.
- Continue across the moving sections one at a time.
- Reach the second Seelie and approach it to complete the challenge.
Choose your takeoff moment by watching the next platform, not by trying to maintain constant forward movement. Waiting for a closer crossing avoids attempting several gaps in one jump.
Third trial: follow the lower route to the lift
The final challenge starts with a route that is easy to overlook. After activating its marker and collecting the Light Crystal, look down and to the right of the starting platform instead of immediately following the platforms ahead.
- Find the separate illuminated platforms below and to your right.
- Drop onto the first platform of this lower route.
- Follow the lower platforms until you reach the lifting mechanism.
- Ride the lift upward toward the chamber containing the third Seelie.
The Seelie is inside a barrier enclosure, so approaching it from the front will not work. Inspect the upper section of the enclosure for an opening before trying to enter.
Once inside, approach the final Seelie to finish the trial. The route has two separate navigation checks: finding the lower platforms at the start and identifying the entrance above the enclosure at the end.
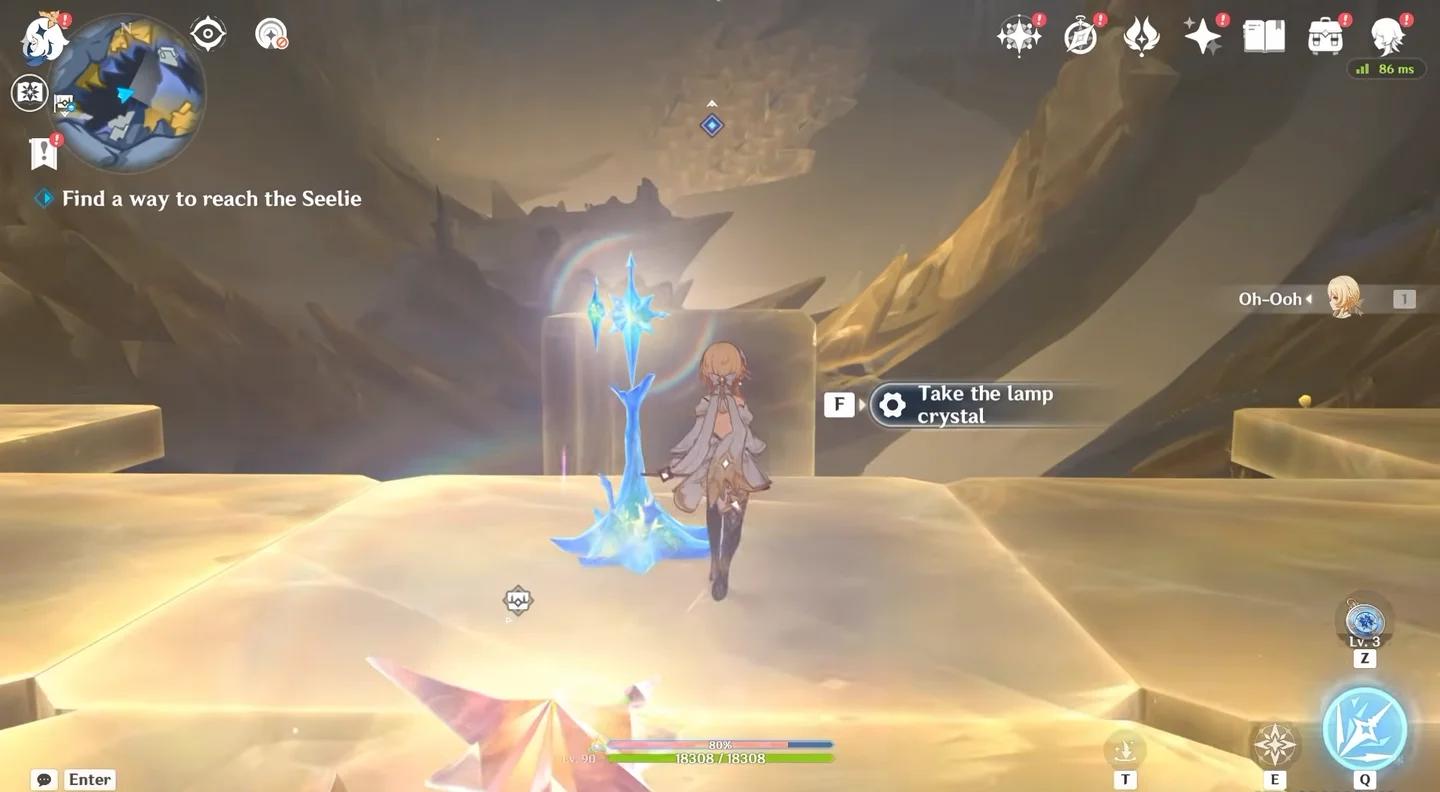
Enter the enclosure from above
How to unlock the central Precious Chest
Each completed trial sends its Seelie back to one of the courts surrounding the central chest. After finishing the third route, return to that starting area and check that all three courts are occupied.
When the final Seelie reaches its court, the protective barrier around the Precious Chest disappears automatically. There is no additional puzzle or combat encounter between returning the spirits and opening it.
Four-chest reward checklist
The complete Ancient Scale Cave Seelie puzzle awards four chests. Use this checklist to confirm that you collected the individual trial rewards as well as the central reward.
| Check | Chest | Requirement | Notable reward |
|---|---|---|---|
| ☐ | Common Chest | Complete the first Seelie trial | Exploration rewards |
| ☐ | Exquisite Chest | Complete the moving-platform trial | Exploration rewards |
| ☐ | Remarkable Chest | Complete the third Seelie trial | “Traces Along the Edges” furnishing blueprint |
| ☐ | Precious Chest | Return all three Seelies to their courts | Central puzzle reward |
Across the chests, rewards include Primogems, Cryo Sigils, furnishing rewards, and other exploration materials. The “Traces Along the Edges” blueprint is for the Serenitea Pot. Collect each route's chest and open the central Precious Chest before leaving the cave.