
Solve The Shadow Lurking in the Tower light puzzle by clearing the first room, rerouting the pedestal through its opened wall, and moving your temporary Refraction Mechanism.
The quest appears as Into the Tower's Shadow in Genshin Impact, and its beam puzzle opens the route to the Shadow Realm. The large Blightkristall outside is not the final core. To finish the quest, you must enter the tower, climb its lift, and destroy the Blightkristall Core with Sosruko's Flame.
How to unlock the tower light puzzle
Into the Tower's Shadow unlocks automatically while progressing The Days of Old Were Days of Snow, part of the First, Let the Earth Open Its Maw World Quest chain. Completing the tower subquest is required to continue that surrounding quest.
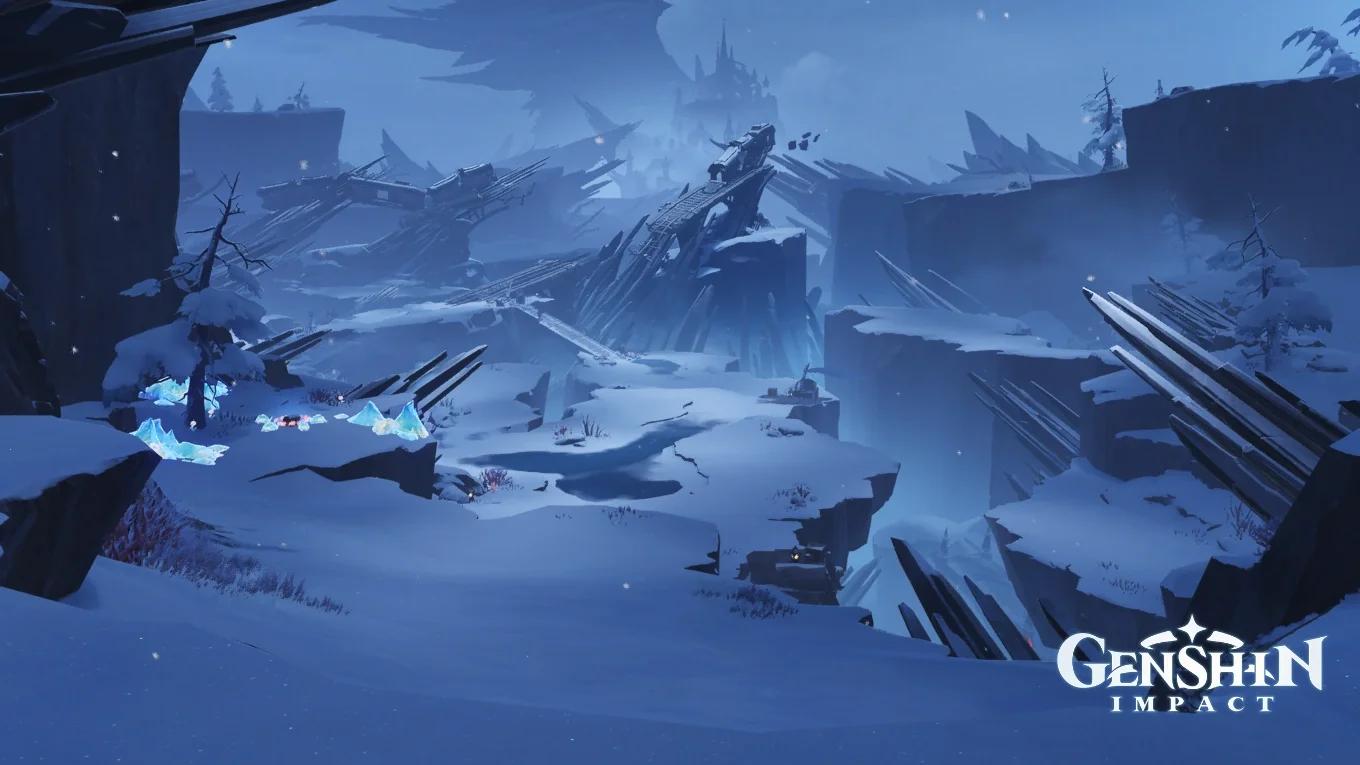
Speak to Charodeeva beside a tree trunk northeast of the Hallowed Plain's western teleport waypoint. The conversation triggers the construction of an ad-hoc Kresnik's Torch and opens the route into the ravine.
Follow the platform downward and collect the temporary Refraction Mechanism blueprint. Continue toward Koshkin, then look slightly beyond him for the Light-Focusing Pedestal that supplies the puzzle's beam.

Solve the light puzzle
The puzzle uses two different beam routes. Your temporary mechanism starts outside the first room, then moves farther along the ravine after you open the walls.
| Puzzle stage | Temporary mechanism position | Light-Focusing Pedestal target |
|---|---|---|
| Open the first wall gaps | Snow-free tile outside the first room | Temporary Refraction Mechanism |
| Extend the beam toward the entrance | Second small room along the beam's route | Fixed Refraction Mechanism through the opened wall |
Power the pedestal and clear the blocked room
- Pick up the nearby Luminous Lamp Crystal and insert it into the Light-Focusing Pedestal.
- Interact with the pedestal and rotate its beam toward the left-hand corridor. Look for the blue pickaxe near the wall.
- Leave the pedestal, collect the pickaxe, and break the rocks blocking the small room.
- Enter the room and clear the second rock obstruction. You need access to both the fixed Refraction Mechanism and the Blightkristall nodes inside.
If the pickaxe disappears before both obstructions are gone, create a replacement through construction mode.
Power the first beam source
Build the first relay and open the wall gaps
On PC, press T to open construction mode and select the temporary Refraction Mechanism blueprint. Place the device on the snow-free tile outside the room, within the pedestal's beam. The placement can snap toward its intended position.
Check the incoming connection before rotating the new device. If the pedestal's beam misses it, return to the pedestal and correct that angle first.
Once the temporary mechanism receives light:
- Rotate it toward the fixed Refraction Mechanism inside the room.
- Enter the room and interact with the fixed mechanism.
- Aim its outgoing beam at one Blightkristall node until the node breaks.
- Rotate the fixed mechanism toward the other node and destroy that one separately.
The destroyed nodes leave openings in the walls. These gaps let you change the circuit instead of keeping the original outside relay in the beam's path.
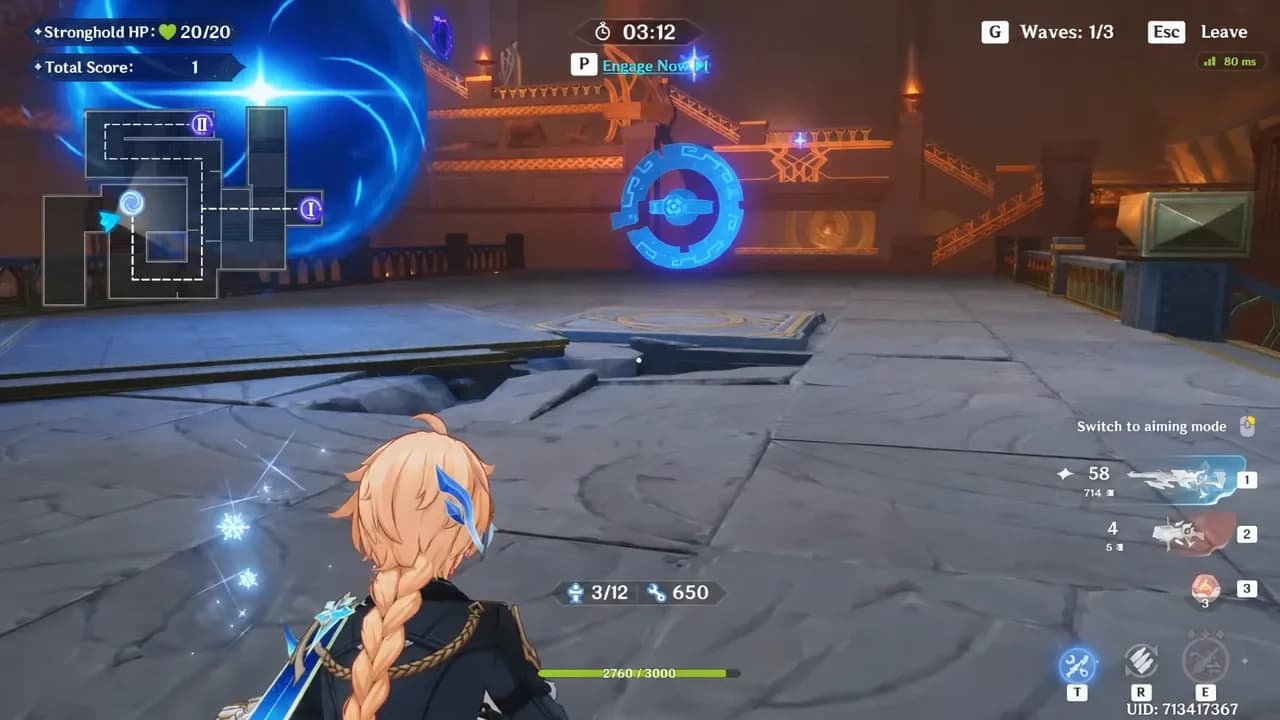
Place the first temporary relay
Redirect the pedestal through the opened wall
Return to the original Light-Focusing Pedestal. Aim its beam directly at the fixed mechanism through the newly opened gap. The light no longer needs to pass through your first temporary device.
Go back inside the room and rotate the fixed mechanism toward the Blightkristall visible through the other wall opening. Destroy that obstruction to expose the route into a second small room farther along the beam.
Follow the outgoing light to that room. Use the beam's endpoint as your placement reference for the next relay, not the position of your original temporary device.
Move the temporary mechanism and clear the entrance
Construct the temporary mechanism inside the second small room, where it can receive the light coming from the fixed mechanism. Rotate its outgoing beam toward the Blightkristall blocking the window.
Keep the beam aimed along that route after the window obstruction breaks. It can then clear the crystal farther away and reach the large Blightkristall node at the end of the ravine.
If the distant crystal remains intact, trace the circuit from the pedestal outward. Find the first mechanism that is not receiving light, then adjust the device immediately before it. Turning the final relay cannot fix a missing connection earlier in the circuit.
Once the entrance node shatters, collect the Precious Chest in the cleared area before approaching the node's former location to enter the Shadow Realm.
Finish the quest inside the Shadow Realm
The light puzzle clears the entrance, but the remaining objectives take place inside the tower. Pick up the Firearm Blueprint and refill your ammunition from the ammo boxes before advancing.
Climb the lift and remove its blockage
Defeat the enemies at the tower entrance with Sosruko's Flame to unblock the central lift. Activate it and shoot the enemies appearing on the surrounding ruins and scaffolding as you ascend.
A Blightkristall growth eventually blocks the lift. Step off and follow the quest marker through the tower, using the wooden stairs and grapple points to reach the obstruction.
Shoot the blocking node with Sosruko's Flame, then return to the lift and reactivate it. Clearing the node is required before the lift can continue upward.
Defeat the Cannoneer and destroy the core
The Shadow-Trained Hailstorm Cannoneer blocks the upper route. Keep your distance and slide away from its leaping attack and shield-cannon fire.
Activate your firearm skill during the fight to increase your fire rate and heal yourself when shots land. Aim for consistent hits while the skill is active instead of remaining exposed during the Cannoneer's attacks.
After defeating it, reactivate the lift to reach the summit. Shoot the Blightkristall Core with Sosruko's Flame. You will return to the overworld, where you should open the Precious Chest that appears to finish the quest.
Quest rewards and nearby treasure
The quest rewards are separate from the chests collected along the route.
| Quest reward | Amount |
|---|---|
| Adventure EXP | 250 |
| Primogems | 30 |
| Mora | 20,000 |
| Hero's Wit | 2 |
| Mystic Enhancement Ore | 3 |
| Sight module for Sosruko's Flame | One |
Check these Exquisite Chest locations during the tower climb:
- Behind the initial lift, before your first ascent.
- Near the blocked-lift detour, after stepping off to find another route upward.
- Along the grapple route after the wooden stairs, before returning to the upward path.
For firearm exploration beyond this region after the tower, use the separate Genshin Impact Gun Traveler outside Snezhnaya guide.
Back in the ravine, check the newly accessible sections for a Cryoculus and a Luxurious Chest containing 40 Primogems and 3 Cryo Sigils.