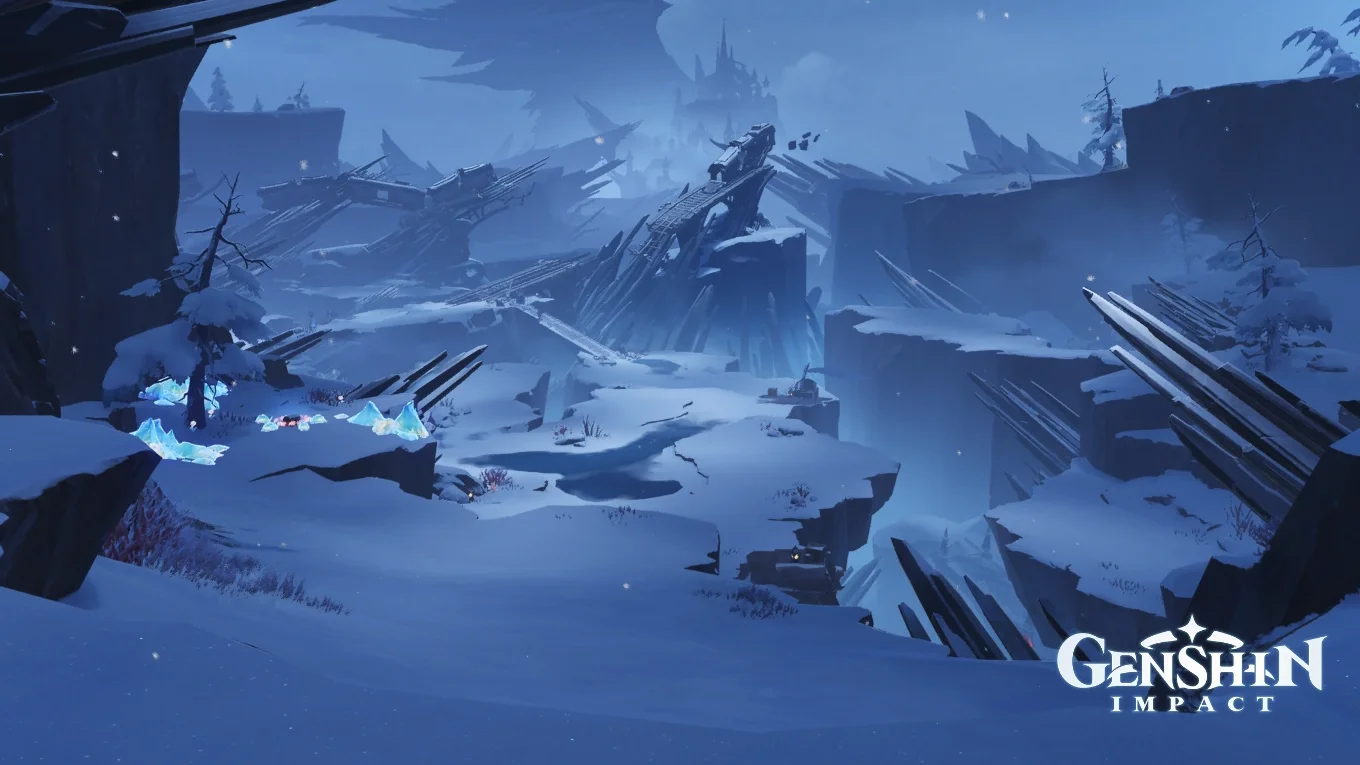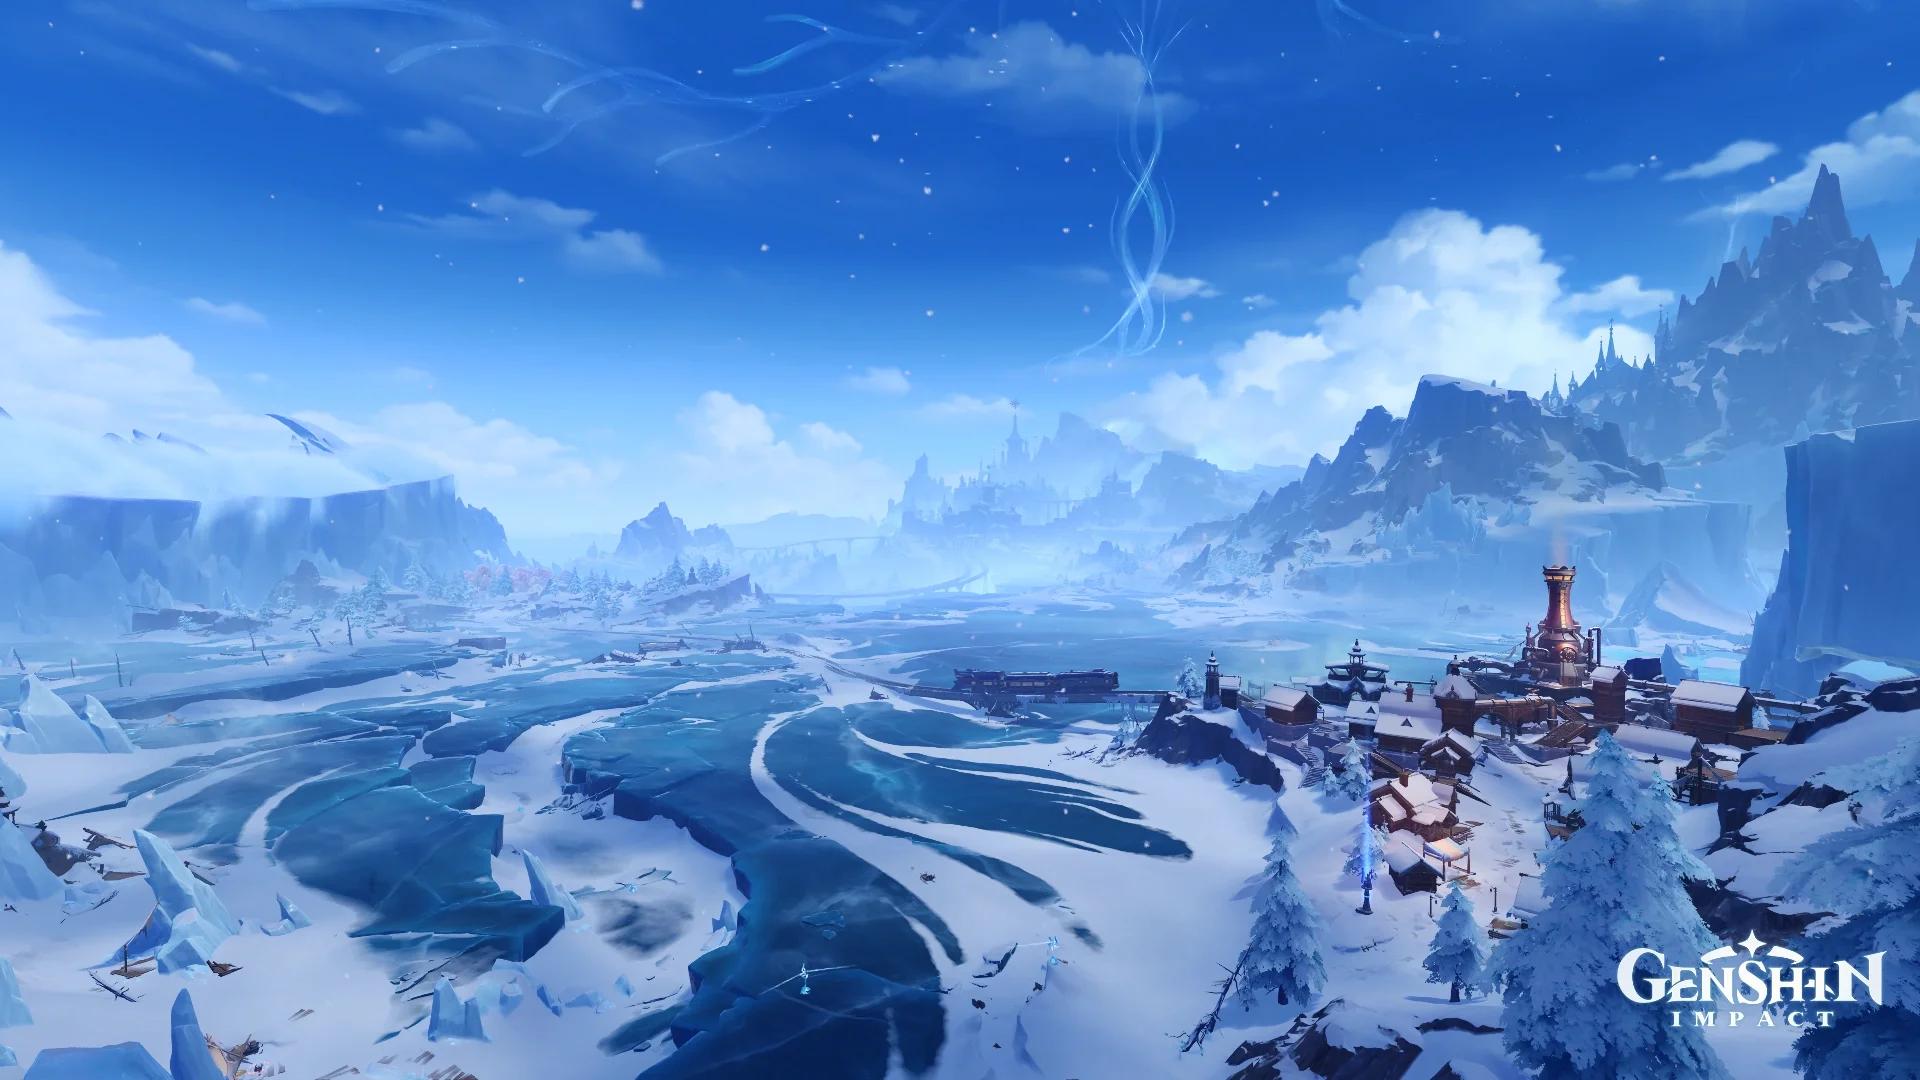

Complete Blizzards Raged in Days Gone By in Genshin Impact by clearing both Shadow Realms, then reaching the higher observation point. The tower investigation requires a light-beam puzzle and an elevator climb. The valley investigation takes you through frozen train carriages to a corrupted chimera.
Allow approximately 40-50 minutes if you skip most dialogue, or around 70-80 minutes for conversations and optional exploration. You must finish both investigations before the final conversation with Pyatkin and Koshkin advances. The walkthrough below separates the outdoor crystal puzzle from the corruption cores inside the Shadow Realms so you can follow each objective in order.
How to unlock Blizzards Raged in Days Gone By
The quest starts automatically after Escape from the Shadow and Let No Rivers Run Dry, which belong to the City of Crystals in the Depths of the Long Gorge questline.
It opens First, Make the Earth Open Its Maw, the second chapter of Ancient Ballad of Crystal Streams and Stone Caskets.
Follow these steps to begin the journey:
- Return to Novokitezhgrad and speak with Pyatkin after the Kresnik Mine events.
- Follow the quest marker to the Cellar Forge Tavern, where Glinin and Koshkin gather.
- Watch the crystal outbreak scene, then travel with the group toward Teplo Oasis and the frozen plain.


Reach the Sacred Plain and prepare your tools
Clear the blocked route
At the new area's entrance, collect the Cryoculus and open the nearby Common Chest before gliding down to Pyatkin's camp. Speak with him, then continue past the Kresnik Torch.
Cross the stone bridge and the icy bridge until a rock pile blocks your progress. On keyboard, press T to open World of Everfrost Creations, construct a pickaxe, and use it to break the obstruction. Continue through the passage to meet Koshkin on the Sacred Plain.
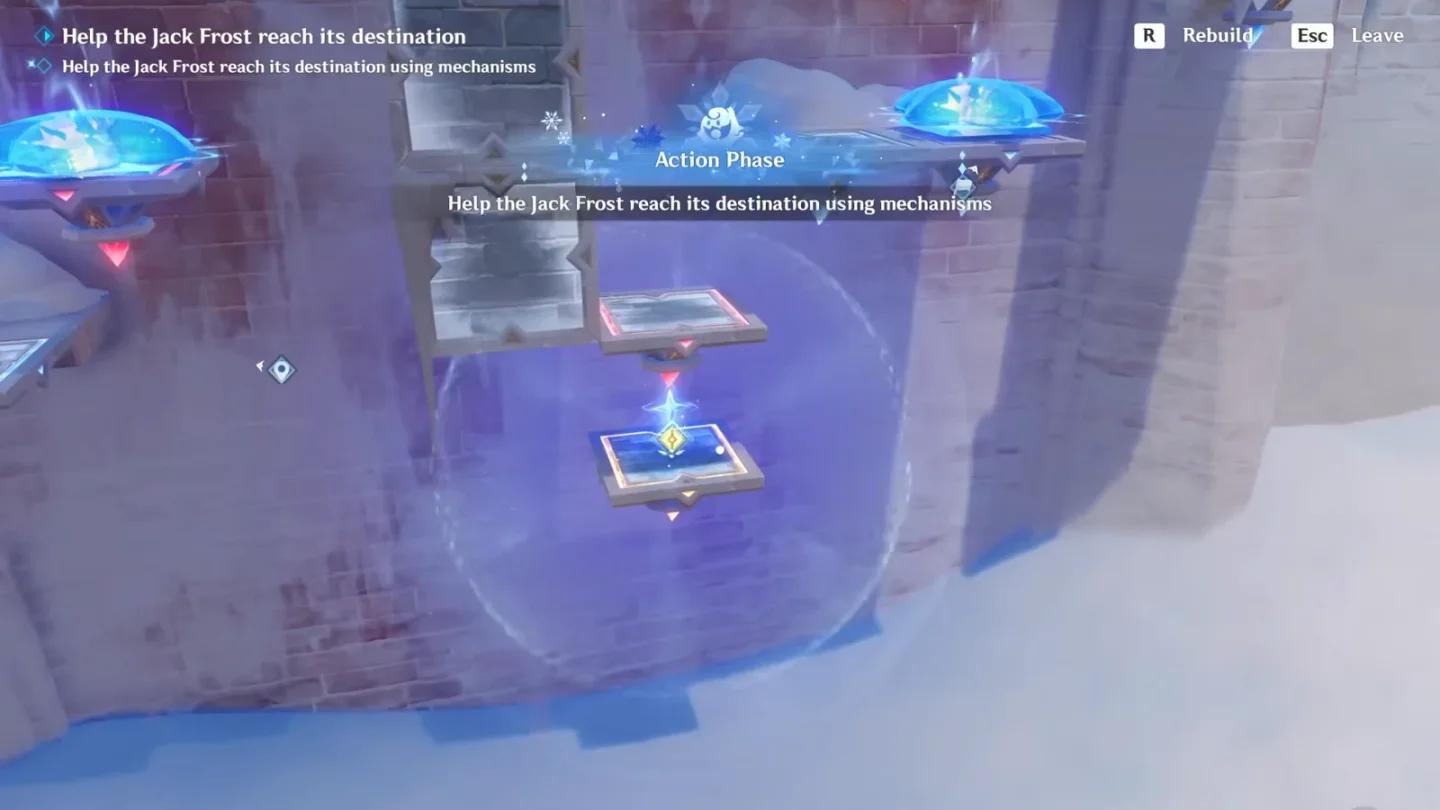
Clear the route to Koshkin
Compare the construction costs
These are the creations used during the quest. Each construction consumes Everfrost and a percentage of Kresnik Energy.
| Creation | Everfrost cost | Kresnik Energy cost | Quest use |
|---|---|---|---|
| Pickaxe | 25 | 10% | Break rock piles and deposits |
| Light-Refracting Mechanism | 35 | 10% | Redirect the tower puzzle's light beam |
| Simple Heat Source | 25 | 40% | Melt Everfrost blocking train entrances |
Pick up tools already present in the exploration areas before constructing replacements. The Genshin Impact Prime Ice Construct guide explains the regional constructs associated with pickaxes, heat sources, and ziplines.
Complete The Shadow Lurking in the Tower
Find the first Shadow Realm investigation
Follow the objective toward Charodeeva and Lunin's worksite. Look for the broken tree with a Cryoculus when searching for the first traces of the Shadow Realm.
Speak with Charodeeva to begin The Shadow Lurking in the Tower. The domovoi use the Kresnik Torch to clear the gorge's fog, opening the puzzle area.
Descend below Koshkin and collect the temporary blueprint for the Light-Refracting Mechanism. Your first task is to connect the light source to the fixed mechanism inside the blocked building.
Activate the light and open the building
Find the Light-Focusing Pedestal, collect the nearby Light Crystal, and insert it into the pedestal. Rotate the active beam toward the left-hand corridor, where a blue pickaxe is visible.
Take the pickaxe and destroy both stone barriers along that passage. Construct a replacement if the tool disappears before the second barrier breaks. The cleared room contains a fixed Light-Refracting Mechanism.
Place your temporary Light-Refracting Mechanism on the snow-free stone tile near the opened passage. Adjust the pedestal until its beam reaches the temporary device, then rotate that device toward the fixed mechanism inside the room.
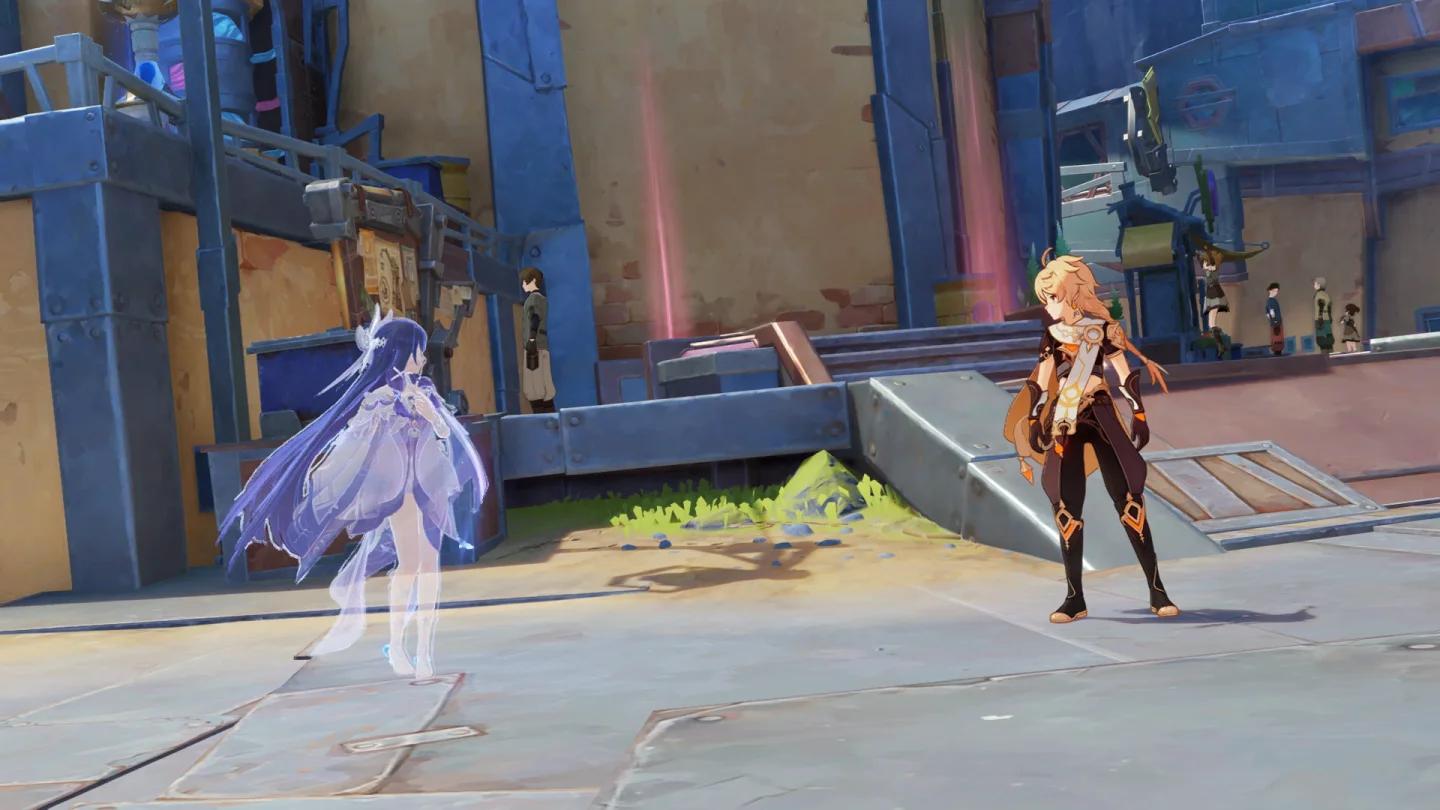
Build the first beam connection
Clear the crystals and reach the outer core
Rotate the fixed mechanism to burn through the nearby black crystals. Clear additional debris where needed, then redirect the beam toward the crystals across the gorge. Opening that chamber gives you access to a Precious Chest.
For the crystal beside the treasure chamber, place the temporary mechanism closer to it. Return to the original pedestal and correct its angle so the relocated device receives light, then aim the outgoing beam at the crystal.
Finish the outer puzzle in this order:
- Return to the Light-Focusing Pedestal and turn its beam toward the fixed mechanism in the opened room.
- Construct the temporary mechanism on the bridge along the final light path.
- Align the circuit so light reaches the bridge mechanism.
- Rotate the bridge mechanism toward the massive Crystal of Doom core.
If the core does not react, trace the beam backward toward the pedestal. Check that each mechanism receives light before adjusting the next connection.
Breaking the outer core reveals the Shadow Realm entrance and makes a nearby Luxurious Chest accessible. The tower's internal corruption core still needs to be destroyed.
Climb the tower and defeat the Oprichnik
Enter the Shadow Realm and collect the Sight Module for the Flame of Sosruko shotgun. Defeat the first enemies inside the tower, activate the elevator, and ride it until it stops.
Step onto the balcony for a Precious Chest, then search the tower interior for another Precious Chest before continuing upward.
Use the Stasis Seals to reach the higher machinery. Destroy the Crystals of Doom obstructing the mechanism, reactivate the elevator, and continue the climb.
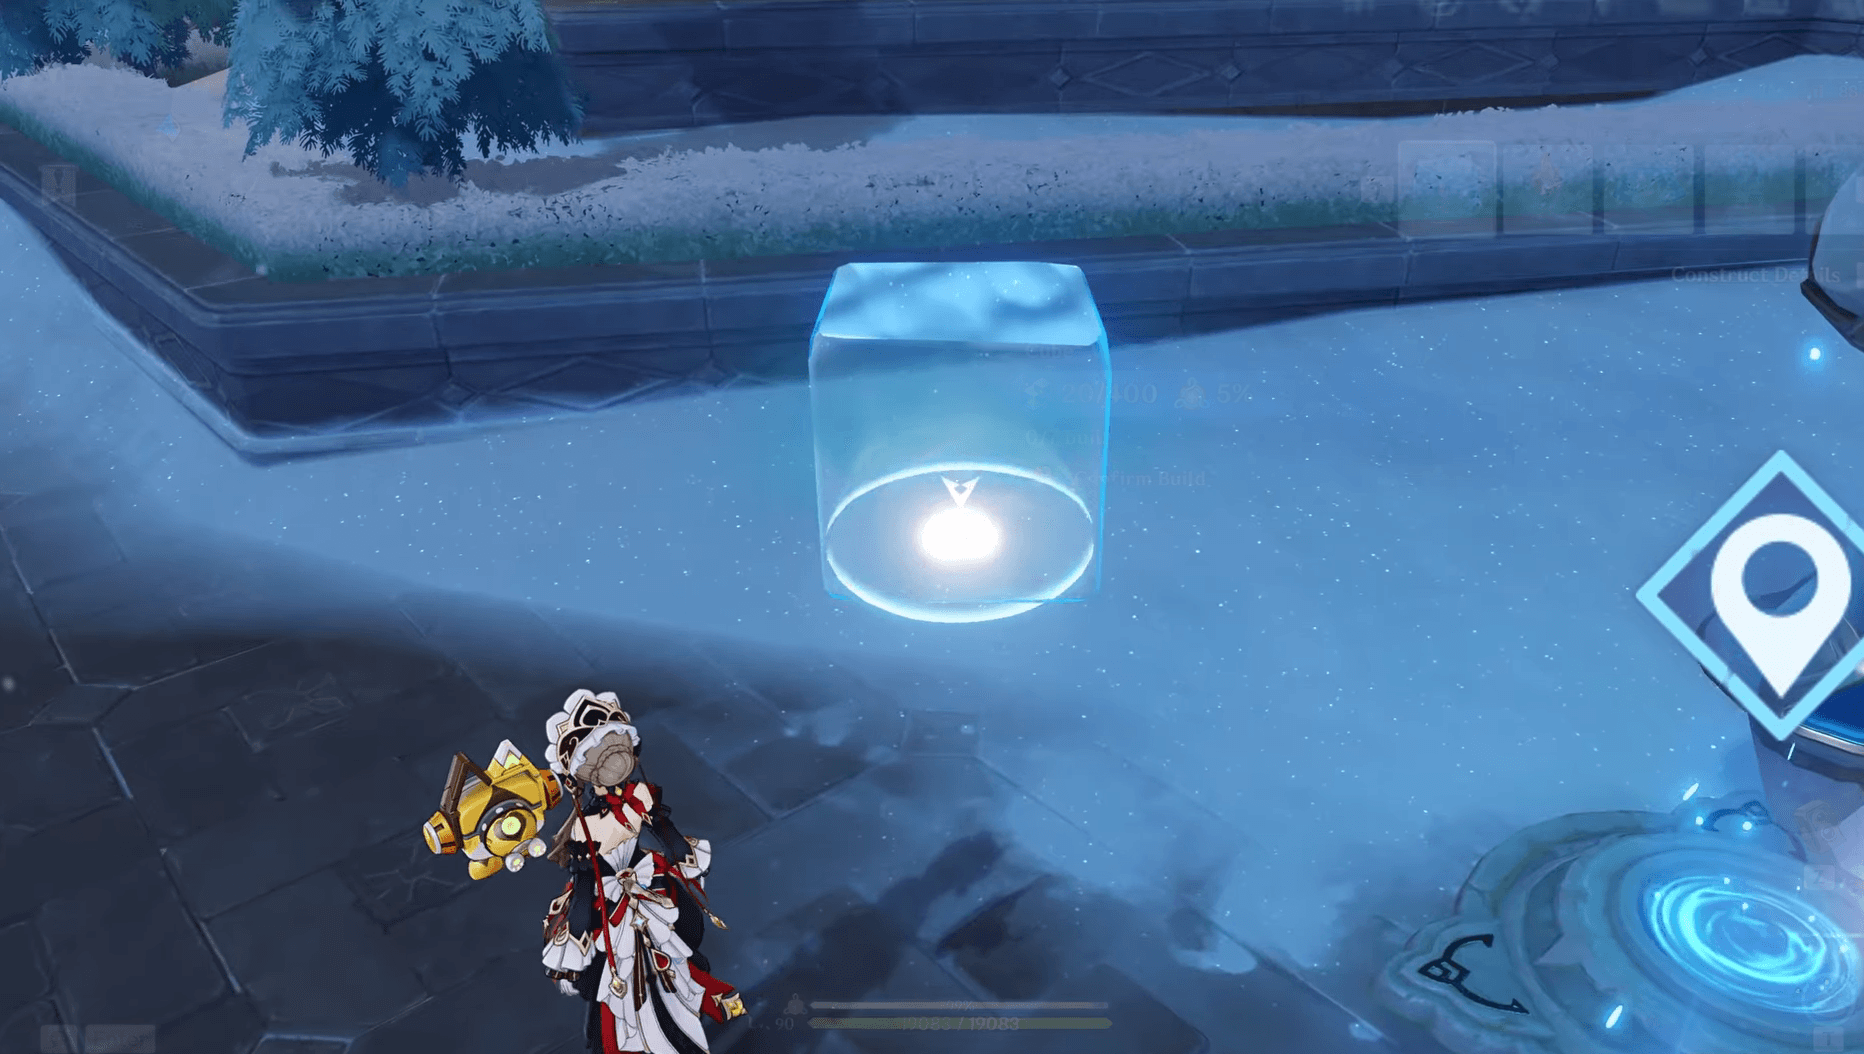
Reach the upper tower floors
The Lost Shadow Realm Oprichnik attacks with a ranged hail gun but moves slowly. Keep space to dodge its projectiles, avoid standing directly in front of its weapon, and fire the Flame of Sosruko during openings.
After defeating it, reach the top of the tower and shoot the corruption core several times. Destroying this core completes the first Shadow Realm investigation.
Taking a gun beyond this region is a separate task covered in the Genshin Impact guide to using Gun Traveler outside Snezhnaya.
Complete The Shadow Lurking in the Valley
Find Pyatkin and enter the train gorge
Return to the Sacred Plain and follow the marker toward the distant Teleport Waypoint beyond Charodeeva and Lunin's camp. Speak with Pyatkin to begin The Shadow Lurking in the Valley.
From the Kresnik Torch, glide into the gorge toward the abandoned train. Approach the carriage to advance the objective, then take a pickaxe or construct one to remove the rocks blocking access.
Check behind the ore deposits on the right for a Common Chest. Break the Kresnik deposits on the left to expose the carriage entrances.
Melt the carriage entrances and collect the side-path treasure
Everfrost seals the train entrances. Carry a nearby Simple Heat Source toward the ice and wait for it to melt. Construct one if no usable heat source is available.
Search both thawed carriages for a Precious Chest, a Common Chest, and a Cryoculus before following the route deeper into the gorge.
At the split in the path, take the left branch first. Break the rock pile with your pickaxe and collect the Remarkable Chest at the dead end.
Return to the split and take the right branch to continue. Check the carriage along this route for another chest, then collect the Cryoculus during the descent. Dropping toward the next train takes you into the second Shadow Realm.
Defeat the Shadow-Entangled Chimera
The Shadow-Entangled Chimera is a corrupted horned bear with heavy close-range attacks. Avoid remaining directly in front of it, and watch its movements for the start of a strike.
Use the Flame of Sosruko between the creature's attacks. Retreat as it begins another attack sequence, then move back into effective shotgun distance when an opening appears. Staying far away throughout the fight limits the shotgun's usefulness.
Defeating the chimera does not finish the investigation by itself. Locate and destroy the remaining Crystal of Doom core to cleanse the second Shadow Realm.
Finish the quest and claim the rewards
Reach the higher observation point
After leaving the valley's corrupted space, speak with Koshkin and Pyatkin. Open the nearby reward chests, including the Luxurious Chest, before climbing out.
Use the ziplines to reach the tops of the trains and follow the route to higher ground. Reaching the observation point finishes the quest and opens the route toward the Gorge of Stars. The next quest is Through the Valley of Stars.
For a separate Snezhnaya objective after this investigation, the Genshin Impact In the Dwelling of Life walkthrough covers another World Quest route.
Unlock the hidden achievement
Destroying the corruption cores in both frozen gorges unlocks As Calamity Melts Away Like Black Snow. The achievement belongs to Wonders of the World and awards 5 Primogems.
The tower's outdoor light puzzle alone does not complete this requirement. Finish the internal tower core and the valley core after their respective combat encounters.
Claim the combined quest-and-challenge rewards
Across the Sacred Plain quests and challenges in this sequence, the combined rewards are:
| Reward | Combined amount |
|---|---|
| Adventure EXP | 900 |
| Primogems | 110 |
| Mora | 70,000 |
| Hero's Wit | 9 |
| Mystic Enhancement Ore | 10 |
These amounts cover the quest-and-challenge sequence, not the main quest alone. Treasure chests along the route provide additional loot.
Open the second tab of the Snezhnaya Adventure Journal to claim the corresponding combined rewards.