
Nature and Wisdom has two fragment puzzle areas: Shouki no Kami’s three scenarios, followed by Apep’s two outcomes and a hidden Fungi-side slot.
In Genshin Impact 7.2, these puzzles take place inside Nahida’s dream during Sumeru’s Trial of Usurpation. Use the checklist to track every scenario and slot, including the opening hidden behind a wall near the Fungi. After the fragments, you must complete a corruption-clearing flight and release the Pyro Gnosis before Nahida can deliver her answer.
All Nature and Wisdom fragment puzzles
The checklist covers three scenarios in the Shouki no Kami area, plus two outcomes and one hidden slot in the Apep area. These are scenario and slot checks, not six separate collectible fragments.
| Check | Puzzle area | Scenario or slot | What to do |
|---|---|---|---|
| ☐ | Shouki no Kami | Take control of Shouki no Kami | Destroy the blue devices holding Nahida inside an energy barrier. |
| ☐ | Shouki no Kami | Empower Shouki no Kami with the Dendro Gnosis | Activate the fragment in front of the machine and follow the scripted sequence. |
| ☐ | Shouki no Kami | Destroy the Electro Gnosis | Insert the fragment and watch the memory. |
| ☐ | Apep | Defend the Heart of the Oasis | Enter the defense encounter; the story continues even if the Heart is destroyed. |
| ☐ | Apep | Absorb Apep’s power | Use the same fragment in the second opening and finish the dialogue. |
| ☐ | Apep | Hidden slot near the Fungi | Walk toward the Fungi, look behind the nearby wall, and interact with the slot. |


How to unlock Nature and Wisdom
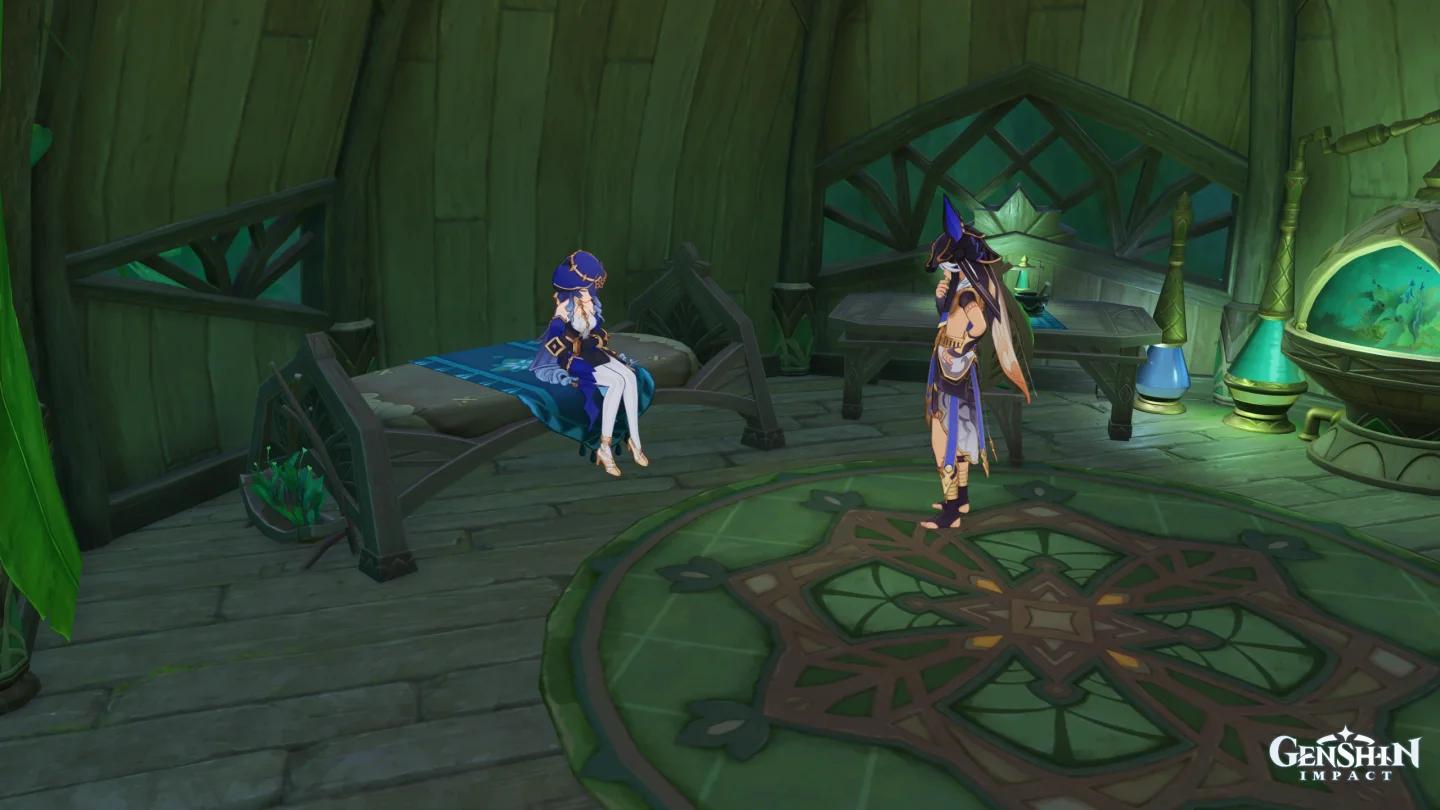
Select Sumeru at the strategic operations map
Nature and Wisdom is part of the Chapter VII, Act VI Archon Quest. Progress through the preceding story, including Hour of Ruin, until the regional trial selection system becomes available.
To begin Nahida’s trial:
- Speak with Major Valery near the strategic operations map.
- Open the nation selection menu.
- Choose Sumeru.
The regional trials can be completed in different orders. You do not need to finish Mondstadt or Inazuma before choosing Sumeru.
Select Sumeru for Nahida’s trial
Reach Nahida’s dream
Follow the quest markers through the opening conversations:
- Meet Nilou and Tighnari in Sumeru City’s marketplace.
- Go to the Sanctuary of Surasthana on the city’s upper level and speak with Nahida.
- Continue the investigation with the Akademiya researchers.
- Travel to the Mausoleum of King Deshret to use Aaru’s computational power.
- Enter Nahida’s dream and approach the Nail of Retribution.
Nahida identifies the word “Dream” within the mysterious signal. She creates a dream version of the desert because a sandstorm blocks access to the Nail in reality.
Inside the dream, stay on the marked route toward the pillar of light. Invisible barriers prevent travel into surrounding areas affected by the Holy Soil phenomenon. When the sandstorm forms again, the quest moves into the first fragment chamber.
How to solve the Shouki no Kami fragments
The first chamber contains a large wall depicting Shouki no Kami and three interactive fragments opposite it. Each piece represents an alternate outcome involving Nahida, Scaramouche, and the mechanical god.
Approach a fragment and interact with it. Face the wall, then use the special placement action to insert the piece into the empty opening. The default PC key is T; use the displayed prompt on other platforms.
Take control of Shouki no Kami
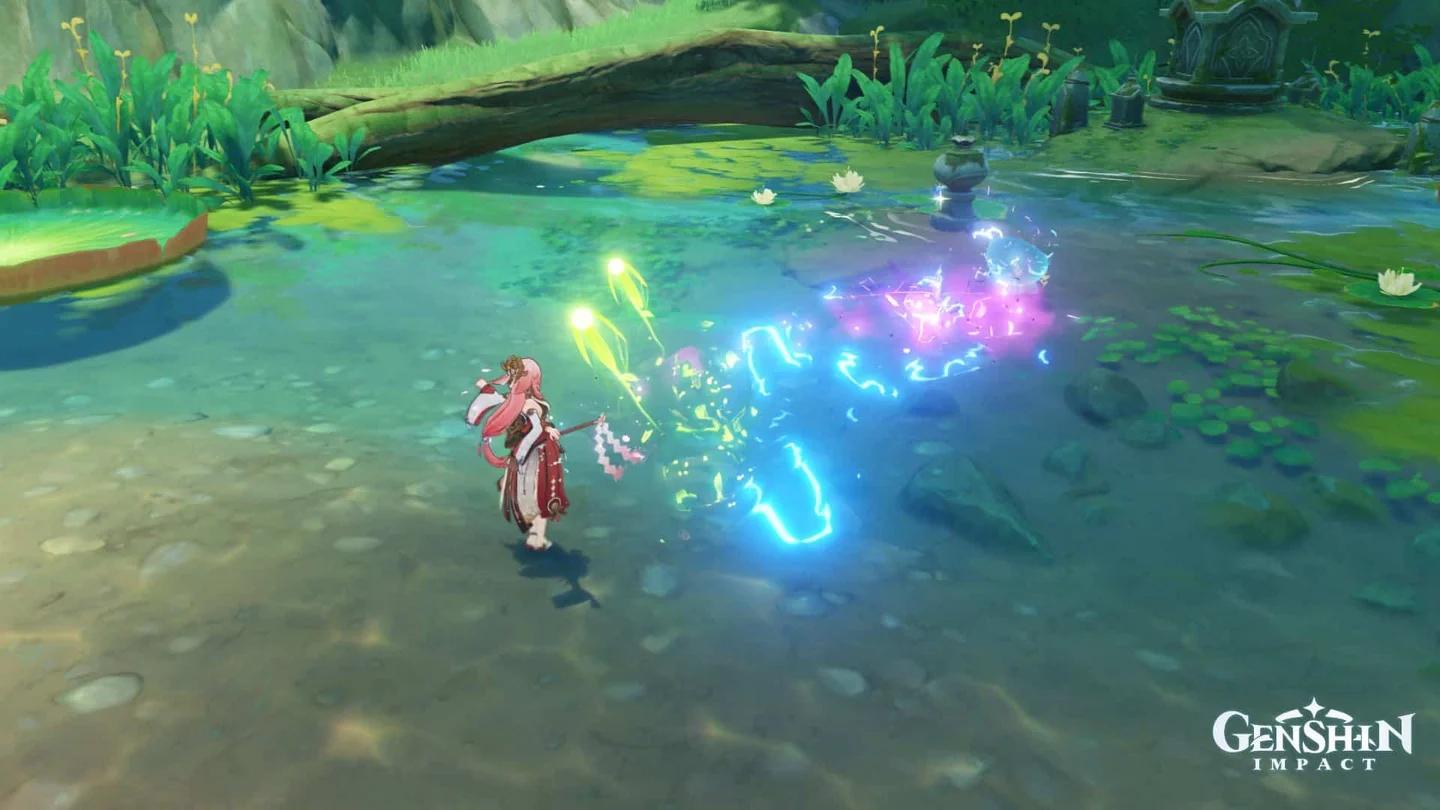
This scenario places Nahida inside an energy barrier. The blue devices around the platform maintain the field, so attack those mechanisms to free her.
Watch for red circular indicators on the ground while moving between devices. Lightning strikes those marked positions shortly afterward. Leave each marked circle before the attack lands, then continue destroying the mechanisms.
The sequence ends once the devices sustaining the barrier have been disabled.
Break the devices to free Nahida
Empower Shouki no Kami with the Dendro Gnosis
This fragment explores an outcome in which the Traveler becomes Shouki no Kami’s pilot. The machine has been strengthened with the Dendro Archon’s Gnosis and is preparing to confront Sumeru’s people.
After entering the scenario, approach the interactive fragment in front of Shouki no Kami. Activate it to take control of the machine, then follow the scripted sequence until the scene ends.
There is no additional hidden puzzle within this scenario.
Destroy the Electro Gnosis
Insert the fragment associated with destroying the Electro Archon’s Gnosis. Watch the resulting memory to see this alternate conclusion to the confrontation with Scaramouche.
For the full fragment tour, explore all three scenarios before continuing into the Apep section. These memories examine choices from Sumeru’s earlier Archon Quest, particularly Chapter III, Act V, Akasha Pulses, the Kalpa Flame Rises.
Where to place the fragment in Apep’s area
The next dream area resembles the Realm of Beginnings. This puzzle changes the placement rule: one fragment fits into two openings on the wall.
Use the piece in each opening to explore the two outcomes. The final route onward is near the Fungi, behind a nearby wall.
First opening: defend the Heart of the Oasis
Placing the fragment into the first opening starts a Heart of the Oasis defense encounter. Defeat the incoming monsters if you want to protect the objective. Area-of-effect attacks help you hit several attackers together.
Winning this encounter is not required for story progression. If the Heart of the Oasis is destroyed, the quest continues into the next scene. You can let the enemies destroy it if you prefer to move through the story without fighting.
Second opening: absorb Apep’s power
Return to the wall and insert the same fragment into the second opening. Nahida describes a possible outcome in which she uses a spark to absorb Apep’s power.
After the dialogue:
- Turn toward the Fungi near the edge of the arena.
- Walk over to them.
- Look behind the nearby wall for another fragment slot.
- Interact with that slot to continue deeper into the dream.
How to contain the corruption with the Pyro Gnosis
The hidden slot leads into a long tunnel and begins a special flying sequence. Your main tasks are aiming at vulnerable corruption and avoiding incoming hazards.
Aim at the corruption to fire
Move your aim onto the red corruption objects ahead. Firing is automatic, so you do not need a separate attack input.
Each vulnerable object you destroy increases the green portion of the purification bar at the top of the screen. Keep moving your aim between targets while avoiding obstacles and attacks.
Release the Pyro Gnosis when prompted
Later in the flight, the purification bar begins decreasing regardless of your shooting. The indicator gradually turns red as the corruption overwhelms the process. This is part of the sequence, not a signal to restart.
Continue until Nahida states that she will make her own decision. A prompt then appears to release the Pyro Gnosis’s power.
On PC, repeatedly press Space until the bar fills with yellow. On controller or mobile, repeatedly use the corresponding input displayed on your screen. Filling the bar ends the flight and starts the final conversation.
How to finish Nahida’s trial and claim the rewards
Complete the Esoptron conversation
Nahida’s final scene takes place before the Esoptron, the celestial terminal evaluating the Archons. She answers its question about wisdom by connecting knowledge to protecting life, understanding consequences, and making choices without a perfect answer.
There are no special dialogue selections or hidden correct answers to choose. Finish the conversation to complete Sumeru’s Trial of Usurpation.
Achievement and quest rewards
Completing the trial automatically unlocks the Wonders of the World achievement “Wisdom” Has No Answer, worth 5 Primogems. It does not require a particular fragment order.
| Reward source | Reward | Amount |
|---|---|---|
| Quest completion | Hero’s Wit | 4 |
| Quest completion | Mora | 46,850 |
| Quest completion | Mystic Enhancement Ore | 7 |
| Achievement | Primogems | 5 |
The achievement reward is separate from Special Program code rewards. The Genshin Impact 7.2 livestream codes guide lists those codes, their rewards, and their expiry times.
Return to the strategic operations map to select another regional trial. If the remaining trials are already complete, continue the story toward its concluding events.