

The Archery Badge in PEAK is one of the more unusual challenges added with The Final Ascent update. The requirement sounds simple enough: get shot by 10 arrows and pull them all out yourself. The catch is that arrows only exist in THE CITADEL, the game's final biome, and removing each one costs over 10% of your max HP. Get careless and you'll pull yourself to death before the badge even registers.
Where do you find arrows in PEAK?
Arrows are exclusive to THE CITADEL biome, which you reach after pushing through THE GLOOM. There are no shortcuts here. You need to make the full climb through GLOOM first, so plan your run accordingly and stock up on healing items before you arrive.
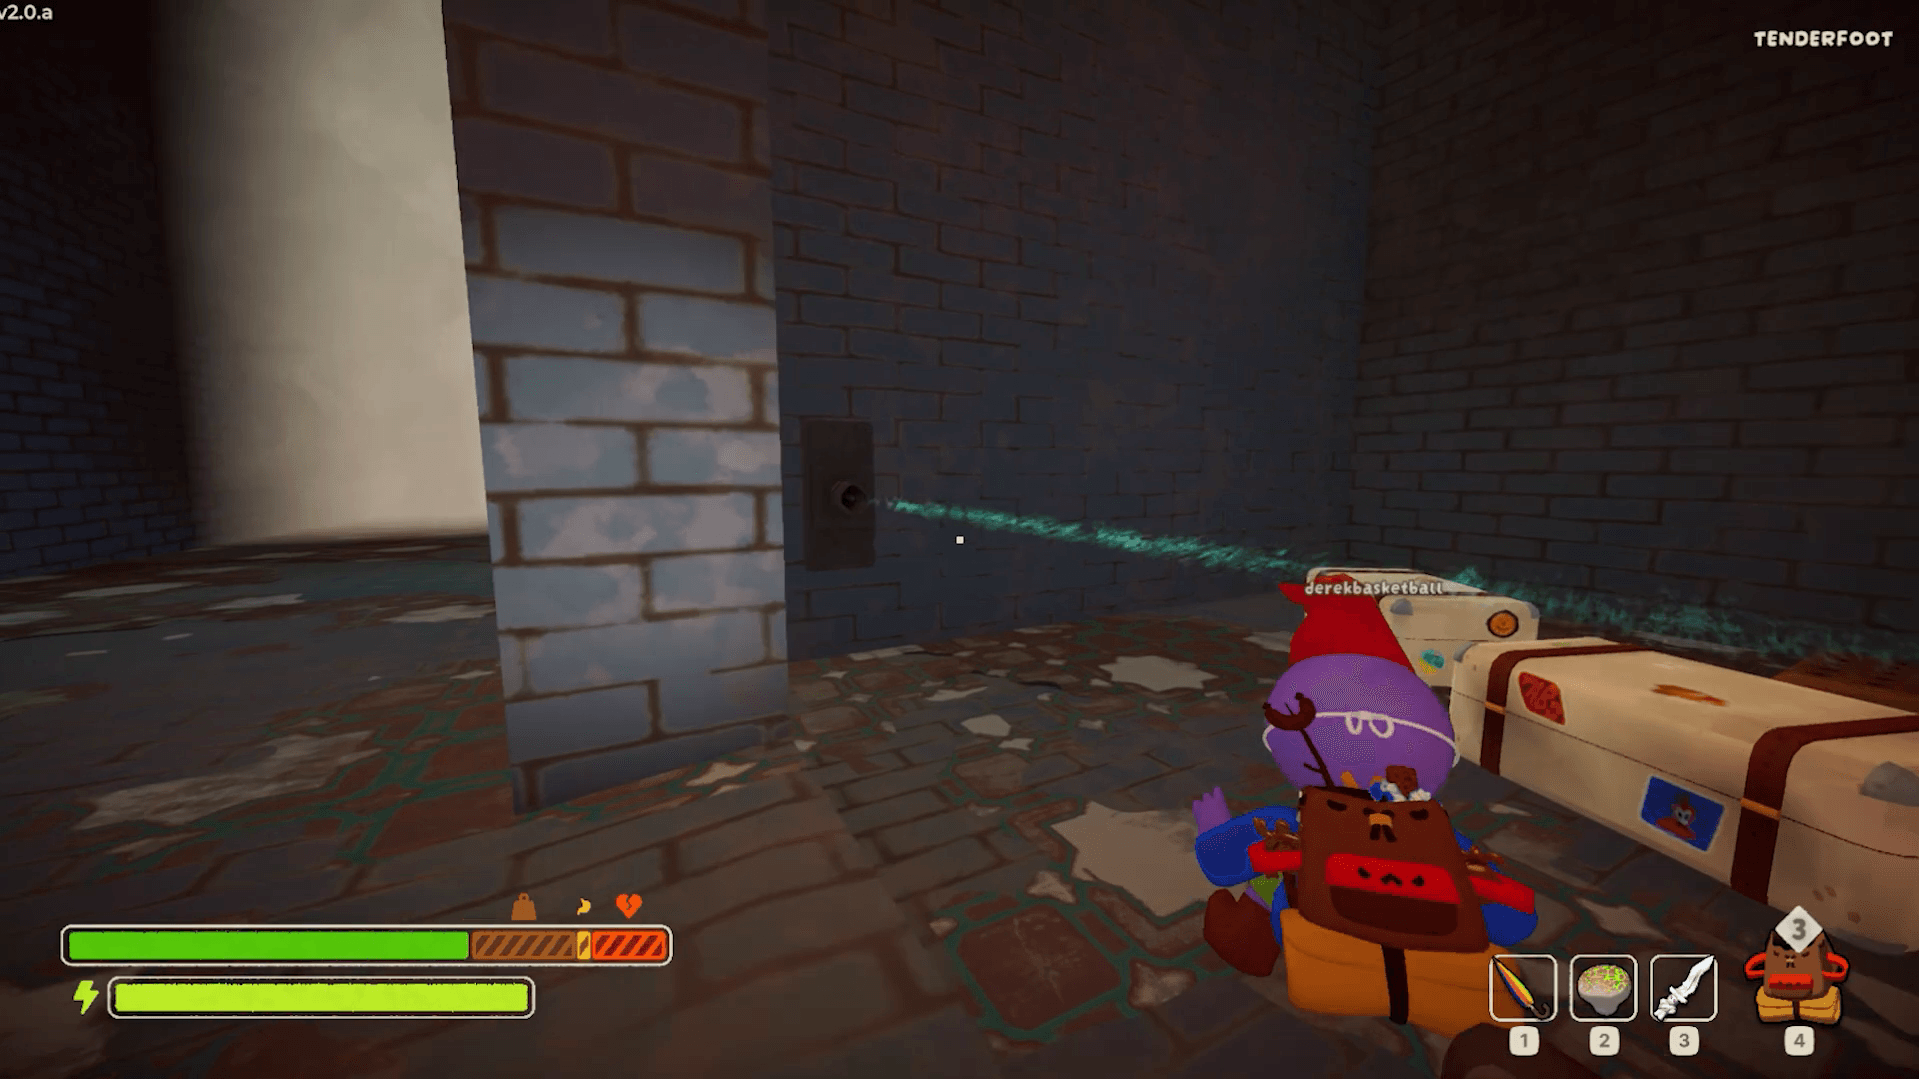
Once you reach THE CITADEL's campfire, resist the urge to interact with it immediately. The first arrow trap is in the room directly to your right from the campfire. It's a wall-mounted trap with a blue laser tripwire running across the entrance. Walk into that beam and the trap fires.
Each individual trap can fire up to three times before it runs dry. THE CITADEL's ground floor has multiple traps scattered around, so you have more than enough sources to hit the 10-arrow requirement without backtracking far.

PEAK Archery Badge Guide: How to Remove 10 Arrows Safely
How do you safely remove 10 arrows from yourself?
Arrow placement matters more than most players realize. When the trap fires, aim to get hit in the head, not the limbs. Arrows lodged in your head are visible in your own field of view and can be removed solo by looking directly at them. Arrows stuck in your arms or legs are much harder to see and typically require a teammate to pull out for you.
PEAK Archery Badge Guide: How to Remove 10 Arrows Safely
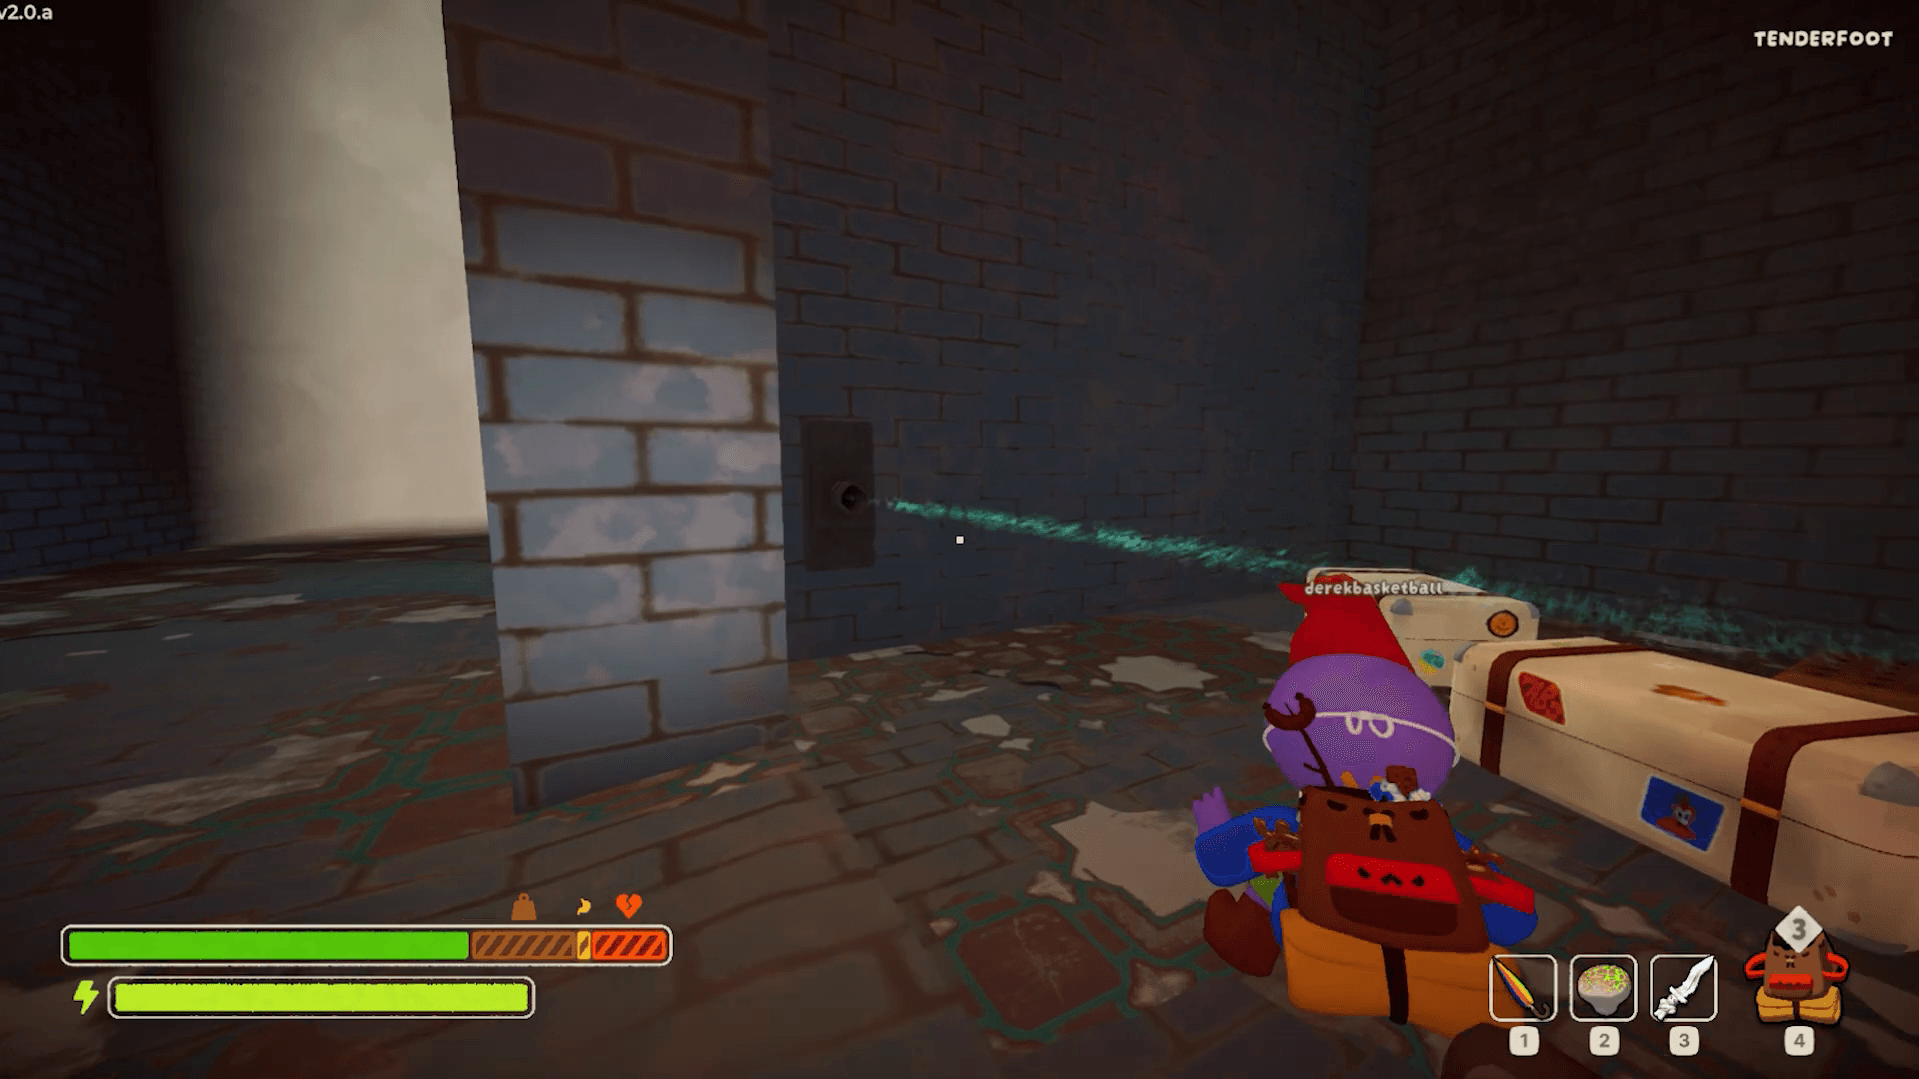
To consistently get head shots, face the arrow hole in the wall straight on and walk into the blue tripwire beam. The trap fires horizontally, so keeping your head level with the hole gives you the best chance of a clean head hit.
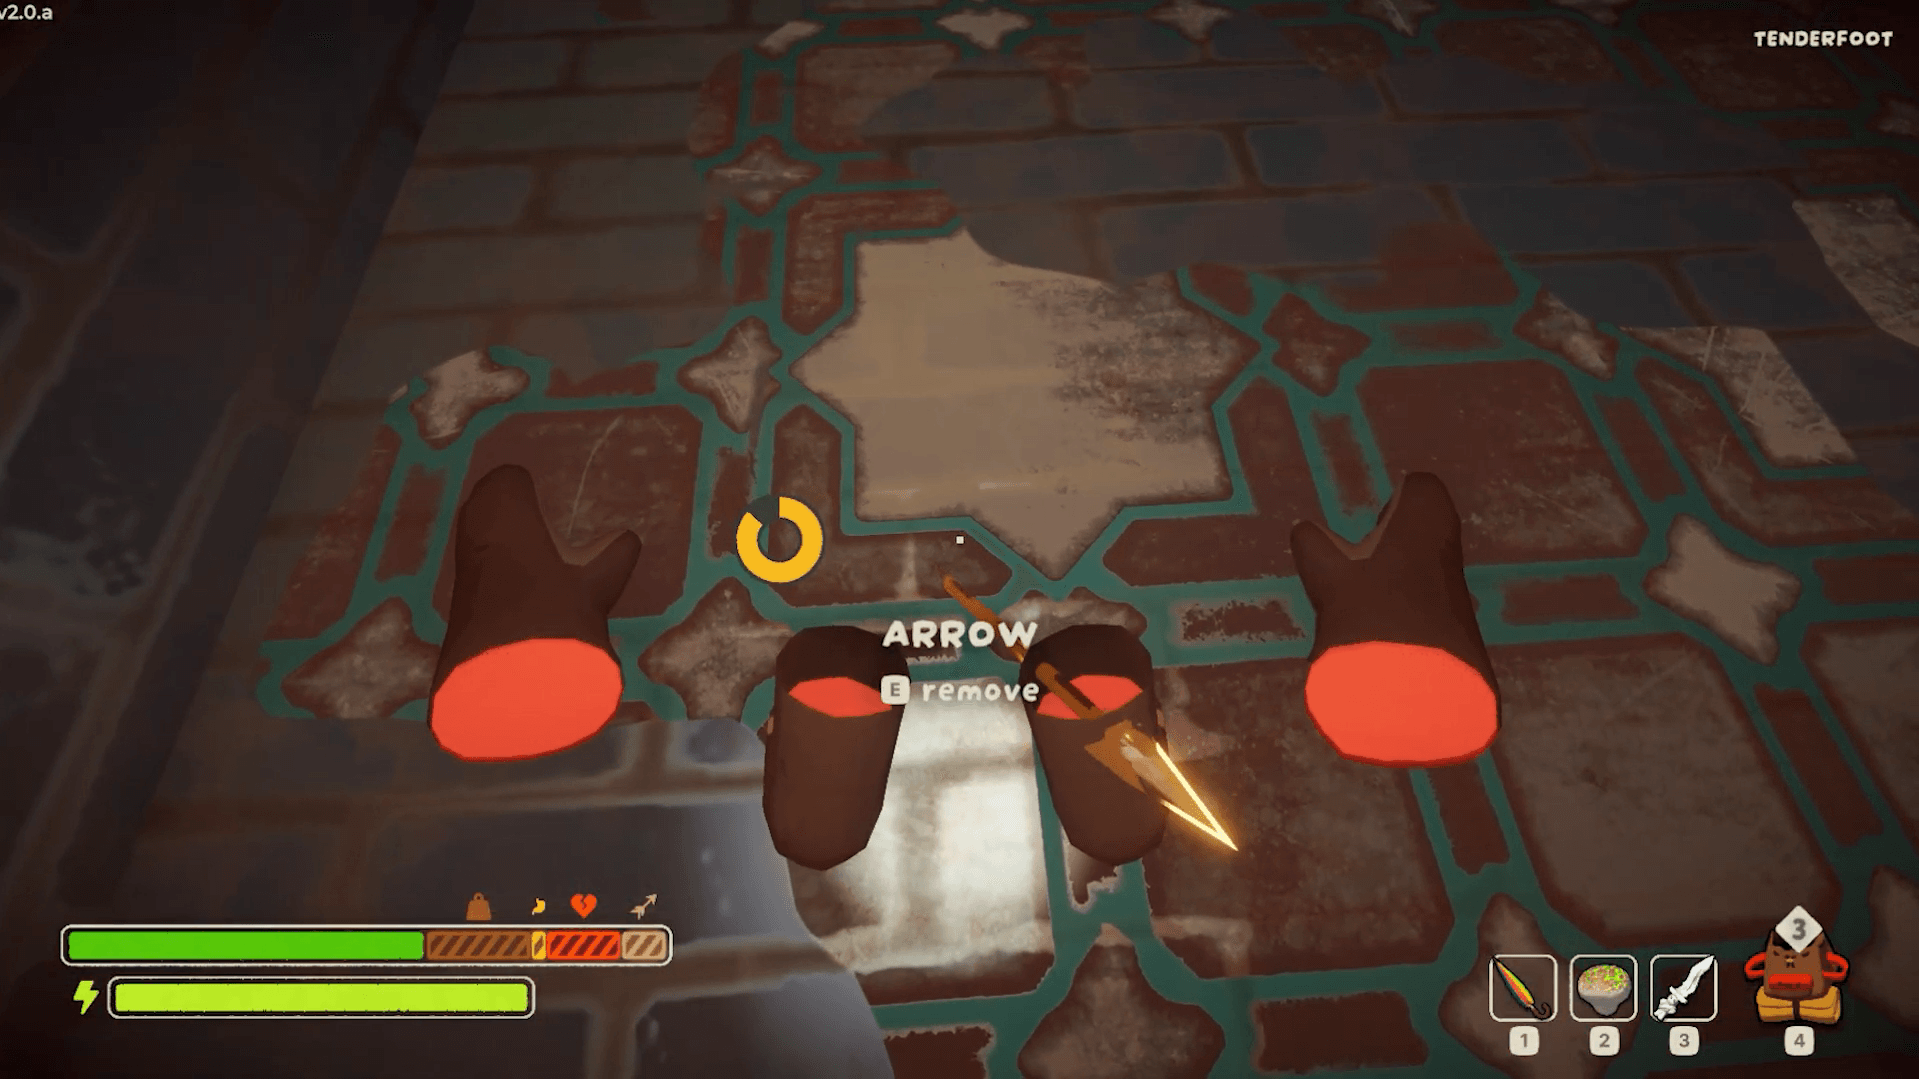
Once an arrow is in your head, look at it until the removal prompt appears, then pull it out. Each removal drains over 10% of your HP, so never pull more than two arrows consecutively without healing. Use Bandages between removals to stay above a safe threshold.
PEAK Archery Badge Guide: How to Remove 10 Arrows Safely
How to get the Archery Badge
Here's the most efficient sequence to hit all 10 arrows without dying:
- Arrive at THE CITADEL campfire after clearing THE GLOOM.
- Before touching the campfire, enter the room to the right.
- Face the arrow trap wall and walk into the blue beam tripwire three times, healing with Bandages between each shot.
- After using up that trap's three shots, return to the campfire and interact with it to reset health ailments.
- Move to the ground floor of THE CITADEL and locate additional arrow traps.
- Repeat the process, always targeting head shots and healing between removals.
- After removing all 10 arrows by yourself, the Archery Badge unlocks automatically.
Do you need a full team to get this badge?
No. The Archery Badge is designed to be completed solo, as long as every arrow hits your head. A teammate can help remove limb-stuck arrows faster, but the badge specifically requires you to remove all 10 yourself, so no one else can pull them out on your behalf anyway. Having a teammate nearby is useful for emergencies, but the actual removal must be your own action.
For more on working with your squad in THE CITADEL and beyond, the PEAK guide on reviving teammates covers every method for keeping your crew alive when things go sideways.
What else should you prepare before attempting this?
The biggest mistake players make is arriving at THE CITADEL without enough healing supplies. Bandages are the priority. If you spot Luggage near the first trap room, open it immediately since it frequently contains Bandages. Carry as many as you can before triggering any traps.
THE GLOOM biome before THE CITADEL is a serious obstacle in its own right. If you want to arrive at the campfire in good shape, the PEAK climbing and team survival guide has solid strategies for managing stamina and navigating the harder biomes without burning through your supplies before you even see an arrow trap.
The Archery Badge is genuinely one of the more satisfying challenges in The Final Ascent update precisely because it forces you to be deliberate. You're not grinding enemies or hunting a rare spawn. You're just standing in front of a wall trap and trusting your healing rotation. Get the head placement right, keep Bandages on hand, and the badge is yours in a single CITADEL visit. For more challenges and collectibles across the whole game, the full PEAK guides collection has everything you need to finish the climb.