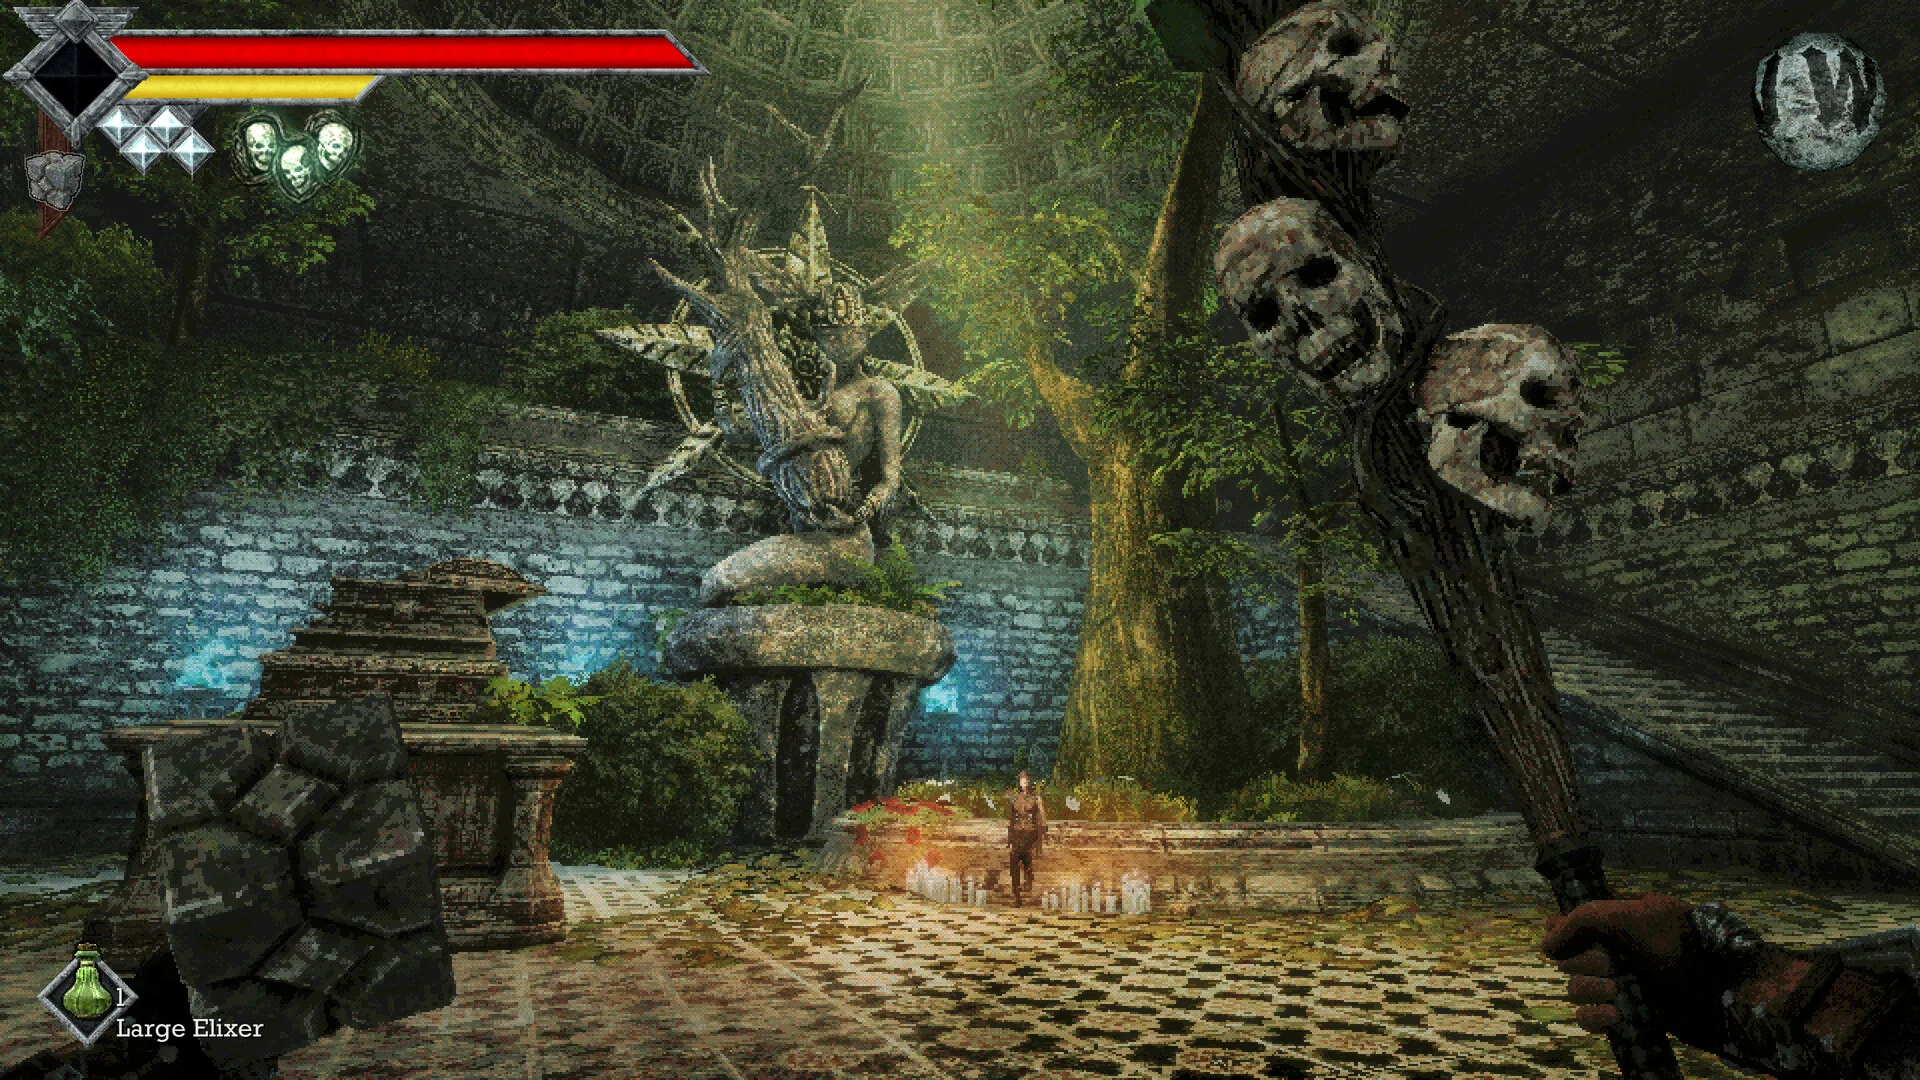
Combat in Queen's Domain revolves around stamina management: use light attacks for short openings, charged attacks for longer recoveries, and weapon specials when their timing fits.
Winning an exchange means landing your hit without leaving yourself exposed afterward. A full stamina bar helps, but it cannot make a slow attack finish before an enemy's response. Throwing weapons provide a ranged option when closing into melee would be risky.
Learn each action separately before combining them. You should be able to recognize whether a bad exchange came from spending too much stamina, starting too late, or choosing an attack that took too long.
How the stamina meter shapes combat
Stamina does not refill while you attack. Sprinting continuously drains it, while jumping and dash attacks also spend it. Repeated swings therefore interrupt recovery and leave less stamina for those movement actions.
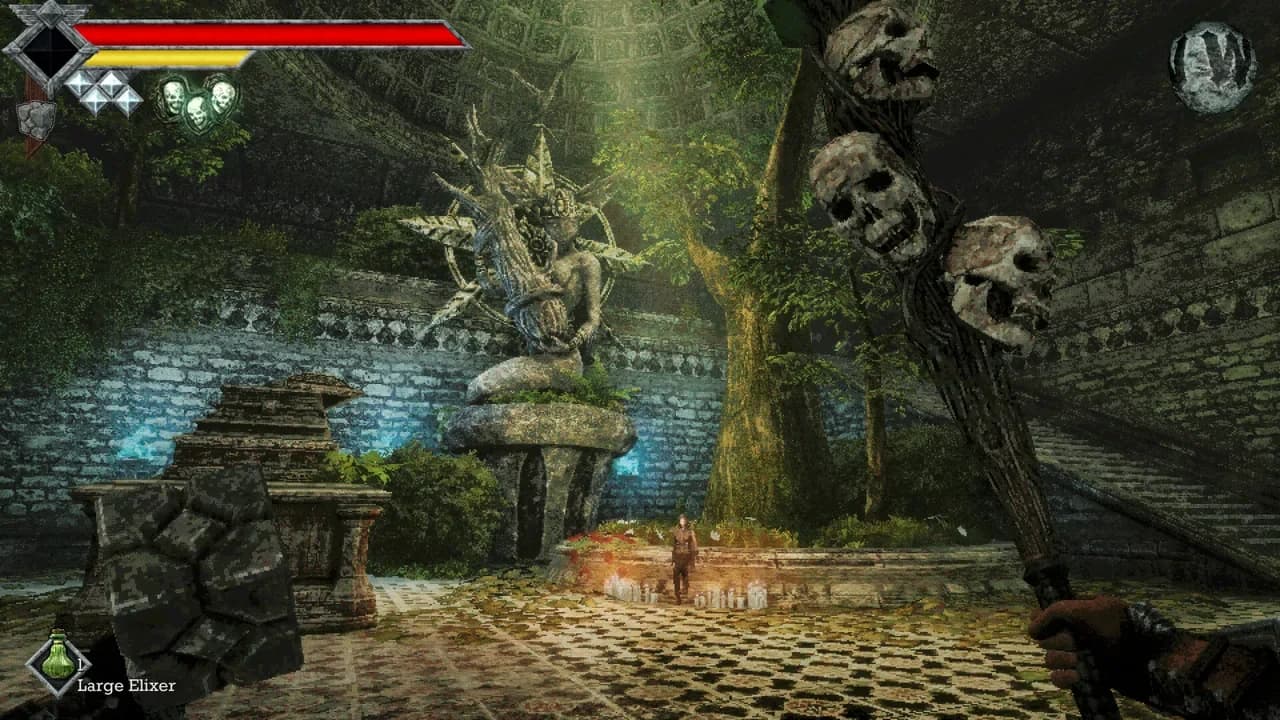
Queen's Domain combat interface
Budget for the entire exchange, including your retreat. Sprinting up to an enemy can leave you beside it without enough stamina for the attack and movement you intended. When the encounter allows it, recover before committing.
Leave a movement reserve
Use roughly the last quarter of the bar as a suggested stopping point while learning. This is a practical reserve, not a threshold that activates a bonus. Stop earlier if your weapon recovers slowly or you expect to need a jump or sprint afterward.
Watch your position after the hit. If you repeatedly finish an attack beside an enemy with almost no stamina, remove the extra swing from your sequence before changing weapons. The problem may be the length of the exchange, not your equipment.
A Queen's Domain stamina-focused build supports this approach through manageable weapon recovery and progression. Start with a repeatable attack-and-reset routine before trying to fit more damage into it.
When to use charge attacks
A charged attack uses a hold-and-release input for a stronger melee strike. Compared with a quick tap, it requires more stamina and has a longer wind-up and recovery. Check your attack binding before practicing so you can distinguish the charge from your weapon's special.

Charged attacks in Queen's Domain
Match your attack to the time the enemy remains occupied. Light attacks suit brief opportunities. Charges need enough time to prepare the strike, connect, and recover before the enemy attacks again.
| Attack option | Stamina commitment | Timing commitment | Suitable opportunity |
|---|---|---|---|
| Light attack | Lower | Shorter recovery | A brief opening for a quick hit |
| Charged attack | Higher | Longer wind-up and recovery | A long, readable enemy recovery |
| Weapon special | Depends on the weapon | Depends on the move | An opening that fits its reach and animation |
Charge after the enemy commits
Favor a charge after a substantial enemy attack misses or strikes the environment. Read what happens after the attack, too. A long enemy wind-up does not necessarily mean its recovery will be equally generous.
Practice against a familiar opponent with the same weapon equipped. Compare an ordinary attack with a charge, watching their reach and how soon you can move clear afterward. Keeping the encounter unchanged makes differences in timing easier to recognize.
Skip a late charge. If you only reach the target as it starts recovering, choose a quicker attack that fits or wait. Time spent approaching does not oblige you to finish the exchange with a hit.
Understanding weapon-specific special attacks
A weapon special is a separate action from a charged attack, and its behavior depends on the equipped weapon. Learning one special does not establish the reach, timing, or stamina cost of another.
Read the equipped weapon's description, then learn its special against an enemy whose attacks you recognize. Check how quickly the move begins, where it reaches, and how long it leaves you committed. Those properties determine which openings you can use.
Evaluate the cost before adding a special
Watch the meter before and after the action. Some specials can empty the bar, so they may be unsuitable when you need stamina-consuming movement immediately afterward. Do not assume the special costs roughly the same as an ordinary swing.
Compare weapons under consistent conditions. Record their displayed stats, upgrade state, and proficiency alongside their special actions. A developed weapon and an unfamiliar, unupgraded alternative are not a clean comparison of moves alone.
Damage type also affects the result. The Rusted Sword deals slash damage, the Spear deals pierce damage, and the Wooden Club deals impact damage. A weak hit can reflect the target's resistance as well as the weapon's strength.
Defeating an enemy reveals information about its weaknesses and resistances in the bestiary. Use that information to plan your Queen's Domain melee damage build when a matchup calls for different damage coverage. Check the resistance before trying to solve the fight with a longer attack chain.
Mixing melee and throwing weapons
The Dagger Belt provides throwing knives that recharge on a cooldown instead of consuming a finite ammunition stock. Daggers can be thrown while moving, giving you a ranged action during repositioning.
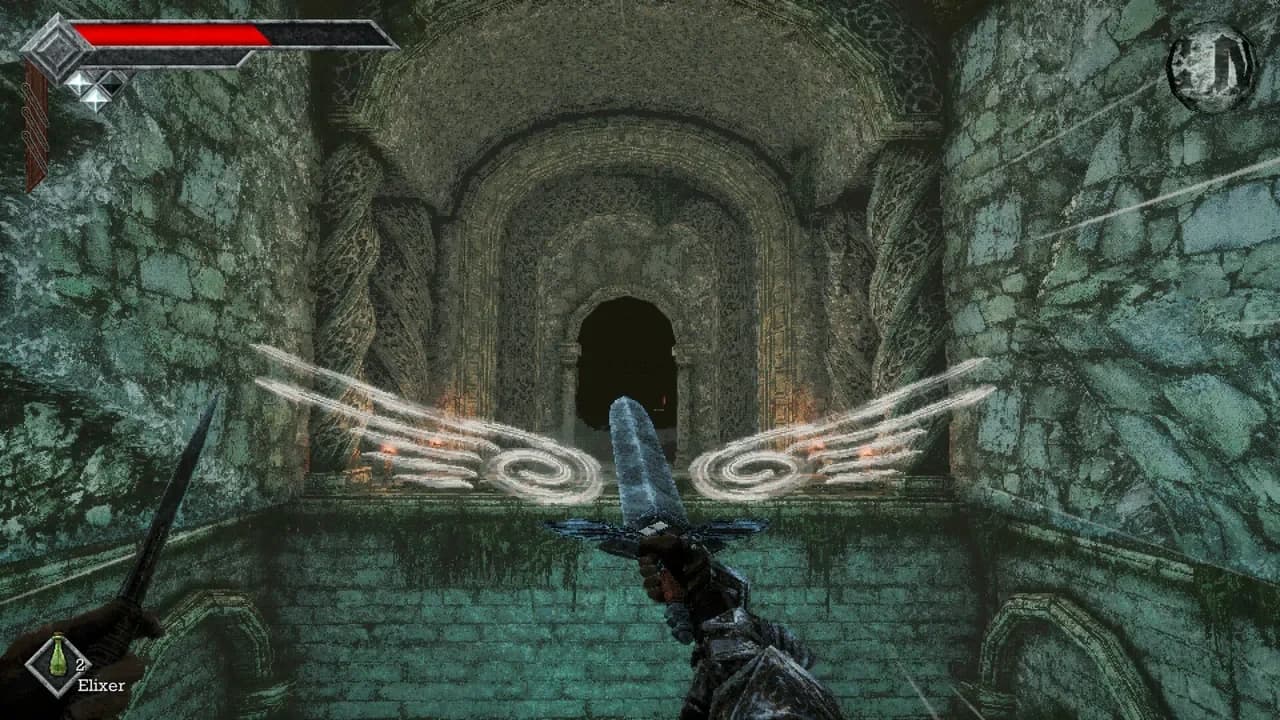
Dagger Belt throwing weapons
Use a dagger to draw an enemy away from a group, then check that it has separated before approaching. Starting the pull is only the first step; entering melee too early can still leave you fighting several enemies together.
Check elevated positions when entering an unfamiliar room. Enemies can attack from above, and a ready throwable lets you respond without immediately moving into close range.
Use range without forcing another attack
A ready projectile does not make every pause an attack opportunity. You may need that time to watch an unfamiliar enemy, get clear of an obstacle, or identify where its next attack will land. Keep the throw optional.
Read each secondary weapon's description before relying on it in a difficult encounter. The Queen's Domain throwing weapons guide helps compare ranged options when you want to move beyond daggers. Learn a replacement's behavior separately before folding it into your melee routine.
Recognizing safe attack windows
An opening must accommodate your approach, attack, and recovery. An enemy can appear vulnerable while still leaving too little time for the particular move you selected. Judge the full sequence, not just the moment when your weapon connects.
Positioning changes the time available. Some enemies advance with their swings, so retreating directly backward can push you toward a wall without taking you beyond their reach. Circle where the room gives you space.
| Enemy cue | Positioning response | Follow-up decision |
|---|---|---|
| Forward step during an attack | Move around the attack where space allows | Close after the attack finishes |
| Backward hop | Avoid immediately sprinting after it | Consider a throw during the separation |
| Raised shield | Wait for a commitment or use suitable impact damage | Avoid repeated hits into its guarded front |
| Projectile wind-up | Strafe clear | Reserve sprinting for an attack that requires it |
Use cover for recovery actions
Pillars, doorways, and statues can break an attack's line. Use nearby geometry when circling in open space is difficult, but check that your retreat does not end against another obstacle.
Healing also needs a safe window. Use an elixir behind cover or during a long enemy recovery instead of drinking while the enemy is free to act. After taking damage, secure the reset before attempting another close-range exchange.
Practice one change at a time
If you're struggling with an encounter, use this sequence to identify the costly decision:
- Start with one ordinary hit. Watch the stamina cost and whether you can leave before the response.
- Try a charge in a longer opening. Keep the weapon and opponent unchanged.
- Learn the special separately. Check its reach, commitment, and remaining stamina.
- Add a throw during separation. Confirm its behavior without immediately following it into melee.
Repeat the action that consistently fits the encounter. Add another attack only when the enemy's recovery supports it and you can still finish in a position to respond.