
Anime Expeditions on Roblox has a limited event called Villain Invasion that throws four escalating acts at your team, each with its own enemy mechanics designed to punish generic team builds. Slapping down your strongest damage dealers and hoping for the best will not cut it here. Every act demands a specific answer, and Act 4 combines everything at once. This guide breaks down exactly what each act throws at you and how to counter it.
How do you join the Villain Invasion event?
From the main screen, press the Events button on the left side of the UI. The Villain Invasion event sits at the top of the active events list. Select it, scroll to the Event Game Mode section at the bottom of the screen, pick your act, and load in.

Act 1 (Death): How do you counter the speed stacking mechanic?
Act 1: Death punishes AOE-heavy teams from the first wave. Armored enemies reduce AOE damage by 33%, so units that rely on wide-area attacks lose a significant portion of their output. Swap to units with standard attacks or line-based AOE instead. Eighth Sword, Puppet, Cursed Student, and Lady Giant all fit this role well.
Commander enemies are a time-sensitive threat. They boost the health and movement speed of every nearby enemy by 20%, so they need to go down fast before the buff spreads across a full wave.
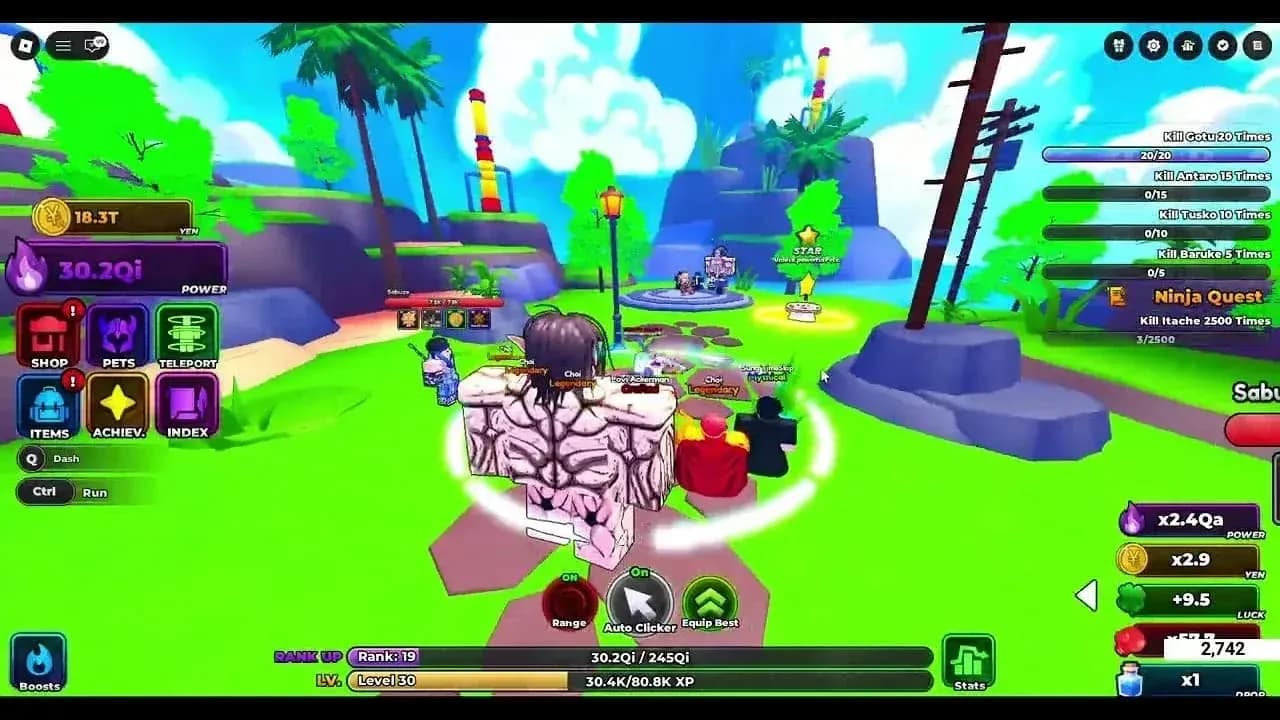
Villain Invasion event menu
The defining mechanic of Act 1 is the Death enemy, which permanently stacks 5% movement speed buffs on nearby enemies. Left unchecked, those stacks compound quickly and enemies start reaching your base before your damage dealers can respond. The fix is straightforward: bring at least one slowing unit. Salmon Sorcerer is the premium pick, but Ice Mage works as a budget alternative. The slowing effect resets accumulated speed stacks back to zero, which completely neutralizes the mechanic.
Placement matters here. Position your slowing unit to cover as much of the enemy path as possible, then cluster your main damage dealers in the same zone. Enemies stay slowed while your DPS units work, which dramatically increases their effective output. Bring Stone Alchemist as your farm unit to keep income flowing throughout the act.
Act 2 (Tartaros): What's the best approach to enemy shields and regeneration?
Act 2: Tartaros drops the specialized counters and replaces them with a raw damage check. There is no clever trick to bypass Reinforced enemies, which reduce all incoming damage by 30%. You need high-damage units, period.
Two enemy types add pressure on top of that flat reduction. The Tartaros enemy consumes a nearby ally every 10 seconds and gains health regeneration for the following 10 seconds. If you let it sit, it heals through your damage. Kill it fast. Veil enemies are arguably more dangerous at scale: they grant every nearby enemy within a five-range radius a bonus shield equal to 200% of the Veil unit's own health. A single Veil unit can make an entire cluster nearly unkillable if ignored.
Act 1 Death enemy stacking
The unit picks for Act 2 are Elf Mage, Lady Giant, and Eighth Sword for damage, with Forbidden Teacher or The Hero as support options that further amplify your team's output. Start with Stone Alchemist to build economy, then funnel all subsequent gold into upgrading your primary damage dealers. Spreading upgrades across multiple units here is a trap.
Act 3 (Sword): How do you stop enemies from respawning?
Act 3: Sword introduces the most mechanically specific requirement in the event. Sword enemies can respawn at the base up to two times unless they die while a damage over time effect is active on them. Miss that window and you are essentially fighting the same enemy three times.
Bringing a reliable DOT unit is not optional. Cursed Student and Crimson are the top choices. Demon Cyborg works as a budget pick if neither is available. The key to making this work is placement: put your DOT unit early on the enemy path so the effect is already ticking before your damage dealers finish the kill. If your DOT unit sits too far back, enemies die clean and respawn.
Two other enemy types complicate the act. Explosive enemies detonate on death, creating a blast with a 10-unit radius that stuns nearby units for two seconds. Keep your units positioned far enough from the path to avoid the explosion while still staying in attack range. Sprinter enemies move 45% faster than standard enemies but have 20% less health, so early-game damage needs to be present to catch them before they slip through.
Farm with Stone Alchemist early, then shift gold into your damage dealers as waves ramp up.
| Enemy Type | Key Mechanic | Counter |
|---|---|---|
| Sword | Respawns up to 2x without DOT | Cursed Student, Crimson, Demon Cyborg |
| Explosive | Stuns units in 10-radius on death | Position units off the direct path |
| Sprinter | 45% faster, 20% less health | Early-game damage units |
Act 4: How do you handle all mechanics at once?
Act 4 layers every mechanic from the previous three acts onto a fresh set of unique threats. The Dawn mechanic reduces the health of enemies spawned by Splitter and Summoner enemies by 99%, but wraps each one in five shields, making them surprisingly durable despite the health reduction. Splitter enemies split into three smaller versions on death, each carrying 33% of the original's health. Summoner enemies produce additional enemies every five seconds.
On top of all that, the Death, Sword, and Tartaros mechanics from Acts 1 through 3 are all active simultaneously.
Role coordination is what separates successful Act 4 runs from failed ones. Assign one player to slowing and crowd control to handle the Death mechanic. A second player focuses on applying DOT effects to neutralize the Sword respawn mechanic. The remaining players maximize damage output and cover team buffs. No single player can manage all of these responsibilities at once, and trying to build a jack-of-all-trades loadout will leave every mechanic partially addressed.
For free resources to strengthen your roster before tackling the harder acts, grab everything available through the Anime Expeditions codes for July 2026 before they expire. If your units are not performing the way you expect, the Anime Expeditions equipment guide covers gear farming and stat rerolling in detail to squeeze more output from your current roster.
Recommended units by role
| Role | Top Picks | Budget Alternative |
|---|---|---|
| Slowing / CC | Salmon Sorcerer | Ice Mage |
| Damage (AOE) | Elf Mage, Lady Giant, Eighth Sword | Puppet |
| Damage over Time | Cursed Student, Crimson | Demon Cyborg |
| Support / Buff | Forbidden Teacher, The Hero | N/A |
| Economy / Farm | Stone Alchemist | N/A |
For broader help with the game, the Anime Expeditions beginner's guide covers unit evolution, traits, and map progression to get your roster ready for content like this.