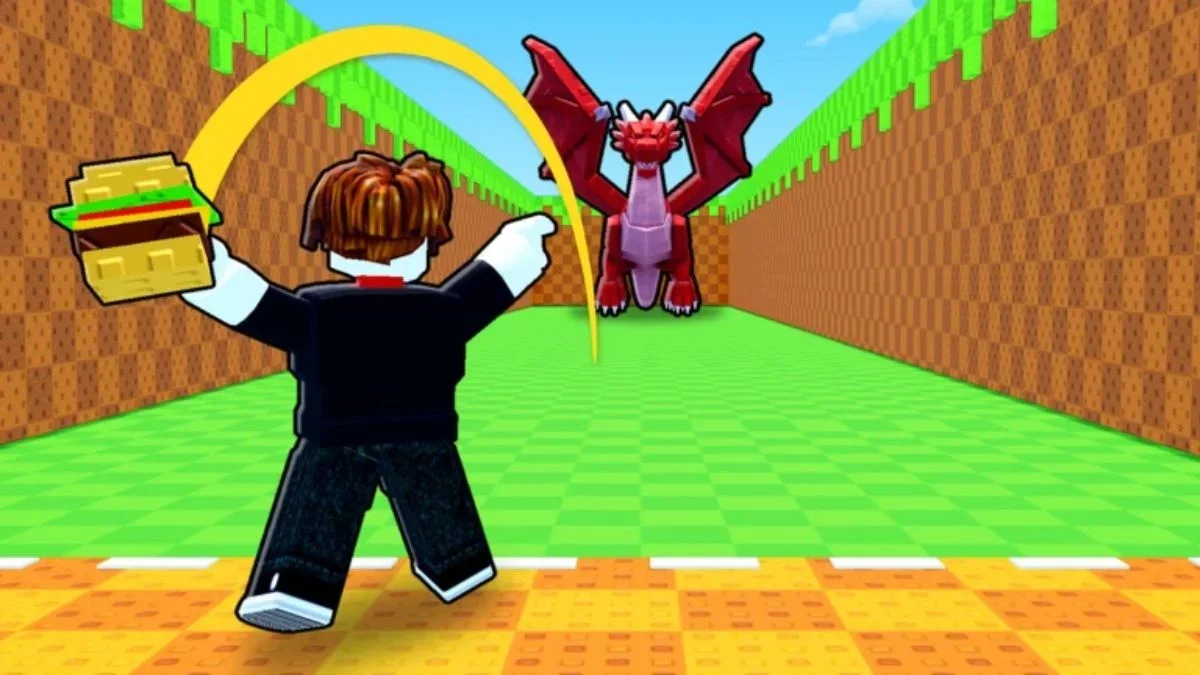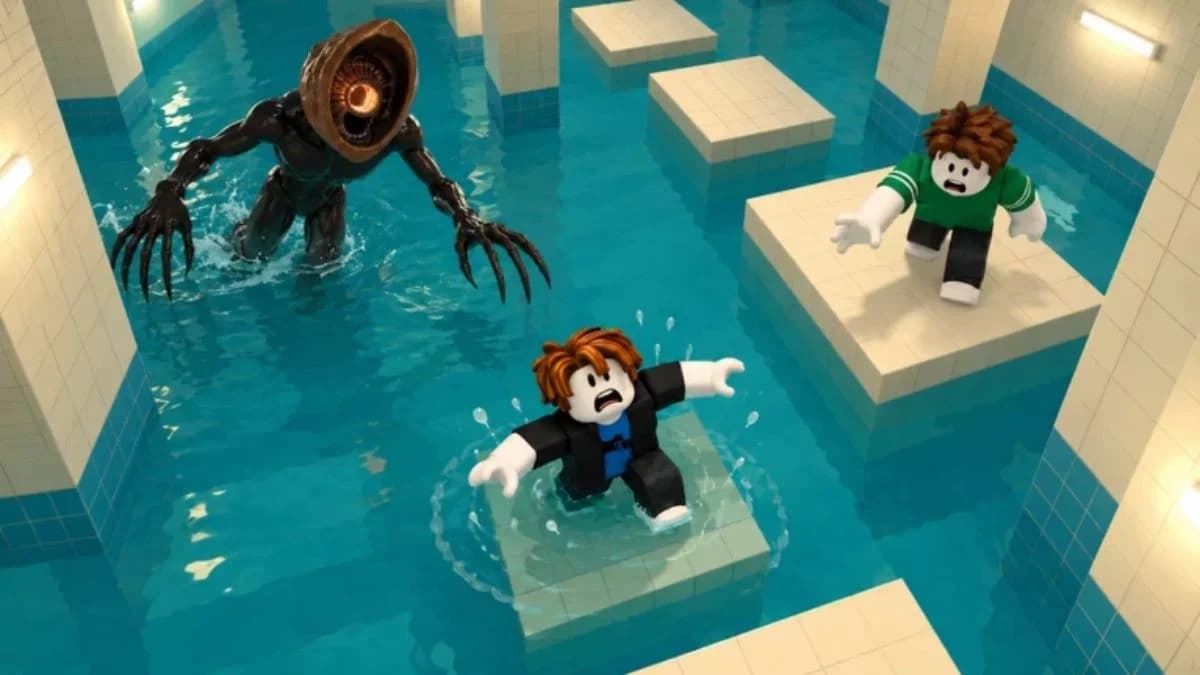

Rescue Rope is the best team equipment in Don't Splash, while Bottles offer a strong distraction option that also works when you're alone. For upgrades, prioritize Rescue Speed for teammate saves or Throwing Range for longer-distance distractions. Spending coins on equipment you actually use matters more than buying every upgrade. This Roblox horror platformer puts you above water hunted by a blind creature that responds to splashes, so a well-placed lure can be more useful than another rescue upgrade during a solo run.
What's the best equipment in Don't Splash?
Rescue Rope takes S tier because it can recover a teammate from a distance. Bottles and Flare sit below it, offering different ways to create an escape opportunity. These rankings weigh usefulness, ease of use, and limitations across solo and team play.
| Tier | Equipment | Main benefit | Main limitation |
|---|---|---|---|
| S | Rescue Rope | Pulls a teammate onto a platform from a distance | Usable only once per room; its value depends on having teammates |
| A | Bottles | A loud splash draws multiple enemies toward a distant landing point | Comes with only 3 free uses |
| A | Flare | Stuns an enemy for 5 seconds | Best suited to rooms with a single entity |
| B | Wind-Up Toy | Produces continuous noise, including while in water | Requires careful timing and positioning |
| C | Pebbles | Inexpensive distractions for less threatening enemies | Shorter range and less impact than Bottles |
Bottles are the stronger choice when you need to move several threats away from your route. Their throwing range exceeds Pebbles, and the loud splash gives enemies another location to investigate. Choose the landing point deliberately instead of throwing toward the platforms you intend to cross.
Wind-Up Toy earns B tier because its noise continues rather than ending with a single splash. That can support a longer distraction, but timing and placement make it less straightforward than Bottles. Pebbles remain a reasonable budget option: 5 cost 25 coins, although their effect is more limited.

Where do you buy equipment and upgrades?
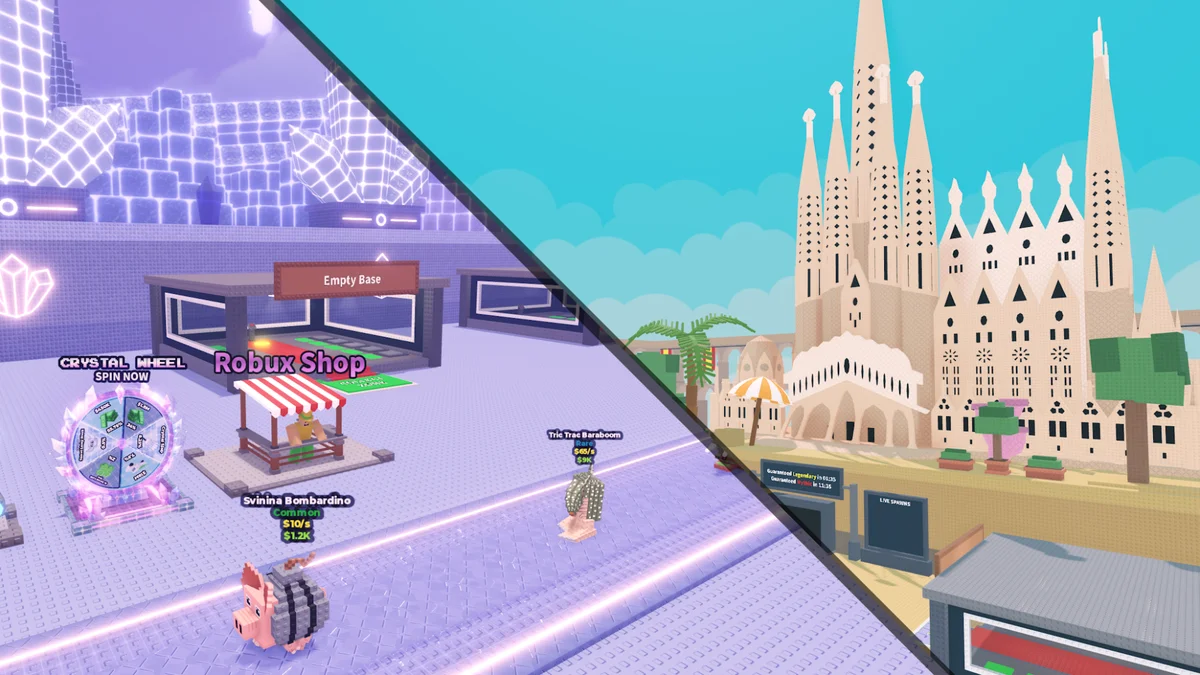
The equipment and upgrade shops sit beside each other in the main lobby. Enter the relevant portal to open its purchase interface, then spend coins earned during rounds.
- Return to the main lobby after a round.
- Find the adjacent equipment and upgrade shops.
- Enter the portal for the purchase you want to make.
- Select an equipment or upgrade entry, such as Throwing Range, and check its effect before spending coins.
Spend round coins in the lobby
Buy around your current equipment. Throwing Range supports Bottles and Pebbles, while Toy Battery only improves Wind-Up Toy. An upgrade for something you rarely use is an easy way to spend coins without improving your usual approach. Prices and effects can change with updates, so check the purchase screen before committing.
If Clover RPG is also in your rotation, use the Clover RPG weapon tier list to compare damage, range, and proficiency before choosing your gear there.
Which upgrades deserve your coins first?
Rescue Speed and Throwing Range have the highest priority, but they solve different problems. Rescue Speed helps with teammate recovery. Throwing Range improves two distraction tools. Choose between them based on what you bring into a round, rather than treating the priority labels as a fixed shopping order.
For upgrades with a starting and improved value, the table shows the first upgrade step. Throwing Range and Pebble Skipping have effects stated per level.
| Priority | Upgrade | Effect | Best reason to buy it |
|---|---|---|---|
| Very high | Rescue Speed | Rescue time drops from 3.0 to 2.8 seconds | You regularly save teammates |
| Very high | Throwing Range | Pebbles and Bottles travel 10% farther per level | You rely on thrown distractions |
| Normal | Rope Reach | Rescue Rope reach increases from 12 to 14 studs | Teammates need help beyond your current reach |
| Normal | Pebble Skipping | Adds 1 splash per pebble per level | Pebbles remain part of your regular equipment |
| Low | Toy Battery | Wind-Up Toy duration increases from 6 to 7 seconds | You frequently use its continuous distraction |
| Low | Flare Radius | Flare range increases from 10 to 11 studs | You regularly depend on Flare |
Should you buy Rescue Speed or Throwing Range?
Choose Rescue Speed when teammate saves are a regular part of your rounds. Its first improvement cuts the rescue time to 2.8 seconds. Rope Reach addresses a separate problem: it extends how far your rope can reach, rather than speeding up the rescue itself.
Throwing Range is the more relevant purchase when Bottles or Pebbles do most of your work. Each level adds 10% throwing distance to both items, helping you place distractions farther away. It also remains useful when you switch between those two tools.
Which upgrades can wait?
Pebble Skipping is a sensible follow-up if you still use Pebbles regularly, since each level adds another splash per pebble. Toy Battery is more conditional: extending Wind-Up Toy to 7 seconds matters less if you rarely choose that equipment.
Flare Radius also sits below the highest-priority upgrades, despite Flare itself being A tier. The equipment already provides a 5-second stun; the first radius upgrade extends its range by 1 stud. A strong item does not automatically make its upgrade your best next purchase.
For another comparison of situational picks, the Cat Battles ability tier list breaks down ability costs, cooldowns, and uses in the ring.
How should solo and co-op players choose equipment?
What should solo players prioritize?
Bottles and Throwing Range make a useful pairing for solo play because they improve your ability to redirect enemies. Rescue Rope's S-tier position comes from saving teammates, so its main benefit does not apply when you're alone.
Spend on the distraction tool you actually carry:
- Using Bottles: Prioritize Throwing Range for longer-distance lure placement.
- Sticking with Pebbles: Consider Throwing Range first, then Pebble Skipping for extra splashes.
- Using Wind-Up Toy regularly: Consider Toy Battery after the upgrades that support your more frequent tools.
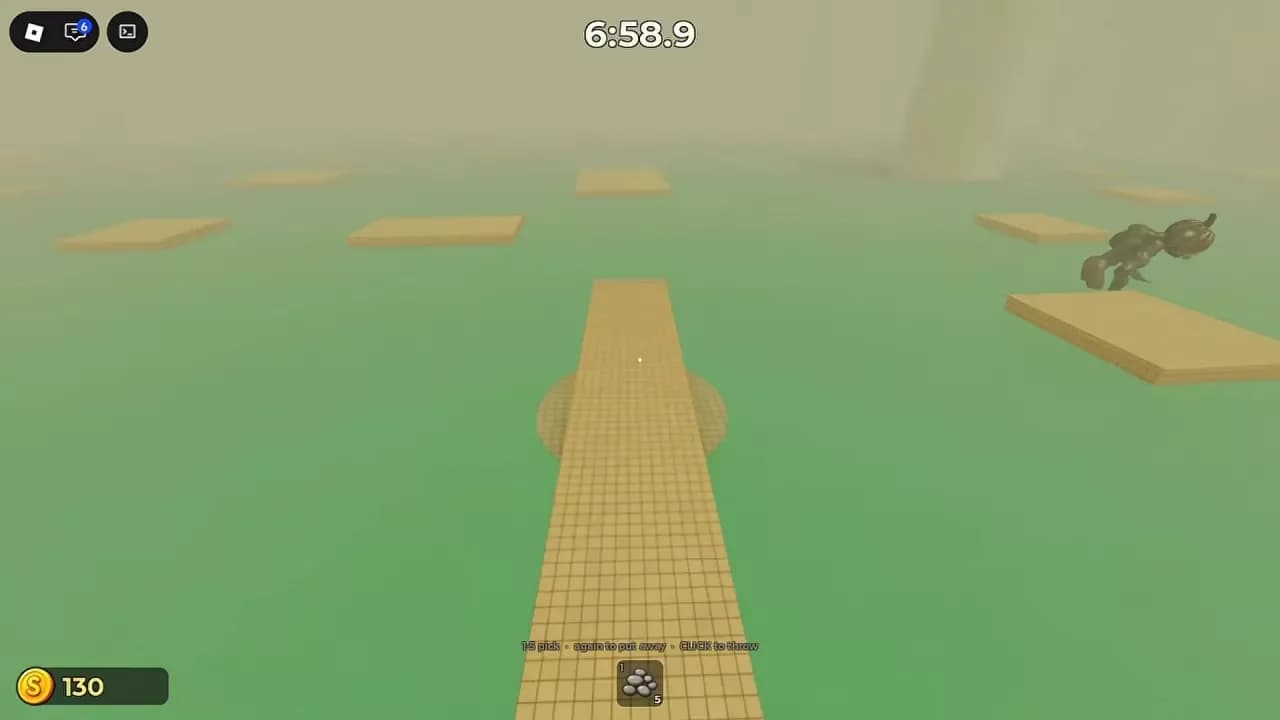
The creature follows water sounds, so place Pebbles or Bottles away from your next jump. The point of a distraction is to pull danger away from the route you need, not toward your next landing.
What should teams prioritize?
Rescue Rope earns its place when a teammate needs pulling back onto a platform. Pairing it with Rescue Speed supports faster saves, while Rope Reach helps when distance prevents you from reaching someone. Choose the upgrade that addresses the problem your group actually encounters.
A team-focused purchase order should start with Rescue Rope and then improve either speed or reach as needed. Players handling distractions can instead prioritize Bottles and Throwing Range. Those purchases serve different jobs, even though both help the group survive.
When should you choose Flare over a distraction?
Flare is best when stopping one enemy creates the escape opportunity you need. Its 5-second stun interrupts that enemy, while Bottles redirect multiple enemies toward a splash. Choose Flare for the immediate interruption and Bottles when your problem is several threats occupying the route.
The October 23 update set Normal runs to 3 monsters and Hard runs to 5. That makes Flare's single-entity strength a meaningful limitation: stopping one enemy does not solve every threat in a crowded room. Its A-tier ranking reflects that useful but narrower role.
Start with the tool that solves your next problem: Rescue Rope for teammate recovery, Bottles for distant distractions, or Flare for a brief stun. Then buy the matching upgrade. For help choosing your next experience, browse the Roblox strategy guide collection.