


Search for the Needle is a Roblox game built around one deceptively simple task: tear through haystacks as fast as possible to find the needle. Classes are the permanent progression layer that separates a slow manual grind from an efficient, tool-powered run. There are currently 8 classes, each with different drop rates and bonuses, and picking the right one for your playstyle makes a real difference in how quickly you clear each pile.
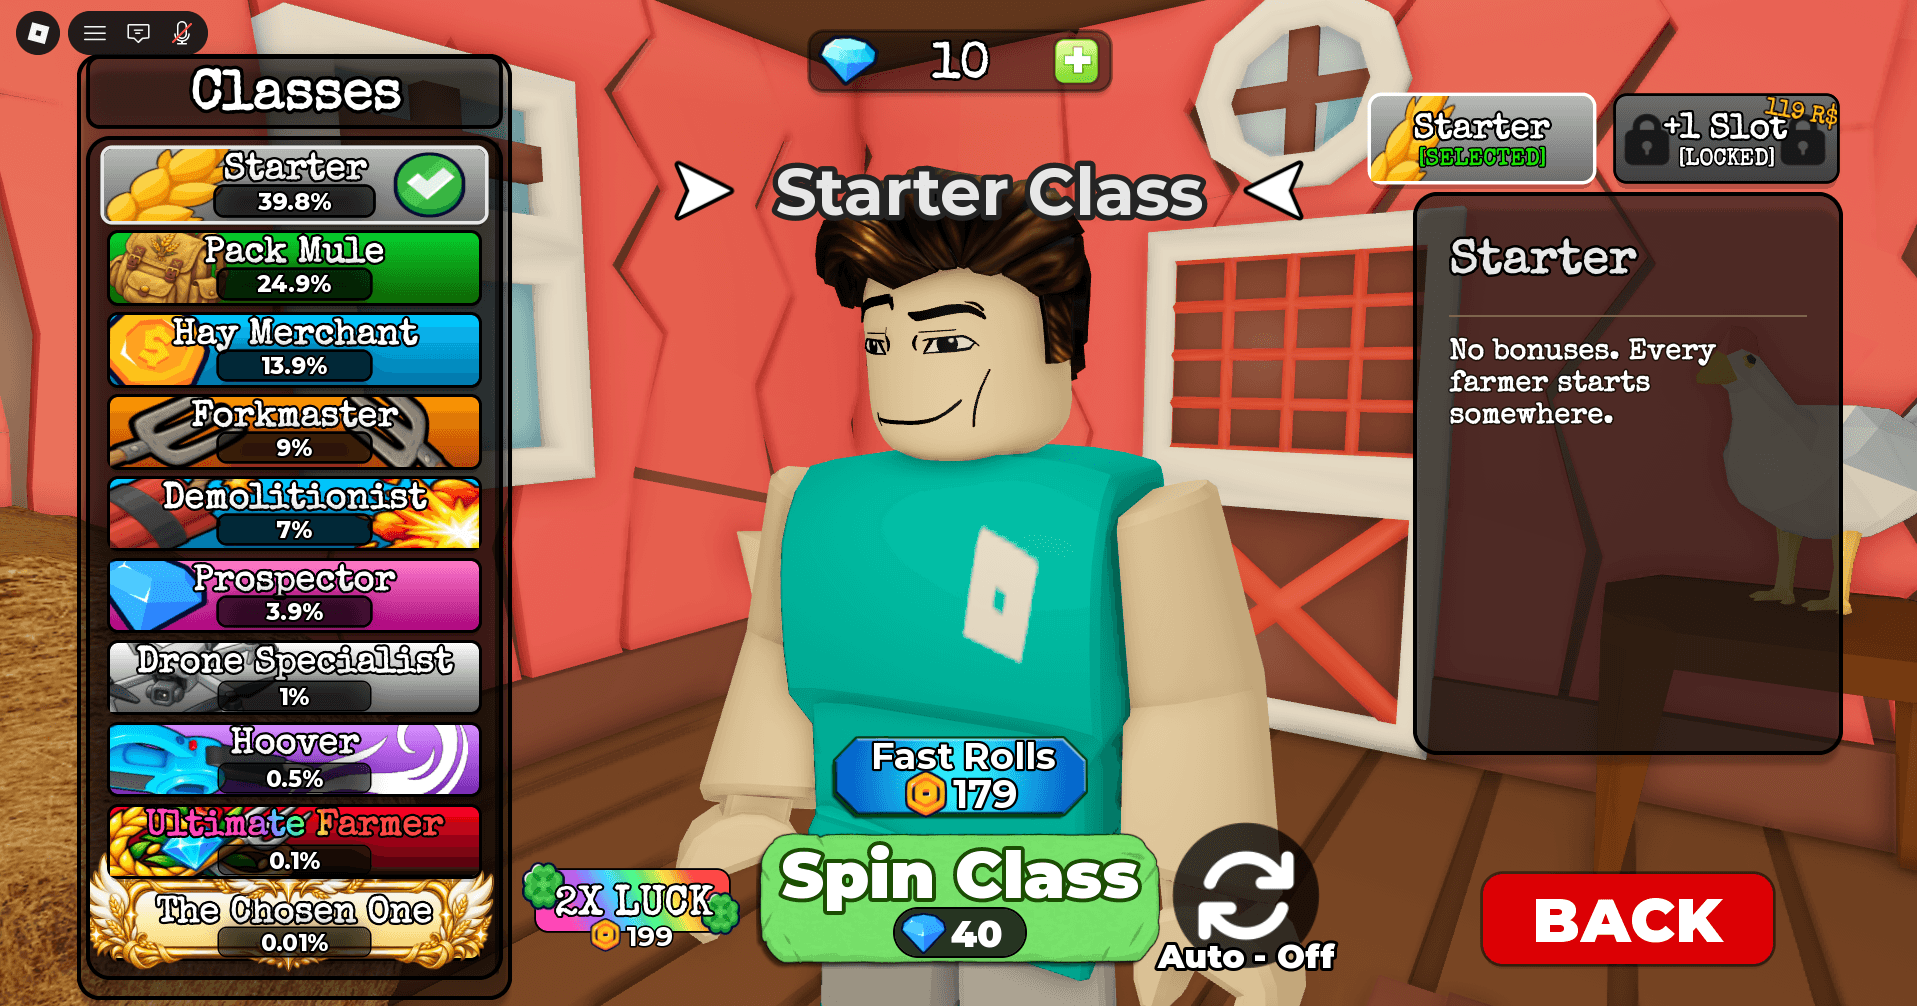
The catch is that you can't just choose a class directly. Every class is rolled through a spin system that costs 40 Gems per attempt, with drop chances ranging from a generous 40% all the way down to a brutal 0.1%. Before you burn through your Gem stockpile, here's exactly what each class does and which ones are actually worth targeting.
How do you unlock classes in Search for the Needle?
Head to the Classes shop in the lobby and select Spin Class. Each spin costs 40 Gems and assigns a class randomly based on its drop probability. Once you've rolled a class, you can re-equip it from the Classes menu any time without paying again.
Gems are free to earn. The Garage Games group reward hands out 25 Gems after meeting its requirements, and the Daily Rewards track gives Gems just for logging in. Day 1 starts at 10 Gems, and Day 8 delivers a single payout of 500 Gems. So free-to-play players can absolutely build up a spin budget, but chasing the rarest classes still takes serious patience.
Search for the Needle class tier list
The table below ranks all 8 classes from S tier to D tier. Rankings are based on how much each class improves general haystack clearing speed, tool efficiency, and overall progression. Drop chance is included for reference but doesn't influence tier placement.
S tier classes
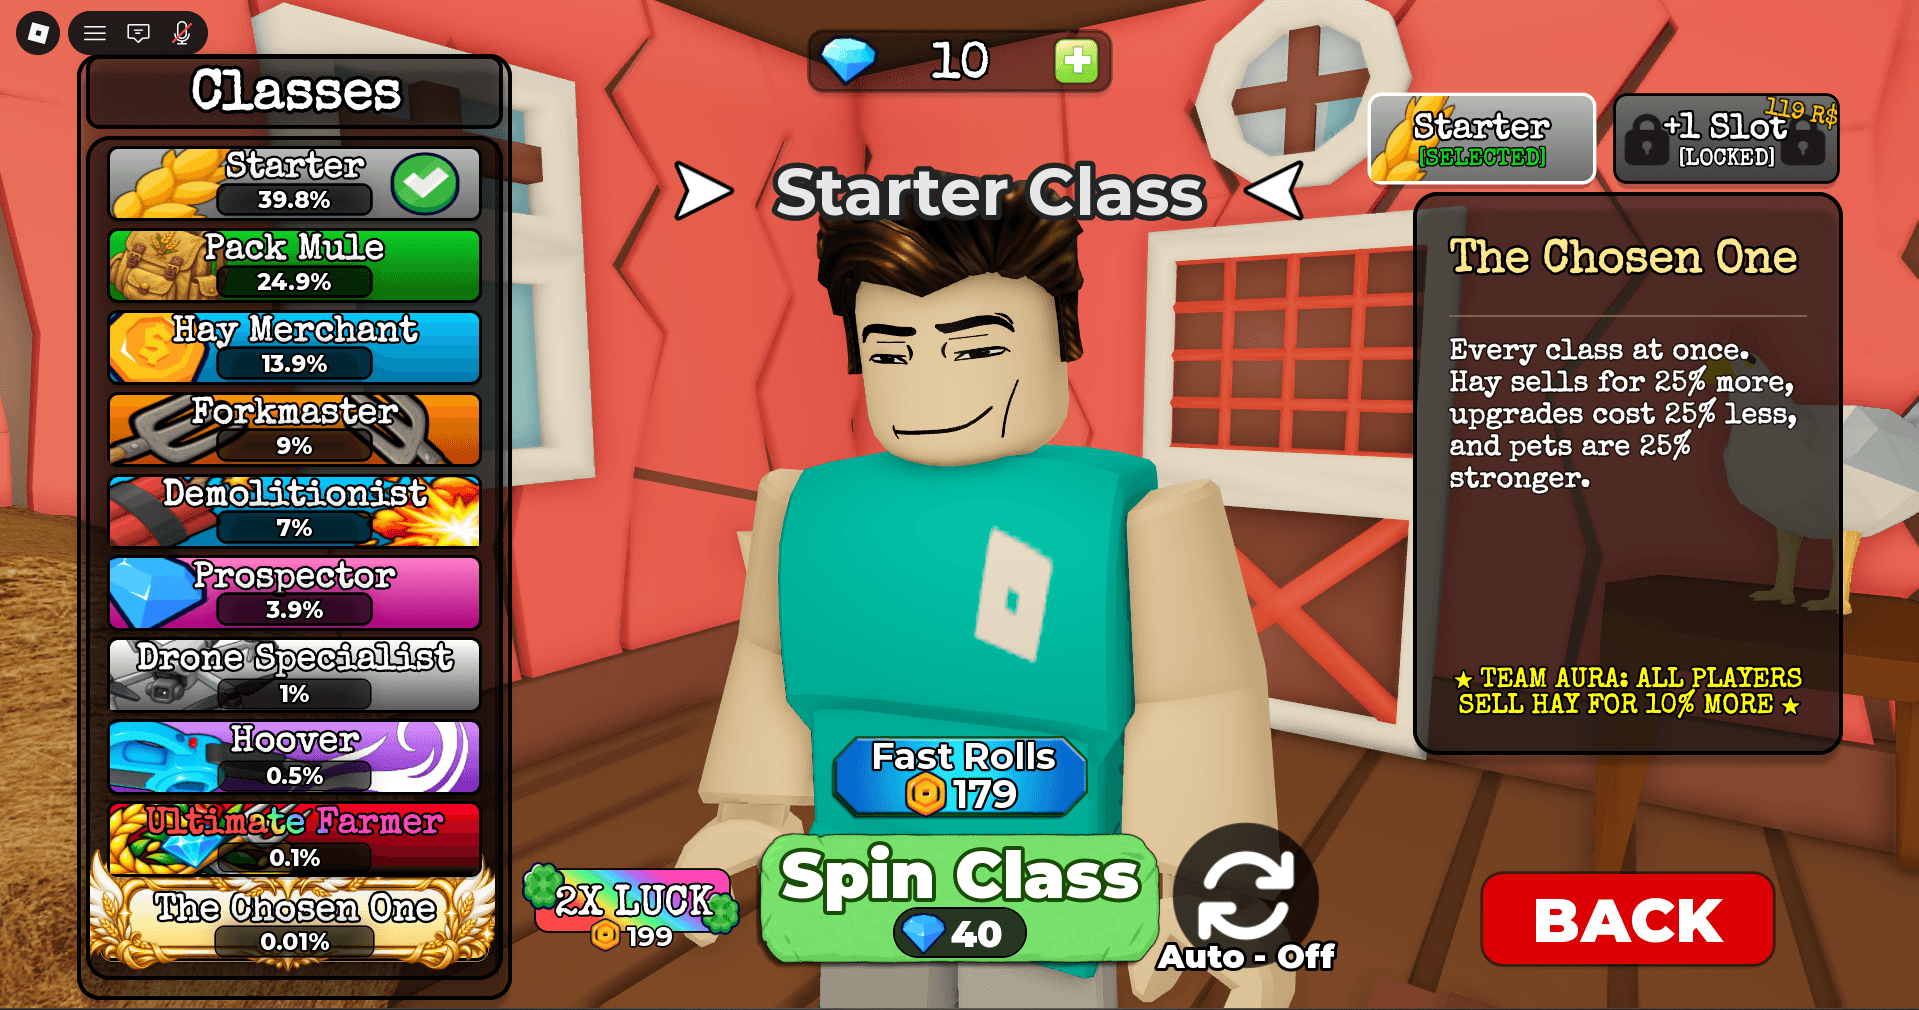
Search for the Needle Class Tier List: Every Class Ranked
The Chosen One
Drop chance: 0.1%
The Chosen One is effectively every class combined into one slot, plus extras on top. You get 25% more Cash from selling hay, 25% cheaper upgrades, a 25% boost to Pets, and a team aura that gives nearby players an extra 10% hay sell value. Every part of the farming loop gets stronger at once.
If you have the Gems and don't care about collecting individual specialist classes, this is the single best target in the game. The 0.1% drop rate makes it extremely expensive to chase, but the payoff covers everything.
Best for: Every playstyle, every tool, every stage of progression.
Ultimate Farmer
Drop chance: 0.1%
Ultimate Farmer combines the core bonuses of every specialist class and adds the Golden Harvest mechanic on top, which triggers periodically during a run for an extra resource burst. The defining strength here is flexibility: you're not locked into one tool or farming method. Pitchfork runs, Dynamite runs, automation-heavy setups, all of them benefit.
For players who want one class and never want to think about switching, Ultimate Farmer is the answer. The 0.1% drop rate is the only thing standing between you and the best general-purpose class in the game.
Best for: Endgame progression and players who want one class that works everywhere.
A tier classes
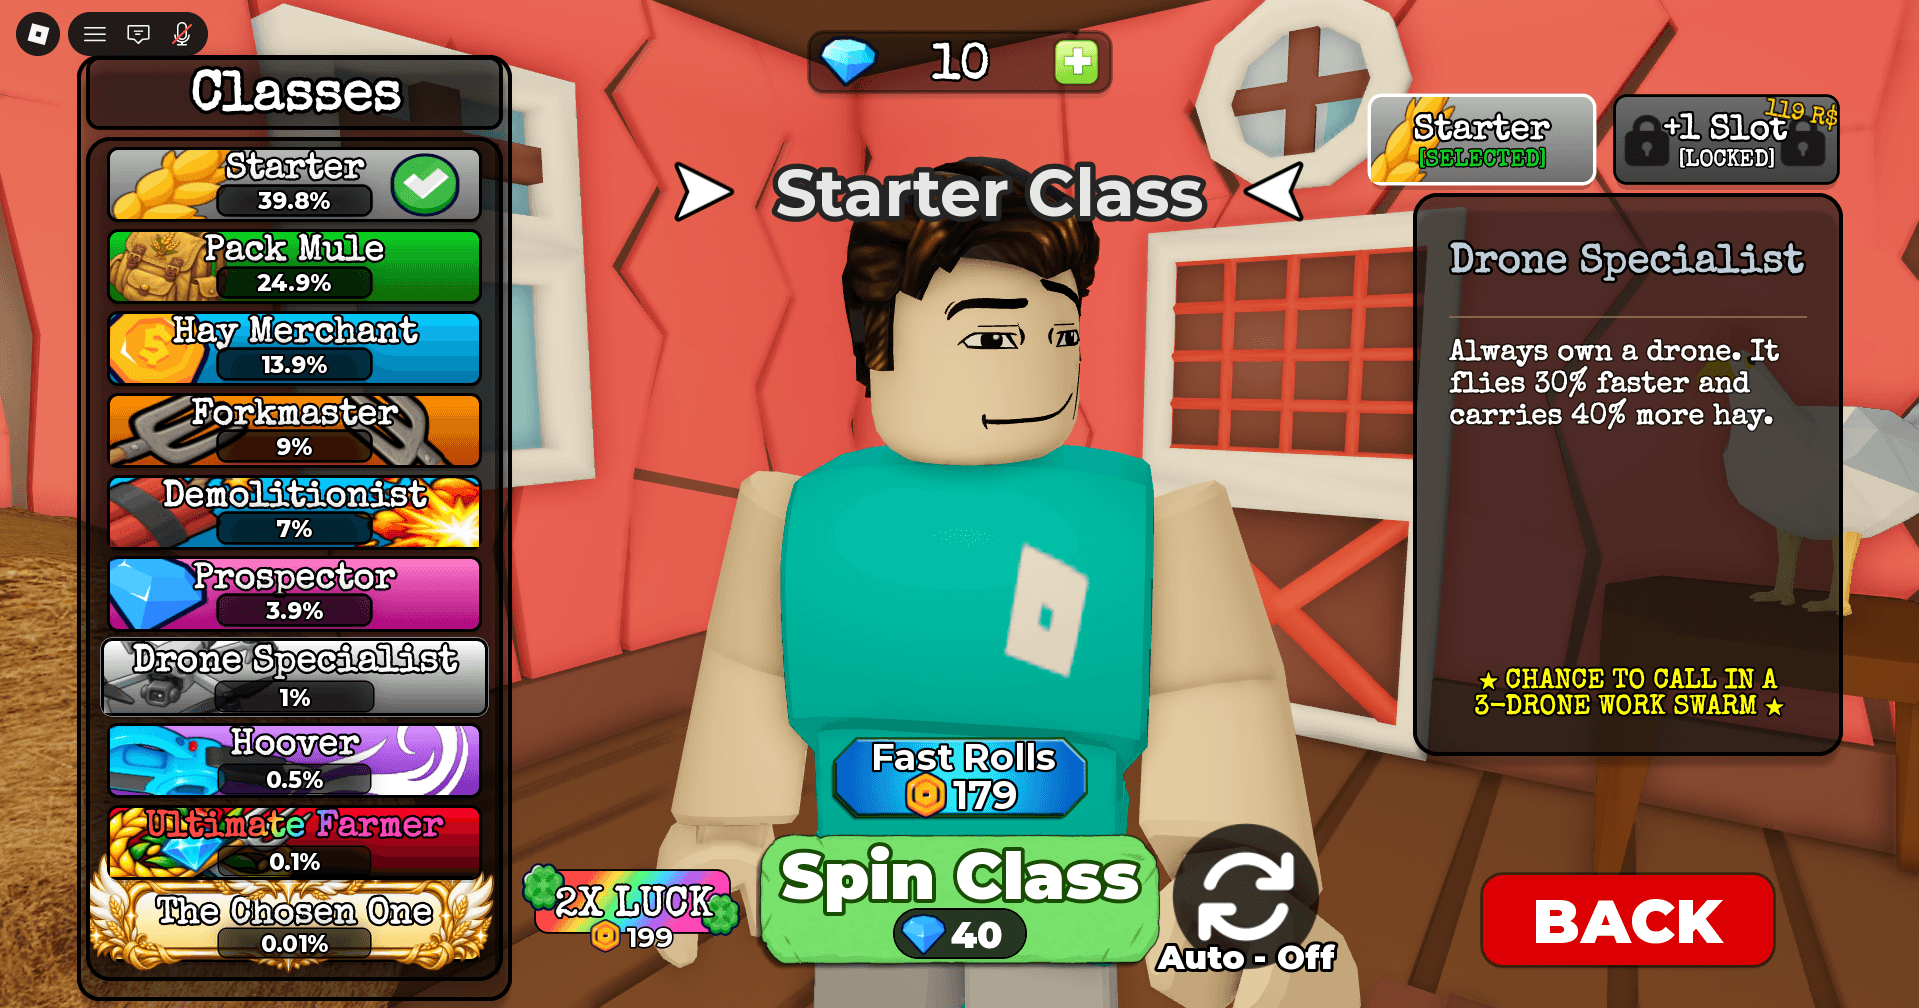
Search for the Needle Class Tier List: Every Class Ranked
Drone Specialist
Drop chance: 1%
Drone Specialist gives you a permanent Drone without needing to buy one, then makes it significantly better. The Drone flies 30% faster and carries 40% more hay, and an occasional three-Drone swarm kicks in for bursts of automated collection. During long grinding sessions, cutting down on repetitive manual trips matters more than most players expect.
At a 1% drop chance, this is one of the harder A tier classes to roll, but the automation value is real.
Best for: Players who prefer automation and extended farming sessions.
Demolitionist
Drop chance: 7%
Demolitionist boosts Dynamite's blast radius by 20% and gives each explosion a 10% chance to split into three smaller charges. Dynamite is already one of the most efficient clearing tools because blasted hay falls loose, letting you collect large amounts without immediately filling your bag. Making explosions bigger and occasionally multiplying them accelerates that process significantly.
At 7%, Demolitionist is also one of the more accessible A tier classes, which makes it a smart early target if Dynamite is part of your setup.
Best for: Players who rely on Dynamite for bulk hay clearing.
Forkmaster
Drop chance: 9%
Forkmaster increases hay collected per Pitchfork swing by 25% and cuts Pitchfork upgrade costs by 25%. That's a double benefit: you clear faster immediately while also reaching stronger Pitchfork tiers sooner. With the highest drop chance in A tier at 9%, Forkmaster is the most realistic specialist to pull early in your spin history.
Best for: Active players who have invested in Pitchfork upgrades.
B tier classes
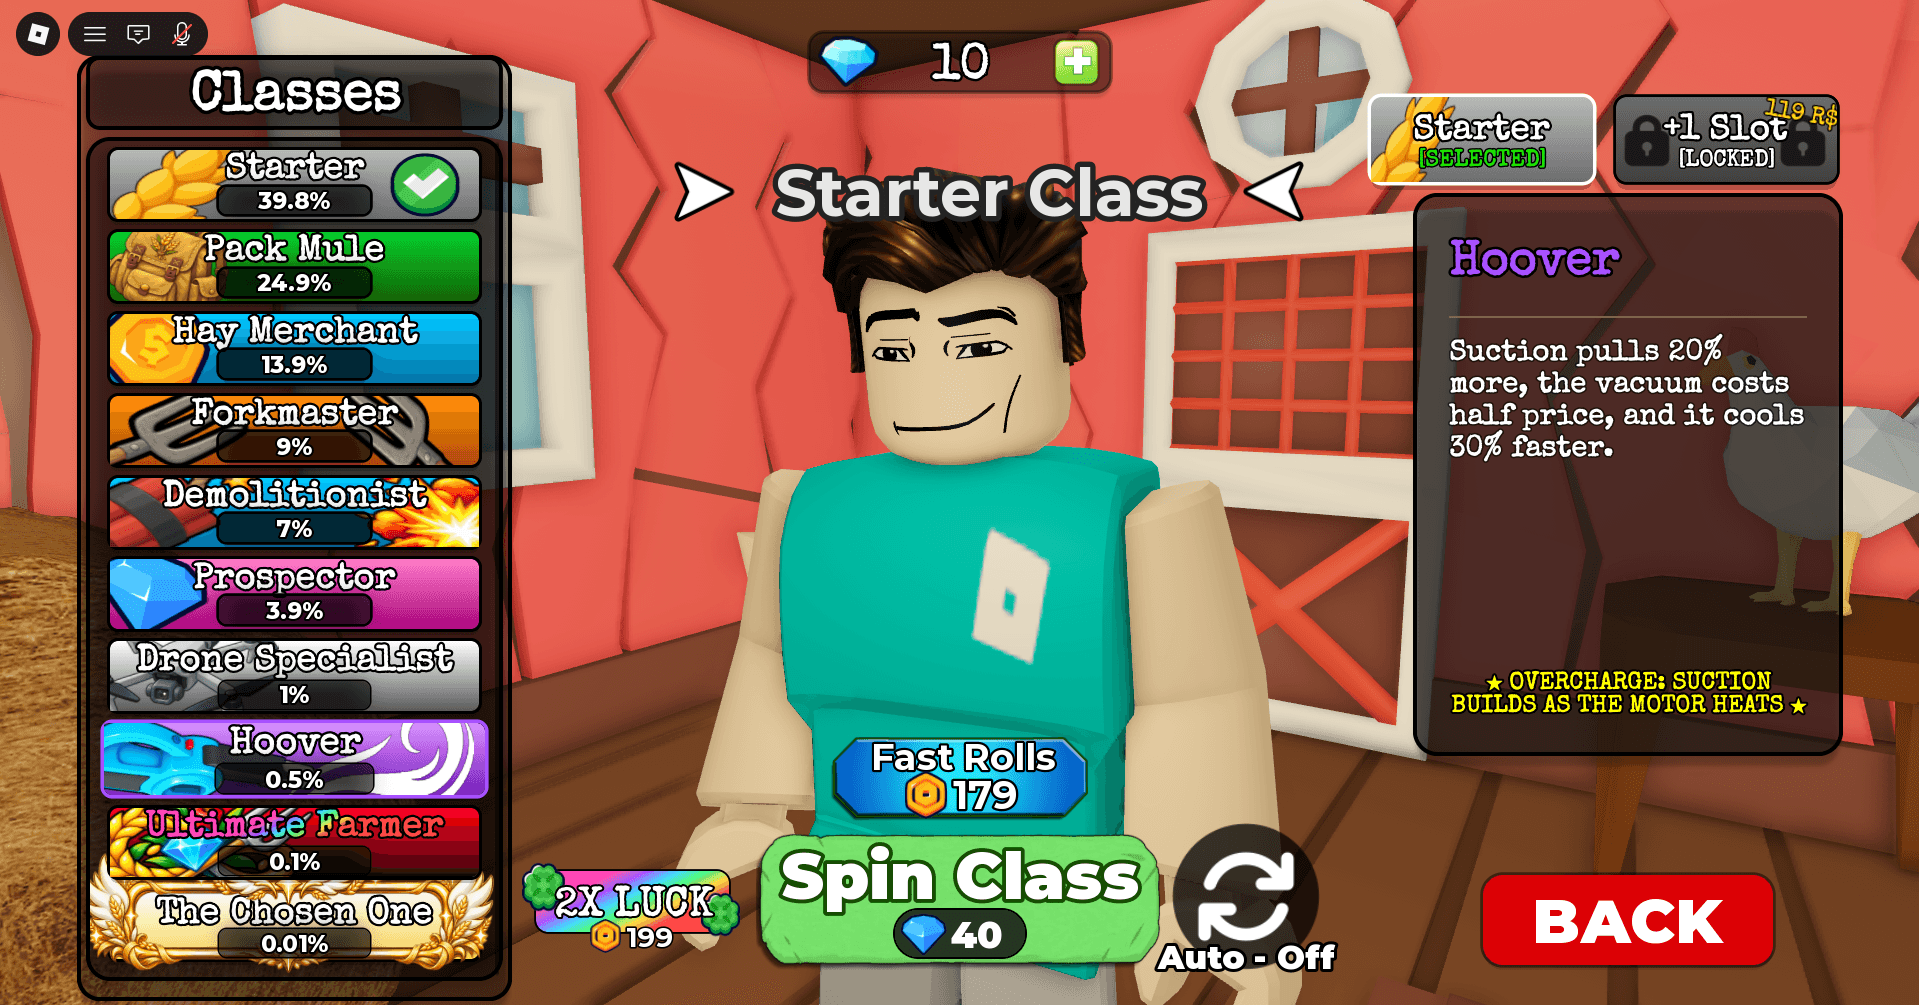
Search for the Needle Class Tier List: Every Class Ranked
Hoover
Drop chance: 0.5%
Hoover improves the Hay Vacuum, reducing its overheat rate and extending how long you can run it continuously. The Vacuum's cooldown is already manageable at a normal pace, so the upgrade is noticeable but not transformative. It's a genuine improvement for players who push the Vacuum hard, just not enough of one to compete with the A tier specialists.
The 0.5% drop rate makes Hoover harder to pull than Demolitionist or Forkmaster despite being a tier lower, which adds to the frustration of landing it.
Pack Mule
Drop chance: 25%
Pack Mule increases carrying capacity by 50%, meaning fewer trips between the haystack and the selling point. Early in a run, before powerful tools take over, that extra space saves real time. The value drops off once Dynamite and upgraded Pitchforks become the main clearing method, since raw speed matters more than bag size at that point.
At a 25% drop chance, Pack Mule is one of the easiest useful classes to unlock, making it a reasonable early upgrade over Starter.
Best for: Early and mid-game players still relying on manual collection.
Hay Merchant
Drop chance: 14%
Hay Merchant increases Cash earned from selling hay by 20%. That extra income helps you reach Dynamite, Pitchfork upgrades, and other tools faster when money is the main bottleneck. The limitation is that Cash stops being a bottleneck once you're further into a run, at which point clearing speed matters far more than sell value.
Best for: Players prioritizing early upgrade purchases.
C tier classes
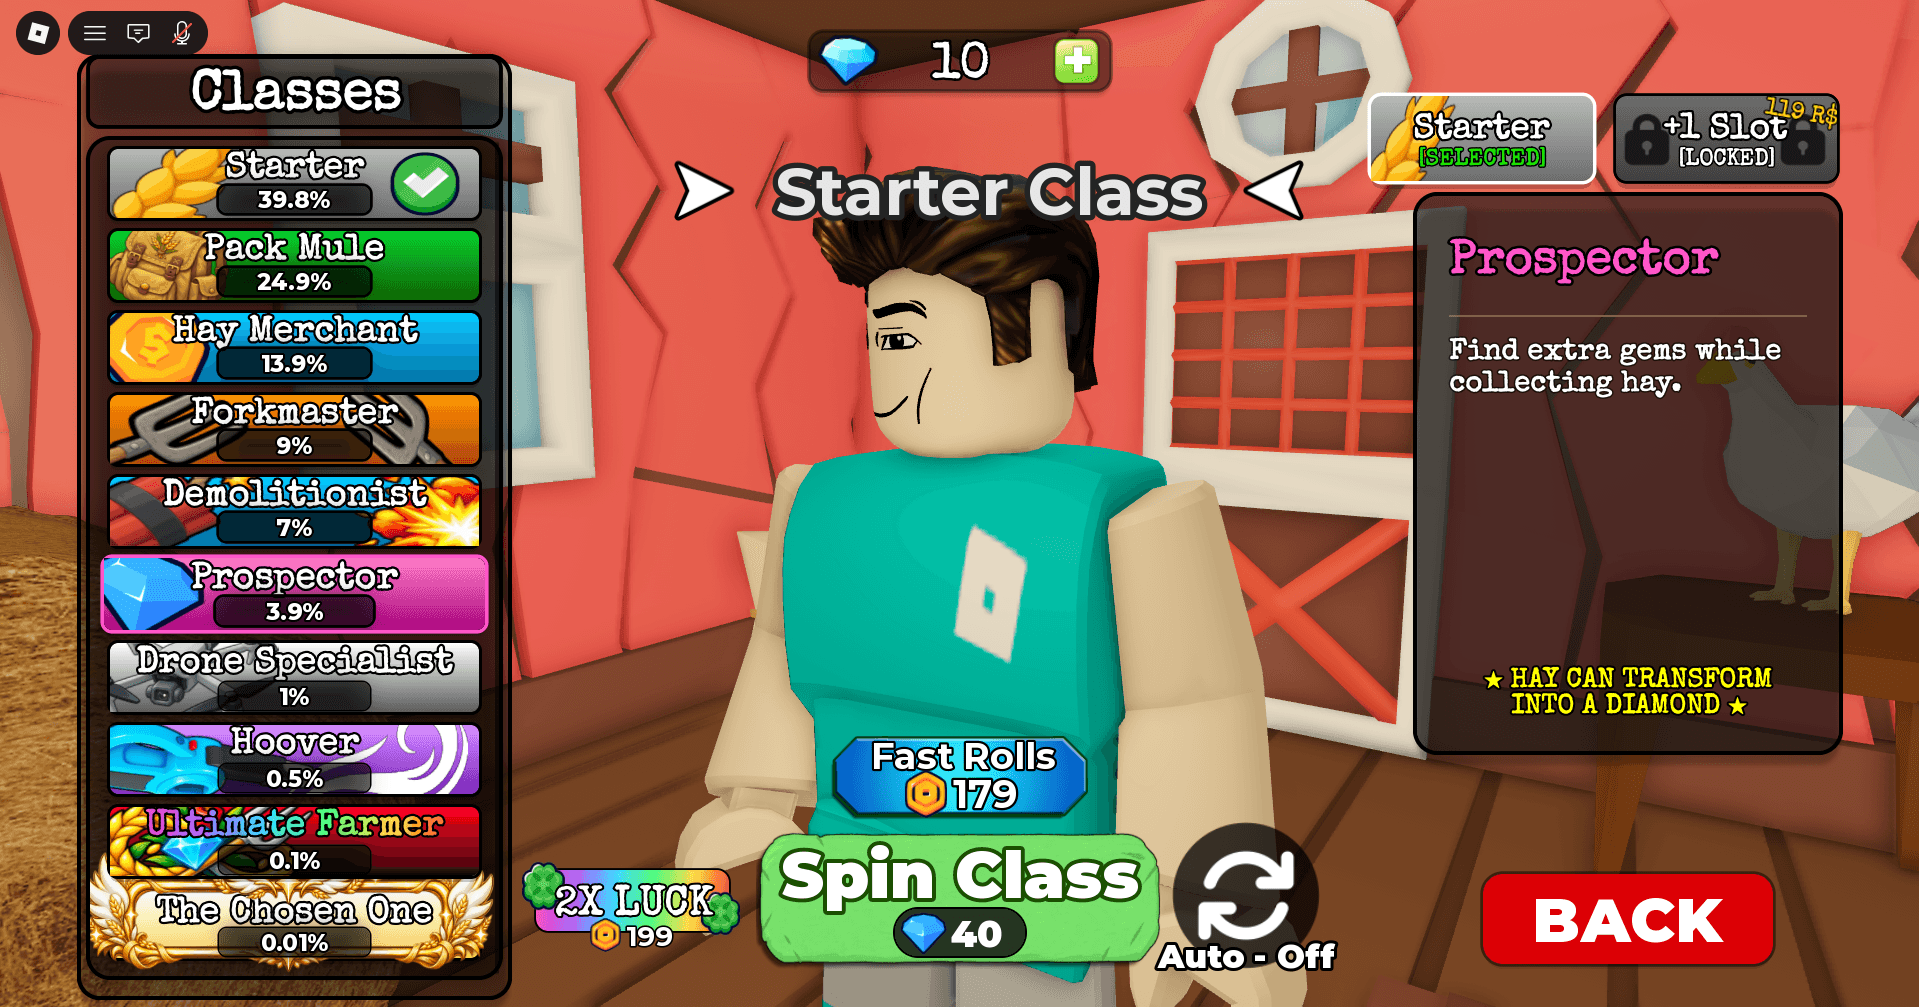
Search for the Needle Class Tier List: Every Class Ranked
Prospector
Drop chance: 3.9%
Prospector increases Diamond appearance rate by 50% and can convert hay directly into Diamonds during collection. That sounds strong until you realize Diamonds are a secondary resource and this class does nothing to speed up the actual process of removing hay. For players specifically farming Diamonds, Prospector has value. For everyone else, it's a detour from the main goal.
Best for: Diamond and resource farming only.
D tier classes
Search for the Needle Class Tier List: Every Class Ranked
Starter
Drop chance: 40%
Starter is the default class and provides zero bonuses. It's fine when you're learning the game for the first time, but spending Gems on a spin and landing Starter is the worst possible outcome. Almost every other class offers at least one useful passive. Replace it as soon as you can.
How many Gems does it cost to get Ultimate Farmer?
At a 0.1% drop rate (0.001 probability), the expected number of spins to roll Ultimate Farmer is 1 / 0.001 = 1,000 spins. At 40 Gems per spin, that's an average theoretical cost of 40,000 Gems.
That number doesn't guarantee anything. Without a pity system, every spin is independent. After exactly 1,000 spins, your probability of having rolled Ultimate Farmer at least once is only about 63.2%. You could pull it on spin 12 or still be waiting at spin 2,000.
For comparison, Starter's 40% drop chance works out to an average of 2.5 spins, or roughly 100 Gems. The gap between the easiest and hardest classes is enormous.
The practical takeaway: treat the 0.1% classes as long-term jackpots. Classes like Forkmaster, Demolitionist, Pack Mule, and Hay Merchant are all reachable within a reasonable Gem budget and provide real progression boosts. Roll for those first, and let the S tier classes come naturally over time.
Should you spend Gems on class spins?
Yes, but with discipline. Rolling until you land a class that matches your tool setup is absolutely worth the Gem investment. Pack Mule and Hay Merchant are easy wins over Starter, while Forkmaster and Demolitionist can slot directly into builds that already use those tools.
What's harder to justify is dumping your entire Gem balance into hunting Ultimate Farmer or The Chosen One. Both are genuinely the best classes in the game, but an average cost of 40,000 Gems with no guarantee is a significant commitment. Earn Gems through Daily Rewards and group bonuses, roll steadily, and upgrade your specialist options along the way.
Class stats and drop rates can shift with future updates, so check the in-game Classes menu before committing to a major spin session. For more Roblox tier lists covering everything from stands to tower units, the Roblox guides collection has you covered. If you enjoy class-based progression systems, the A Universal Time tier list breaks down every Stand in AUT by power level, and the Cursed Gear techniques tier list ranks every unlockable technique from S tier to C tier.