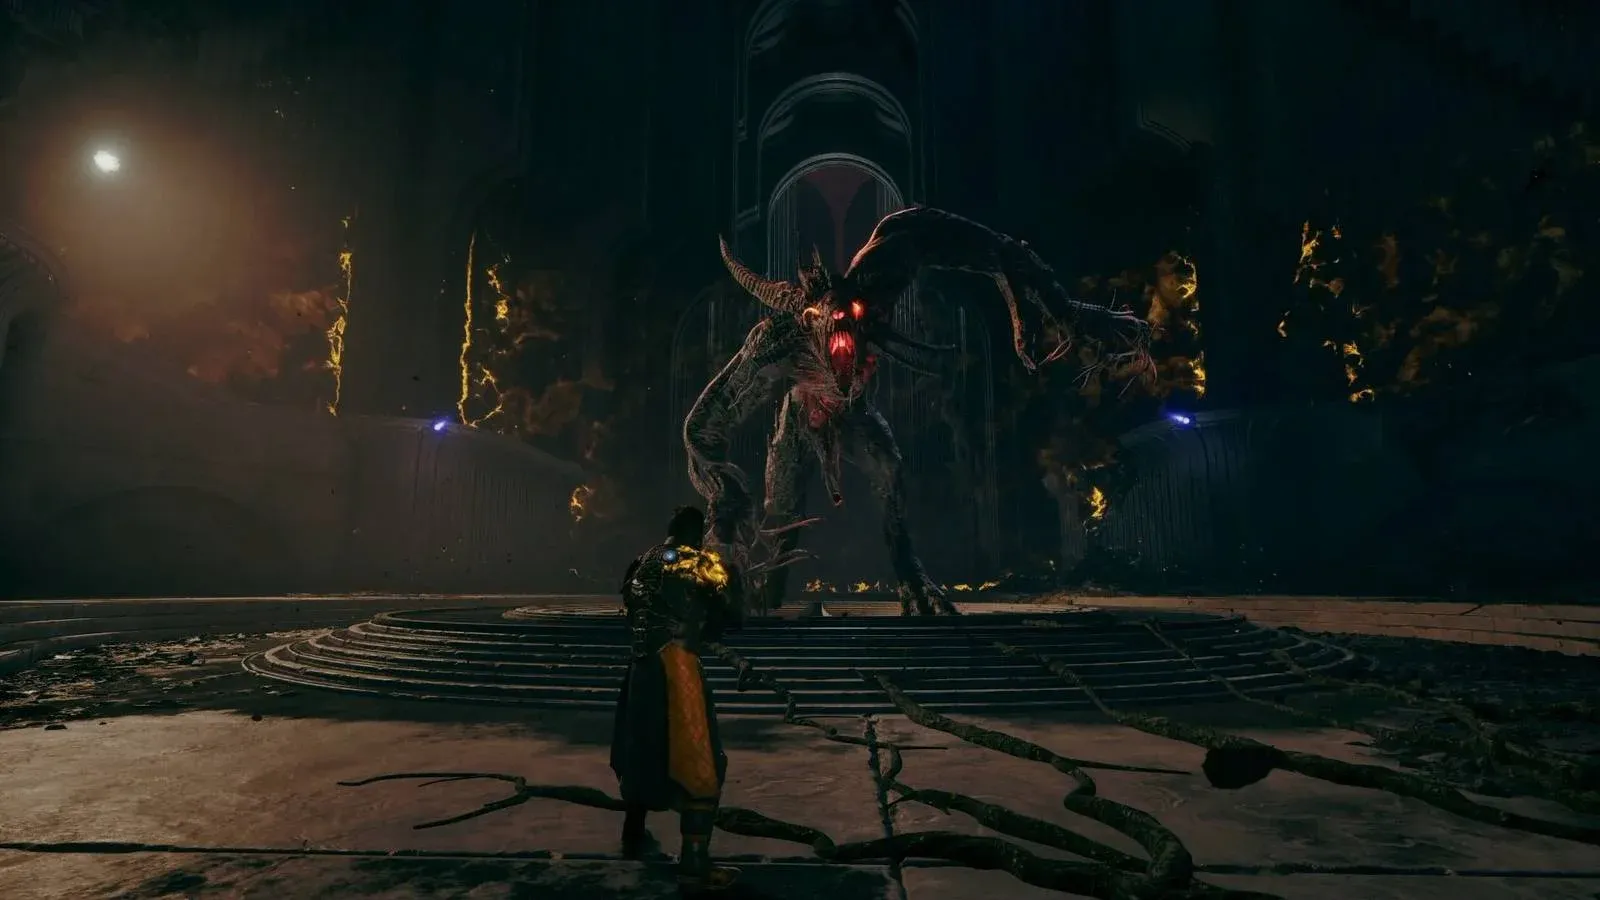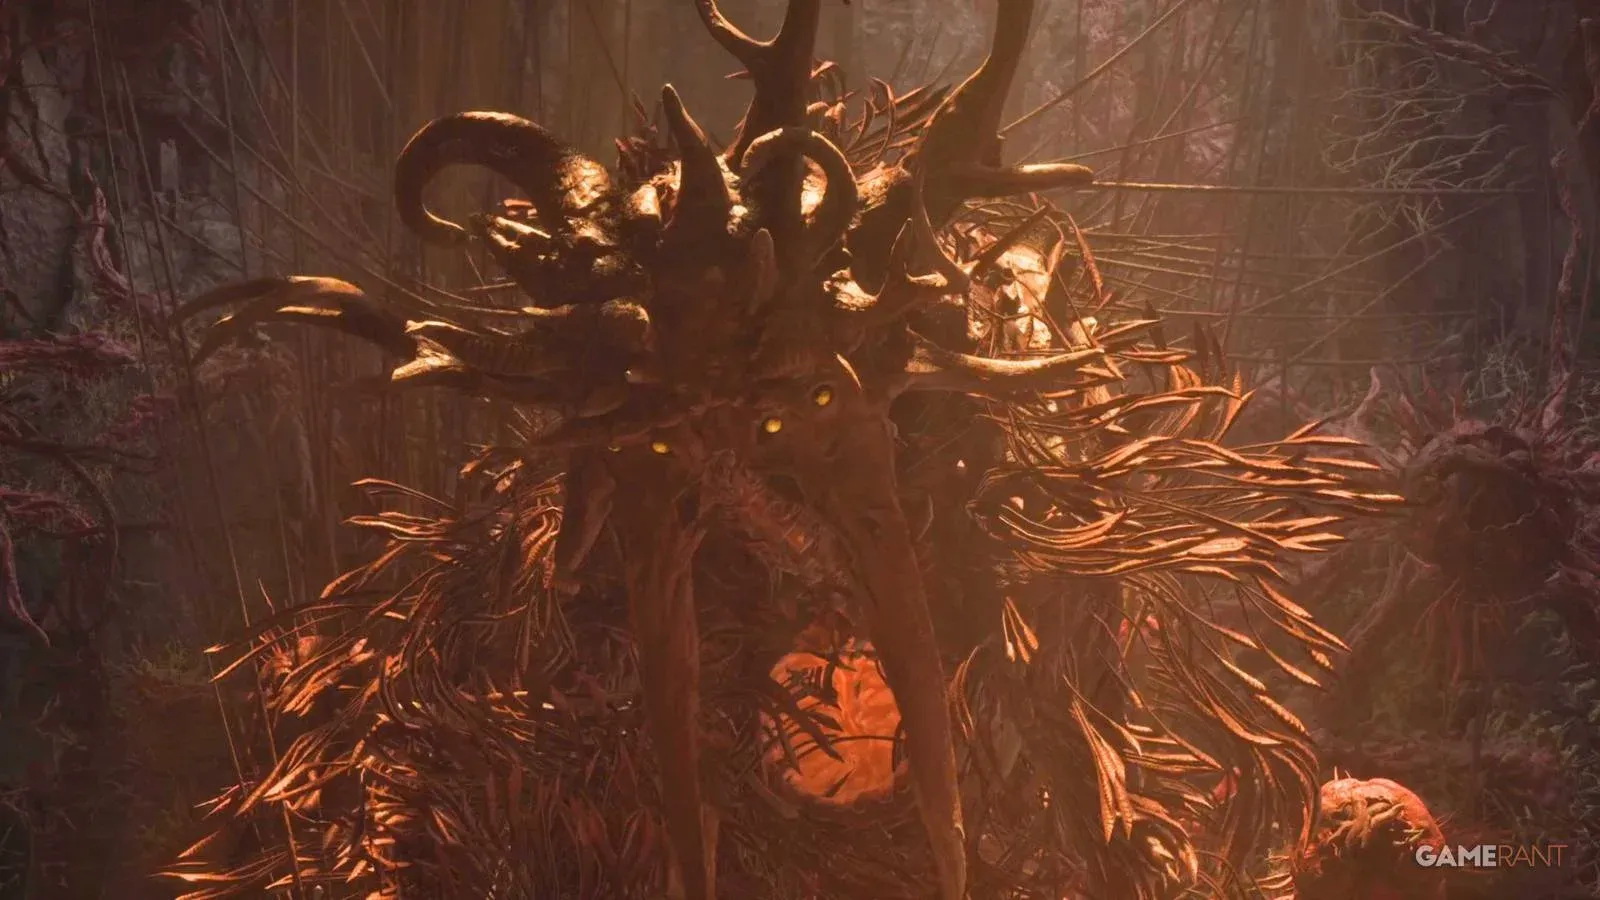

Rhabdom is the third boss in Saros and the first one that actually moves. Every boss before this point was essentially a stationary target. Rhabdom sprints, leaps, vomits projectiles, and will chase you down if you stand still for too long. The fight takes place at the end of the Colony section in Shattered Descent, and it demands a completely different approach than anything you've handled so far. Here's exactly how to prepare, what each attack looks like, and how to survive the second half when things get significantly worse.
How to prepare before entering the Colony

Which modifiers should you pick?
Before heading into Shattered Descent, the combination of Damage Enhancement II protection and the Artifact Destruction trial modifier is the strongest setup for this fight. The Artifact Destruction trial gives you a free +2 modifier if you're already planning to return to Passage after each run, and Damage Enhancement II effectively boosts your damage output at no real cost.
The Armor Matrix doesn't have any mandatory upgrades for this specific fight, but grabbing the attribute enhancement, restoration upgrade, and weapon proficiency nodes is always worth doing before any boss encounter.
What weapon should you bring?
Rhabdom moves constantly, which means you'll rarely have a clean stationary shot. A shotgun is a poor choice here since you need to stay at distance. The right call is a weapon with autohit, which lets you land shots even while sprinting and repositioning. Certain Handcannons fit this role well.
For weapon level, aim for 30 if possible. Anything above 25 is workable. The reason you don't need to stress too much about raw damage is Overdrive, which you unlock during this level and which removes a massive chunk of Rhabdom's health in a single use. Charge it up by dealing damage to enemies before you reach the boss room.
| Weapon Type | Recommended? | Reason |
|---|---|---|
| Autohit Handcannon | Yes | Lands shots while moving |
| Shotgun | No | Requires close range, boss is mobile |
| High-level weapon (25+) | Yes | Overdrive covers damage gap |
How does the Rhabdom arena work?
The fight happens in an oval-shaped arena with two distinct levels. The lower level is flat with a few short staircases. The upper level runs along the edge and connects to four grapple points, one in each corner. You can reach the upper level using your Grapple skill at any of those four points.
Small aether orbs sit in each corner of the arena. If your health gets low, grabbing one of these is a priority. Zipping to the second floor also gives you access to health-restoring aether, so the upper level serves double duty as both an escape route and a recovery zone.
Rhabdom has a single health bar rather than multiple phases, which is different from the previous two bosses. That doesn't make the fight easier overall, just differently structured.
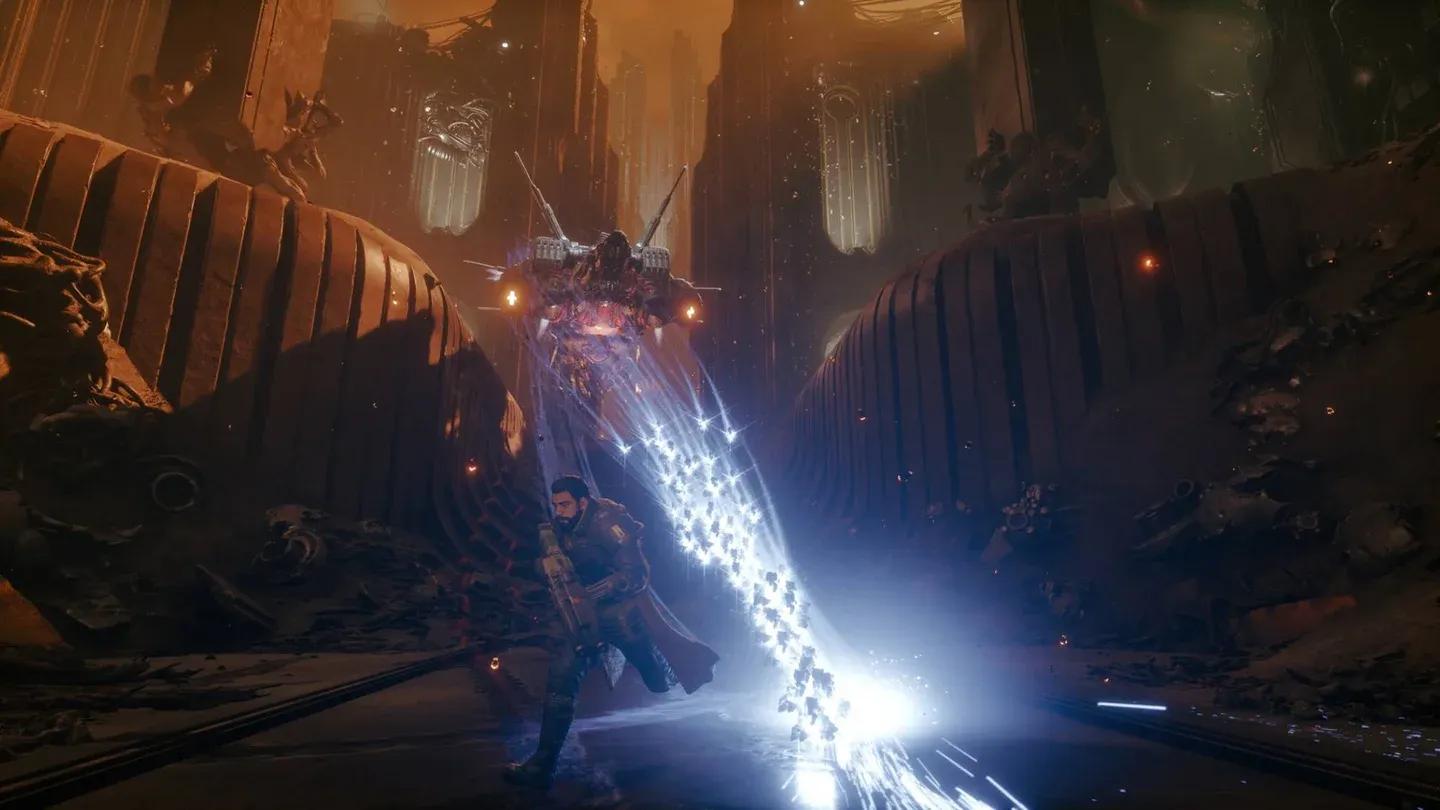
Grapple to the upper level
What attacks does Rhabdom use in the first half?
At the start of the fight, Rhabdom has four attacks to track. None of them are subtle.
Yellow slashes: Rhabdom shrieks and then slashes five times in your direction. Each slash sends out a yellow projectile, and the final swipe fires three at once. Dodge or run sideways to avoid them. The staircases on the lower level and the upper platforms can block some of the projectiles, so use the terrain.
Yellow rings and stomp: Rhabdom stomps, sending out expanding yellow rings at multiple heights. The rings leave yellow orbs in the center, so jumping over them isn't safe. The correct response is to grapple up to the higher platform immediately. The orbs linger on the ground before slowly rising, so watch your footing if you stay below.
Homing blue projectiles: A blue light flashes near Rhabdom's head, then a blue orb splits into multiple homing shots that track you. Dodge sideways or use your shield. This attack tends to happen right after the stomp, so be ready for it as a follow-up.
Leap: Rhabdom jumps toward you three times in a row. Each landing sends red orbs outward in a burst, and the third landing produces a significantly larger burst than the first two. A good counter is to run along the lower floor and grapple to a high ledge just before that third landing. Dodge away while Rhabdom is still in the air to clear the landing zone and the red orbs.
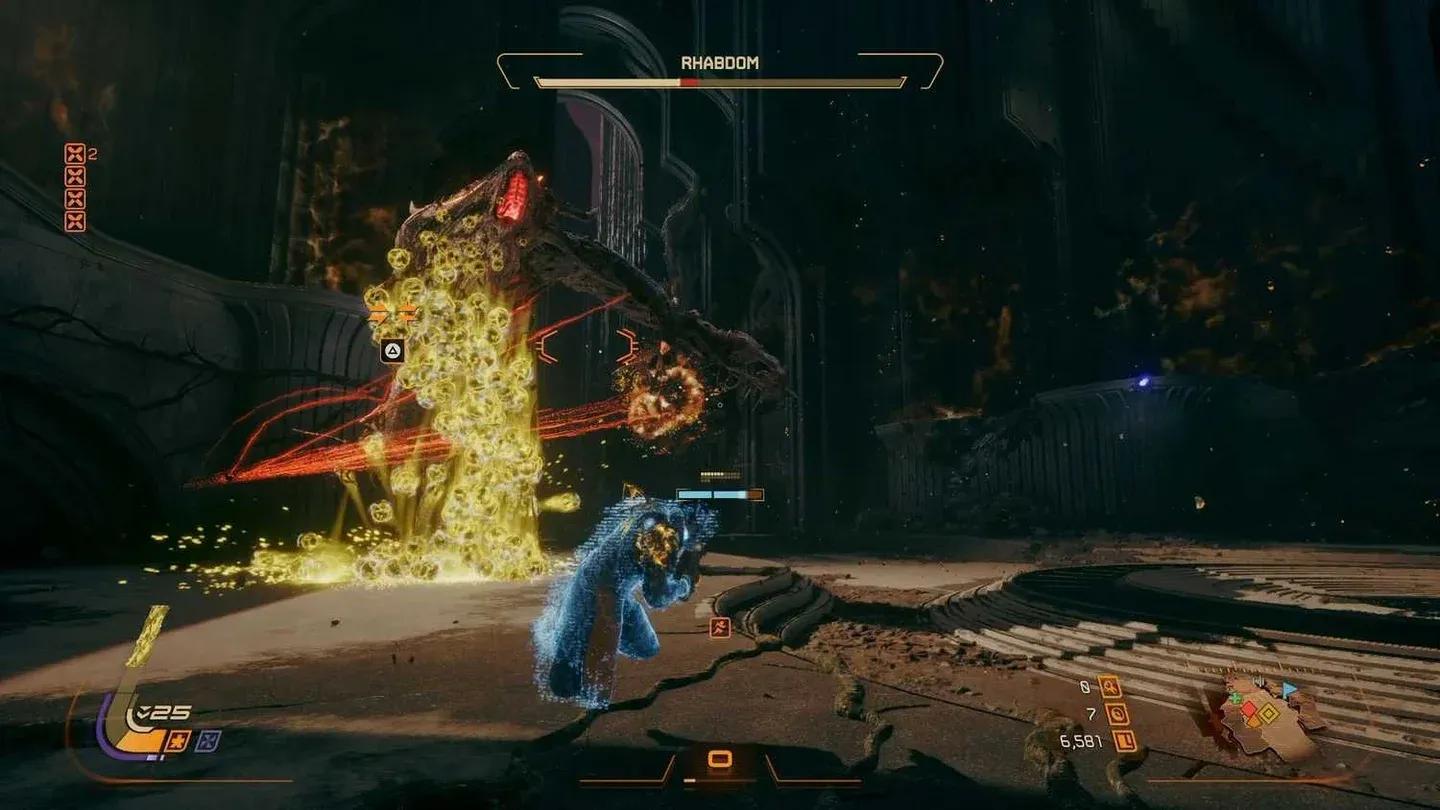
Stomp rings with ground orbs
What changes at half health?
Once Rhabdom drops to 50% health, two new attacks replace and supplement the existing ones.
Homing yellow projectiles: The blue homing shots are replaced with yellow ones. The dodge timing is the same, just sideways as they approach, but yellow projectiles are harder to read quickly.
Yellow vomit chase: Rhabdom locks onto you and sprays a constant stream of yellow shots from its mouth while chasing you at high speed. This is the most dangerous move in the fight. Rhabdom only does this on the lower level, so the answer is straightforward: grapple up to a platform immediately. Zipping between high platforms and running large circles around the room until the attack ends is the safest approach.
All four original attacks continue after the halfway point. Nothing gets removed, only added.
What's the best strategy for the full fight?
The core movement pattern that works throughout the entire fight is circular movement on the lower level with Grapple escapes when the boss closes in. Keep circling, stay at range, and use your power weapon on cooldown.
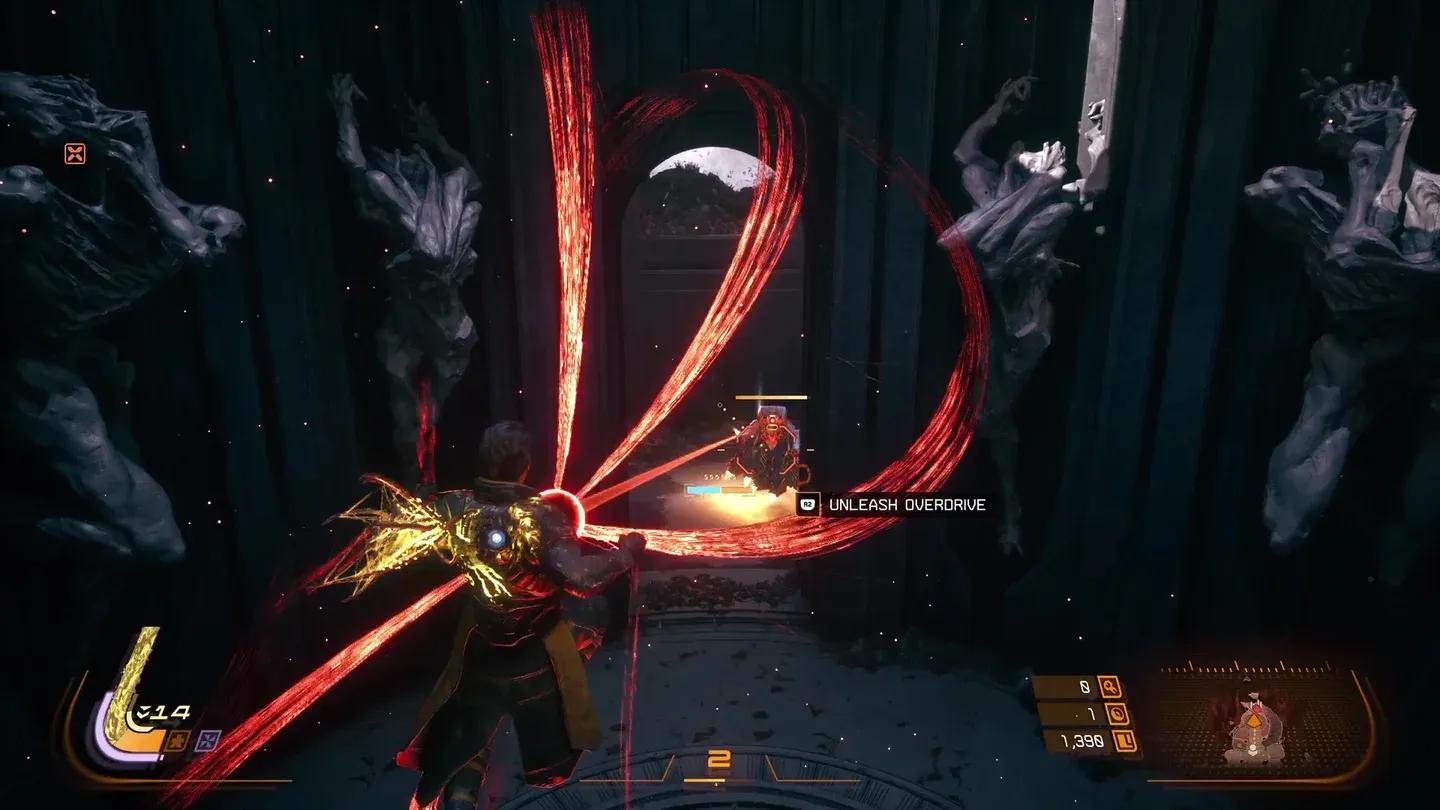
Overdrive activation timing
Here's the priority list:
- Keep moving in a large circle around the arena floor
- Use your Grapple to reach the upper level whenever Rhabdom gets close or starts the stomp sequence
- Pick up aether orbs from the corners if your health drops
- Fire your power weapon whenever it's available
- Use Overdrive as soon as it's fully charged; it removes a large portion of Rhabdom's health and is the single biggest damage tool in the fight
- During the yellow vomit chase, grapple up and stay on the platforms until it ends
After defeating Rhabdom, you can collect approximately 950 Lucenite from the ground, provided you aren't running extra difficulty modifiers.
For more Saros content and other game guides, browse more guides at GAMES.GG.