

Why your inventory is the first thing to fix in Silver Pines
Resources in Silver Pines are scarce by design. Wych Elm's survival horror Metroidvania gives you a handful of inventory slots and then throws ammo, healing herbs, puzzle items, and melee weapons at you constantly. Running out of space mid-exploration isn't just annoying, it can force you to abandon a healing item before a boss or leave a key tool behind. The 9 inventory upgrade pouches scattered across the game fix that problem permanently, one slot at a time. This guide covers every single one in the order you'll naturally encounter them.
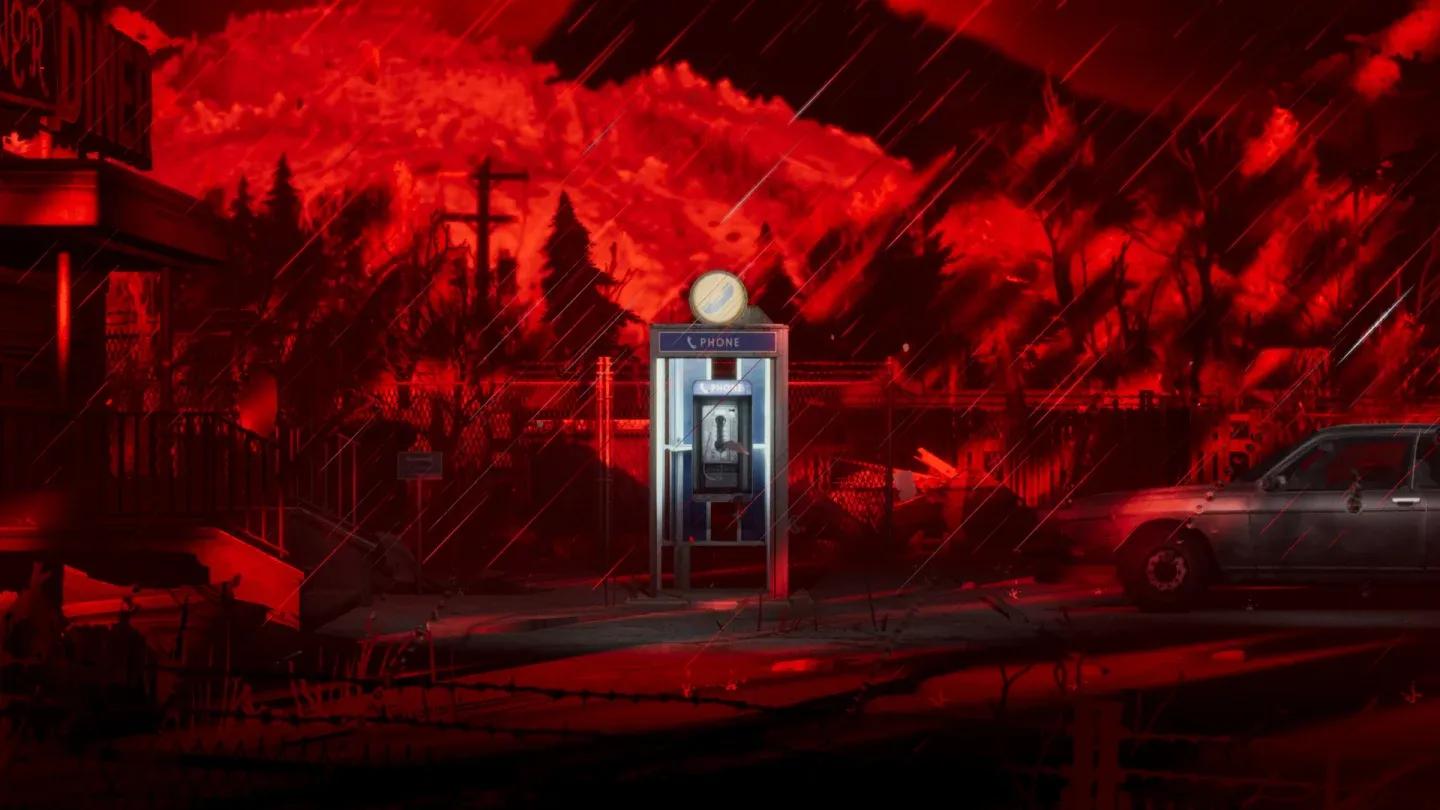
Pouch pickup expands your slots

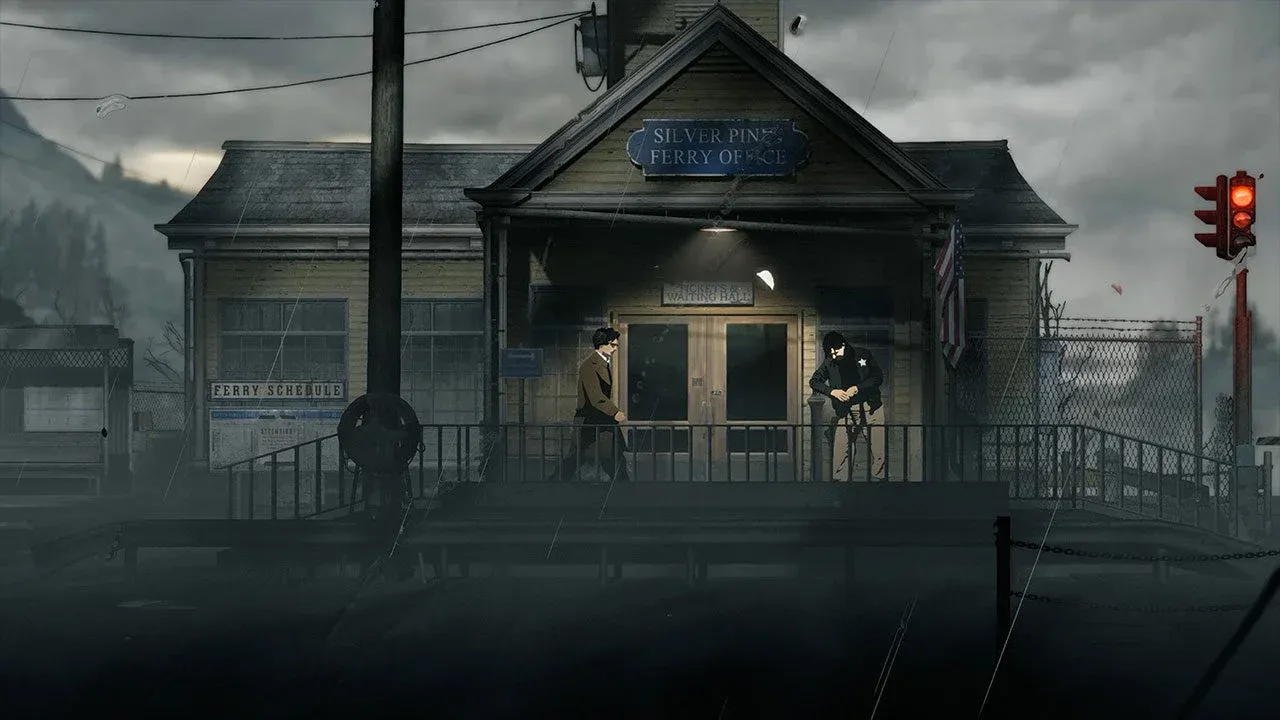
What are inventory upgrade pouches and why do they matter?
Each pouch permanently adds slots to your carrying capacity. You cannot buy them, craft them, or find substitutes. Miss one and you're running a tighter inventory than you need to for the rest of the game. All 9 are hidden across the map, most behind environmental obstacles that require slashing curtains, shooting grates, or reaching elevated areas through platforming sequences.
The table below shows every pouch, its location, and what you need to access it.
| Pouch | Location | Access Requirement |
|---|---|---|
| 1 | Motel, shed roof near Room 5 | Basic platforming |
| 2 | Arcade beer crate outside Motel | Requires gun |
| 3 | Ferry Station, left of the cat | Slash curtain |
| 4 | Riverside gas station bathroom | Find bathroom key first |
| 5 | Union Building, 4th floor stairwell | Reach 4th floor |
| 6 | Town Hall basement | Crouch under blockage |
| 7 | Caravan, northwest Downtown | Post-cable car access |
| 8 | Mountain arrival area | Precise ledge drop |
| 9 | Thelend Broadcasting Station | Shoot vent, traverse rafters |
All 9 pouch locations, step by step
Pouch 1: Motel shed roof
Head upstairs at the Motel and position yourself outside room 5. From there, jump left onto the shed roof. Work your way across the roof until you can drop down, then continue moving left. The first pouch is waiting at the end of that path.
Pouch 2: Arcade beer crate
You need a gun for this one, so come back once you have one. Return to the arcade area outside the Motel, go right, and shoot the padlock off. Look up and shoot the grate above you, then climb through. The second pouch sits inside a beer crate in that hidden space.
Pouch 3: Ferry Station curtain room
After defeating the first boss in the tunnel, make your way to the Ferry Station. Once inside, you'll spot the cat. Turn left and slash through the curtain blocking the side room. The third pouch is inside.
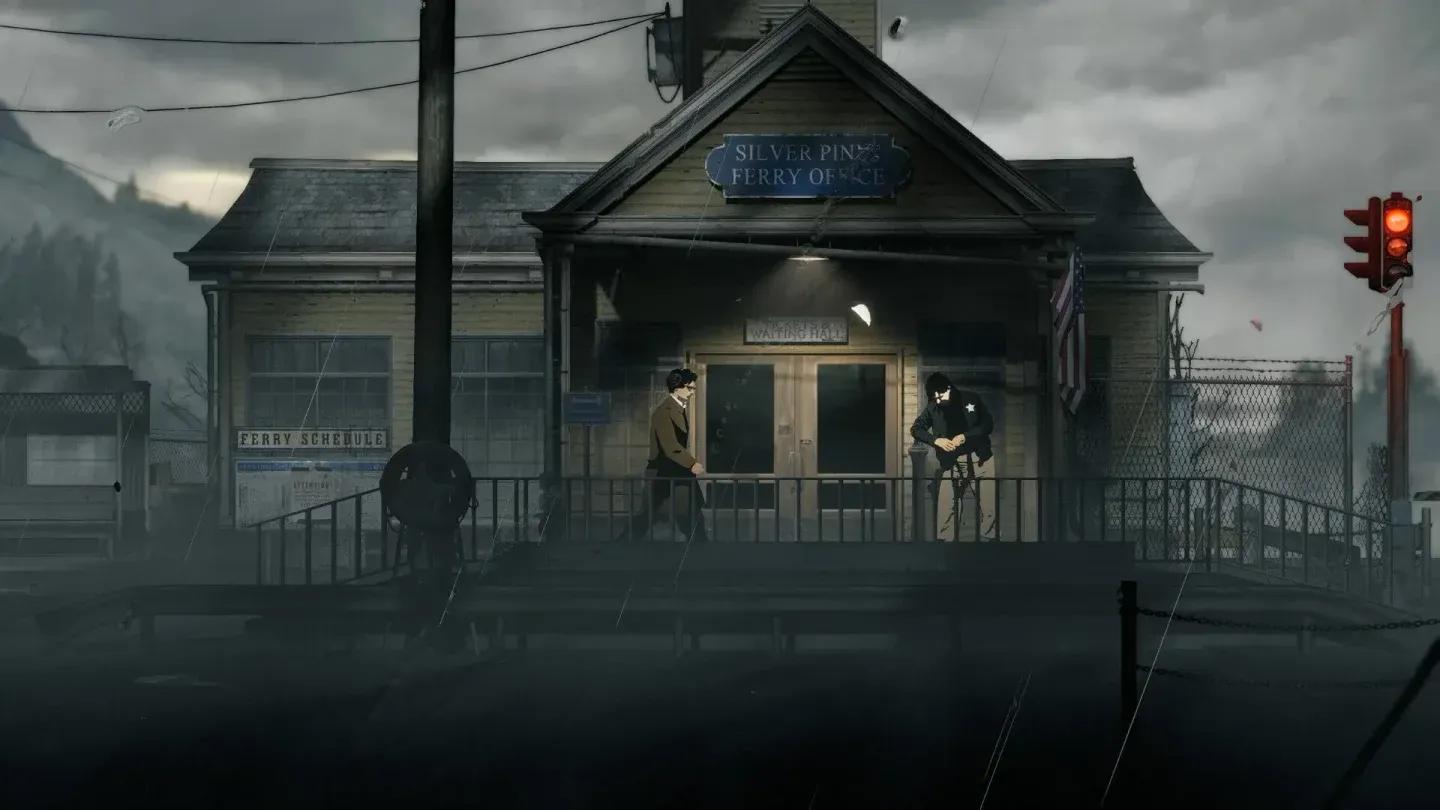
Slash the curtain to find it
Pouch 4: Riverside gas station bathroom
When you arrive at the Riverside area, you'll pick up the torch at the gas station. Before speaking to the unnamed woman there, find the bathroom key inside the same building. Exit the garage, head into the toilets, and slash the curtain inside. Pouch 4 is behind it.
Pouch 5: Union Building stairwell
Once you reach the fourth floor of the Union Building, head to the stairwell. Look down and to the right. You've probably spotted this pouch hanging there on an earlier visit and couldn't reach it. From the fourth floor, you finally can.
Pouch 6: Town Hall basement
In the basement of the Town Hall, move past the furnace toward the right side of the room. There's a low blockage that looks like a dead end. Crouch and push through underneath it, then go through the door on the other side. Pouch 6 is just inside.
Pouch 7: Digger's caravan, northwest Downtown
There's a man digging a hole in the northwest corner of Downtown Silver Pines. You'll pass him multiple times throughout the game but can't interact with his caravan while he's there. Once you've taken the cable car to the top of the mountain and can ride it back down, return to his spot. The hole will be fully dug and the man will be gone. Step inside the caravan and you'll see pouch 7 hanging up. Pick up his shovel on the right side of the caravan while you're there.

Caravan pouch, post-cable car
Pouch 8: Mountain arrival area ledge drop
Stock up on healing items before attempting this one. Right after taking the cable car up to the mountain, the arrival area has two sections of floor that collapse. At the first gap, go to the right side and drop down. The moment you drop, hold up immediately to grab the second ledge below rather than falling all the way. From that ledge, jump left across two gaps to reach pouch 8.
Pouch 9: Thelend Broadcasting Station rafters
The final pouch is inside the Thelend Broadcasting Station. Progress through the building until you reach the Stage area. In the room to the left of the Stage, look up and to the right for a vent. Shoot it out and climb up. From there, jump across the rafters to reach the ninth and final inventory upgrade.
Common mistakes players make
The pouch in the digger's caravan (number 7) is the one most players miss on a first run. There's no in-game prompt telling you the caravan is now accessible, and if you're pushing forward through the mountain section you might not think to backtrack to Downtown. Mark it on your mental checklist as soon as the cable car becomes operational.
Pouch 8 is the most likely to cost you health if you rush it. The ledge grab timing is tight and the fall damage from missing it adds up. Slow down and make sure you're holding up the instant you clear the drop.
For everything else in the game beyond inventory management, the full Silver Pines guides collection covers puzzles, weapons, achievements, and more. If you're curious about the story side of things, the breakdown of Eddie Velvet and the Crimson Bear Motel separates confirmed facts from community theory without spoiling more than necessary.
Silver Pines sits comfortably among the better adventure games to come out recently, and managing your inventory properly is what separates a frustrating playthrough from a smooth one. Get these 9 pouches and you'll spend far less time making painful item-drop decisions.