Search games, articles, guides...CtrlK
Sign InGet Started
Beat Valheim's final boss with phase-by-phase strategies, summon steps, best weapons, and all rewards from the Deep North.

Written by Larc
Content Writer
See more GAMES.GG guides on Google
Add us as a preferred source and our guides show up first in your results.

Valheim Fishing Guide: All 12 Fish, Every Bait, and the Hat
Catch all 12 fish in Valheim with the right bait for every biome, plus tips on stamina, bonus loot, and unlocking the Fishing Hat.

Valheim Comfort Guide: Maximize Your Rested Buff Duration
Learn how Comfort works in Valheim, which furniture actually counts, and how to push your Rested buff past 25 minutes.

Valheim Animal Taming Guide: Every Creature and How to Tame Them
Tame all 5 Valheim animals from Boar to Moose. Learn the exact food, enclosure tips, and tricks to cut taming time in half.
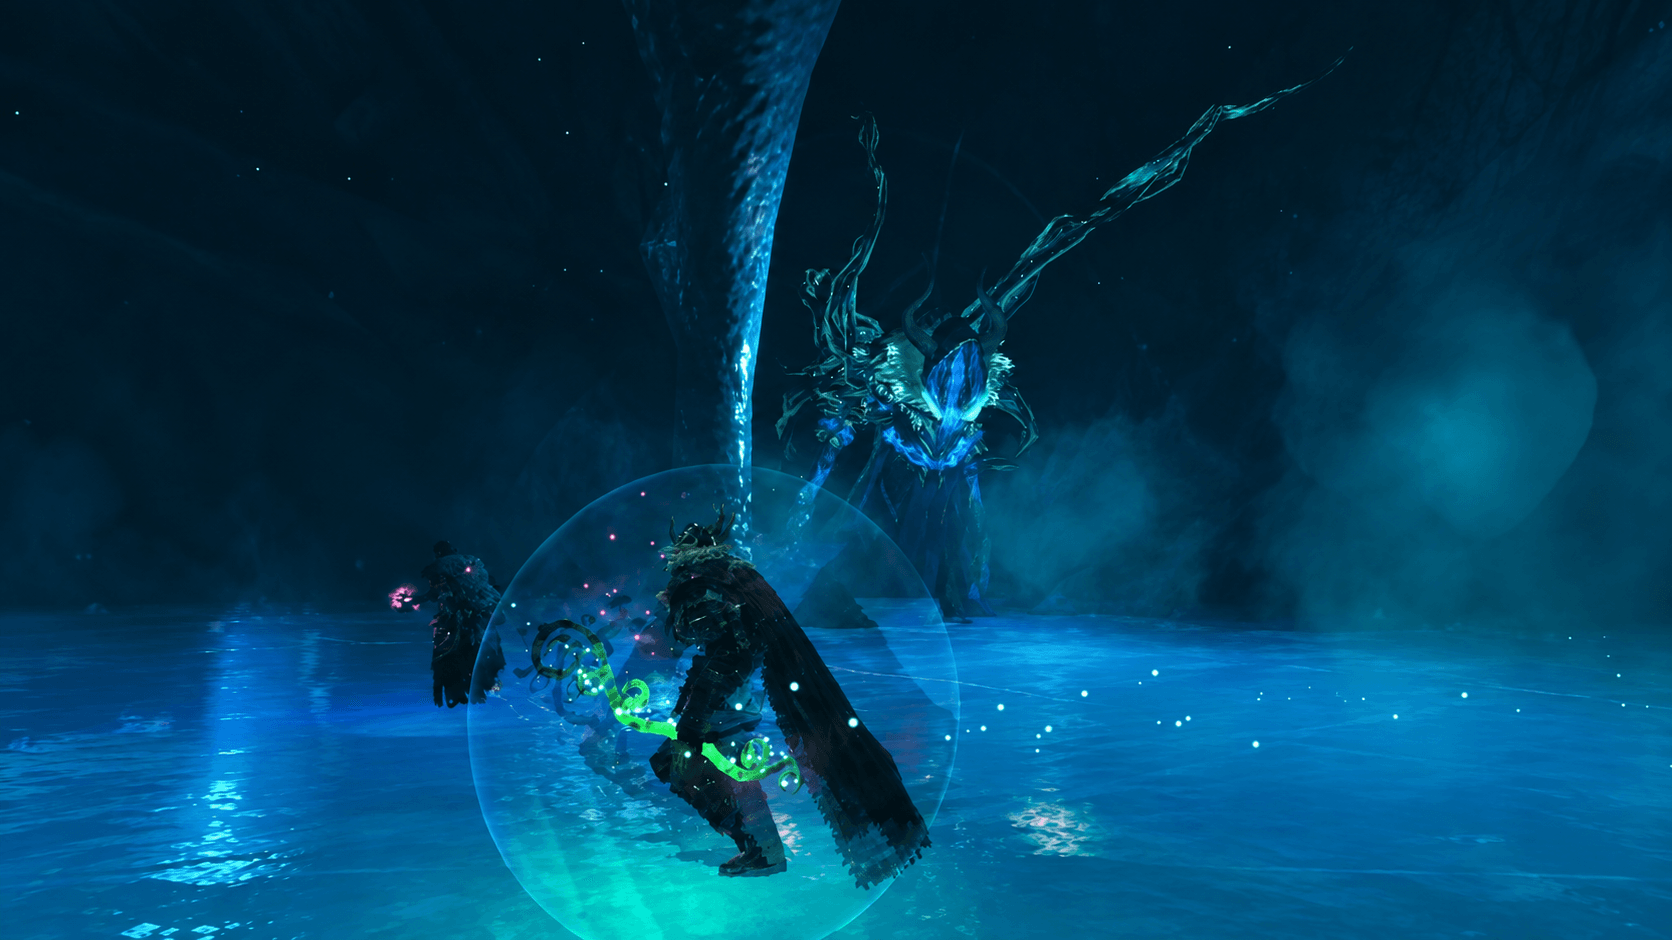
Valheim ends not with a quiet credits screen but with a 47,000-HP chain-wielding giant who resists most of the damage types you have been stacking since the Ashlands. Kall Fimbulbringer is the final Forsaken, locked behind the Aesir Passage in the Deep North, and reaching him already demands clearing Mörkhalla dungeons, triggering three Jotun Invasions, and collecting Malicious Blood. The fight itself runs three full phases, each testing a different skill. Here is everything you need to summon him, survive all three phases, and claim the rewards that close out Valheim's main progression.
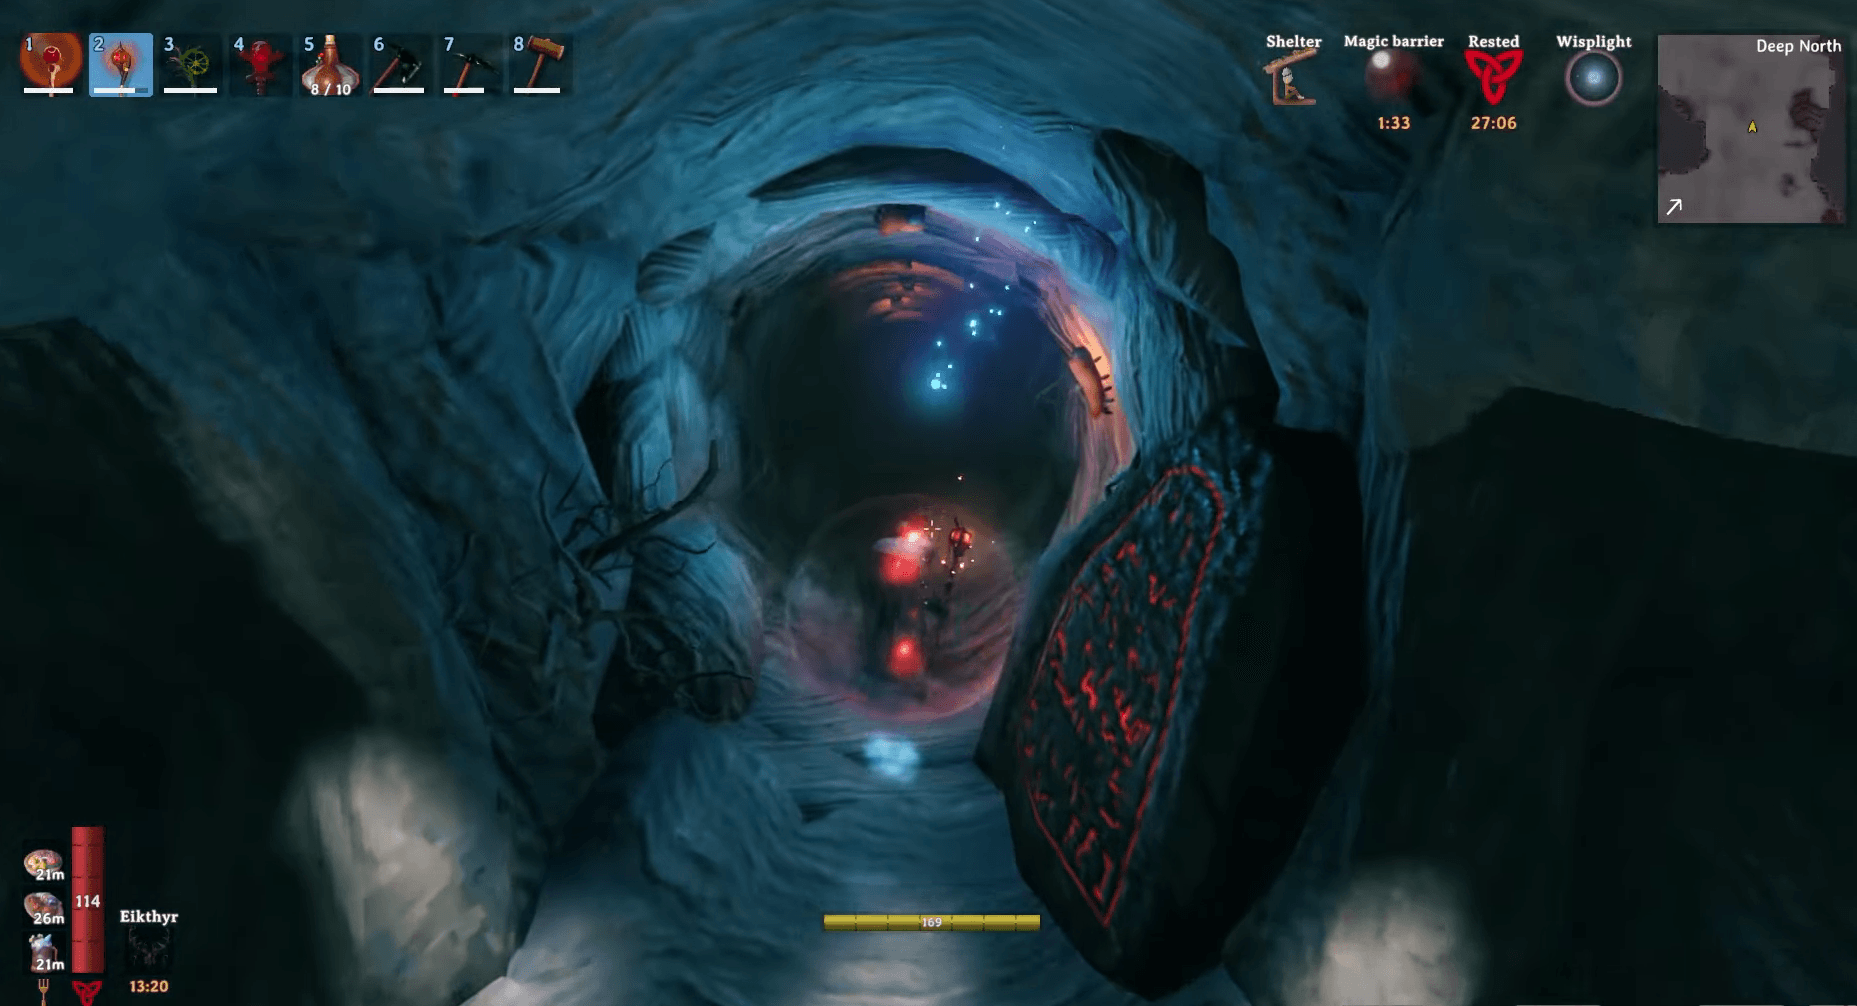
Kall does not sit at an open-air altar like the earlier Forsaken. He is imprisoned inside The Prison, accessed through the Aesir Passage, and unlocking that passage requires three Malicious Blood.
The path to those three drops follows a specific chain:
Once the offering is made, you have roughly 12 seconds before Kall breaks free. Eat your best food, activate your Forsaken Power, and confirm your weapons are repaired before placing the blood.
Valheim 1.0 Boss Guide: How to Beat Kall Fimbulbringer
Kall's damage resistance profile is the single most important thing to understand before you load in. He resists Pierce, Fire, Frost, and Lightning and is completely immune to Spirit damage. Only Blunt and Slash deal full damage.
That means bows, crossbows, and most elemental staves are poor primary damage sources here. Even weapons like Frostfire and Thunderblood, which carry impressive stat totals, lose a significant portion of their output because their elemental components are resisted. A pure physical Nord Sledge or Nord Greatsword will outperform them against Kall specifically.
For a full breakdown of which weapons deal which damage types across every biome, the Valheim weapons tier list covers every Deep North option by damage type and skill.
| Slot | Recommended Option |
|---|---|
| Main weapon | Nord Sledge (Blunt) or Nord Greatsword (Slash) |
| Secondary | Nord Mace or Nord Sword depending on skill |
| Ranged backup | Nord Bow or Nord Crossbow for Phase 2 aspect punishes |
| Magic | Echo Spike, Lightning Strike, or Northern Vengeance for Caller builds |
| Armor | Protector Set (most armor), Vanguard Set (ranged), Caller Set (magic) |
| Cape | Moose Hide Cape |
| Shield | Nord Greatshield or Nord Buckler |
| Food | Smoked Moose Meat, Seal Meat Soup, Lingonberry Juice |
| Meads | Major Healing Mead, Lingering Stamina Mead |
| Resistances | Fire Resistance Barley Wine, Frost Resistance Mead |
Bonemass Power is the safest Forsaken Power for a first solo attempt. It grants resistance to Blunt, Slash, and Pierce damage, removes block stamina costs, and restores stamina when blocking. Fader Power is the better offensive pick if your build relies on the Neckstabber trinket, since it doubles Adrenaline gain and helps you hit the 65-Adrenaline threshold consistently.
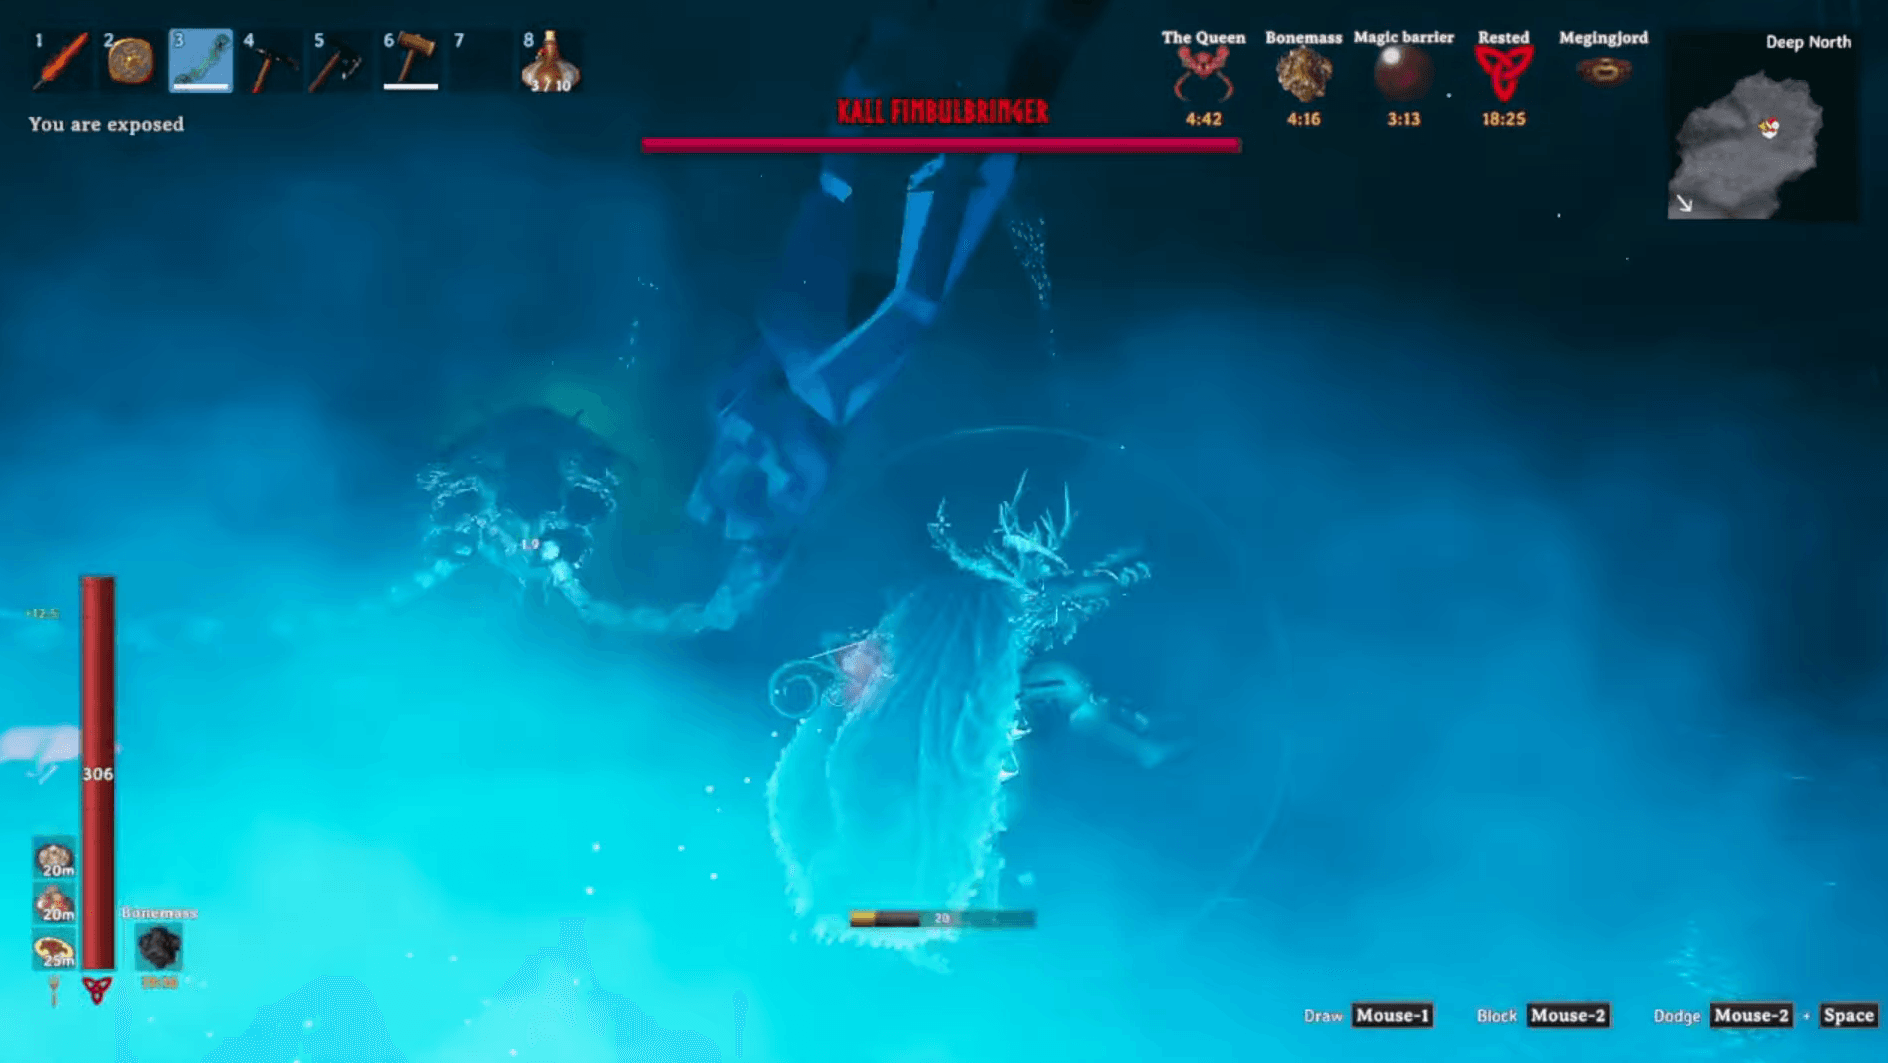
Phase 1 is straightforward compared to what follows, but it is where most players develop bad habits that kill them later. Kall uses his chains as melee weapons, and the key lesson here is that they reach much farther than they look.
Valheim 1.0 Boss Guide: How to Beat Kall Fimbulbringer
The rhythm for Phase 1 is simple: watch the attack, avoid or block it, punish the recovery window with a short combo, then reset. Do not try to squeeze in extra hits between attacks. Phase 3 has 30,000 HP, and burning Healing Mead in Phase 1 to deal slightly more damage is a bad trade.
Pay attention to the chain itself rather than Kall's body. The chain's movement telegraphs where the hit lands more clearly than his animation does.
Phase 2 is where Valheim's full progression comes back to haunt you. Kall becomes completely immune to all damage types, including physical, elemental, Chop, and Pickaxe. Stop attacking him entirely.
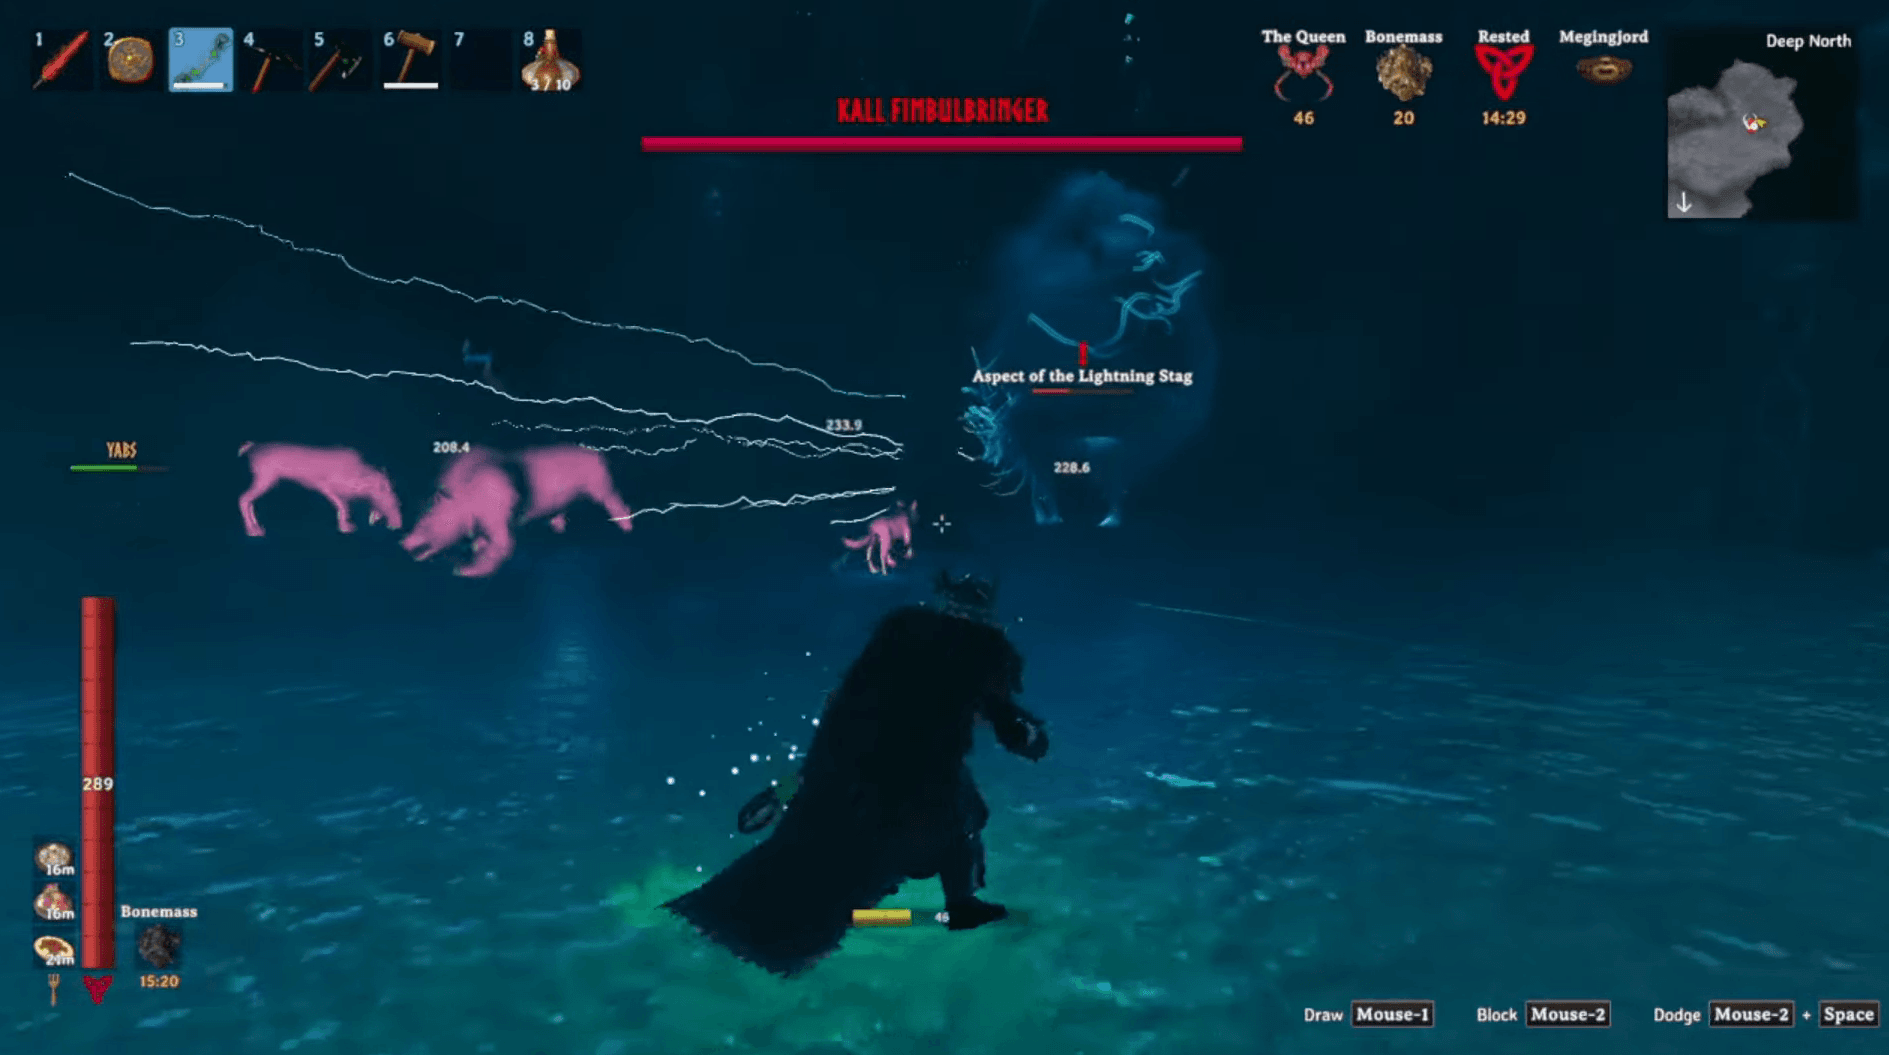
Instead, he projects seven aspects of the bosses you defeated throughout the game. Together they represent every Forsaken from Eikthyr to Fader.
| Forsaken Aspect | Notes |
|---|---|
| Aspect of the Lightning Stag (Eikthyr) | Tankiest summon; Pierce and Lightning damage |
| Aspect of the Living Forest (The Elder) | Extremely vulnerable to Fire, immune to Poison and Spirit |
| Aspect of the Writhing Dead (Bonemass) | Weak to Blunt and Frost |
| Aspect of the Dragon Mother (Moder) | Weak to Fire |
| Aspect of the Twisted Soul (Yagluth) | No specific weakness |
| Aspect of the Crawling Matriarch (The Queen) | No specific weakness |
| Aspect of the Emerald Flame (Fader) | No specific weakness |
Multiple aspects can be active at the same time. The Aspect of the Lightning Stag has the largest health pool at 3,000 HP and is a good target for any burst cooldowns you have available. Prioritize finishing a low-health aspect before switching targets rather than spreading damage across the arena.
Valheim 1.0 Boss Guide: How to Beat Kall Fimbulbringer
Keep repositioning. Several aspects attack from range or create additional hazards, and standing still while multiple summons are active invites overlapping hits. The goal is steady pressure on one target at a time, not speed-clearing the phase.
Save your Healing Mead here. Phase 3 is significantly harder and lasts much longer. If you can clear Phase 2 without consuming consumables, you will be in a much better position for the final stretch.
Phase 3 is longer than the first two phases combined. Kall returns with his chain moveset, but every attack now carries Fire and Frost damage on top of the physical hit. This is where your resistance preparation pays off.
Tendrils: Stationary roots that spawn around your position. They have roughly 80 HP each and are weak to Fire, but you do not need to clear every one. Destroy only those blocking your escape routes, then reposition and let the rest expire.
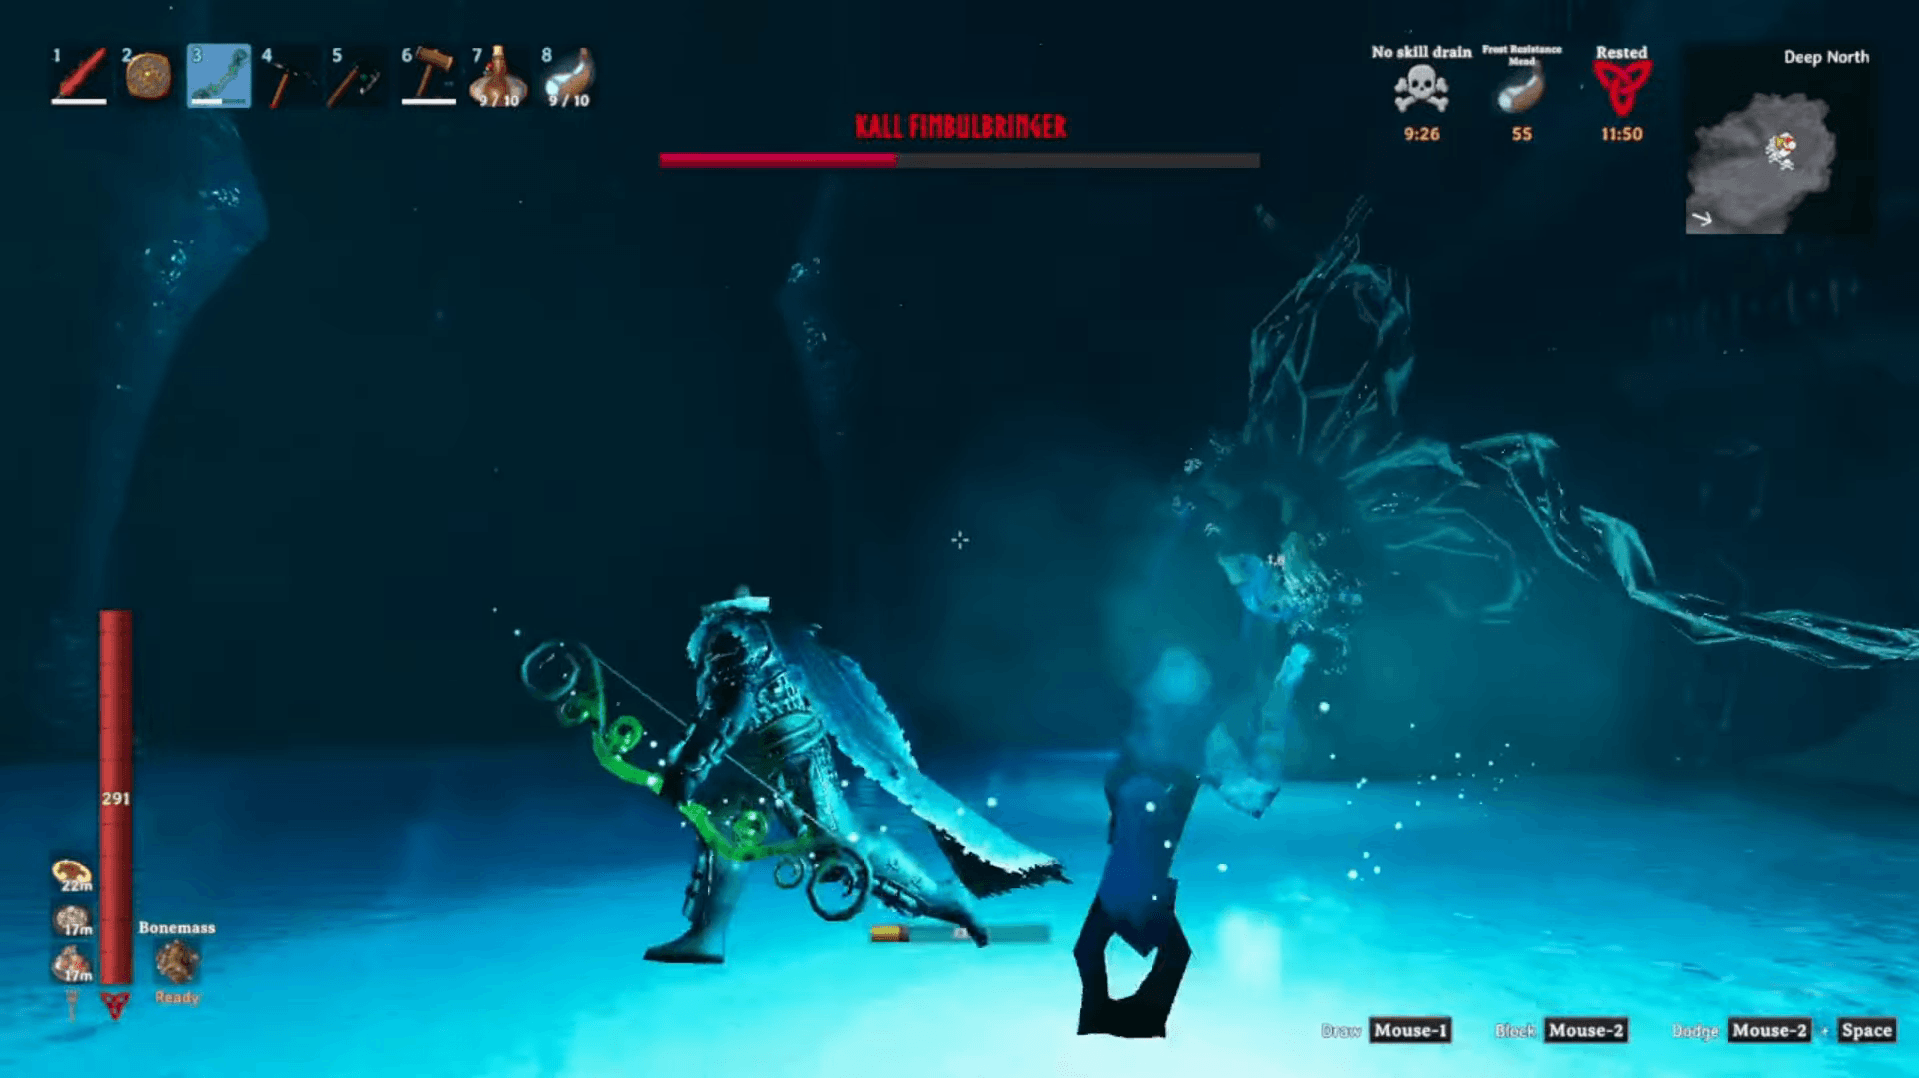
The Tendrils create a positioning problem rather than a damage problem. They punish both extremes: getting too close triggers a slam, while moving too far triggers a Lightning Bolt. Keep a medium distance from active Tendrils and focus on Kall during recovery windows.
Stamina is more important than damage output in Phase 3. Always keep enough for at least one emergency dodge. If your stamina bar is running low, stop attacking and create distance. Losing a few seconds of damage time is far better than taking a Chain Flurry or Spike Rain with no way to escape.
Use your Healing Mead here. If you conserved it through Phase 2, this is exactly the situation it was saved for. Heal after taking a large hit during a safe window, and keep your health high enough that one mistake does not end the attempt.
Kall drops two guaranteed items and unlocks one crafting recipe. Unlike every previous Forsaken, he does not grant a new Forsaken Power.
| Reward | Use |
|---|---|
| Crown Jewel | Used with 5 Bloodgold at a Level 4 Black Forge to craft the Crown of Valheim |
| Sacrificial Blood | Offered at the original Sacrificial Stones in the Meadows to complete the ending sequence |
| Crown of Valheim recipe | Unlocked automatically on defeat |
The Crown of Valheim provides 50 Armor, increases movement speed by 5%, and reduces Attack, Run, Swim, and Sneak stamina usage by 20% each. Its special effect causes normal creatures to flee rather than attack you, effectively turning the completed world into a peaceful sandbox. Bosses are excluded from this effect.
Taking the Sacrificial Blood back to the Sacrificial Stones in the Meadows, the very first altar you interacted with at the start of the game, completes Valheim's main progression and triggers the ending sequence.
For everything leading up to this fight, including how to progress through every biome and what gear to prioritize along the way, the Valheim biome progression guide covers the full route from Meadows to Deep North. You can also find all previous boss locations and summon requirements in the Valheim boss locations guide. For more Valheim coverage across every system in the game, the full Valheim guide collection has you covered.