
On Sabatulo, use landmarks to orient yourself and choose between close-quarters fighting below and city oversight from high points. The first city map in WARDOGS arrived with Season 3 and Update 0.3.0.
The useful decision is which part of the urban battlefield suits your immediate task. Sabatulo supports interior engagements, street firefights, and elevated observation, while destruction adds another consideration to the terrain. Parachute changes also make your equipment choice important before leaving a high position.
Which key locations are on Sabatulo?
BULKHEAD's Season 03 patch notes name four key locations:
- Central hospital
- Swimming pool
- Power station
- River embankment
The hospital is the landmark explicitly described as central. Use these place names as reference points when describing where an engagement is happening.

Sabatulo's central hospital
These landmarks sit within a battlefield defined by tight streets and towering high-rises. A location name tells you where the fight is happening; the room, street, or elevated position tells you what kind of engagement you are entering.

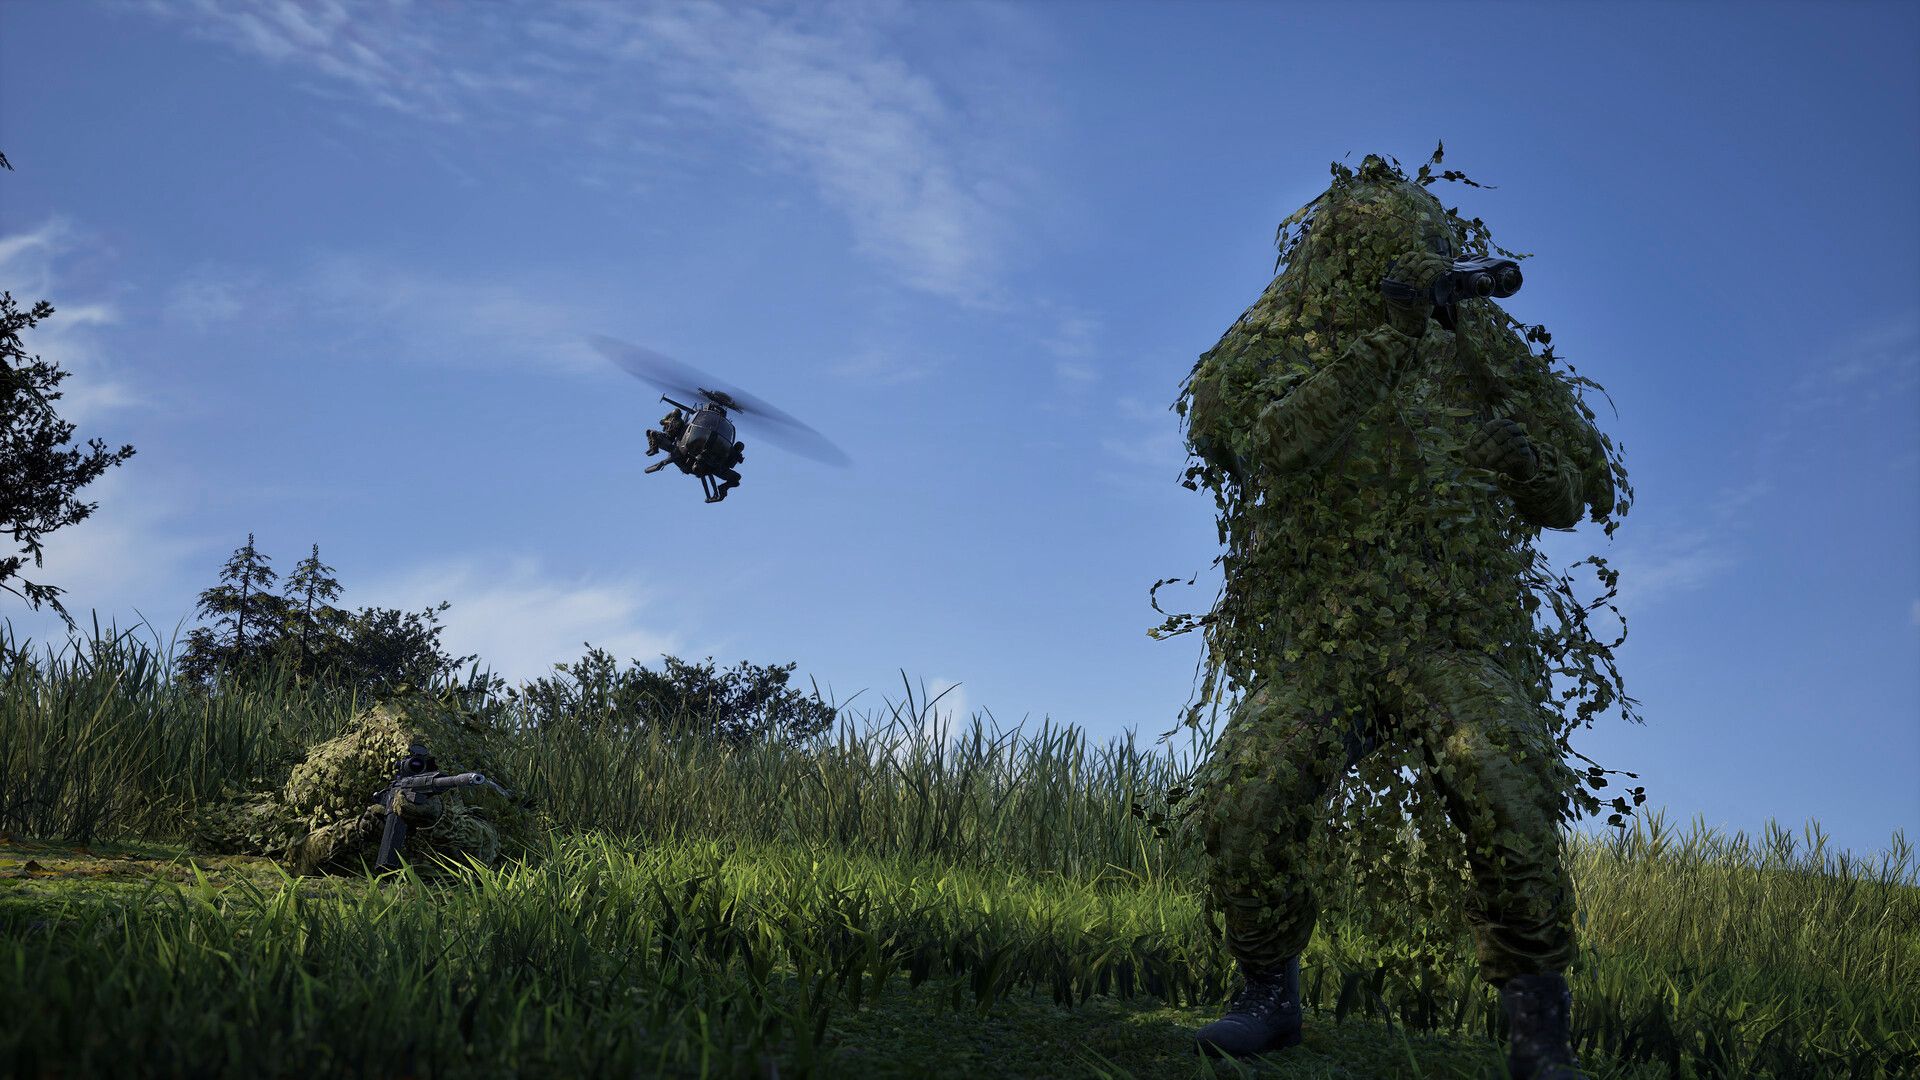
Where can you fight at close quarters?
Interiors provide the map's close-quarters fighting, while the street network supports urban firefights between buildings.
Rooms and streets
Sabatulo explicitly supports room-to-room and street-to-street combat. You do not need to take a high point to participate in the city's intended combat.
Keep the terrain choice separate from your ammunition and protection choices. The WARDOGS tips on ammo and armor cover those systems, while the Season 3 weapon changes below help explain what has changed for returning players.
Which weapon changes affect your choice?
Several weapon updates arrived alongside Sabatulo. These are game-wide balance changes, not special bonuses granted by the map.
| Weapon or category | Season 3 change | What to consider |
|---|---|---|
| TCX-SPR | Reduced upward recoil and side-to-side drift in full auto | An option if keeping automatic fire on target has been difficult |
| Assault rifles and LMGs | Upper-torso damage increased by 13%; middle- and lower-torso damage increased by 3% compared with Season 2 | The increases apply against armored and unarmored targets |
| DMRs | Every DMR kills an unarmored player with 2 body shots or a player without a helmet with 1 headshot | Keep the target's protection in mind when judging these shot counts |
The TCX-SPR's handling changes specifically reduce how much the weapon climbs and drifts during a spray. That supports choosing it for easier recoil control, without claiming it is automatically the best weapon for every room or street.
Armor still reduces assault rifle and LMG damage by the same percentage as before. The torso-damage increases do not remove the need to account for an opponent's protection.
Check the mode as well as the map
Limited Mode restricts vendor purchases to equipment typically available early to mid season. Its restrictions include HP and AP ammo, Level 3 and Level 4 armor, attack vehicles, and several buildable weapons.
Those are Limited Mode rules, not properties of Sabatulo's streets or buildings. Check the mode you are joining before planning around equipment availability. The server browser displays Limited servers and includes a filter for them.
How can you use high points for city oversight?
Sabatulo's high points let you oversee the city, and its towering high-rises make verticality part of the battlefield.
Elevation is an observation option
Choose an elevated position when your task is to observe the urban fighting below, alongside the room-level and street-level options.
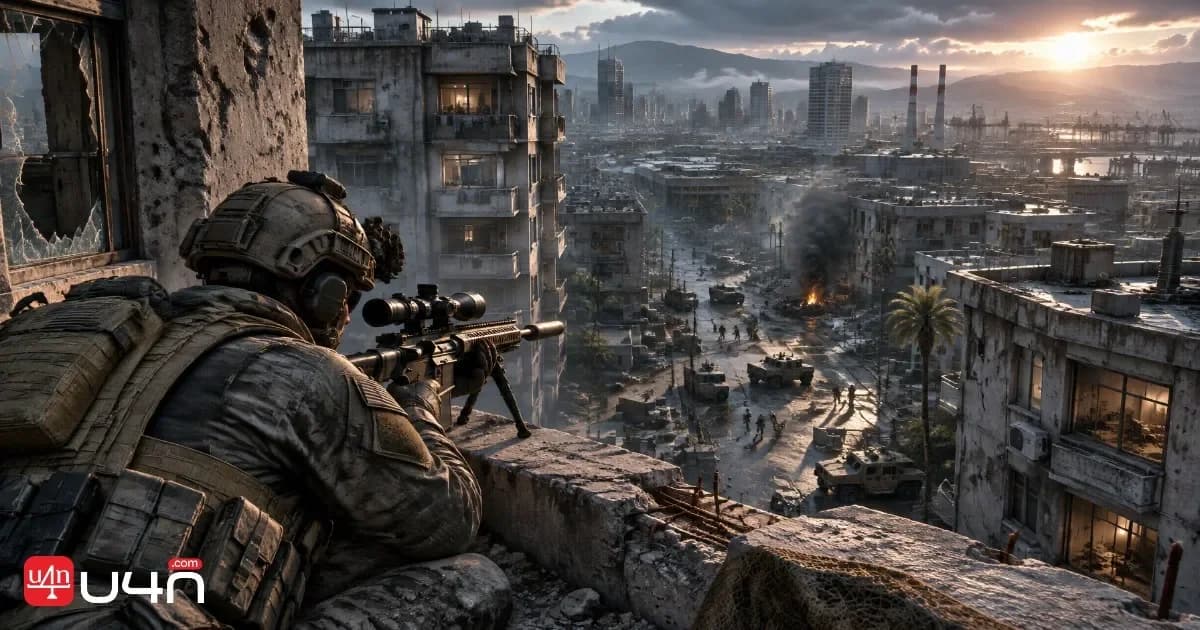
Sabatulo's high-rise buildings
Elevated observation and objective manipulation are separate jobs. The WARDOGS towers guide explains Drill Tower capture and moving the Hot Zone; Sabatulo's high points provide a view of the city.
Pick a parachute for the jump
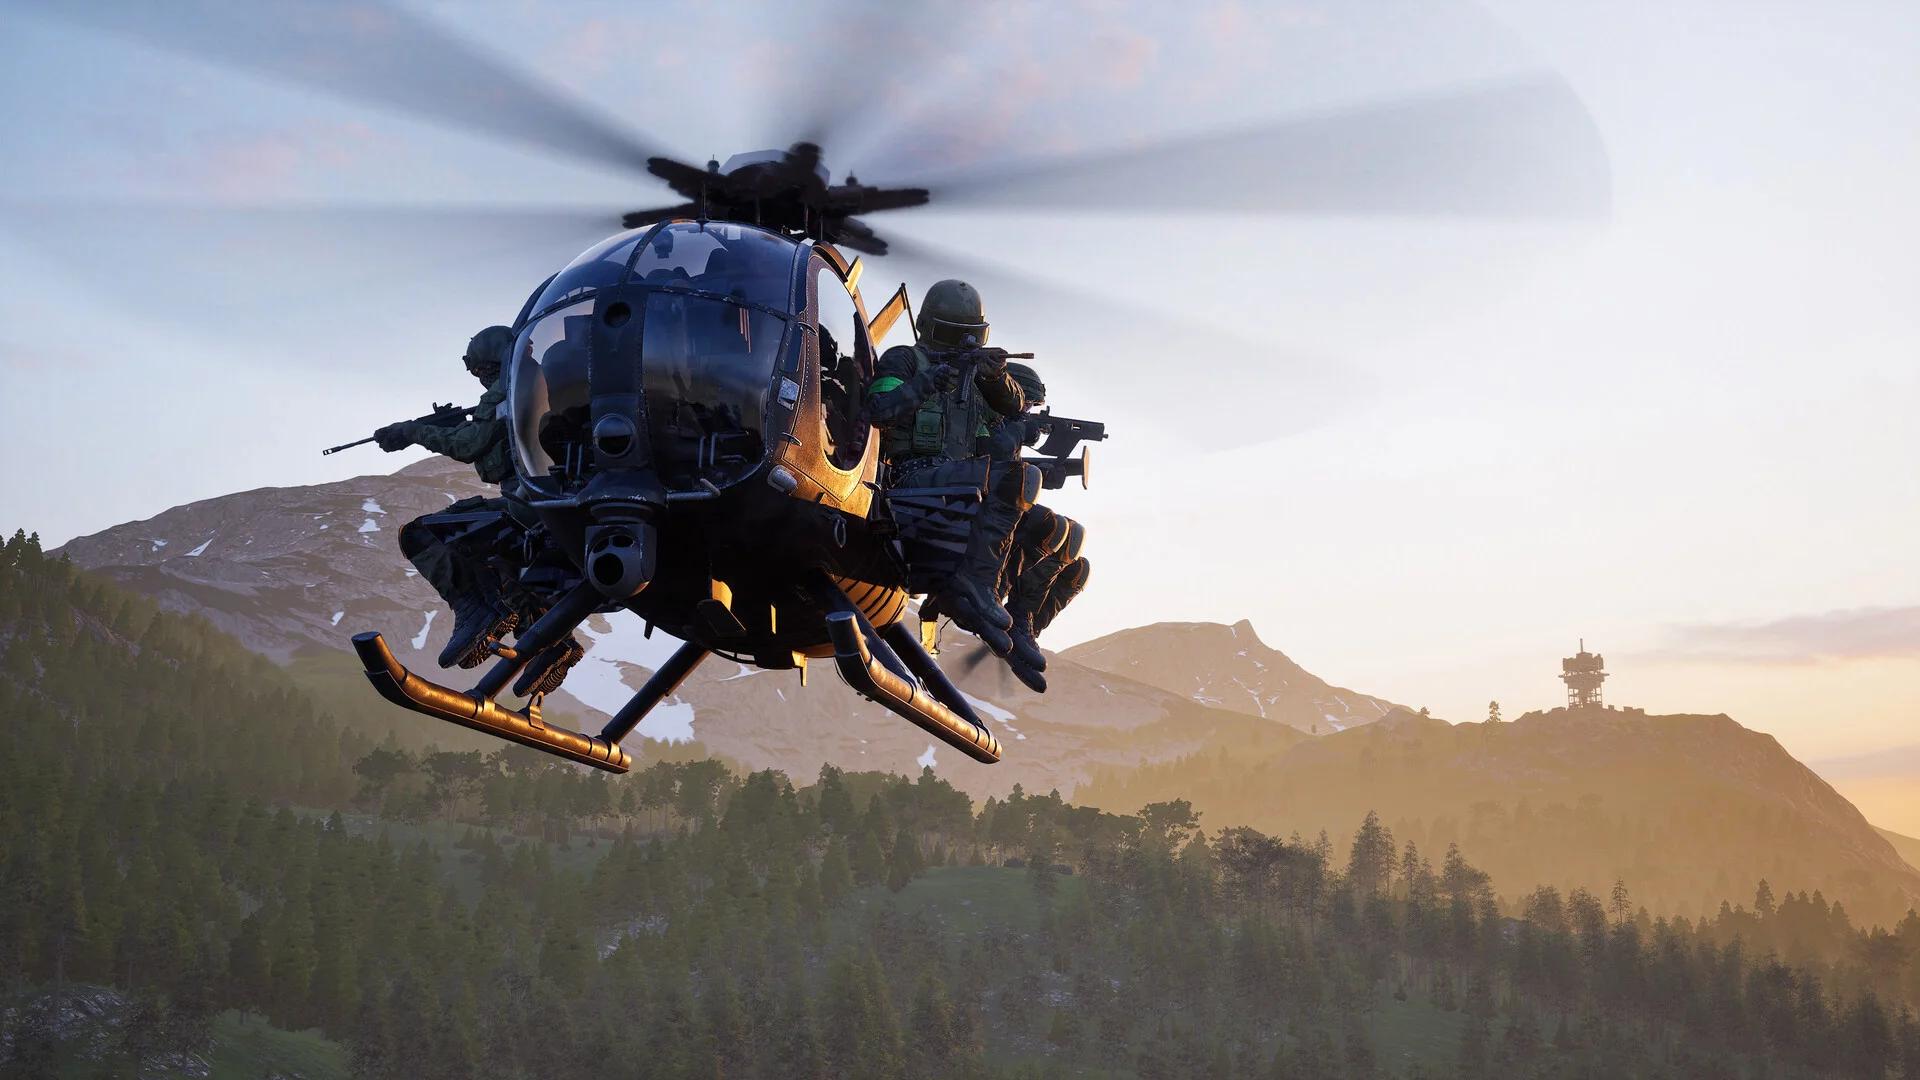
Season 3 changed both parachutes. The Basic Parachute is now an emergency option intended for bailing out of helicopters. The Sport Parachute is built for BASE jumps and has faster turning, gliding, and diving, plus a stronger, longer flare.
| Parachute | Intended use | Effective height | Lower-height qualification | Price |
|---|---|---|---|---|
| Basic Parachute | Emergency helicopter bailout | Above about 100 m | Still survivable above 60 m if you react fast enough | $1,250 |
| Sport Parachute | BASE jumping | Above about 60 m | Still survivable above 40 m if you react fast enough | $2,250 |
The lower figures are conditional survival thresholds, not guaranteed safe jump heights. Carrying a parachute does not make every elevated exit suitable.
Helicopter passengers now have a height-above-ground display above the minimap. Compare that reading with the parachute's effective height in its item tooltip before jumping.
What terrain and destruction should you expect?
Sabatulo combines dense urban geometry with destruction.
Tight streets, tall buildings, and breakable obstacles
Treat the city as a destructible battlefield, not a fixed set of intact streets and building fronts.
Season 3 also changed two specific obstacle interactions across the game:
- Vehicles can flatten box hedges, except the Bobcat.
- Tanks and artillery can destroy stone walls.
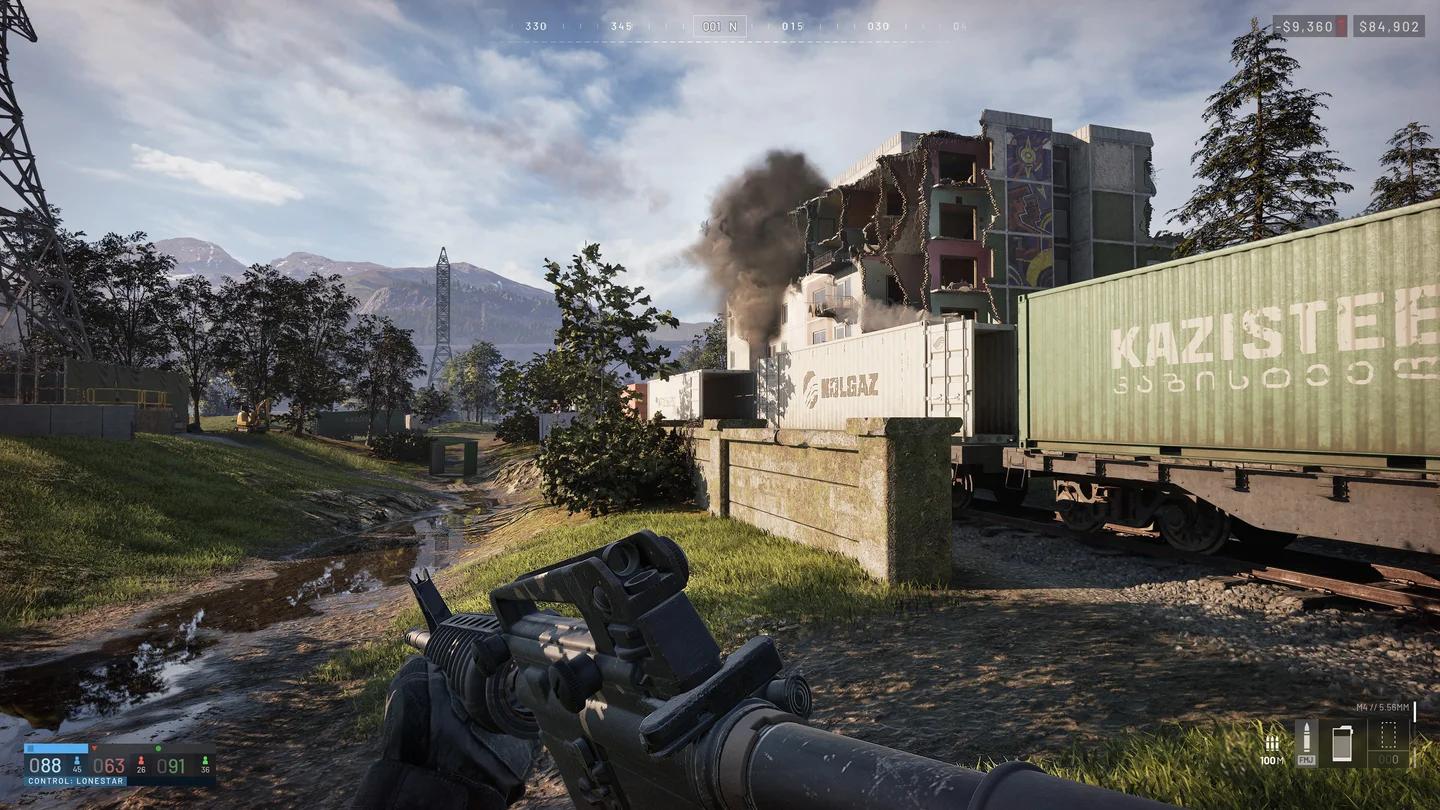
Stone wall terrain obstacles
These interactions depend on the obstacle and vehicle involved. The hedge change does not include the Bobcat, and the stone-wall change specifically names tanks and artillery.
Building and supplying a city position
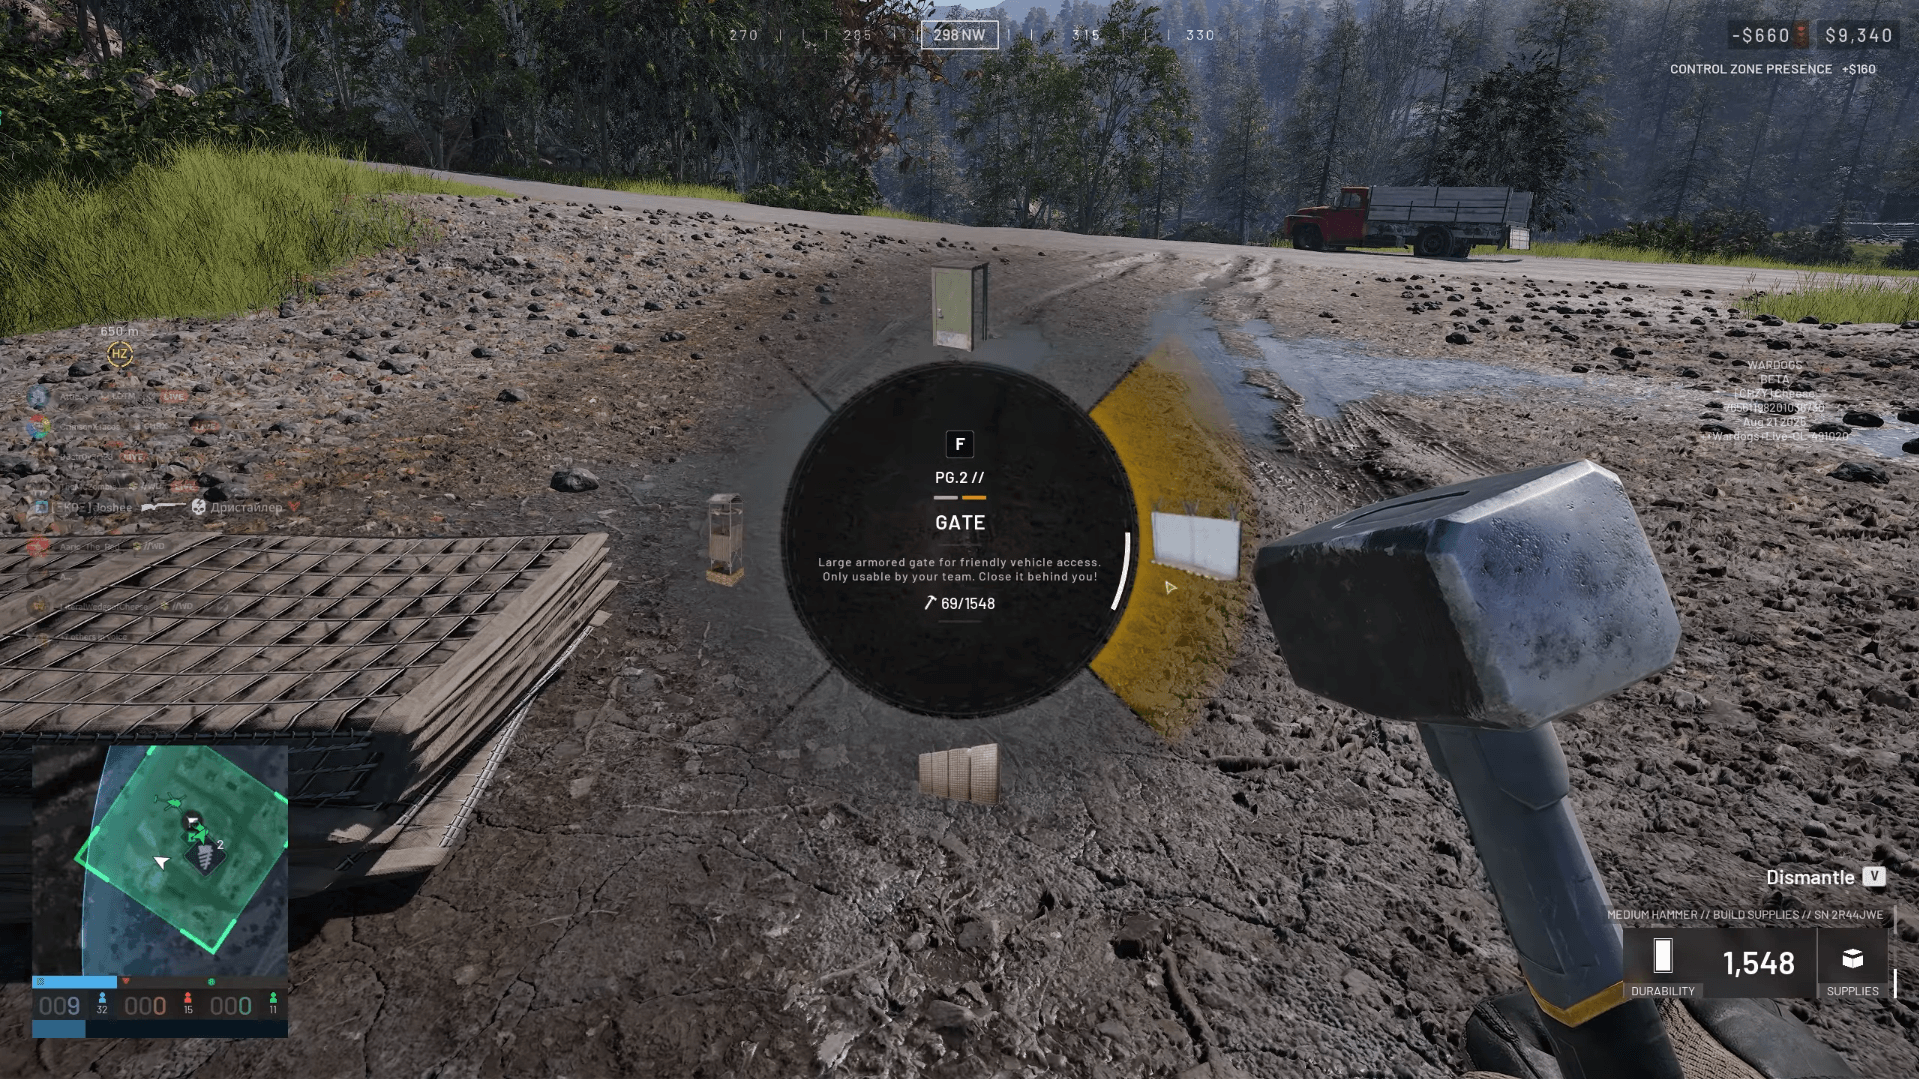
If your plan includes constructing a fortified position, the Large Hammer now requires Support Level 14, up from Level 8. Account for that unlock when putting together a WARDOGS base-building plan for the city.
Height also affects aerial resupply. Standard and Armored Supply Crates now have a listed drop height of approximately 35 m, while Supply Pallets have a listed height of approximately 40 m. Armored crates remain resistant to bullets and explosions, but they no longer survive higher drops than standard crates.
Crates and pallets still break if they strike the ground or another object too hard. Your movement speed contributes to the impact, so check the updated item tooltip before a delivery and account for both height and speed.