
To manage your Windrose stats effectively, prioritize Endurance and Vitality for survival before raising your weapon’s damage attribute; save Mastery points until your health and stamina needs are met.
Windrose has six primary attributes, but an even split across all of them wastes points on damage stats your weapons do not use. Your best next investment depends on what stops you in a fight: an empty stamina bar, too little health, or weak attacks. Start with a workable health and stamina foundation, then specialize around the weapons you actually use.
What do Windrose’s six primary stats do?
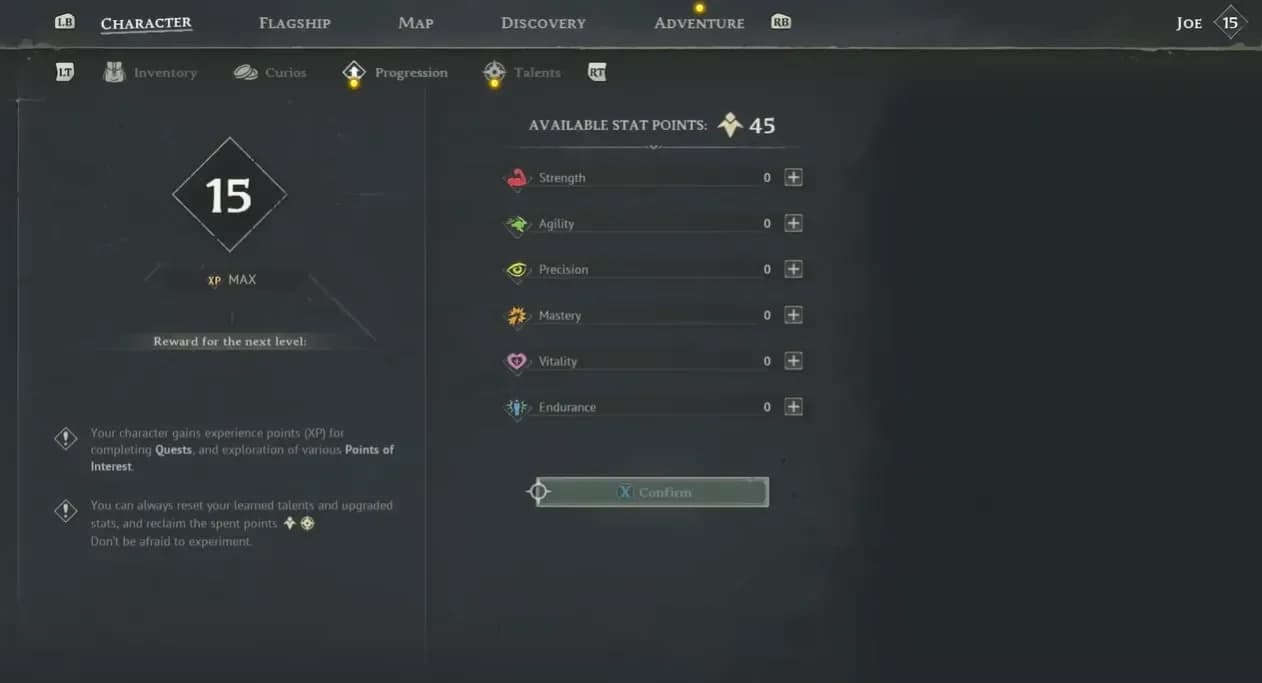
You earn attribute points as you level up. Three attributes scale specific weapon groups, while the remaining three support critical hits, survival, and stamina. Check the weapon names in the table before spending damage points, because a weapon’s appearance does not always reveal its scaling.
Windrose character attributes
| Stat | What it does | Weapons or benefit |
|---|---|---|
| Strength | Increases damage with Strength weapons | Club and Halberd |
| Agility | Increases damage with Agility weapons | Saber, Greatsword, and Blunderbuss |
| Precision | Increases damage with Precision weapons | Rapier, Pistol, and Musket |
| Mastery | Adds 0.5% critical hit chance per point | Benefits every weapon type, but no weapon scales directly with Mastery |
| Vitality | Adds 13 maximum health per point | A larger health pool |
| Endurance | Adds 5 stamina per point | More stamina for combat and other activities |

Which damage stat should you choose?
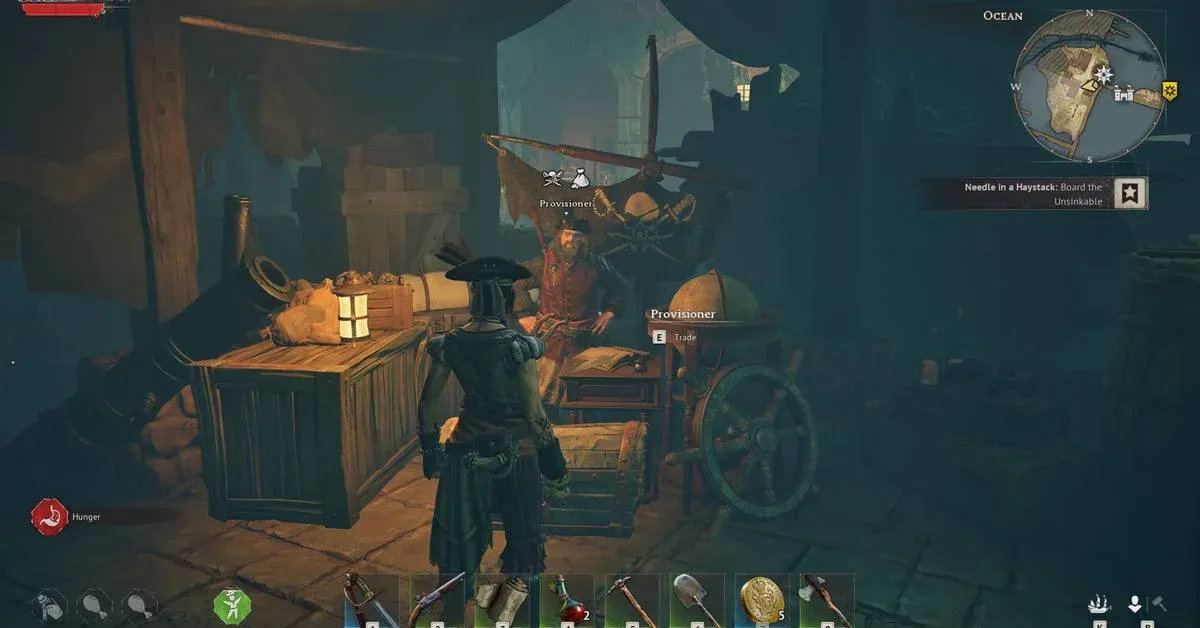
Your Windrose weapon choices determine whether Strength, Agility, or Precision should receive your damage points. Pick your main weapon first, then look for a second weapon that shares its scaling if you want both to benefit from the same investment.
Pair weapons that share scaling
A Rapier and Pistol both use Precision. This pairing lets you improve melee and ranged damage through one matching damage stat. A Rapier and Musket follow the same principle, so choosing Precision does not lock you into ranged-only combat.
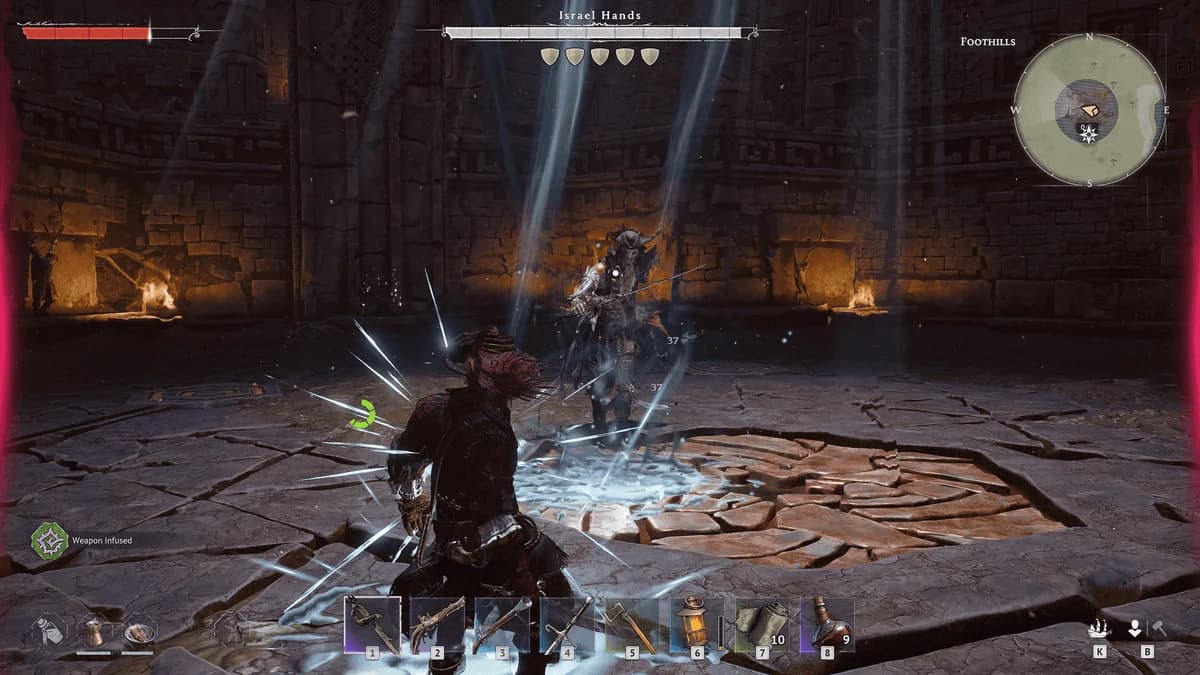
Rapier weapon in Windrose
Agility offers another shared-scaling pairing: a Saber or Greatsword alongside a Blunderbuss. The Greatsword belongs to Agility despite its size, so do not assign it Strength points just because it looks like a heavy weapon.
Strength has no ranged weapon option. Pairing a Club or Halberd with a firearm means the two weapons use different damage attributes. A hybrid allocation can work, but it divides points that could otherwise support your main weapon, health, or stamina. Choose that split deliberately instead of leveling every damage stat to keep your options open.
How to prioritize stat points early
Use the following order as an early-game foundation, not a permanent allocation. Gear, food, and talents all contribute to your character’s power, so the number of attribute points you need in a support stat can change as you progress.
Build Endurance and Vitality first
Start with Endurance. If you’re struggling with an empty stamina bar during fights or farming, a larger pool helps you sustain those activities before stopping to recover.
Bring Vitality alongside it. Keeping your early Endurance and Vitality investment roughly even is a simple starting approach, but account for your usual food buffs before committing heavily to health. Food can cover part of that need without consuming attribute points.
Talents can also increase your stamina pool. Compare those options in the Windrose stamina guide before assigning every new point to Endurance, especially once your basic stamina needs are covered.
Raise weapon damage next, then consider Mastery
Once you can sustain combat and survive mistakes, focus on the attribute that scales your main weapon. Do not keep increasing the other two weapon attributes unless you are intentionally building around weapons with different scaling.
Mastery is usually a later investment. It raises critical hit chance, not critical hit damage, and it does not replace Strength, Agility, or Precision as a weapon’s scaling attribute. Critical hits are useful, but relying on them adds variability to your damage.
Equipment can also supply critical hit chance. The Privateer’s set and Razor weapon are alternatives to spending heavily on Mastery early. Consider your complete equipment setup before deciding how much additional critical chance you need from attributes.
How talents change your stat budget
The early picks in the Windrose talents guide can cover part of your health and stamina needs, leaving more attribute points for weapon damage. In the Talents screen, Marathon Runner and Stout Frame are especially relevant when reviewing your support-stat investment.
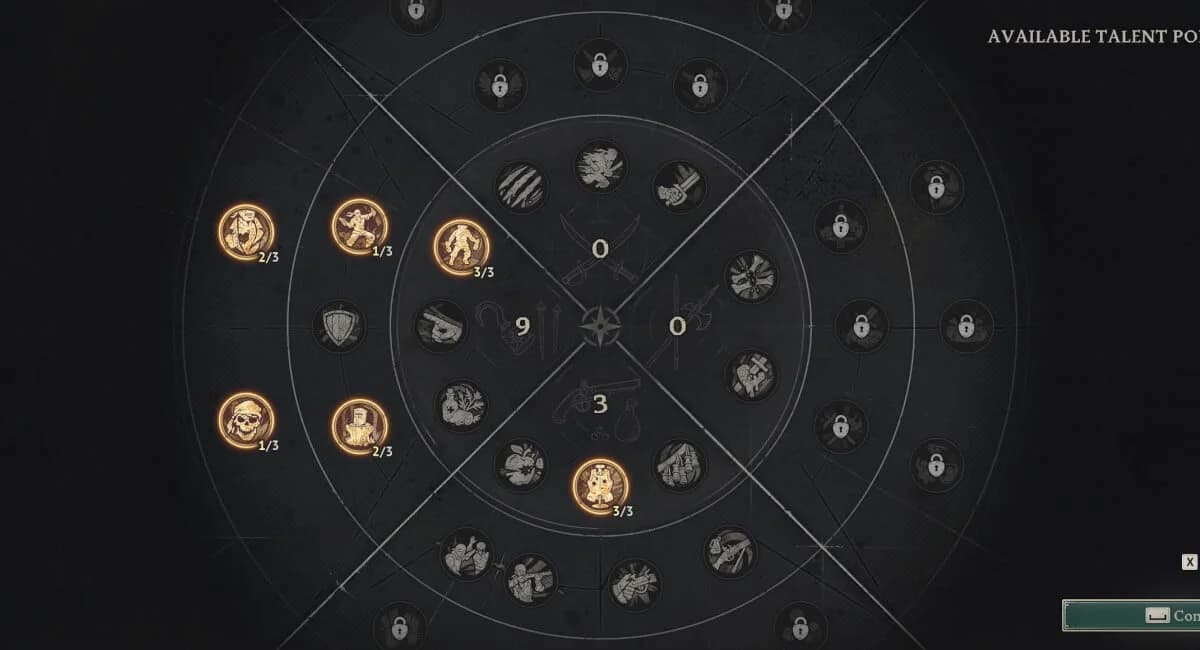
Windrose survival talents
| Talent | First rank | Second rank | Third rank |
|---|---|---|---|
| Marathon Runner | +20 stamina | +35 stamina | +50 stamina |
| Stout Frame | +120 health | +180 health | +240 health |
At maximum rank, Marathon Runner’s 50 stamina matches the gain from 10 Endurance points. Stout Frame supplies 240 health at maximum rank, while 18 Vitality points supply 234 health. These bonuses are large enough to justify reviewing your attributes after purchasing the talents.
Do not remove health or stamina points automatically. Check whether the talent bonus actually covers what you need during combat. If you still run dry or die too easily, keeping those support points may be more useful than adding damage.
What the other character stats mean
The character stat panel also includes 14 stat bonuses. These describe your combat resources, defenses, and damage bonuses. Improvements can come from linked attributes, talents, equipment, food, and the Comfort Buff.
| Stat bonus | What it means |
|---|---|
| Health | The health pool you can lose before dying |
| Defence Power | Reduces incoming damage |
| Attack Power | Your weapon-determined attack power |
| Stamina | The resource required for actions |
| Stamina Recovery Rate | How quickly stamina regenerates when you are not performing an action that costs stamina |
| Damage Resistance | Resistance to all damage |
| Critical Hit Chance | The chance for an attack to deal critical damage |
| Critical Damage | Increases damage from critical hits, headshots, and weak spots |
| General Damage | Increases all damage types |
| Melee Damage | Increases damage from melee attacks |
| Ranged Damage | Increases damage from ranged attacks |
| Crude Damage | Increases damage from Crude weapons, including Clubs and Polearms |
| Slash Damage | Increases damage from Slash weapons, including Sabers and Greatswords |
| Pierce Damage | Increases damage from Pierce weapons, including Pistols, Muskets, and Blunderbusses |
Separate weapon scaling from damage type
Damage type and scaling attribute answer different questions. A Blunderbuss deals Pierce damage but scales with Agility. A Pierce Damage bonus can help it, but that damage-type label does not make Precision its scaling attribute.
Stamina capacity and recovery are also separate. Endurance enlarges the pool; Stamina Recovery Rate controls the refill under the conditions listed above. More capacity does not mean faster regeneration.
When should you change your stat priorities?
Revisit your allocation when your main weapon, talent setup, or usual food changes. An early distribution can leave more points in health or stamina than you need after other bonuses improve. Move those points only when your new setup still supports the fights and activities you are tackling.
Bonebreaker makes stamina relevant to damage
Bonebreaker is a two-handed Club with bonus damage based on stamina. It gives Endurance an offensive benefit that ordinary weapon scaling does not provide.
Keep Strength as Bonebreaker’s weapon-scaling attribute, then weigh Endurance as both a larger action pool and a contributor to its bonus damage. This is a weapon-specific exception, not a reason to treat Endurance as a damage attribute for every build.