Search games, articles, guides...CtrlK
Sign InGet Started
Complete Celeste's Sizing Things Up quest in ARC Raiders: photo locations, Emperor leg analysis, and how to grab the Arc Conductive Coupler.

Written by Larc
Content Writer
See more GAMES.GG guides on Google
Add us as a preferred source and our guides show up first in your results.
ARC Raiders Guide: How to Complete Clean Hands Quest
Find the Railyard Nomad Camp, grab the Equatorial Sundial, and reach the Old Town church top to finish Clean Hands.
ARC Raiders Guide: How to Complete Exploring Pendola Pass Quest
Complete all four objectives in the Exploring Pendola Pass quest, including the Observatory, Railyard tower, and Supermarket locations.
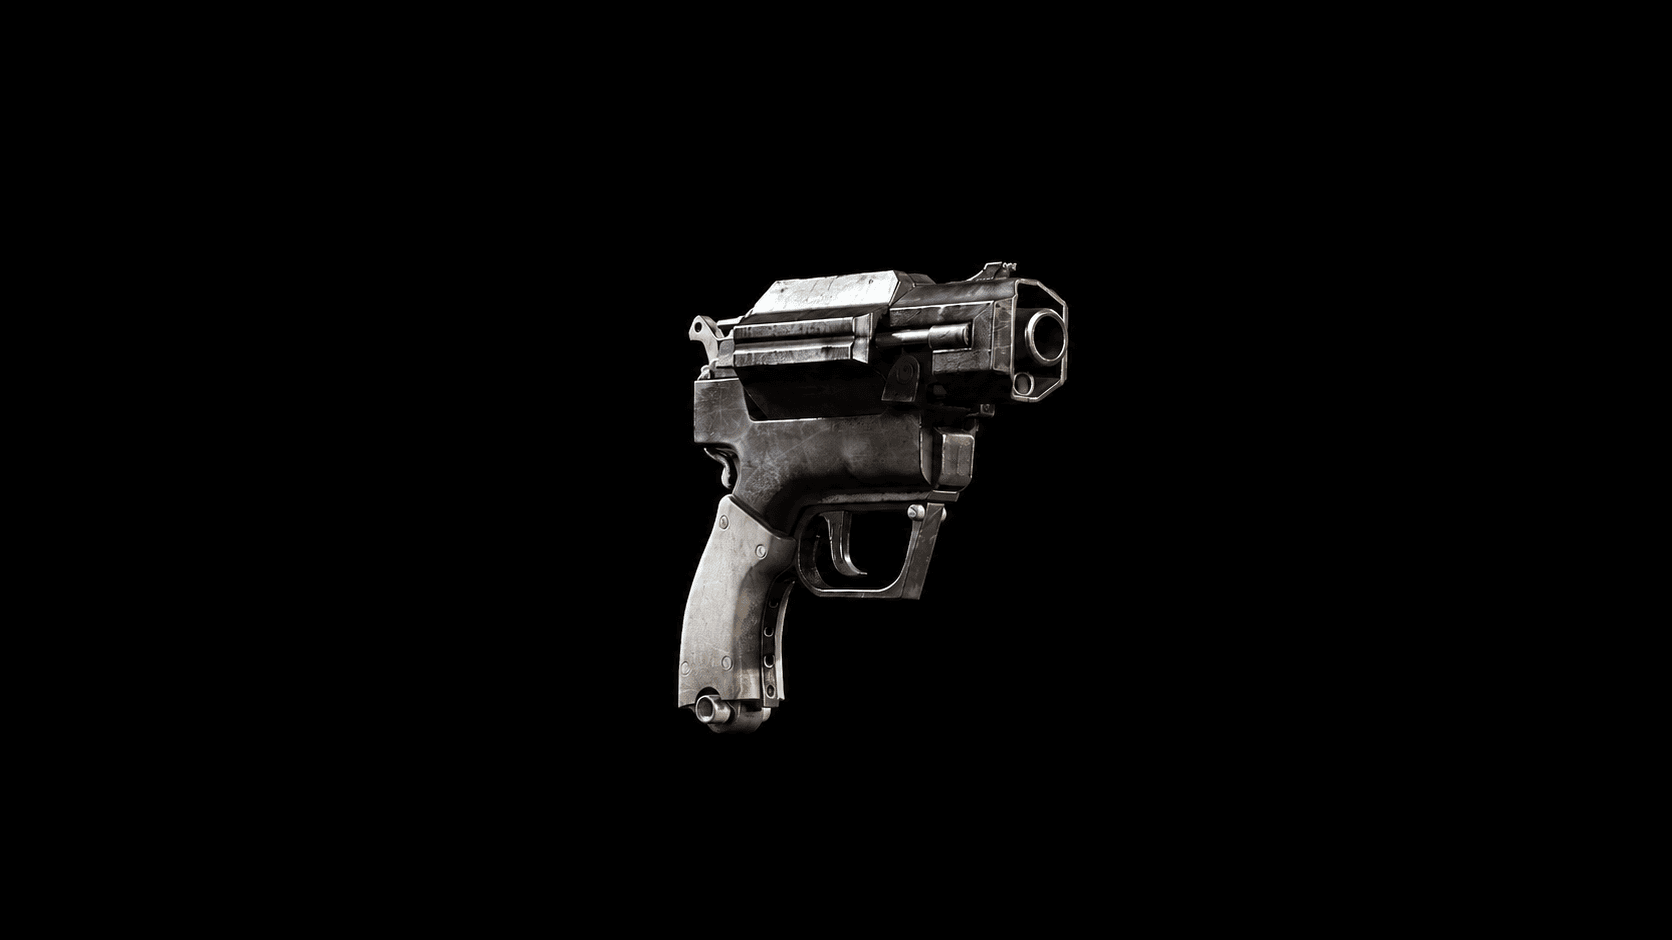
Arc Raiders Guide: How to Get Bantam
Find the Bantam revolver in Arc Raiders through loot zones, Tian Wen's shop, or the Frozen Trail Reward Pass. Full stats and tips inside.
The Sizing Things Up quest sends you all over Pendola Pass to investigate the fallen Emperor for Celeste, and a couple of the objectives are genuinely easy to miss if you don't know exactly where to stand or look. This guide covers every step, including the optional branch you need to choose between, so you can get in, grab the loot, and extract cleanly.
ARC Raiders is an extraction shooter built around exactly this kind of mission structure: navigate hostile territory, complete objectives under pressure, and get out alive. Sizing Things Up adds a wrinkle by splitting its early steps into a choose-two-of-three structure, which trips up a lot of players on their first attempt.
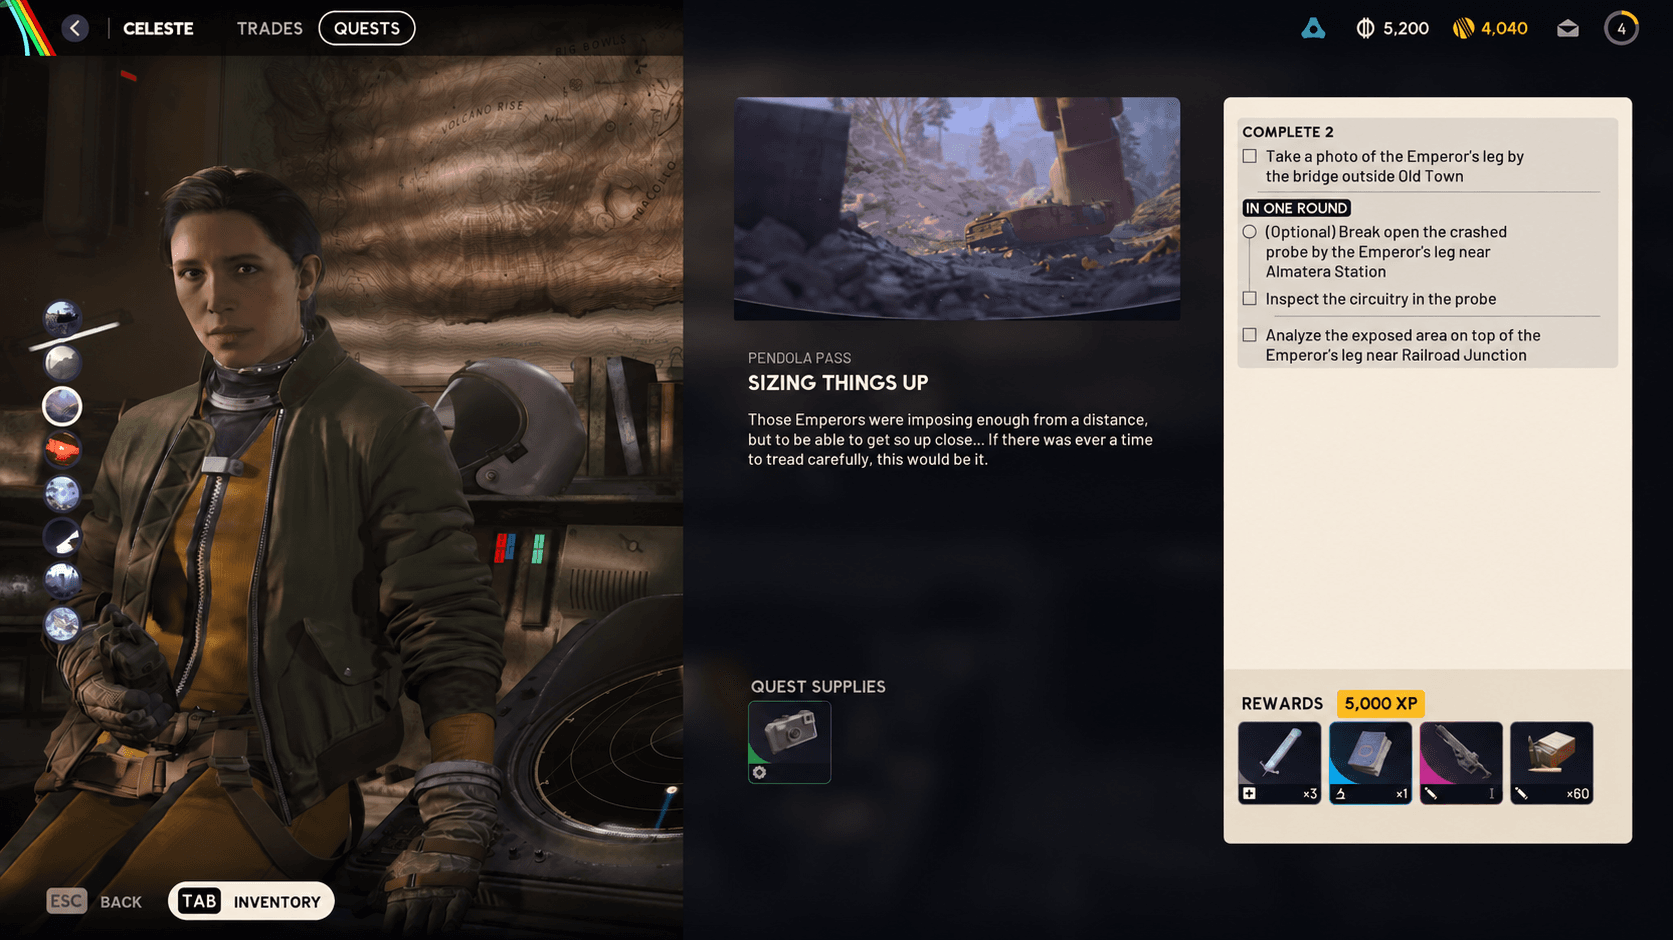
The quest has six steps total, but you only need to complete two of the first three before the remaining incomplete task locks out permanently. Once you finish either two of the opening objectives, the last three steps must all be completed in a single raid. Here's the full breakdown:
ARC Raiders Guide: How to Complete Sizing Things Up Quest
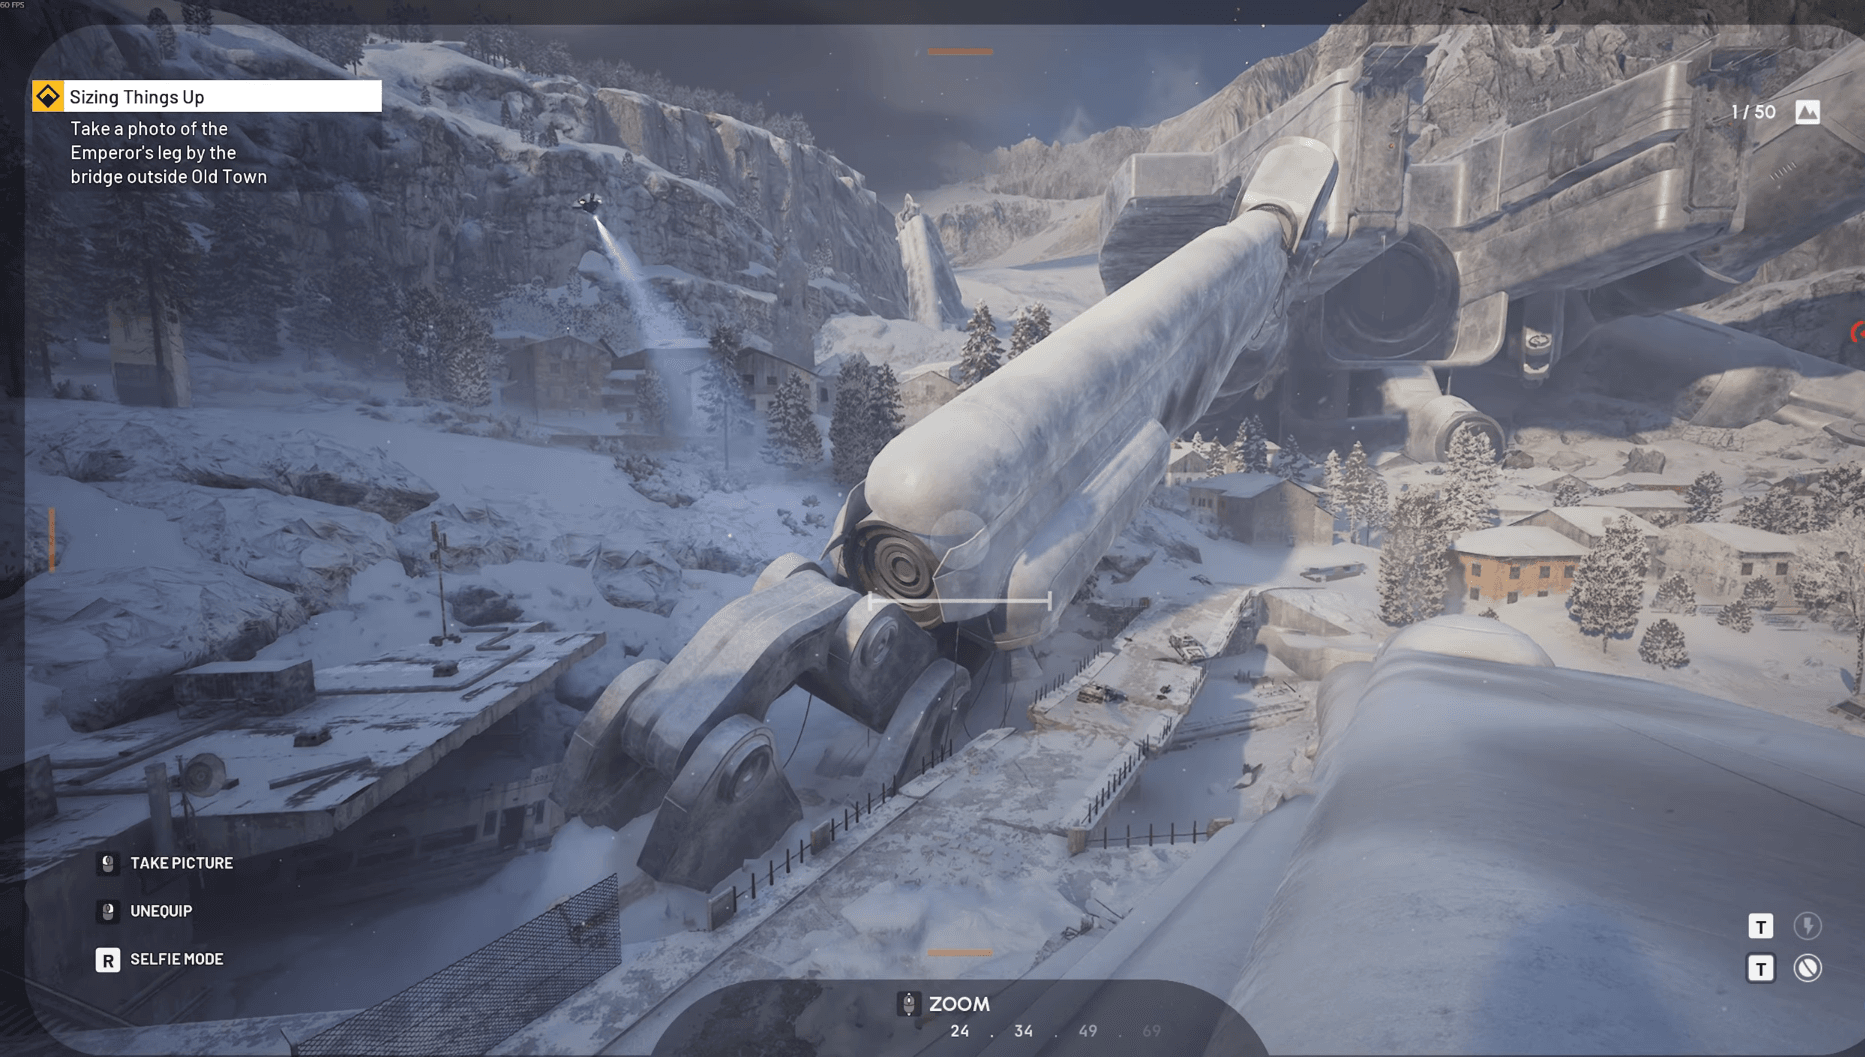
This is the trickiest of the three opening objectives. You need a Basic Camera or Advanced Camera equipped before heading out. Celeste gives you a Basic Camera when the quest is granted, but you can also craft one at the workbench or buy one from Shani if you've lost it.
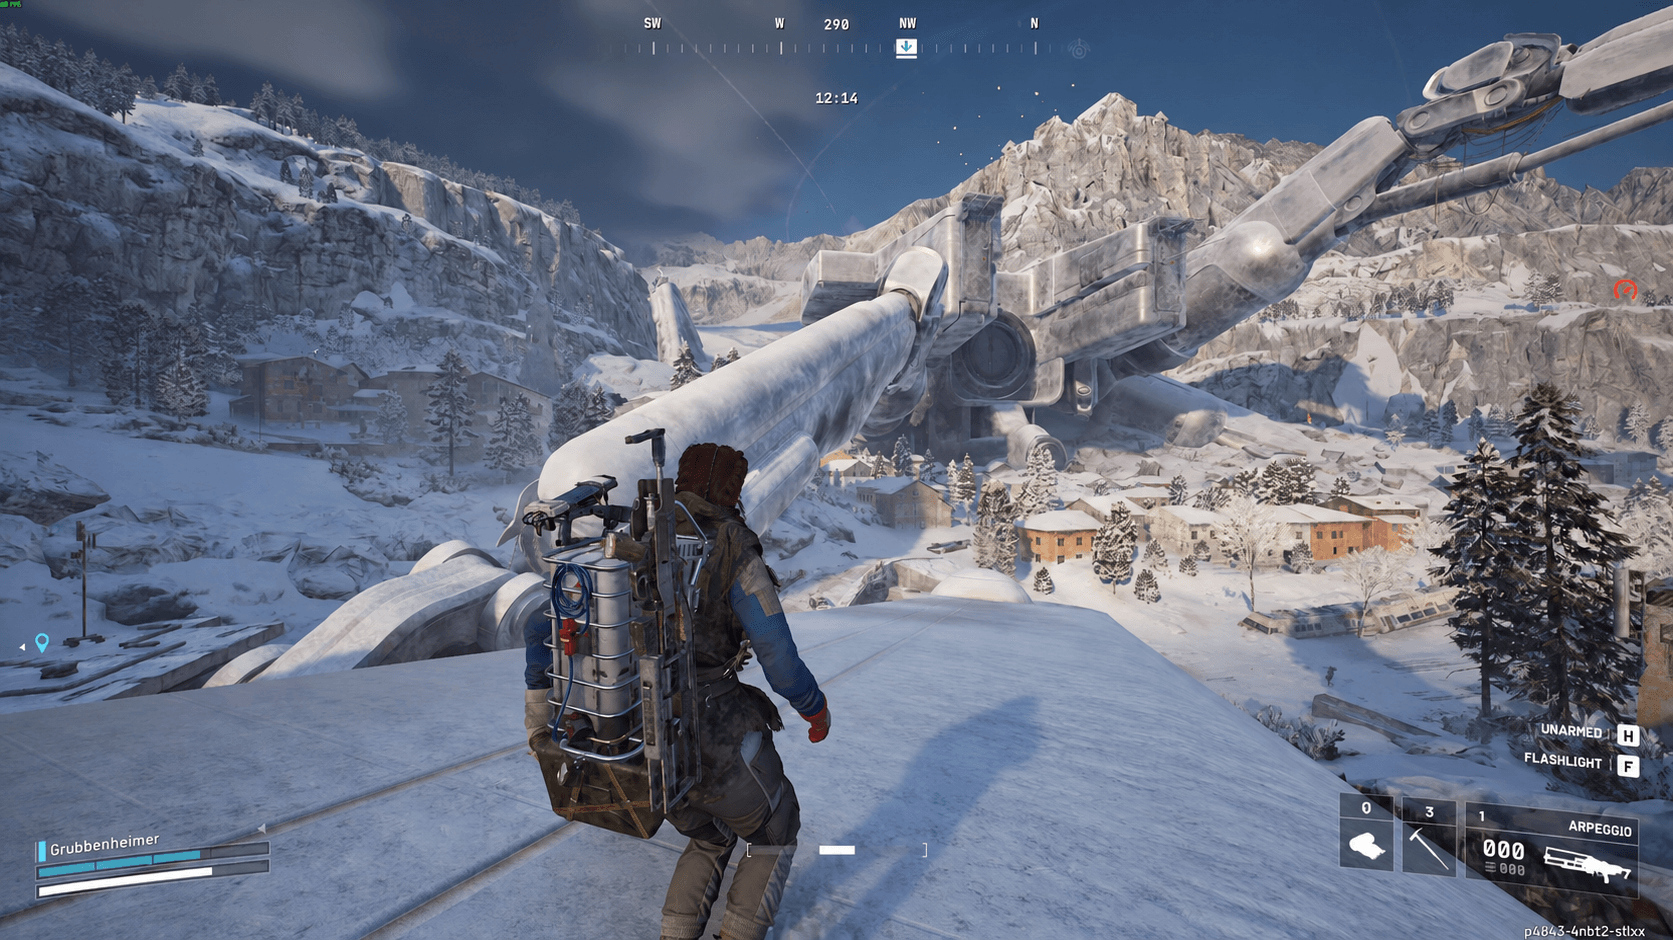
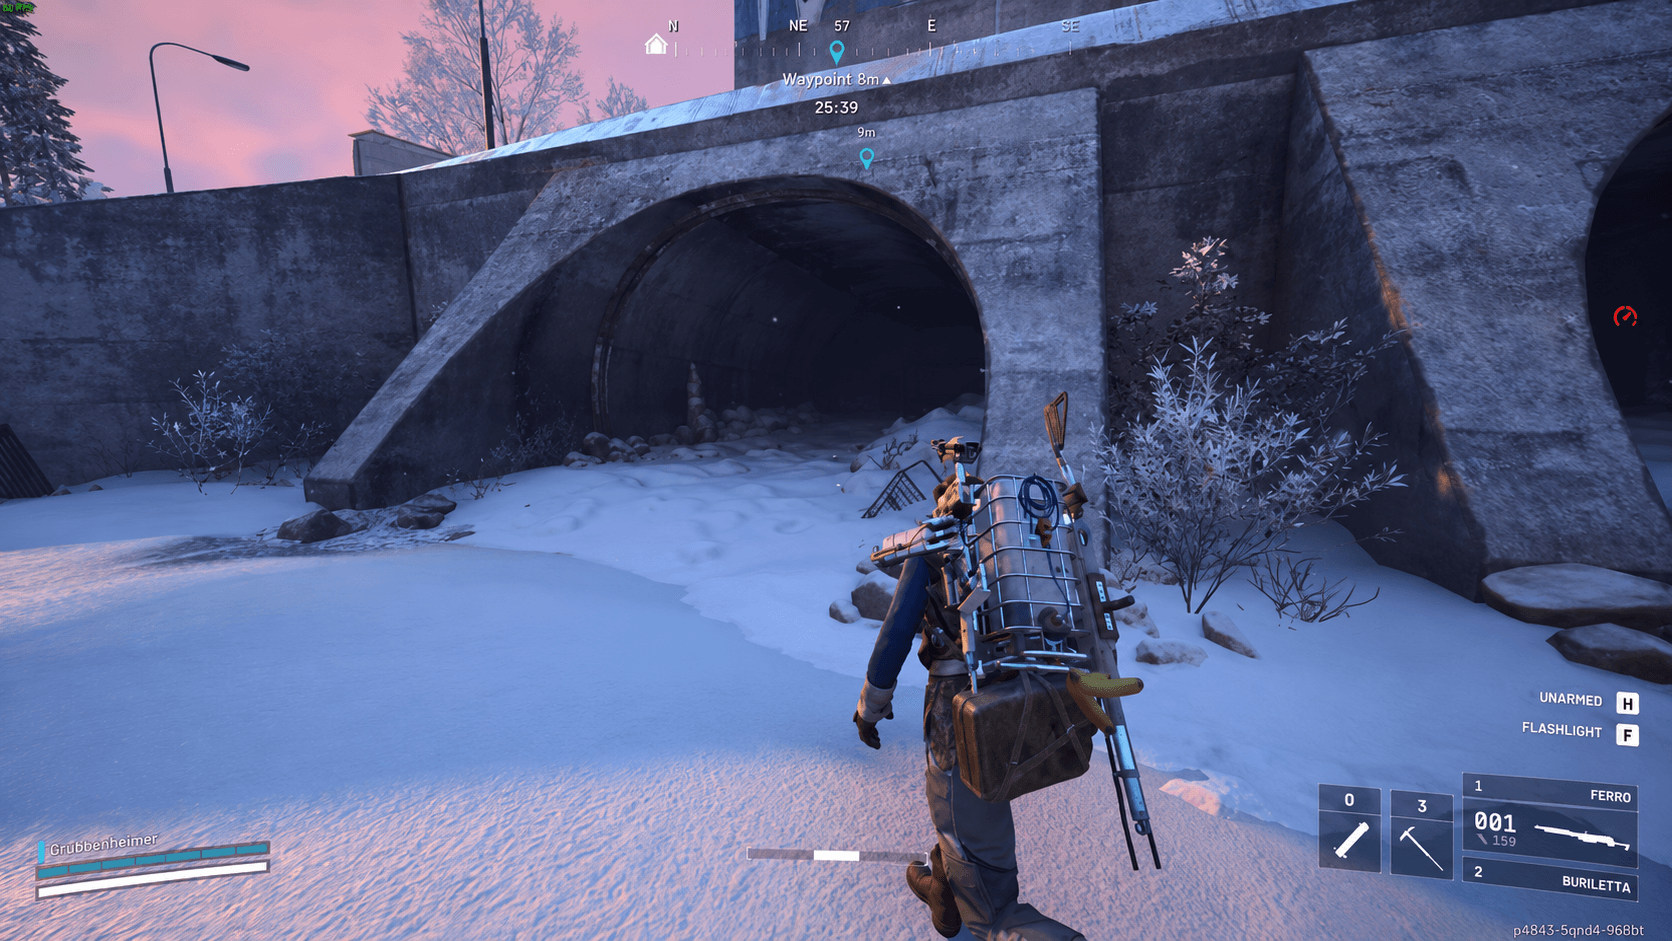
Head to the bridge directly east of Old Town. The Emperor's southern front leg runs parallel to this bridge. Stand near the center of the collapsed leg section, climb up a small rubble pile, then zoom in slightly and frame the leg's lower portion. The objective ticks off once the photo registers. If it doesn't complete immediately, shift your angle slightly and try again, the game requires a specific framing that includes the main body connection.
ARC Raiders Guide: How to Complete Sizing Things Up Quest
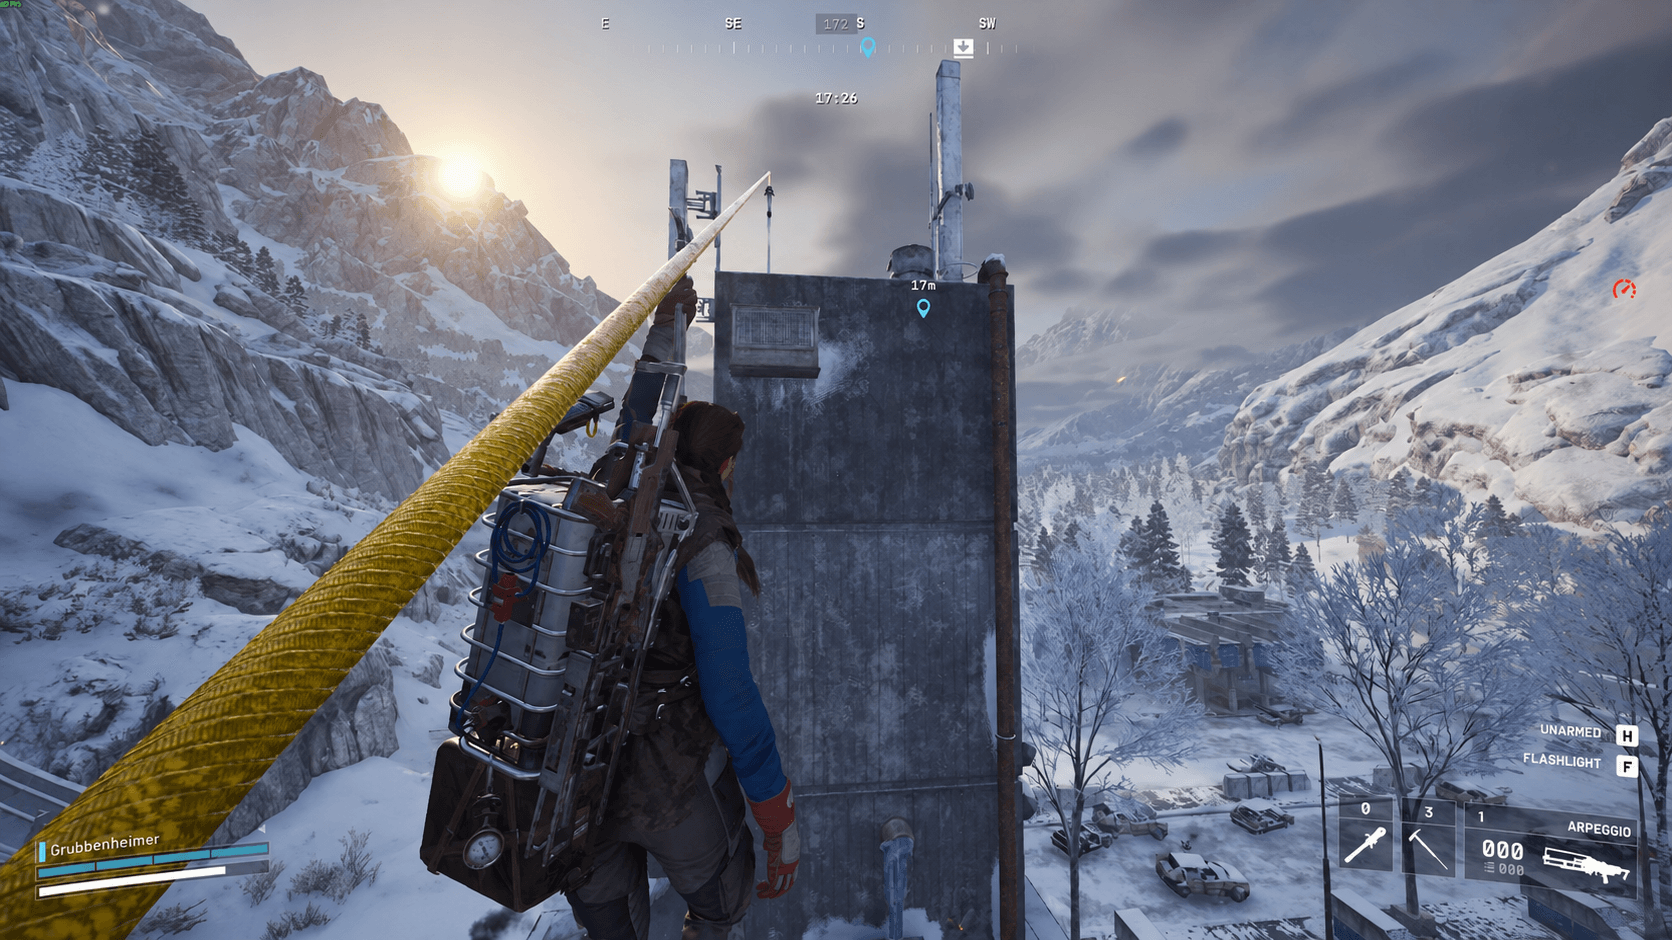
This is the optional step most players skip, but it's the easiest of the three if you're already running the northern part of the map. The crashed probe sits beside the northernmost Emperor leg, far west of Almatera Station near the edge of the map. It's half-buried in snow. Break it open if another player hasn't already done so, then interact with the circuitry inside to complete this portion.
Because this objective is on the opposite side of the map from the Railroad Junction leg, completing both this step and the Railroad Junction analysis in the same run is a long walk through Arc-heavy territory. Most players pair the photo (Step 1) with the Railroad Junction analysis (Step 3) instead.
ARC Raiders Guide: How to Complete Sizing Things Up Quest
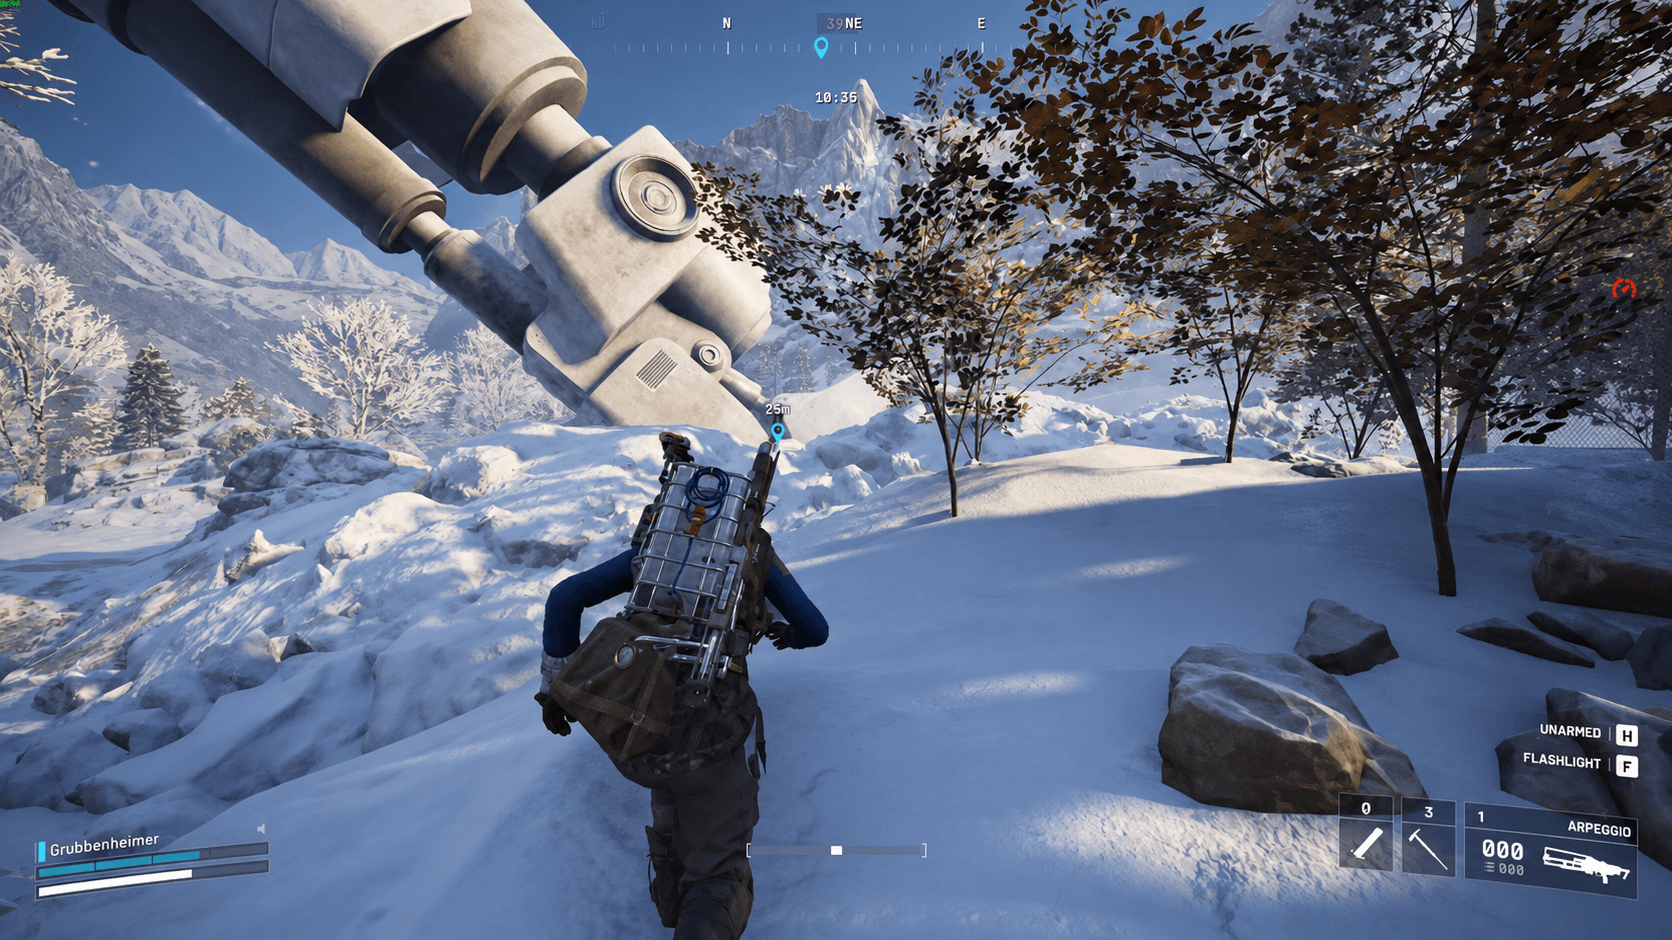
The Emperor's longest leg comes to rest directly south of Railroad Junction. You can see the base of the leg clearly on the Pendola Pass map. Climb up to the ankle section and interact with the Analyze Part prompt. There's no special item required here — just reach the spot and hold the interaction key.
This is the recommended second objective to pair with the bridge photo, since both locations sit in the central-western portion of the map and don't require a long detour.
Once you've completed two of the three opening steps, your next objective is to reach the Emperor's base. Head directly west of Piazza della Rupe (look just above the "P" in the location name on your map). This is where the Emperor's corpse is centered, marked as the Fallen Emperor on the map.
At the very front and center of the Emperor's body, you'll find the Buried Harvester Payload half-submerged in snow. Interact with it to drop the Arc Conductive Coupler. Pick it up immediately and store it in your safe pocket before you do anything else. The safe pocket protects it on death, so losing the item on the way to extraction is not a concern as long as you stow it properly.
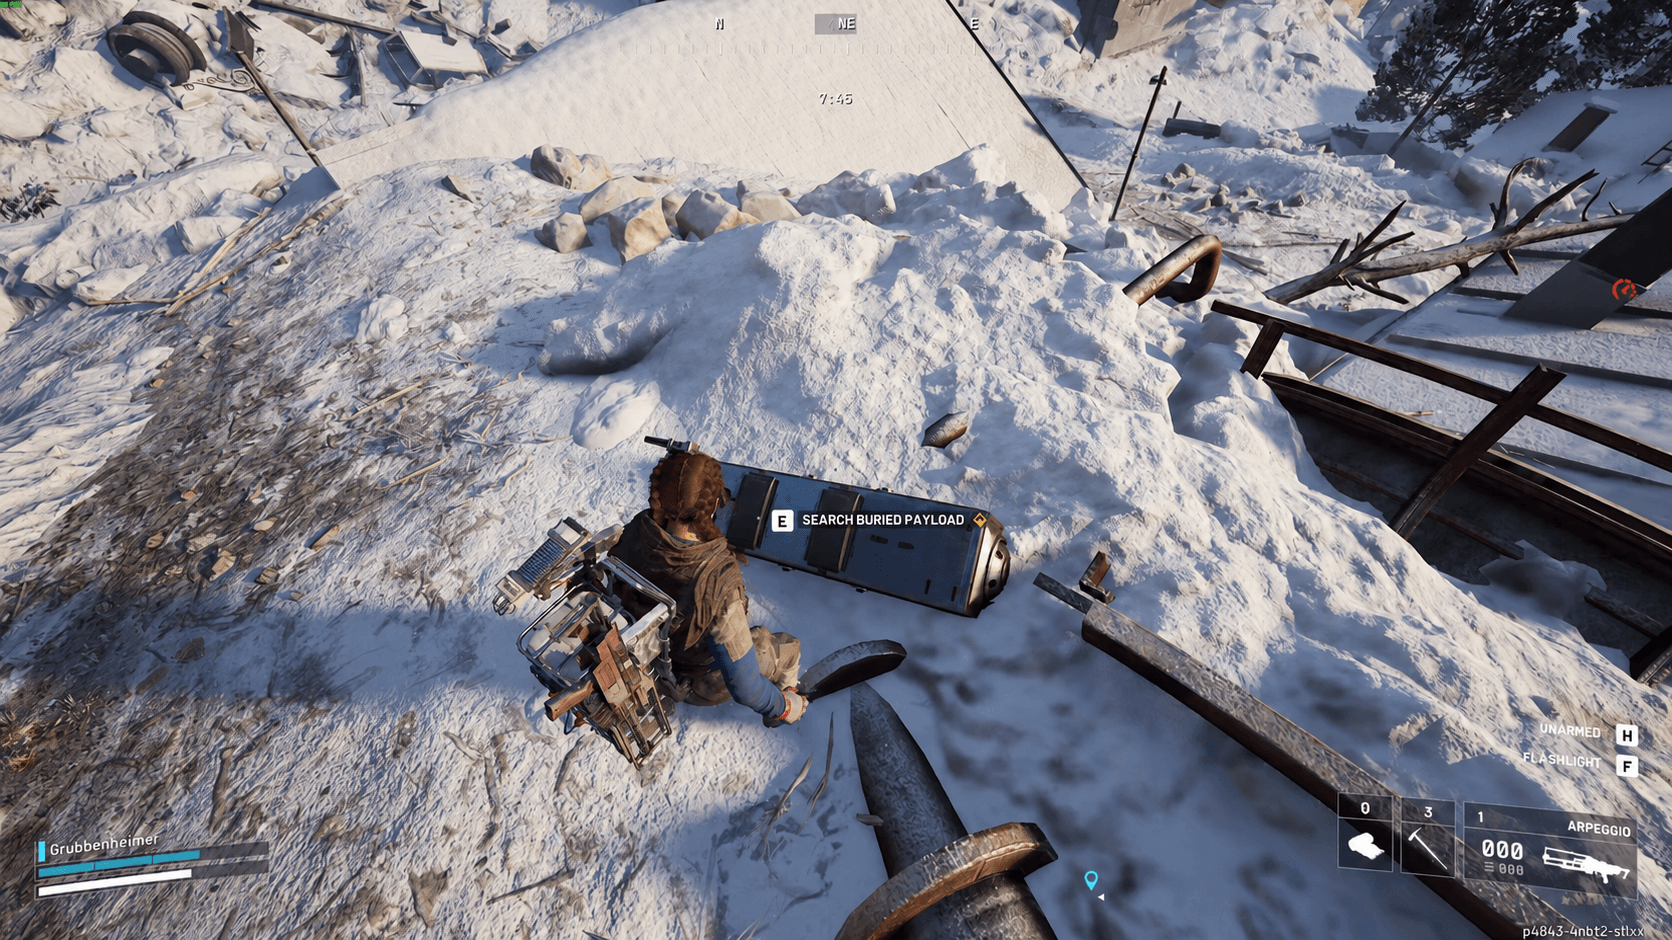
ARC Raiders Guide: How to Complete Sizing Things Up Quest
Extract from Pendola Pass with the Arc Conductive Coupler in your safe pocket. Back in Speranza, open the quests tab, select Celeste, and hit the Claim button to hand over the item and complete the quest.
Here's everything Celeste hands over on completion:
| Reward | Quantity | Type |
|---|---|---|
| Adrenaline Shot | 3 | Quick Use |
| Exodus Technical Handbook | 1 | Research Item |
| Bettina I | 1 | Weapon |
| Heavy Ammo | 60 | Ammunition |
| XP | 5,000 | Currency |
The Bettina I is the standout reward here. Getting a weapon directly from a quest completion means you're not gambling on loot drops or spending Raider Tokens, which makes this one of the more efficient quests to prioritize early in a session on Pendola Pass.
Sizing Things Up involves a lot of ground to cover, so your loadout priorities shift compared to combat-heavy runs.
For players still building out their Pendola Pass knowledge, the Shoring Up Defenses quest walkthrough covers another set of Celeste objectives on the same map. The Converging Paths project guide is also worth bookmarking if you're working toward the Surge Coil Blueprint and Raider Token rewards across multiple stages. For everything else, the full ARC Raiders guides collection has walkthroughs for every major quest and mechanic in the game.